


Table of Contents
- Editing Real Estate Photos Like a Pro (16 Steps)
- Is Editing Real Estate Photos Really Necessary?
- Save Time – Outsource Your Editing to PhotoUp!
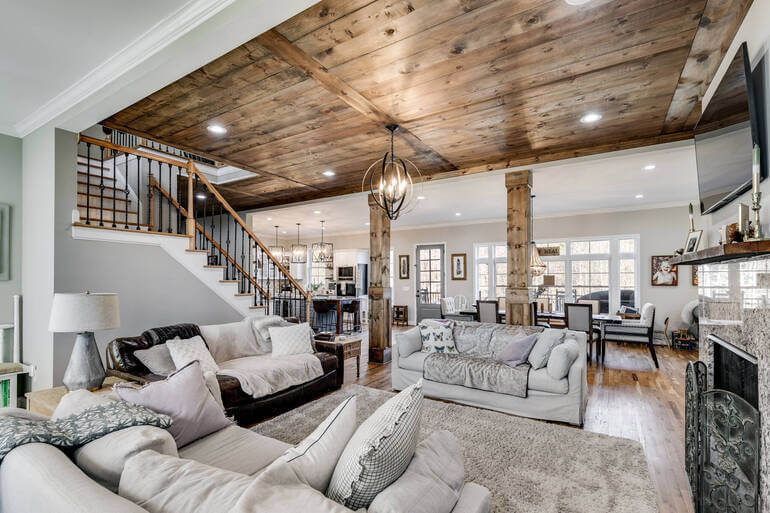
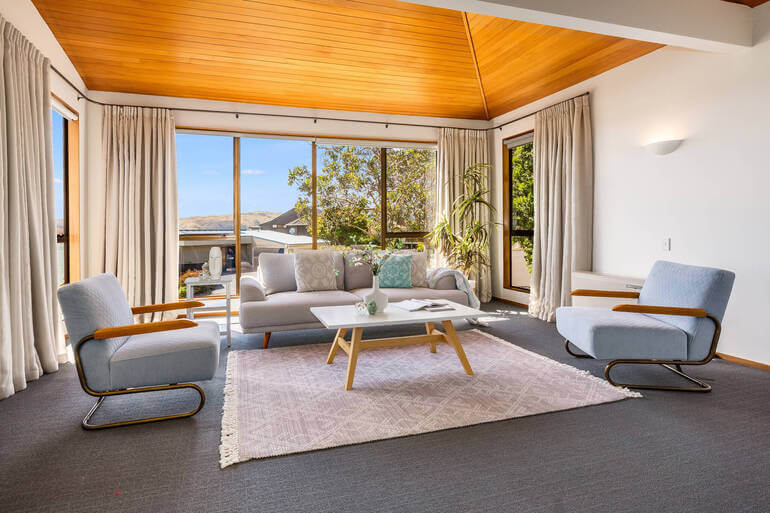
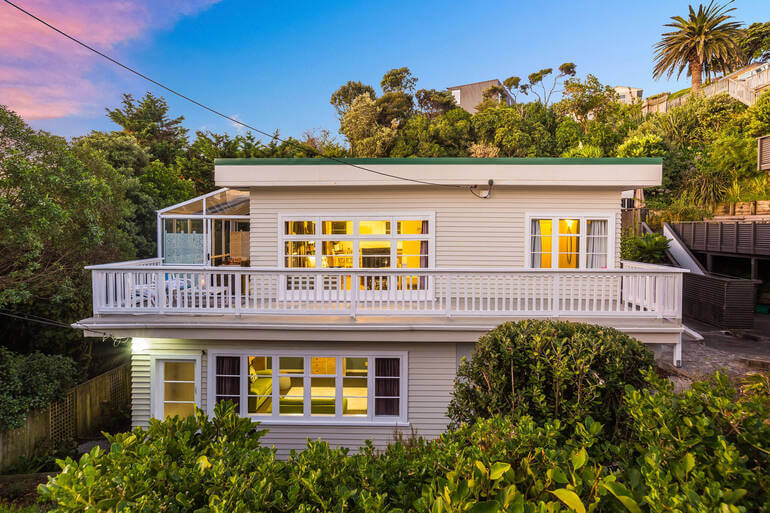
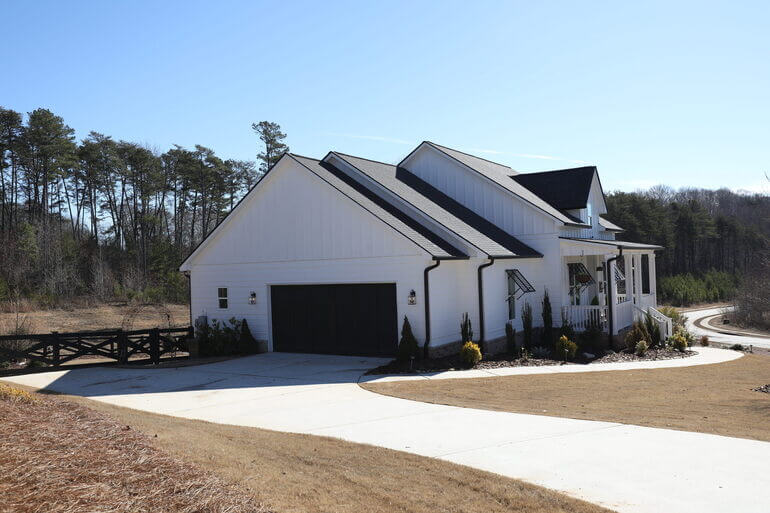
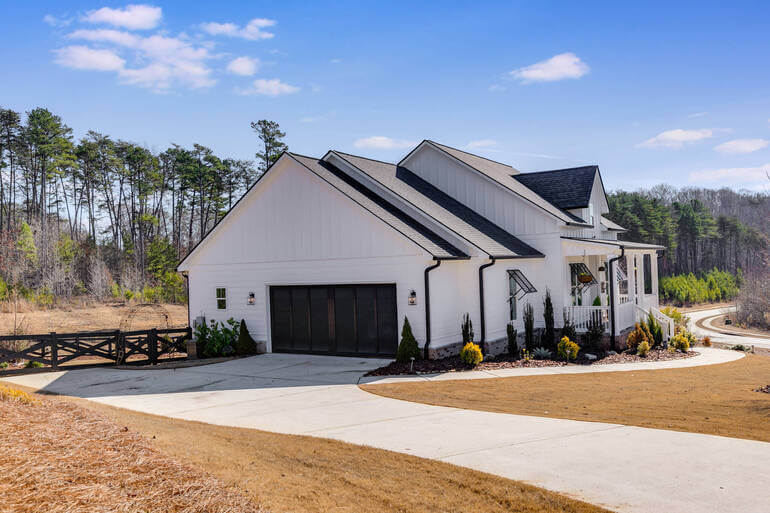
Editing real estate photos like a pro takes skill and practice—unlock the full potential of your real estate photography with this comprehensive 16-step guide designed for both beginners and intermediate-level photographers.
In today’s visually-driven real estate market, stunning and well-edited photographs can make all the difference. Enhancing your images attracts more buyers and showcases properties in their best light. It’ll help your agent clients sell more homes and grow your photography business.
In this guide, we’ll show you how to edit real estate photos like a pro using 16 simple yet powerful techniques. This will help you master real estate photo editing and take your photography to the next level.
Let’s get started!
Editing Real Estate Photos Like a Pro (16 Steps)
Here are 16 powerful techniques or steps that will help you edit real estate photos like a pro in Photoshop and Lightroom.
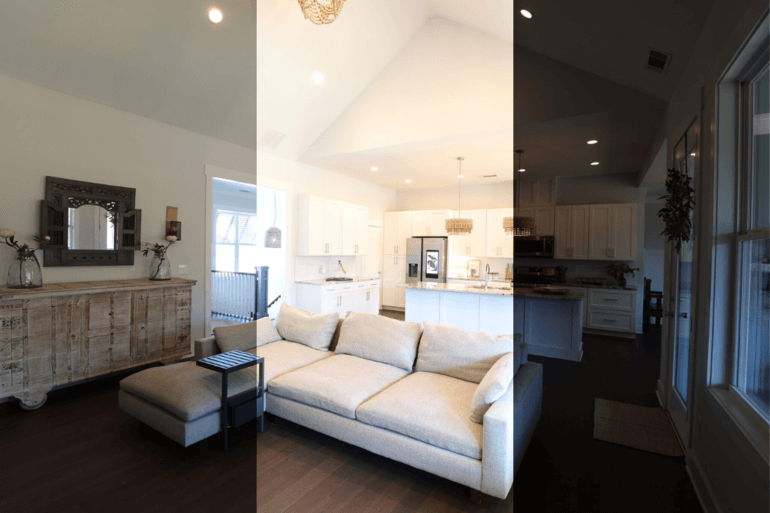
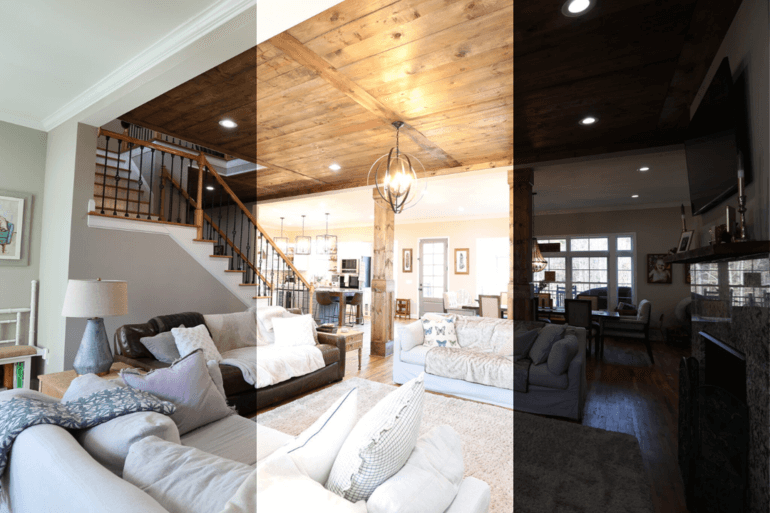
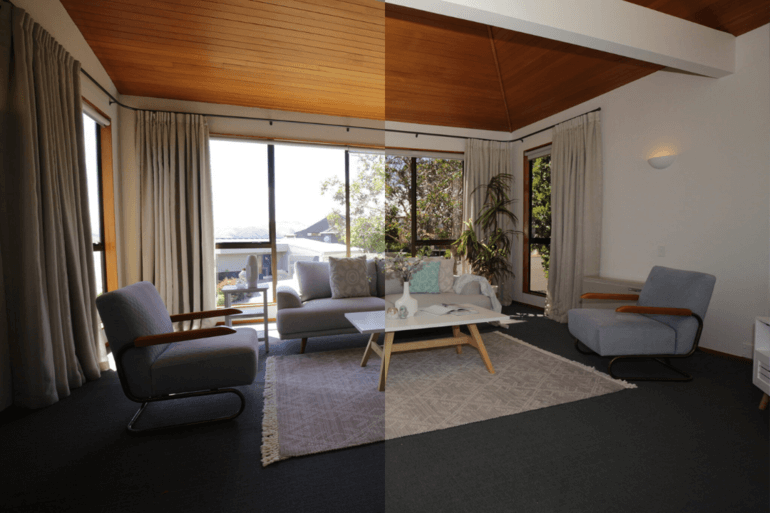
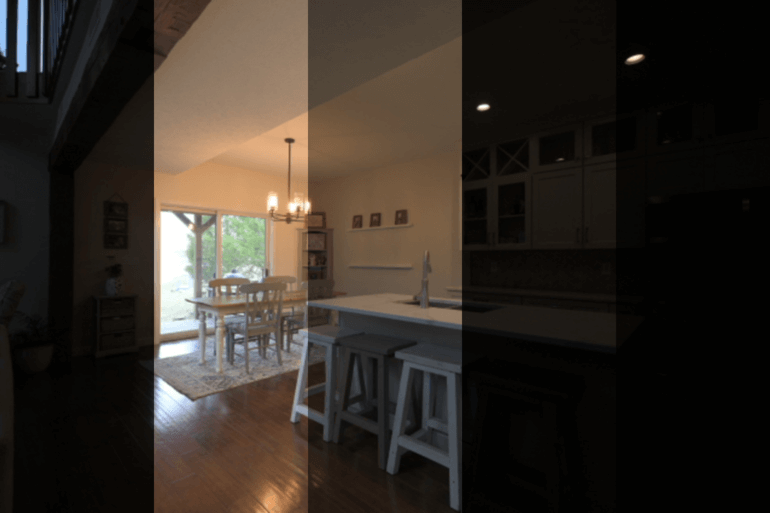
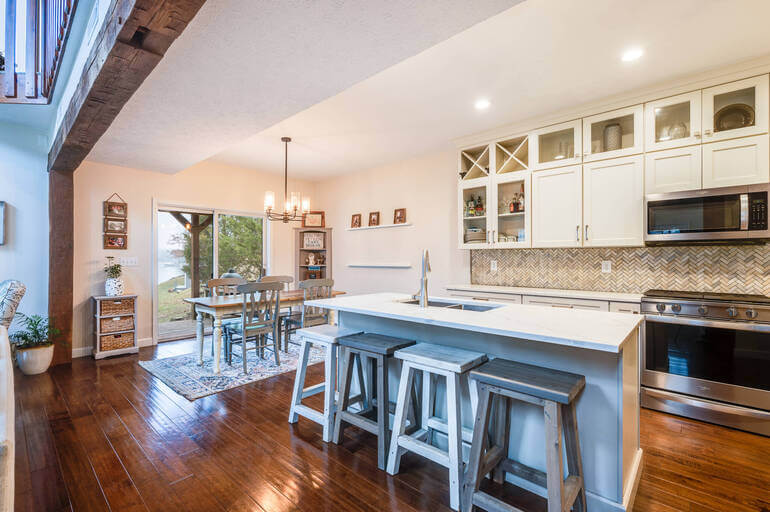
Step 1: Brightness & Color Correction
Let’s dive in, shall we? The true foundation of any photo enhancement has to be getting the basics right—this means nailing the brightness, exposure, and colors.

And let’s not forget the power of tools like Lightroom and Photoshop; they’re like wands for visual wizards who bring a rush of life and energy to a picture with just a few clicks and tweaks.
Now, it might seem pretty basic to fiddle with color settings, contrast, tone, and sharpness, right? But here’s the thing—it’s not as easy as it sounds.
There’s an art to it, a kind of subtle magic that requires a deft touch. It’s all about those small, almost invisible nudges that turn a ‘blah’ photo into a stunning work that demands a second look.
To learn how to adjust the colors and make your real estate photos pop, check out our tutorial on how to color correct in Photoshop.
Additionally, this video tutorial walks you through how to brighten a photo in Photoshop:
Pay close attention to color balance to ensure whites appear clean and colors are true to life.
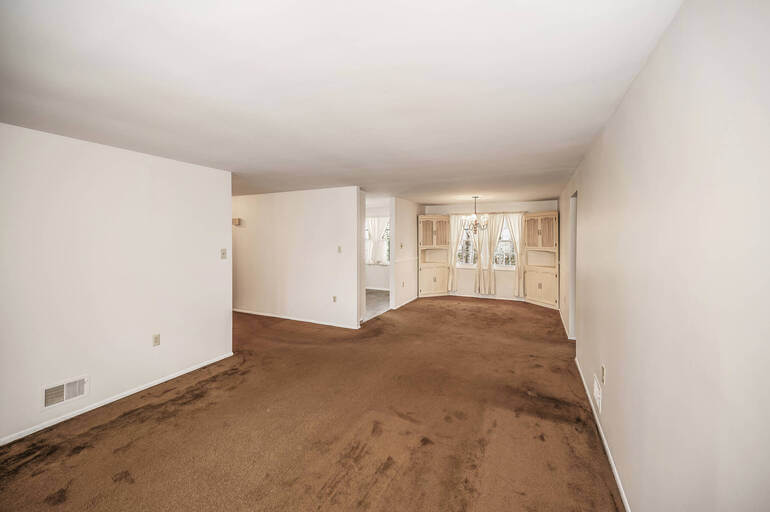
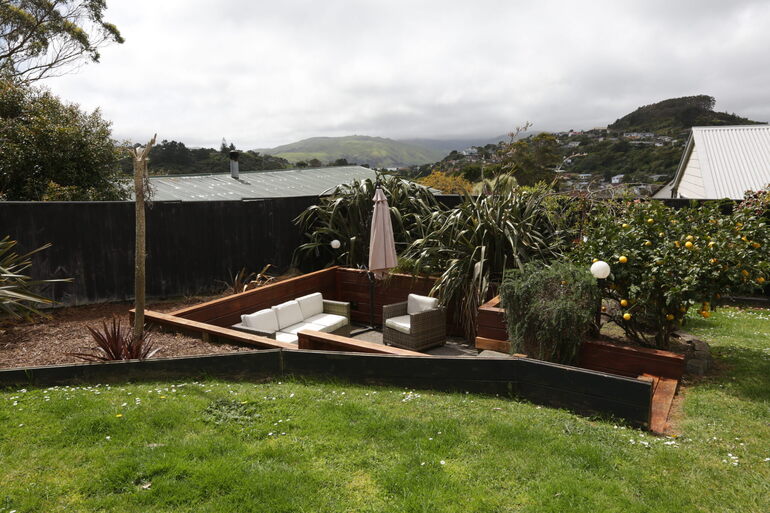
Step 2: Object Removal & Decluttering
Clutter can detract from the beauty of your real estate images and make them look less professional.
Envision a tranquil garden that’s unexpectedly disrupted by a car parked right in the middle of the view, unsightly television wires crisscrossing through a peaceful living room, or everyday pots and pans taking away from the elegance of polished granite countertops.
These visuals are all too familiar in the realm of real estate imagery. And if that wasn’t enough, there’s the added challenge of dealing with structural imperfections like fractures in walls or curling wallpaper that hint at neglect.
Each instance calls for a keen eye and a touch of finesse, which, fortunately, can be found in the magic of Photoshop.
Utilize the ‘Clone Stamp’ or ‘Healing Brush’ tools to remove unwanted objects or distractions from your photos, such as cords and wires, pet toys, or stray items.
To learn how to use the Clone Stamp Tool to declutter your images, watch this tutorial video on how to remove cords in Photoshop:
Additionally, in this video tutorial, you can learn how to use the Healing Brush Tool together with the Clone Stamp Tool to remove a car from the driveway:
Step 3: HDR Blending & Bracketing
For shots with a high dynamic range, like bright exteriors against dark interiors, try HDR blending.
This technique allows you to merge multiple exposures bracketed shots (often 3 or more exposures )using photo editing software to create a single image that is well-exposed across highlights, mid-tones, and shadows.
This helps to bring out more detail in your images and make them pop.
To learn this simple yet effective editing technique, watch this tutorial video on how to edit HDR photos in Lightroom:
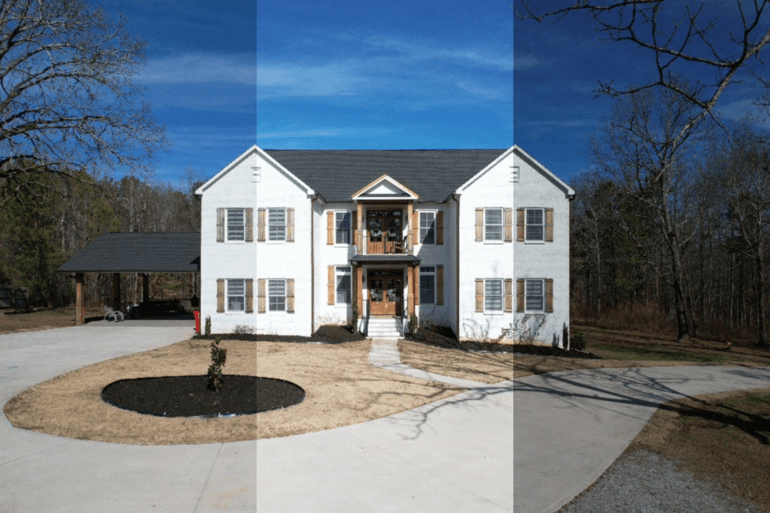
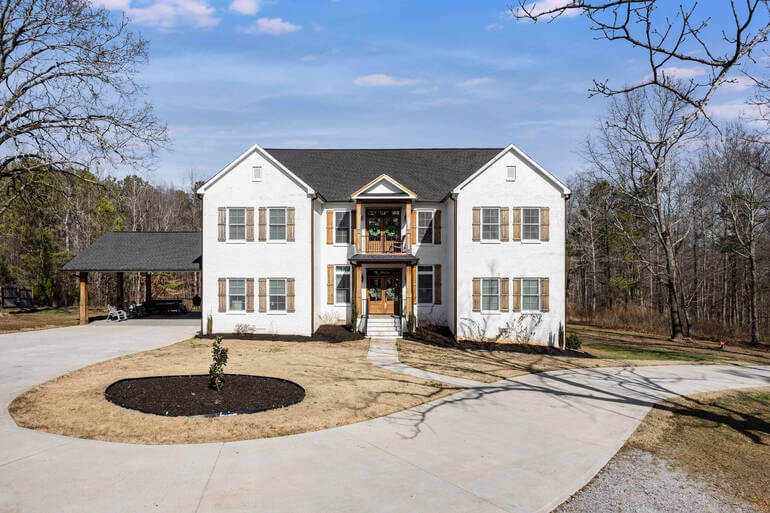
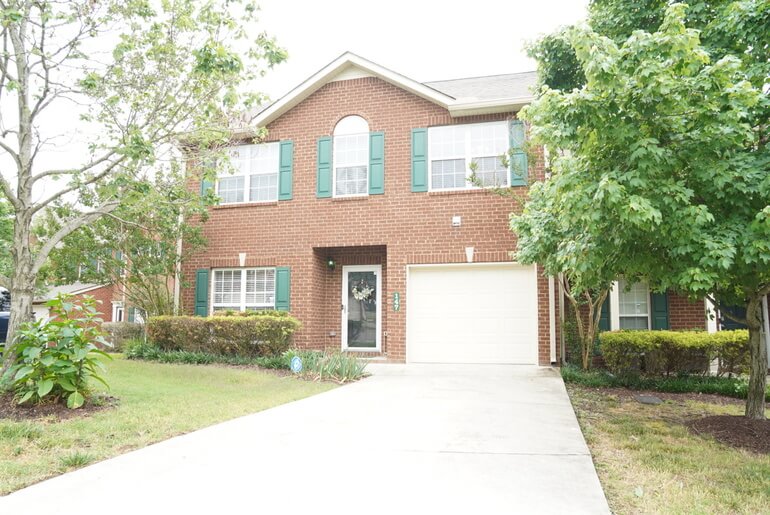
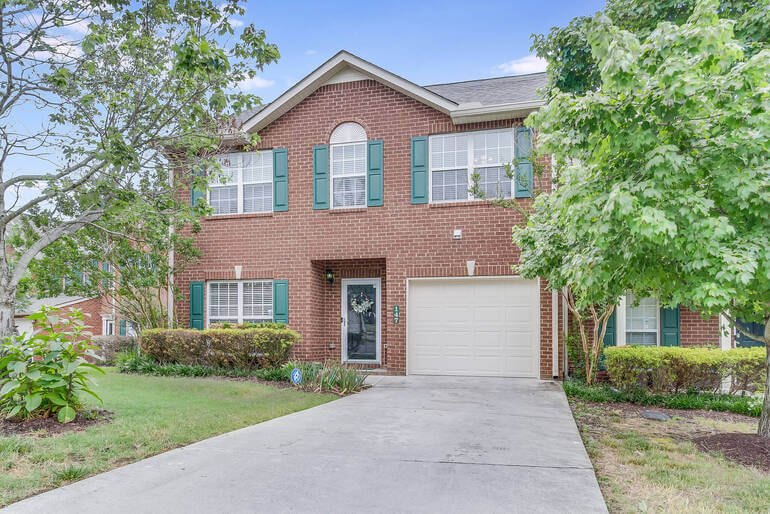
Step 4: Horizontal & Vertical Lines Correction
Straight horizontal and vertical lines in your photos seem to have a mind of their own, always leaning towards each other like old friends.


That’s often due to a handful of culprits – like the natural curvature of your lens, the contours of the space you’re capturing, and even the simple tilt of your camera as you snap the shot, introducing those dreaded distortions.
Worry not, though! A pinch of post-processing magic known as vertical lines correction is here to save your snapshots.
For the heroes of real estate photography, this digital wizardry is especially critical, as it straightens out the bends and helps every line in the photo adhere to the straight and narrow, all the way to the edges of the frame.
This video tutorial walks you through how to straighten verticals in Photoshop:
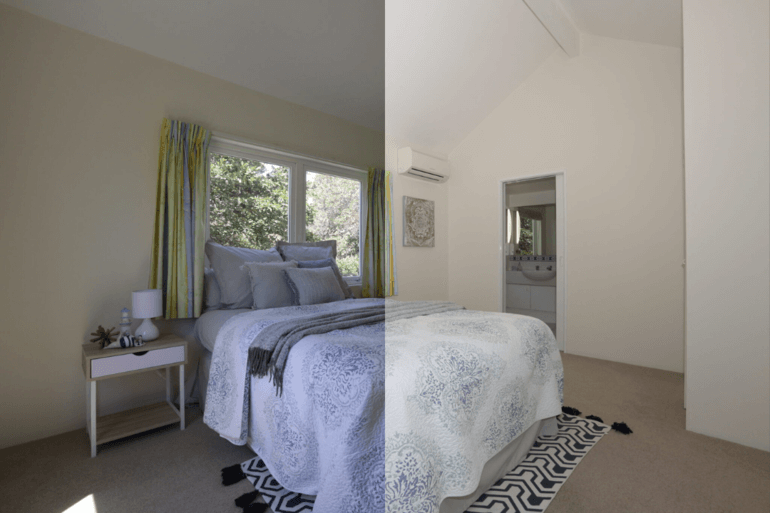
Step 5: Noise Reduction
Digital noise can detract from the clarity of your images, especially those taken in low light.
Your photographs, intended to be vibrant and detailed, can become overshadowed by a sea of unwanted fuzzy dots, detracting from their intended allure and making the properties look less than perfect.
Noise or grain typically stems from low lighting conditions, digital processing errors that disrupt the pixel layout, excessive exposure times, or constraints tied to the camera’s sensor size.
However, don’t let this common snag set you back. Tackling grainy photos can be straightforward with the right tweaks, restoring the striking definition you aimed to achieve in your real estate photography.
You can use noise reduction features to smooth out the grain without compromising on detail. To learn noise reduction, check out our video tutorial on how to reduce noise in Lightroom and Photoshop:
Step 6: Image Sharpening
Sharpness is key in real estate photography. You can breathe new life into your property shots by mastering the art of image sharpening with Photoshop.
By accentuating edges, you can add an exceptional level of detail, depth, and striking contrast to the architectural elements in your photos.
Edge definition plays a pivotal role in the visual impact of your imagery. Regardless of whether your images are captured through a state-of-the-art digital camera or scanned meticulously, almost every photo stands to gain from a touch of sharpening.
Utilize the powerful editing capabilities of programs such as Photoshop to tease out the finer details of your real estate photos, often hidden from the naked eye.
When you enhance these subtle elements, your photography reaches new heights, commanding attention, and captivating potential homebuyers.
To learn how to perform this editing technique, watch our tutorial video on how to sharpen an image in Photoshop:
Note: Be cautious not to oversharpen, as this can lead to unnatural-looking images.
Have You Ever Thought To
Outsource Photo Editing?
Try it today with 5 free edits from three professional photo editors.

Step 7: Sky Replacement
Under a clear sky, the colors of the environment pop, making real estate photos truly eye-catching and inviting. But when overcast conditions take over, even the most stunning homes can lose their luster, appearing flat and unwelcoming.
Yet, these moments are ripe for imaginative solutions. The advent of modern editing software means that swapping out a dreary backdrop for a vibrant sky is not just doable; it’s pleasantly simple.
Honing this skill can transform standard real estate photos into unforgettable showcases.
By becoming adept at sky replacement, photographers are empowered to:
- Magnify the charm of the property, ensuring it shines amidst the competitive hustle of the real estate world
- Add a touch of brightness to images, fostering an inviting and cozy feel
- Attain unmatched versatility, no longer at the mercy of unpredictable weather or specific times of day
With the prowess of programs like Photoshop, what were once dim, uninspiring skies can now be reimagined into expansive azure backdrops, aglow with the warm hues of perpetual summer days.
To learn how to transform dull winter skies into bright and inviting ones, check out our video tutorial on how to replace a winter sky in Photoshop:
In contrast to a winter sky, here’s another tutorial video on how to replace a summer sky in Photoshop instead:
Mastering the skies in your photos can significantly elevate the presentation and desirability of any listing, setting you apart in the vibrant world of real estate imaging.
But make sure the lighting conditions of the new sky match the scene for a realistic look.
Step 8: Day-to-Dusk Conversions
Turn day shots into dusk by darkening the sky, turning on interior and exterior lights, and adding warm color tones.
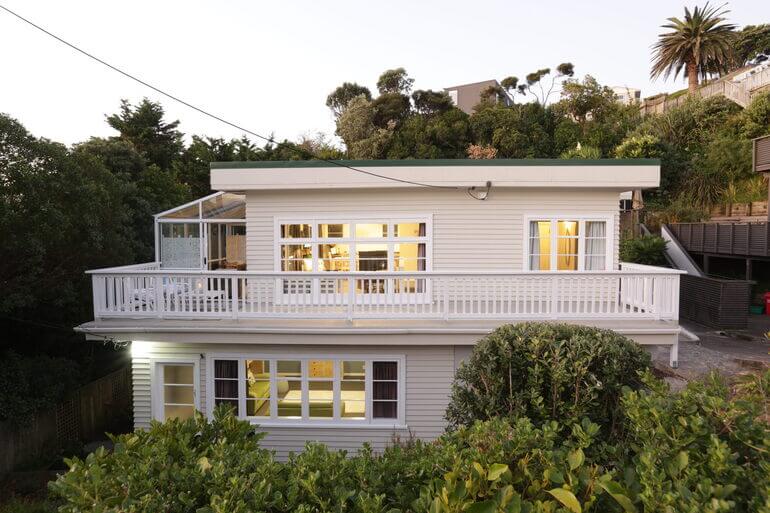
It’s a fantastic way to show off a property’s lighting and create an enticing atmosphere that will draw viewers in.
Everyone knows you need to transform the sky into an evening scene, but lots of people forget that you also need to work on a house’s interior and exterior lighting to ensure that it remains the star of the show.
The last thing you want is a sky so pretty that it attracts attention away from the property you’re trying to sell.
Instead, you need to make sure to keep a viewer’s attention on the focus of the image, the house itself.
To learn how to do this effectively, check out our video tutorial on how to edit a day to dusk image:
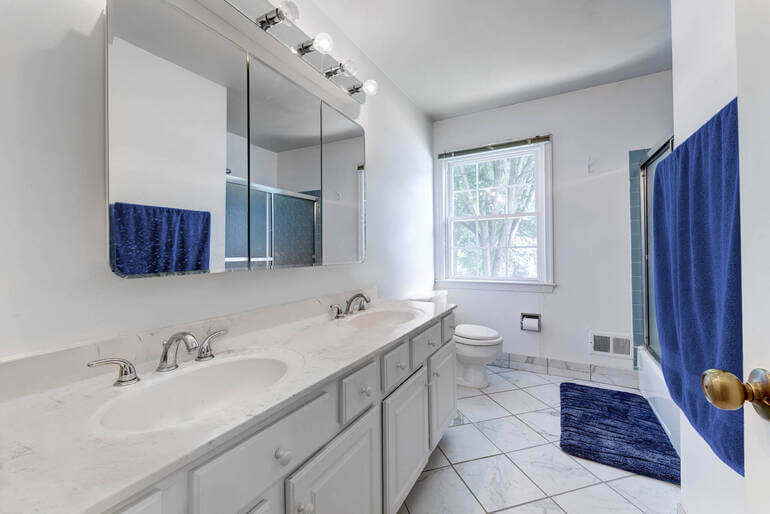
Step 9: Color Cast Removal

The next step is to eliminate unwanted color casts caused by ambient lighting or reflections that can affect the mood of an interior space.
Failure to remove unwanted color tints can cause your real estate photography to look unprofessional.
With this in mind, situations that can create color cast involve:
- A ceiling color reflects onto the walls, altering their natural hue
- The presence of warm light bulbs casts a yellowish glow on objects within the space
- A bluish tone permeates the room, often resulting from fluorescent or LED lighting
Thankfully, with the right editing techniques, it’s possible to correct these color imbalances and ensure the colors in your photographs appear true to life.
This process, known as color cast correction, is a valuable skill for aspiring photographers to master, allowing them to bring out the best in their images by adjusting the colors to look more natural and balanced.
To see how to make these corrections, check out our video tutorial on how to easily remove color cast from real estate images in Photoshop:
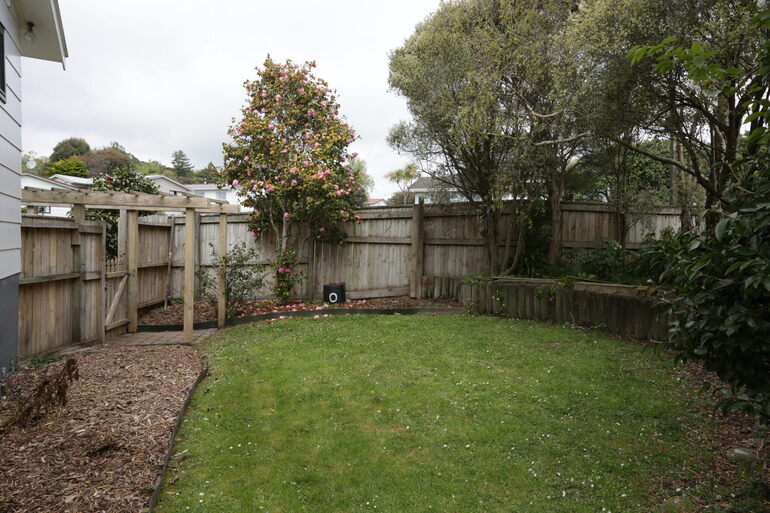
Step 10: Lawn/Landscape Enhancements
Few things distract from a beautiful home like a dying lawn.
Luckily, you can easily enhance the look of brown, patchy lawns by adjusting saturation and luminance sliders to give grass a fresh, green appearance.
This simple step can significantly improve curb appeal.
Once again, turn to Photoshop to adjust the color of your lawn and even enhance other landscaping in your photos.
To learn how to create a beautiful green lawn, check out our video tutorial on how to make grass green in Photoshop:
Step 11: Window Masking
Bright windows can be distracting and detract from interior details. Too much sunlight streaming through a room’s windows can lead to unwanted glare and blurriness in photos.
At times, blinds can disfigure the scene, or the cleanliness of the windows might detract from the image’s quality.
Window masking is a pivotal element in real estate photo editing that remedies these issues.
It also offers the possibility to entirely alter the scenery captured through the window, providing amateur photographers with the tools to enhance their images significantly.
To learn more, watch this tutorial video on how to mask windows for real estate photography in Photoshop:
Step 12: Eliminating Ghosting
If using HDR techniques or shooting in windy conditions, you may encounter ghosting—where moving objects leave a trail or blur.
Some forms of artistic photography use ghosting to enhance the mood or feel of an image. However, ghosting makes real estate photos look unfinished and poorly done.
Luckily, removing ghosting using Photoshop is simple if you know your way around the software.
For more details, check out our video tutorial on how to remove ghosting in real estate photos:
Step 13: Removing Shadows
Overly pronounced shadows can occur under various lighting conditions, whether using a flash or relying on natural illumination.
In such cases, photos may display deep, dark shadows along with glare originating from the light source.
Although stark shadows can sometimes add artistic flair to certain images, they tend to create a distracting and unprofessional appearance, particularly in real estate photography.
To address these issues, real estate photographers can reveal details that were previously hidden in the shadows.
These methods help balance lighting in the image, reducing the harshness of shadows and minimizing glare for a more natural and appealing look.
For more details, check out our short video tutorial on how to remove shadows in Lightroom:
Additionally, this video demo walks you through how to remove flash shadows in Photoshop:
Step 14: Leveraging Virtual Staging
When shooting empty and outdated homes, AI virtual staging can be a great tool to help potential buyers visualize the space furnished.

This involves inserting digital furniture into your images for a modern, cozy, and inviting look that will appeal to your target audience.
Virtual staging services like PhotoUp give you several design options to help you cater to any market.
Best of all, our virtual staging service is affordable and starts at the low cost of $5.00 per image.
“Virtual staging can help you stage faster than traditional staging and is up to 97% cheaper than traditional staging. What’s not to love!?”
Devon Higgins, Head of Sales & Marketing at PhotoUp, Realtor at Hello Homes GR
Offering this service to your agent clients can help make you even more valuable as a marketing source and grow your photography business.
PhotoUp AI Virtual Staging Demo
To see how quick and easy it is to use PhotoUp’s virtual staging service, check out our 5 minute virtual staging demo:
Step 15: Adding Text/Watermarking Your Images
Sometimes you may want to add text or a watermark to your real estate photos for branding as well as copyright purposes.

Watermarks help to protect the photographer’s work from being used without permission or credit. By clearly identifying the source of the image, photographers can prevent others from using their images without permission.
Additionally, you may just want to add your business name or other text to your real estate photos to boost brand awareness.
No matter the reason, Photoshop is your go-to software to help you make these simple yet powerful edits.
To learn how to add text to your images, check out our video tutorial on how to edit text in Photoshop:
And to learn how to work with watermarks, this video walks you through how to add a watermark in Photoshop step-by-step:
Step 16: Performing Batch Edits


Finally, learning how to perform batch edits will help to save time.
This allows you to apply common adjustments to multiple images at once for consistency across your portfolio.
It’s easy, simply do the retouches and adjustments on one photo and sync these changes into the rest of the images.
To learn how to do this, you can watch our video on how to batch edit RAW files in Photoshop:
And that’s it!
With these steps, you’ll undoubtedly present real estate photos that stand above the competition.
High-Quality & Consistent
Real Estate Photo Editing
Hire a dedicated editor with performance metrics from $7/hour.
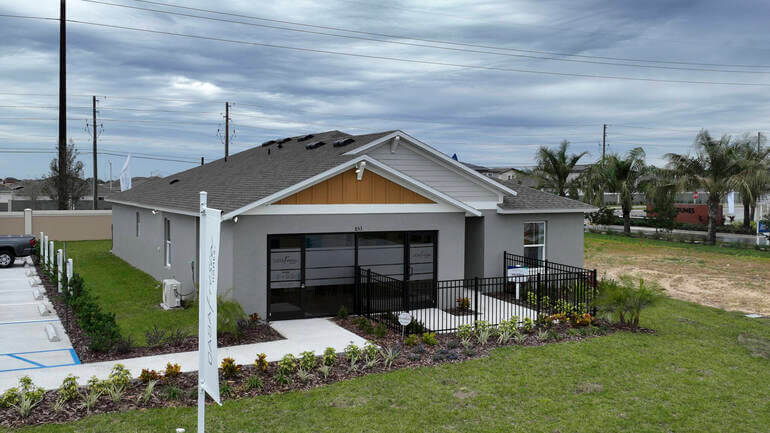
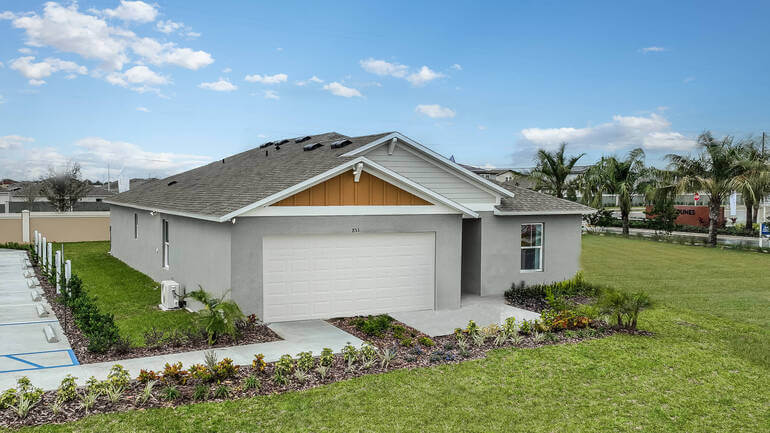
Is Editing Real Estate Photos Really Necessary?
In 2022, 99% of homebuyers used the Internet to search for homes. Additionally, homes with impressive listing photos receive 47% higher asking prices per square foot.
This being the case, high-quality real estate photos are crucial to capture buyers’ attention online and help sell homes.
And top-notch real estate photography requires post-processing no matter how good of a photographer you are. Factors like unfavorable weather, artificial light, personal belongings, and clutter can throw off your images and make them look unattractive.
Your role as a real estate photographer extends beyond mere photography; you are responsible for delivering exquisite, meticulously post-processed photographs that intrigue viewers, sparking their curiosity to explore the property further.
Focusing on color correction techniques can elevate your photography from good to outstanding. Understanding how to adjust white balance, enhance vibrancy without oversaturation, and ensure accurate color representation is crucial.
These skills help depict the property in its best light, accurately presenting the space while making it appealing to potential buyers.
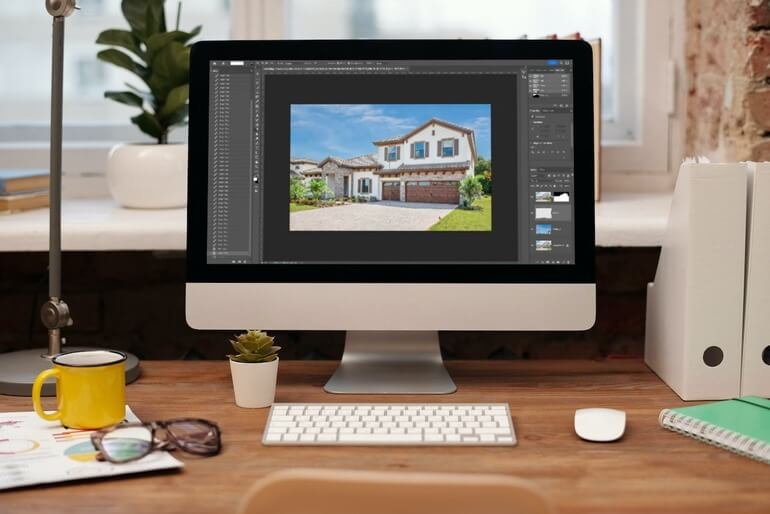
Save Time – Outsource Your Editing to PhotoUp!
As we all know, editing real estate photos can take many hours. Therefore, many real estate photographers and Realtors outsource their photo editing.
And here’s where PhotoUp is ready and eager to help!

PhotoUp offers an affordable editing service that streamlines the editing process, providing high-quality, customized images and videos at a fraction of the cost of hiring an in-house editor.
For example, our skilled photo editors can help with the following issues:
- Improper exposure levels
- Harsh shadows, lack of light, etc.
- Blurred images that were taken without a tripod
- Images that need cropping or other effects
- Lawn greening and sky replacements
- Twilight and day-to-dusk editing
- Manual blending and pano stitching
- Clutter and advanced object removal
- Line and angle corrections
- And much more!
Browse Top Dedicated
Real Estate Photo Editors
Ready-to-hire editors for real estate photo editing, and more.
Plus, it’s hard to beat PhotoUp’s quality, service, and pricing, with most photo editing costing $1.10 to $9.00 per image, depending on the complexity.
It doesn’t stop there…
Your Real Estate Marketing Partner

PhotoUp is a complete one-stop-shop for real estate marketing and also offers additional services such as:
We have everything you need to create impressive real estate photography that will impress clients and sell listings faster at higher rates!
How to Get Started
Getting started with PhotoUp is easy breezy!
When signing up for a free PhotoUp account, you’ll get access to our user-friendly photo management system where you can upload photos, provide instructions and feedback, and lastly download your beautifully edited images.
PhotoUp Real Estate Photo Editing Uploader Demo
To see how easy it is to get started with PhotoUp, have a look at our real estate photo editing uploader demo:
As simple as that!
So, what are you waiting for?
Sign up for a free PhotoUp account today and let our skilled real estate photo editors help you create stunning images while you can spend more time shooting more properties.
For a limited time, we even offer you 5 free credits when signing up for an account.
We hope this blog post helped you learn how to edit real estate photos like a pro. Before you go, you may also want to check out the following resources:

