Table of Contents
- What Are Shadows in Photos and Why Do They Appear?
- Why Remove Shadows in Real Estate Photography?
- How to Remove Shadows in Lightroom (2 Super Easy Ways)
- Leverage PhotoUp’s Expert Real Estate Photo Editing
If your internet search took you to this article, we guess you want to learn how to remove shadows in Lightroom.
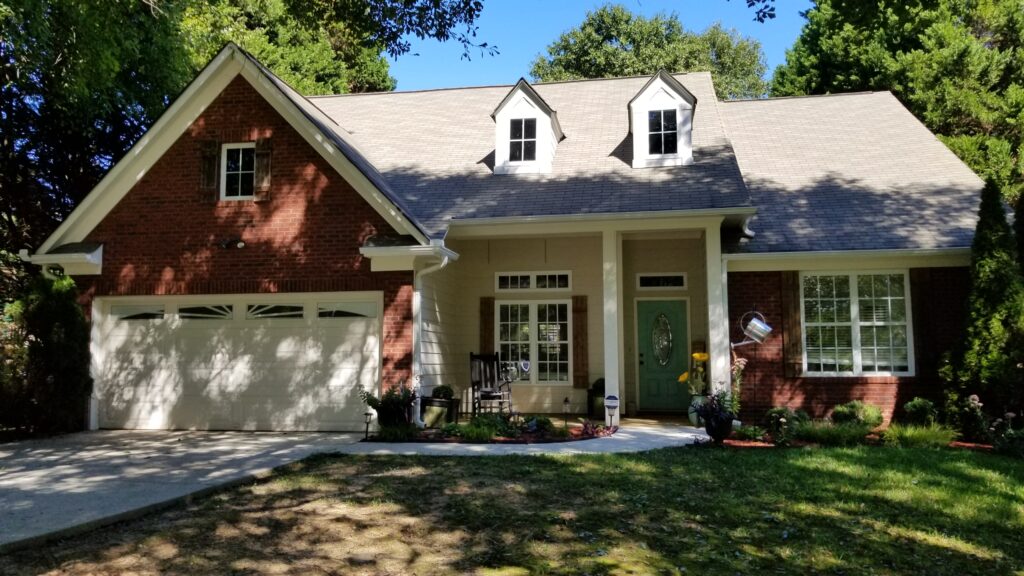
No matter the time of day and how much lighting you have during your actual shoot, shadows will appear in some areas and distract the outcome of your real estate photography. Shadows can cover or distort some of the home’s best exterior features and hide the detail in the image.
In this post, we’ll show you how to remove shadows in Lightroom using 2 super easy steps to expose the detail in dark areas.
But before we jump into the tutorial, let’s discuss what shadows in photos are and why you may want to remove them in your real estate photography.
What Are Shadows in Photos and Why Do They Appear?

Have you ever questioned why some areas of your photos appear dark and shadowy despite shooting in brilliant light?
This occurs because not all portions of your image receive the same amount of light, resulting in some areas being darker than others and giving your images a spectrum of light and dark tones.
Shadows are different from regular blacks. The blacks in your images are the areas with no brightness whatsoever. They are so dark that the detail in those areas is completely lost. All viewers see is black!
Shadows, on the other hand, are the areas in the photo that are dark, but still, retain some detail.
Why Remove Shadows in Real Estate Photography?

The contrast of light and shadows is important to generate the proper balance of an image. Light makes an image seem brighter while shadows can add a dramatic look to a certain part of an image’s composition.
However, while shadows can add contrast and dimension to your images, they can also be distracting and make your real estate photography look less professional.
Even worse, shadows can cover up some of a home’s best features and even make certain areas look distorted. Removing shadows can help you to expose the detail in dark areas of your images.
Fortunately, you can easily recover any information hidden in the shadows with the help of real estate photo editing in Lightroom, which we’ll show you how to do next.
High-Quality & Consistent
Real Estate Photo Editing
Hire a dedicated editor with performance metrics from $7/hour.
How to Remove Shadows in Lightroom (2 Super Easy Ways)
Now, let’s take a look at how to remove shadows using Lightroom to expose the details in dark areas using 2 super easy ways.
You can either watch the video tutorial or continue reading the text below:
Edit 1
Step 1. To get started, adjust the Shadow Slider up to brighten shadow areas.
Step 2. Then, bring down the Highlights to balance it with Shadows.
Step 3. Next, adjust the Exposure to brighten the photos a bit more.
Step 4. Since the shadows were brightened, adjust the Contrast, Blacks, and Clarity to boost the details and decrease the shadows.
Step 5. After some adjustments, the shadows are brightened and you can see more detail in the darker areas.
Edit 2
Another tip to brighten the shadows is to use the Local Adjustment Tool or the Brush Tool.
Step 1. First, Brush over the shadowed areas and make sure to avoid the highlighted areas.
Step 2. If you accidentally brushed the highlighted areas, simply Undo or Erase the highlighted section.
Step 4. To blend with the shadow a bit more, adjust the Light or Highlighted Areas as well.
And that’s it!
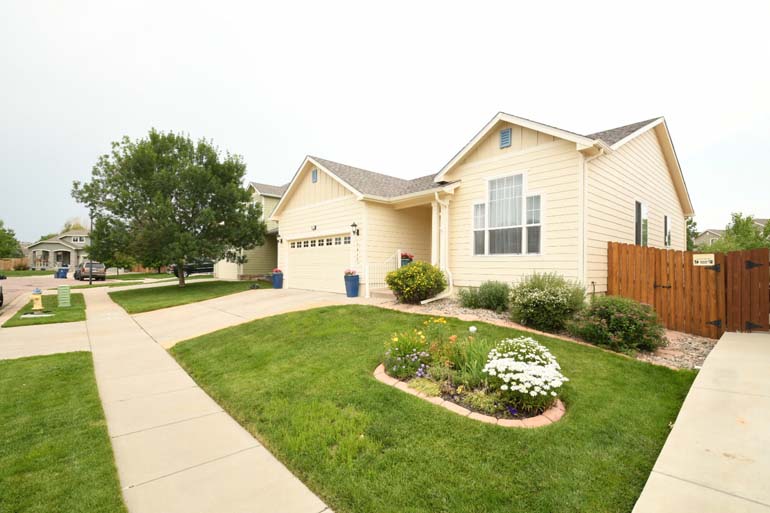
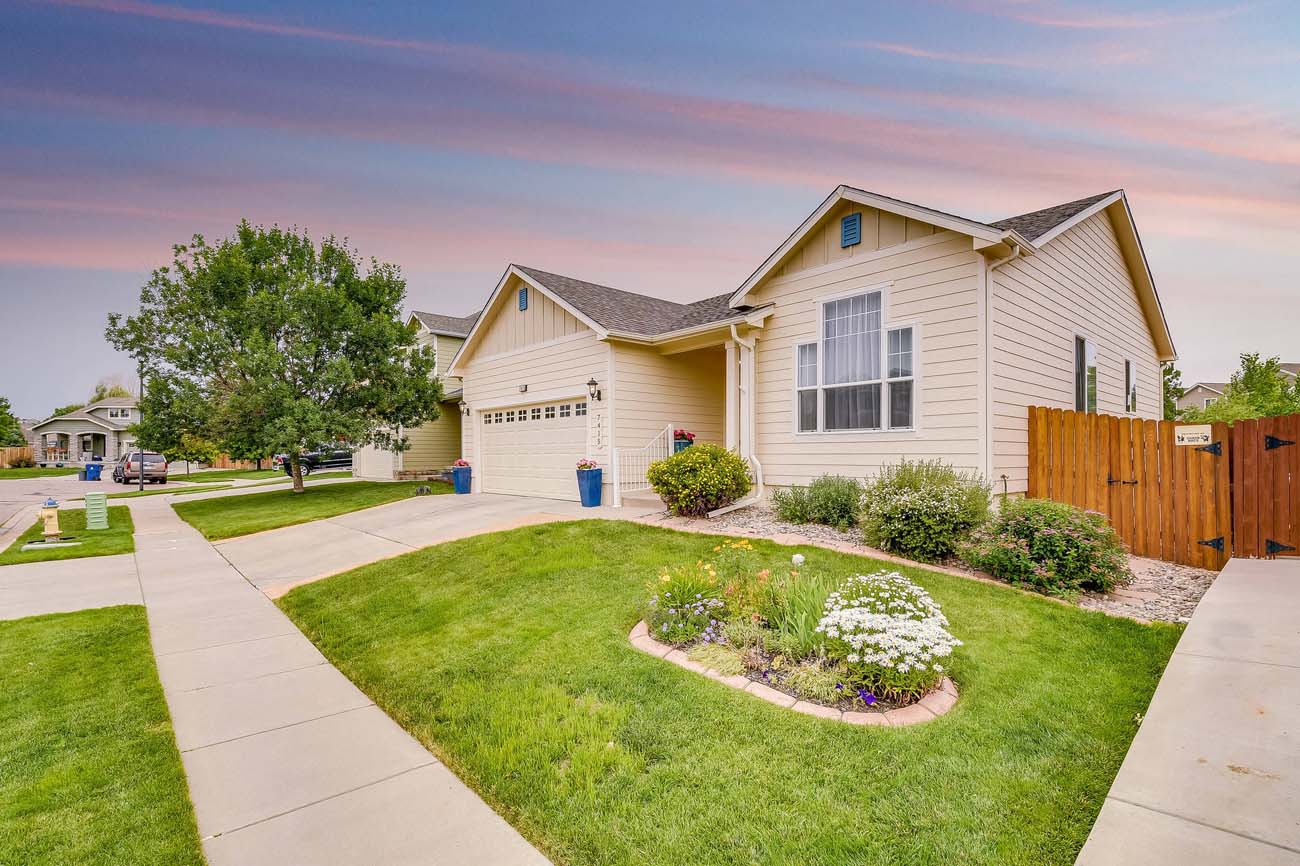
We’ve now restored details and removed all of the darkest shadows in the image. Check out the Before and After preview to see the difference.

Have You Ever Thought To
Outsource Photo Editing?
Try it today with 10 free edits from three professional photo editors.
Leverage PhotoUp’s Expert Real Estate Photo Editing


If you want to boost your image quality and save valuable time on post-processing, PhotoUp’s expert real estate photo editing team is ready and eager to edit your images for you.
Based in the US, PhotoUp is providing a full array of skilled, yet affordable, photo editing services for professional real estate and architectural photographers such as:
- Advanced object removal
- Day-to-dusk conversion
- Lawn greening
- Sky replacements
- HDR editing
- Manual blending
- Flambient editing
- Floor plans
- And much more!
Browse Top Dedicated
Real Estate Photo Editors
Ready-to-hire editors for real estate photo editing, and more.
On top of that, PhotoUp is a complete one-stop-shop real estate marketing firm and also offers other services like:
- Virtual staging
- Single property websites
- Property flyers
- Custom websites
- Video editing
- Virtual assistants
- And custom house portraits
Our expert team can handle any photo editing job — big or small, complex, or simple. And our pricing is also affordable, with most photo editing services starting at $1.50 per image. We also offer discounts for large bulk orders.
All you need to do is sign up for a free PhotoUp account, place your first order and your photographs will be delivered in less than 24 hours.
PhotoUp Real Estate Photo Editing Uploader Demo
To see how easy it is to get started using PhotoUp’s software, you can check out our real estate editing uploader demo:
As simple as that!
Get started with PhotoUp today, and take your real estate photography to the next level. For a limited time, you’ll even get 10 free edits when signing up!
We hope this blog post helped you learn how to remove shadows in Lightroom. If you enjoyed reading this post, you may also want to check out some related resources:


