


Table of Contents
- Why Fixing Vertical Lines in Real Estate Photography?
- How to Straighten Verticals in Photoshop (in 7 Simple Steps)
- When to Straighten Verticals in Real Estate Photography
- Choosing the Best Real Estate Photo Editing Service
Are you looking to develop your real estate photo editing skills and want to learn how to fix verticals in Photoshop?
You shouldn’t put your real estate images out there without first fixing your vertical lines and image distortion. To sell a property fast and for a higher price, your photos need to look top-notch!
So, in this post, we’ll help you develop your real estate photo editing skills by showing you how to fix verticals in Photoshop. Let’s start by diving a bit deeper into why fixing verticals in images is essential.
Why Fixing Vertical Lines in Real Estate Photography?
The reason why you need to adjust vertical lines in your images is that real estate marketing is more reliant on visual media than ever before.
Today, buyers do most of their research online, and they make snap judgments on a property based purely on the photographs.
So, if you’re in the business of real estate photography or selling real estate, the quality of your photos is critically important. They need to look top notch to attract buyers and hopefully sell above market rate.
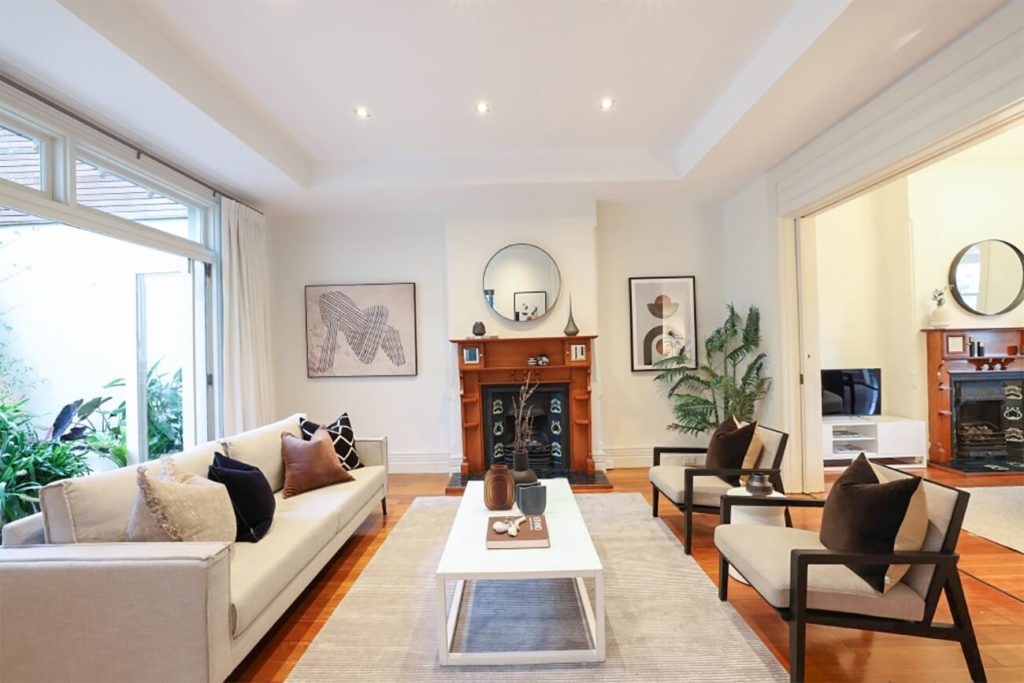
And one of the most common errors that creep into real estate images is crooked verticals. These may seem subtle and insignificant but can be rather off-putting to the viewer.
When looking at a photo with incorrect verticals, you’ll likely feel something is wrong. You may not be sure what it is, but you can see that the photo doesn’t look professional.
The good news is, it’s easy to fix!
How to Straighten Verticals in Photoshop (in 7 Simple Steps)
Let’s now take a look at how to straighten verticals in Photoshop in 7 simple steps. You can either watch the video tutorial or continue reading the text below:
To get started, go through these steps by working on a photo, where you’ve already done a basic edit. In other words, nothing else needs to be done except fixing the vertical lines.
- Open up the photo you want to work on in Lightroom.
- Click Develop.
- Open up the Lens Correction panel from the bottom right quadrant of your screen.
- Click the Enable Profile Correction checkbox. When you do that, Lightroom will automatically detect the lens you used, and make corrections to the barrel distortion. (Remember, this only works with RAW images).
- The auto function normally does a great job, but if you feel that the image still needs more adjusting, click on the word ‘Manual’ and then make any adjustments on the distortion amount using the grid overlay for accuracy. (Decrease the amount to push the curve outward, and increase the amount to push it inwards).
Once you’re happy with the Lens Correction, you can move on to the verticals by opening the Transform panel just below Lens Correction. - In that panel you have Vertical, Horizontal and four other sliders that you can use to make adjustments to your verticals.
- Once you’re done, don’t forget to click the Constrain Crop button at the bottom in order to automatically crop out the white edges.
That’s all it takes to fix the verticals in a real estate photo!
High-Quality & Consistent
Real Estate Photo Editing
Hire a dedicated editor with performance metrics from $7/hour.

When to Straighten Verticals in Real Estate Photography
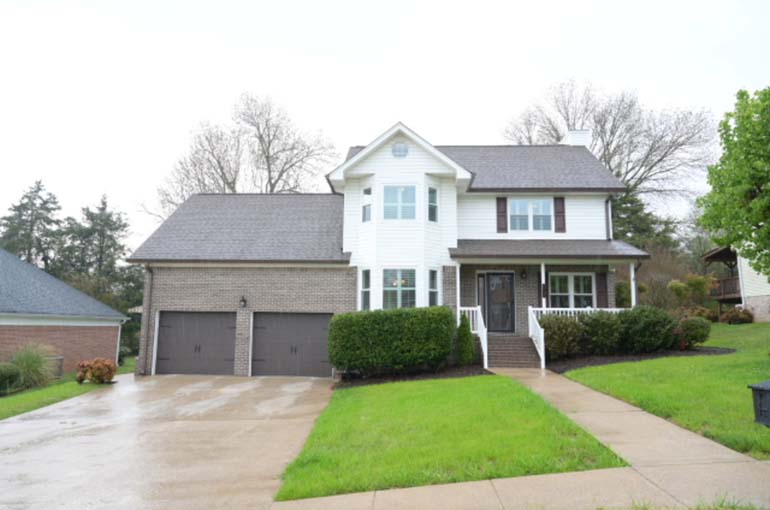
Sometimes you look at a building in a photograph and it’s obvious that it’s crooked. The building looks like it’s leaning to the left or to the right.
At other times, you get an effect that’s known as ‘converging verticals’, which makes it seem that buildings are leaning into the center of an image, due to the angle of the camera’s sensor relative to your subject.
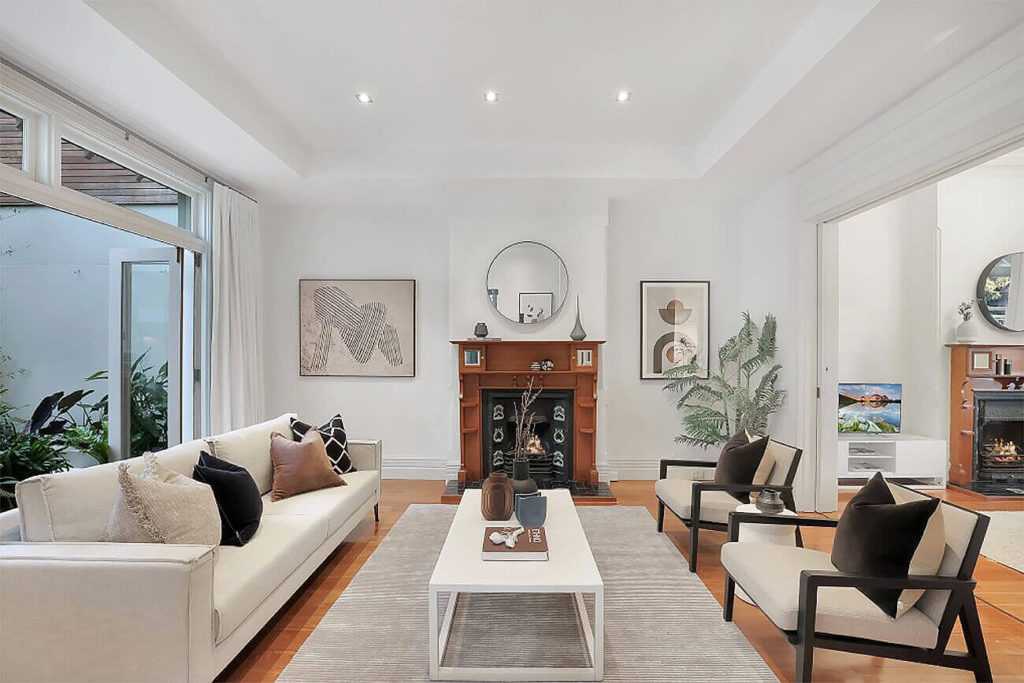
My point is, you shouldn’t ignore these situations and hope for the best. Make sure your verticals are perfect!
It’s easy to get complacent and think that this is not a big deal, but you’ll often be astonished at how much correct verticals improve the look of a property.
We hope that this has helped give you the confidence and steps to correct your own verticals in Lightroom.
But, if editing is starting to take up too much of your time, we also recommend partnering with a professional real estate photo editing company.
Choosing the Best Real Estate Photo Editing Service

Real estate photography has become such an important part of the billion-dollar real estate industry.
There are now companies that solely focus on real estate photo editing and work primarily with real estate photographers.
The best real estate photo editing companies typically have user-friendly interfaces and quick turnaround times.
More so, they also have teams of talented, young, tech-savvy digital artists who can transform an ordinary-looking photo into a marketing image that can sell a property.
Browse Top Dedicated
Real Estate Photo Editors
Ready-to-hire editors for real estate photo editing, and more.
PhotoUp is one of the best and fastest-growing real estate photo editing companies. Their expert editors can help you with editing services such as:
- Image correction and enhancement
- Color and tone adjustments
- Window masking and glare reduction
- Clutter and object removal
- Line and angle corrections
- Improper exposure levels
- HDR editing
- Harsh shadows, lack of light, etc.
- AI Virtual staging
- And more.
How to Get Started
To get started using PhotoUp’s real estate photo editing service is super easy.
All you need to do is sign up for a free PhotoUp account, upload your images, choose export setting and turnaround time, and that’s it!
Check out our real estate photo editing uploader tutorial to see how easy it is to get started:
As quick and simple as that!
Give PhotoUp a try today, and get 5 free credits!
Upload your images and our team will take care of straightening verticals on top of our other editing techniques such as exposure and color correction, sharpening, TV in TV screens, fire in fireplaces, sky replacements, and more.
We hope this post helped you improve your real estate photo editing skills and straighten your verticals. Before you go, you may also want to check out the following resources:

