


Table of Contents
- Why You Should Consider Making a Sky Replacement
- How to Replace a Summer Sky in Photoshop (9 Simple Steps)
- Choose the Quick and Easy Solution to Enhance Your Skies!
Are you thinking of replacing a dull, overcast sky with a sunny summer sky in Photoshop and looking for a quick and easy tutorial? Then, you’ve come to the right place!
You don’t have to let a drab sky ruin near-perfect real estate images. No matter the weather during your shoot, a sky replacement can enhance your images and make them look warm, sunny, and captivating.
In this post, we’ll show you how to replace a sky in Photoshop to create stunning real estate photography that will capture buyers’ attention.
But before we dig in deeper, let’s take a look at why you should consider making a sky replacement in the first place.
Why You Should Consider Making a Sky Replacement


Taking the time to brighten up the sky and make your images more vibrant may sometimes feel like too much work, but a beautiful sky has a remarkable effect on prospective home buyers.
Not only will your real estate images capture their attention, but they’ll also be much more receptive to the property you’re selling.
With a clear, bright, and welcoming sky, potential buyers are also more likely to spend longer looking at the image and imagining themselves living in the home.
As a photographer, you don’t have to worry about the weather or try to catch the perfect time of day for your shoot. You can simply enhance your images in the post-processing.
More importantly, a clear blue sky is a mood enhancer and will show off your property in a whole new light, which can help you to sell it faster!
Now that you know why enhancing the sky in your images is beneficial to get more buyer interest and make faster sales, let’s take a look at how to replace a summer sky in Photoshop.
High-Quality & Consistent
Real Estate Photo Editing
Hire a dedicated editor with performance metrics from $7/hour.

How to Replace a Summer Sky in Photoshop (9 Simple Steps)
By following these 9 simple steps in Photoshop, you can make your skies pop and look warm, sunny, and inviting.
To get started, you can either watch the video or continue reading the text below.
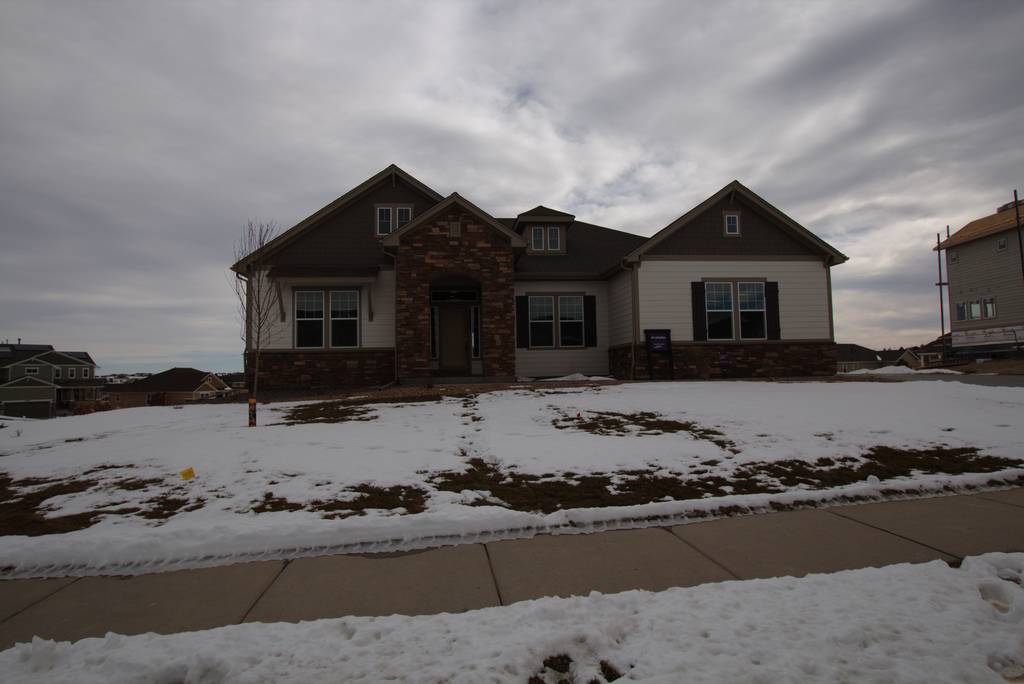
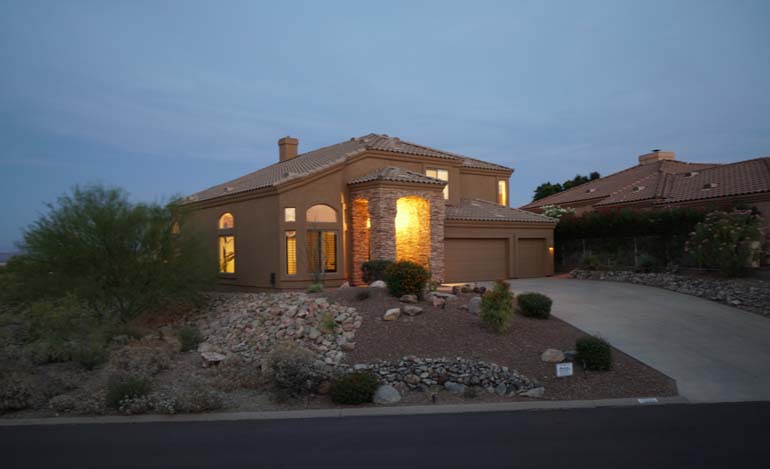
In this mini tutorial, we’ll show you how to replace this dull, overcast sky with a blue, sunny and bright summer sky.
Step 1. First, open your photo in Lightroom and add the necessary adjustments.
Step 2. When done, move your image to Photoshop, where we are going to replace the sky using the Channels.
Step 3. Next, Duplicate the Layer, and then go to the Channel Panel and Duplicate the Blue Channel. This will help us process the sky replacement.
Step 4. Then, adjust the levels by pressing CTRL +L on your keyboard. Simply move the slider to adjust its level.
Step 5. Once you’ve adjusted the levels, we’re going to use the Lasso Tool to select the other areas. Press Delete to paint them black.
Step 6. Now, we’ll use the Dodge Brush Tool to lighten the sky for easy selection. Click to load the Channel as Selection.
Step 7. Add Inverted Making by pressing the ALT Key and then click the Masking icon.
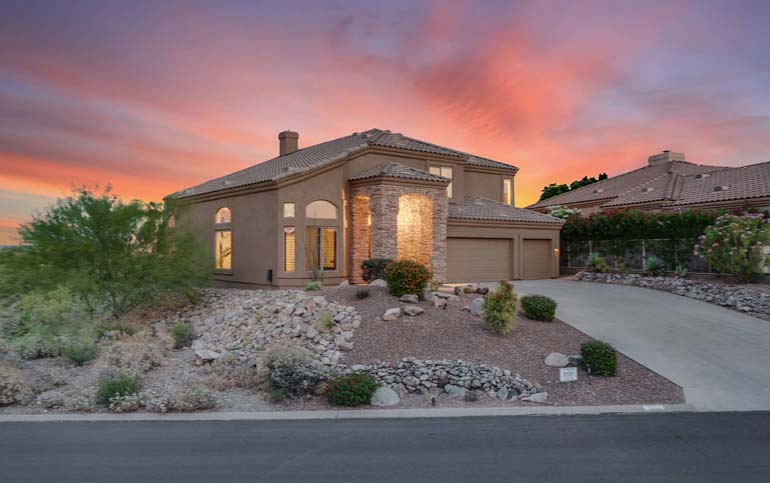
Step 8. A summer sky is a blue sky with fluffy clouds, so import the chosen sky and then place it under the Duplicate Layer. Position the sky then click OK.
Step 9. Lastly, we’ll add a White Gradient on the horizon. Add a new Blank Layer on top of the Sky Replacement Layer and then use a White Foreground to Transparent Gradient Tool. This will blend the sky in the house naturally.
And you’re done!
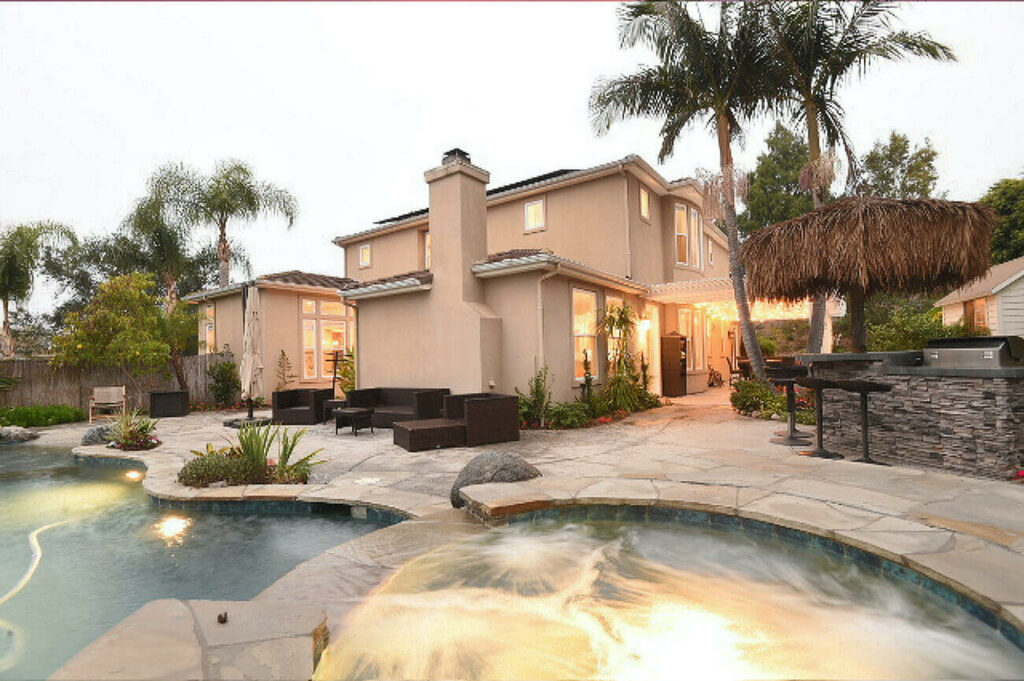
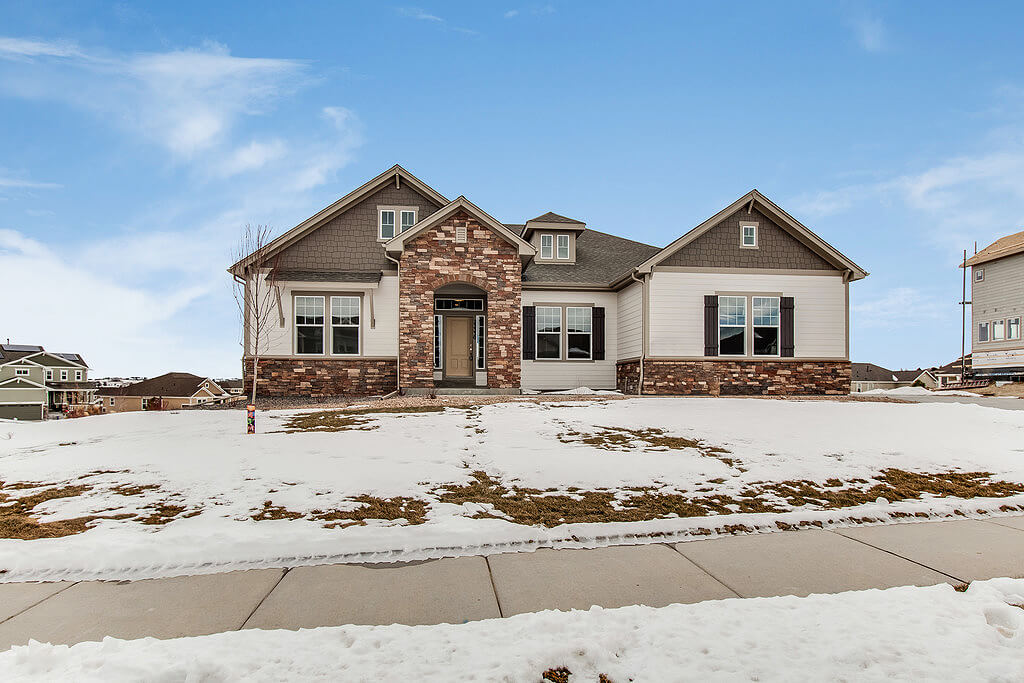
That’s how you replace a summer sky in Photoshop. Take a look at the Before and After images to see the difference.

As you can see, it shows the property in a new light (*pun intended)!
High-Quality & Consistent
Real Estate Photo Editing
Hire a dedicated editor with performance metrics from $7/hour.
Choose the Quick and Easy Solution to Enhance Your Skies!
If you’re looking to enhance and replace the sky in your real estate images, but don’t have the time or the expertise to learn Photoshop yourself, PhotoUp’s professional editors will gladly do it for you.
All you need to do is sign up for a free PhotoUp account, place your first order and your photographs will be delivered back to you in less than 24 hours.
With over a decade in the industry and hundreds of editors in the Philippines, PhotoUp has all the expertise and tools needed to edit your images to perfection.
For example, our skilled photo editors can help with the following issues:
- Improper exposure levels
- Harsh shadows, lack of light, etc.
- Blurred images that were taken without a tripod
- Images that need cropping or other effects
- Lawn greening and sky replacements
- Twilight and day-to-dusk editing
- Manual blending and pano stitching
- Clutter and advanced object removal
- Line and angle corrections
- And much more!
Browse Top Dedicated
Real Estate Photo Editors
Ready-to-hire editors for real estate photo editing, and more.
Additionally, PhotoUp is also a complete one-stop-shop for real estate marketing and offers services such as:
Best of all, our real estate photo editing service is affordable, starting at the low cost of $1.50 per image.
And it’s super easy to get started!
PhotoUp Real Estate Photo Editing Uploader Demo
For more details, check out our real estate photo editing uploader demo:
It’s really that easy!
Sign up for a free account today, and let PhotoUp take the editing off your plate. For a limited time, you even get 5 free edits when signing up!
We hope this blog post helped you learn how to replace a summer sky in Photoshop. If you found this post useful, you may also want to check out the following resources:

