


Table of Contents
- What Is Noise in Images?
- Why Is Noise Bad for Real Estate Photography?
- How to Perform Photo Noise Reduction in Post-Processing
- Photo Noise Reduction FAQ
- Let PhotoUp Clean Up Your Real Estate Photos!
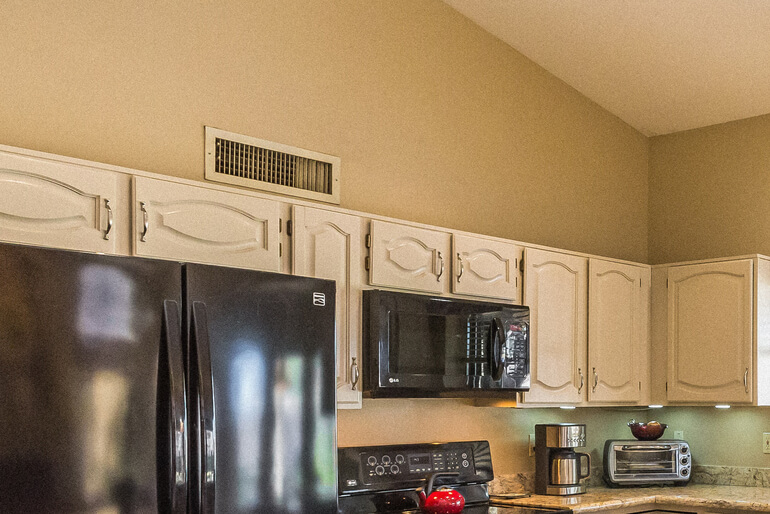
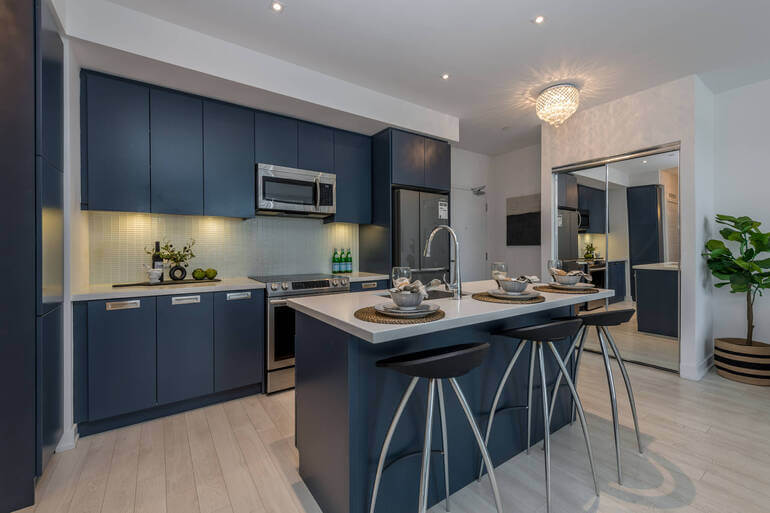
Are you a real estate photographer trying to tackle that pesky grainy look in your photos? We’ve all been there!
Those pesky grains scattered all over the image are called noise. Let me tell you, it’s been a long-standing battle for real estate photographers to minimize that grainy look.
But fear not, we’re here to help you reduce noise in post-processing and create stunning, professional-looking real estate photos.
So, in this post, we’ll show you how to perform photo noise reduction in both Lightroom and Photoshop.
Before we get into the nitty-gritty details, let’s first take a look at what noise in images is and why it’s bad for real estate photography.
What Is Noise in Images?
One of the biggest challenges as a real estate photographer is dealing with image noise. Image noise refers to those random fluctuations in color and brightness that can mar an otherwise crisp and beautiful photograph.
It’s a common issue in digital photography, often caused by the camera’s sensor or image processing software.
However, film photography isn’t immune either—grain is a form of image noise too. Even ideal photon detectors produce shot noise, which can show up as variations in pixel brightness.
Dealing with noise is all about striking the right balance between a high-quality image and a reasonable amount of image processing.
It’s a challenge, but it’s one that we typically relish as photographers.
Why Is Noise Bad for Real Estate Photography?
There’s nothing more frustrating than capturing stunning shots of a home or property, only to find that the images are riddled with noise.
Image noise not only makes the final product look unprofessional and amateur, but it can also negatively impact a viewer’s perception of the property.
This is because image noise can obscure details and reduce overall image clarity, leaving potential buyers feeling uncertain about the quality of the property.
Moreover, real estate photography typically requires high levels of detail and clarity, which can be completely lost in images that are plagued with noise.
As such, noise reduction techniques are a must for any professional real estate photographer looking to capture top-notch images that showcase a property’s best features and provide potential buyers with an accurate depiction of the space.
Let’s take a look at how to do photo noise reduction in post-processing. To see other ways to reduce noise, you can check out our blog post on 7+ best ways to reduce noise in photos.
How to Perform Photo Noise Reduction in Post-Processing
In this tutorial, we’ll show you how to reduce noise in Lightroom and Photoshop.
We’ll start with Lightroom, so if you want to see how to do it in Photoshop, you can just skip ahead to the 1:08 mark in the video.
That said, you can either watch the video or continue reading the text below:
How to Reduce Noise in Lightroom
Step 1. To get started, we have a photo with a fair amount of noise as you can see in the video. Next, go to Detail under Manual Noise Reduction and set the Luminance to around 50.
As you can see, the noise has already been reduced.
You can now play with the Luminance slider to see what works for your photo. Make sure you don’t overdo it and lose a lot of detail. You don’t want to end up with a photo that looks too smooth.
Step 2. The Detail slider below the Luminance slider allows you to bring back some detail in your image. These are really the only two sliders you need to perform noise reduction.
Step 3. And if you have some color noise in your photo, you can also adjust the Color slider.
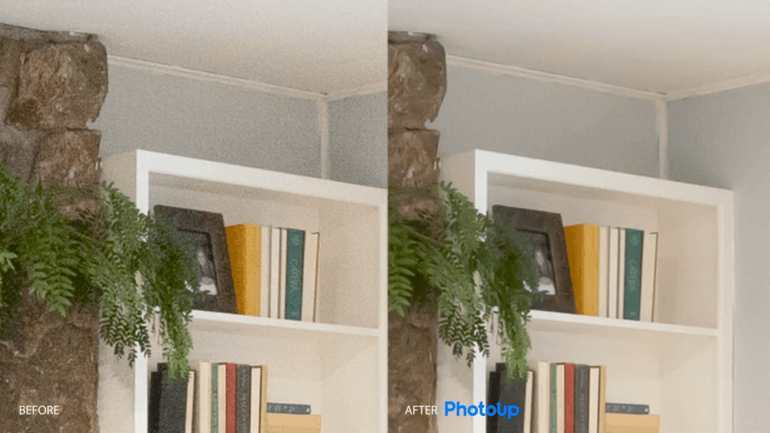
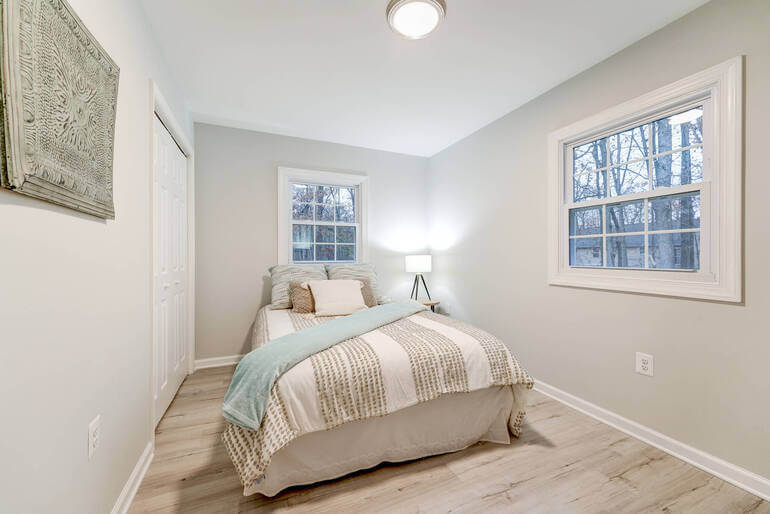
To show you the before and after, here’s the photo without noise reduction.

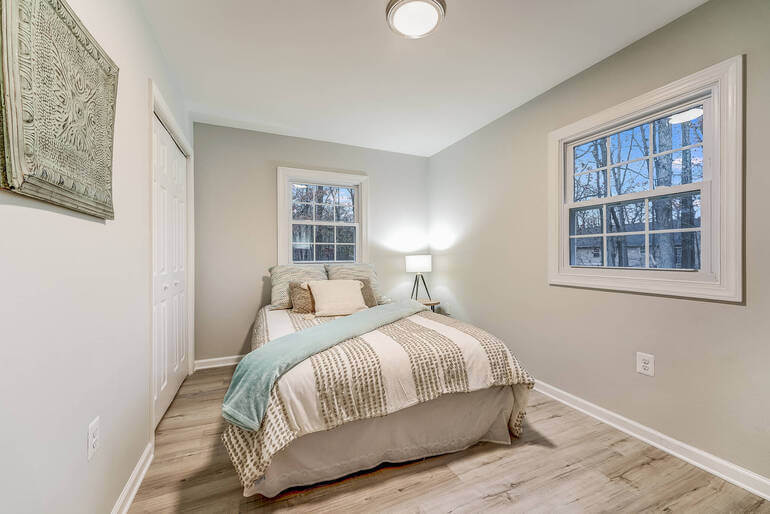
And here it is with noise reduction.

Step 4. Additionally, Lightroom has a new feature where you can let AI do the noise reduction for you. To do that, simply click the Denoise button and viola!
High-Quality & Consistent
Real Estate Photo Editing
Hire a dedicated editor with performance metrics from $7/hour.

How to Reduce Noise in Photoshop
Now, let’s move on to how to reduce noise in Photoshop.
Step 1. To begin, import the RAW photo into Photoshop. It will open with Camera Raw. Let’s now zoom in so we can see the noise.
Step 2. Next, go to Detail and Manual Noise Reduction. You will see the same sliders as in Lightroom. Bring Luminance to around 50 and see how it affects the photo.
Then, move it around to find the right amount for your photo. Click the drop-down menu for even more options and bring back some detail if necessary.
Step 3. Again, if you have color noise in your photo, you can reduce that using the Color slider.
Here’s a before and after comparison. This is the image before noise reduction.
And this is the image after noise reduction.
Just like Lightroom, Photoshop also has a new feature where you can let AI do the noise reduction for you. Simply, click the Denoise button, and the noise will be reduced.
And that’s how you can quickly perform noise reduction in Lightroom and Photoshop!
Photo Noise Reduction FAQ
What is the best way to reduce noise in photography?
When shooting in low-light conditions, try using a lower ISO setting. This handy technique can help reduce the graininess in your photos.
Additionally, if you’re using a long exposure, consider using a noise reduction filter. You can attach these filters to your lens or place them in front of your camera sensor. It’s a great way to capture clearer, more captivating shots.
For more information, visit our blog post on 7+ best ways to reduce noise in photos.
What does noise reduction do to a photo?
Photo noise reduction is a handy technique used in post-processing to reduce those pesky image grains.
The editing software works its magic by analyzing the pixel values next to each other and smoothing out any discrepancies. It may use either the intensity or the color of the pixel as a reference.
Does noise affect image quality?
Yes. Noise in an image can take various forms and appearances, which are typically unwanted or bothersome artifacts that diminish the overall image quality.
What factors affect image noise?
Image noise can be a sneaky culprit that comes from different sources like varying photon concentration, electronic device thermal activity, fluorescent lights, or sensitivity of the image receptor.
Controlling noise is possible, but completely preventing it? Not so much! Interestingly, objects with low contrast tend to be the ones most impacted by this pesky issue.
What is the disadvantage of reducing noise in a picture?
When you apply excessive noise reduction, it can compromise the sharpness and fine details of your photographs, leading to a blurry or unnatural appearance.
What is the relationship between image noise and resolution?
The ratio measurement directly impacts the amount of noise in the image. When there’s noise in a cross-sectional image, it ultimately diminishes the overall picture quality while also impeding the contrast resolution.
Have You Ever Thought To
Outsource Photo Editing?
Try it today with 5 free edits from three professional photo editors.
Let PhotoUp Clean Up Your Real Estate Photos!

If you don’t have the skill or time to do the photo editing yourself, no worries!
Our team of professional real estate photo editors at PhotoUp can quickly clean up your images, making them look their best.
With our advanced photo-editing software, keen attention to detail, and artistic expertise, we’ll help you achieve stunning, high-quality images.
For example, our skilled photo editors can help with the following issues:
- Improper exposure levels
- Harsh shadows, lack of light, etc.
- Blurred images that were taken without a tripod
- Images that need cropping or other effects
- Lawn greening and sky replacements
- Twilight and day-to-dusk editing
- Manual blending and pano stitching
- Clutter and advanced object removal
- Line and angle corrections
- And much more!
Browse Top Dedicated
Real Estate Photo Editors
Ready-to-hire editors for real estate photo editing, and more.
Getting started is simple.
All you need to do is sign up for a free PhotoUp account, upload your images, provide us with your instructions, choose your export settings and turnaround time, and lastly, download your beautifully edited images!
Best yet, our real estate photo editing service is affordable, starting at the low cost of $1.10 per image depending on your subscription level.
PhotoUp Real Estate Photo Editing Uploader
To see how easy it is to get started with PhotoUp, check out our real estate photo editing uploader tutorial:
It’s really that simple!
Furthermore, PhotoUp offers so much more than just real estate photo editing…
Your Real Estate Marketing Partner

PhotoUp is a complete one-stop-shop for real estate marketing and also offers services such as:
We have everything you need to edit and market real estate under one roof!
So, what are you waiting for?
Sign up for a free PhotoUp account today, and let us help you clean up your images! Plus, for a limited time, we even offer you 5 free edits when signing up for an account.
Let us take care of the editing so you can focus on shooting more properties and building fruitful client relationships.
We hope this blog post helped you learn how to perform photo noise reduction in Lightroom and Photoshop. If you found this tutorial useful, you may also want to check out the following resources:

