


Table of Contents
- What Is Sharpening of an Image in Photoshop?
- When Should You Sharpen Real Estate Photos?
- Does It Improve Image Quality?
- How Do You Know If a Photo Is Over-Sharpened?
- Sharpening an Image in Photoshop (4 Easy Steps)
- Get Expert Real Estate Photo Editing Help From PhotoUp!
Do you want to learn how to easily sharpen an image in Photoshop? Then, you’ve come to the right place!
You can bring your visuals to life by experimenting with image sharpening in Photoshop—add dimension, depth, and contrast along the edges of any object. With this simple technique, you can make dull images pop, whether it’s a real estate listing or an artsy masterpiece, you can create truly captivating photos.
So, in this mini tutorial, we’ll show you how to sharpen an image in Photoshop using 4 easy steps.
Before we dive in deeper, let’s take a look at what image sharpening is and when it’s a good idea to use this technique to boost image quality.
What Is Sharpening of an Image in Photoshop?
Sharpening enhances the definition of edges in an image. Whether your images come from a digital camera or a scanner, most images will benefit from sharpening.
Enhancing definition in edges by using editing software like Photoshop can bring out details that you didn’t even know were there.
However, no amount of tinkering will be able to salvage a blurry image beyond repair, so focus on improving what’s already beautiful and leave the rest behind.
When Should You Sharpen Real Estate Photos?
Every time! If you want to make your real estate photos pop, you should always do some image sharpening.
Whether you’re aware or not, digital cameras and lenses will always add a slight blur to photographs—but image sharpening is an effective technique for countering this.
Image sharpening adds texture and contrast to an image that can draw viewers’ attention to your photos and help them stand out from the crowd.
Does It Improve Image Quality?
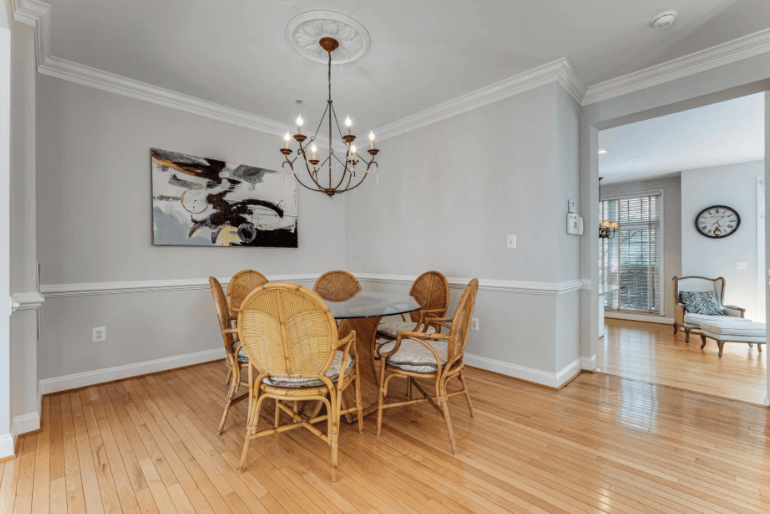
Image sharpening is a process that can be used to improve the overall quality and appearance of digital photos.
From reducing blurriness to correcting lens distortion, this process is the perfect way to make sure you capture every moment in its full detail and make your real estate photography stand out from the competition.
But how to not overdo it? Let’s take a look at that next.
How Do You Know If a Photo Is Over-Sharpened?
It’s important to know your photo’s limits and not to over-sharpen it. A sign of over-sharpening is the appearance of white lines along the edges of an object.

Another sign of going overboard with sharpening is that the background of the image has a lot of added image noise or graininess.
So watch out for this when sharpening your images and you’ll know when it’s enough.
High-Quality & Consistent
Real Estate Photo Editing
Hire a dedicated editor with performance metrics from $7/hour.

Sharpening an Image in Photoshop (4 Easy Steps)
Now that you know what image sharpening is and when to use this technique, let’s show you how to sharpen an image in Photoshop using 4 easy steps.
You can either watch the video or continue reading the text below:
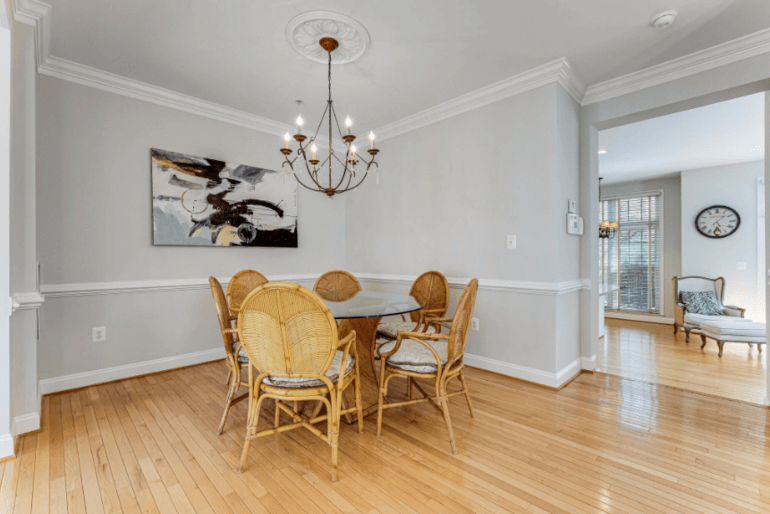
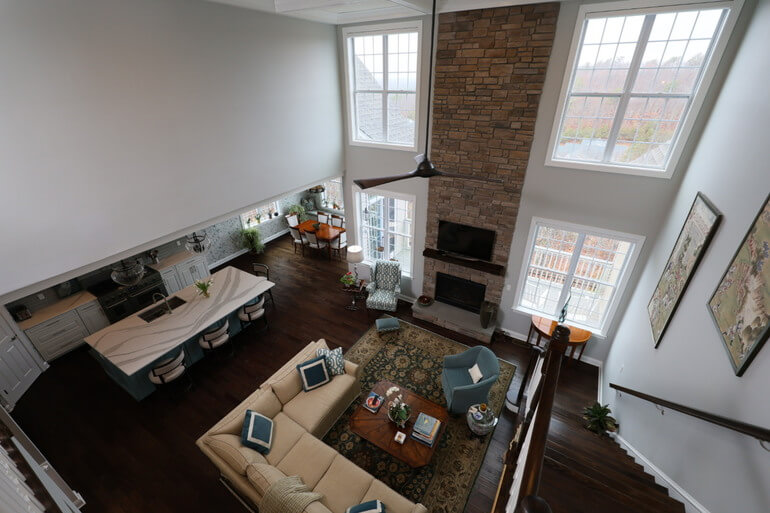
Step 1. Open a low-resolution image in Photoshop. In this image example, when zooming in, you’ll see that it gets all pixelated so this image is not usable.
Let’s try to sharpen this image and see if we can make it better.
Step 2. First, click on the Photoshop Menu and then go to Settings and click on Technology Previews. Make sure Preserve Details 2.0 is enabled and click OK.
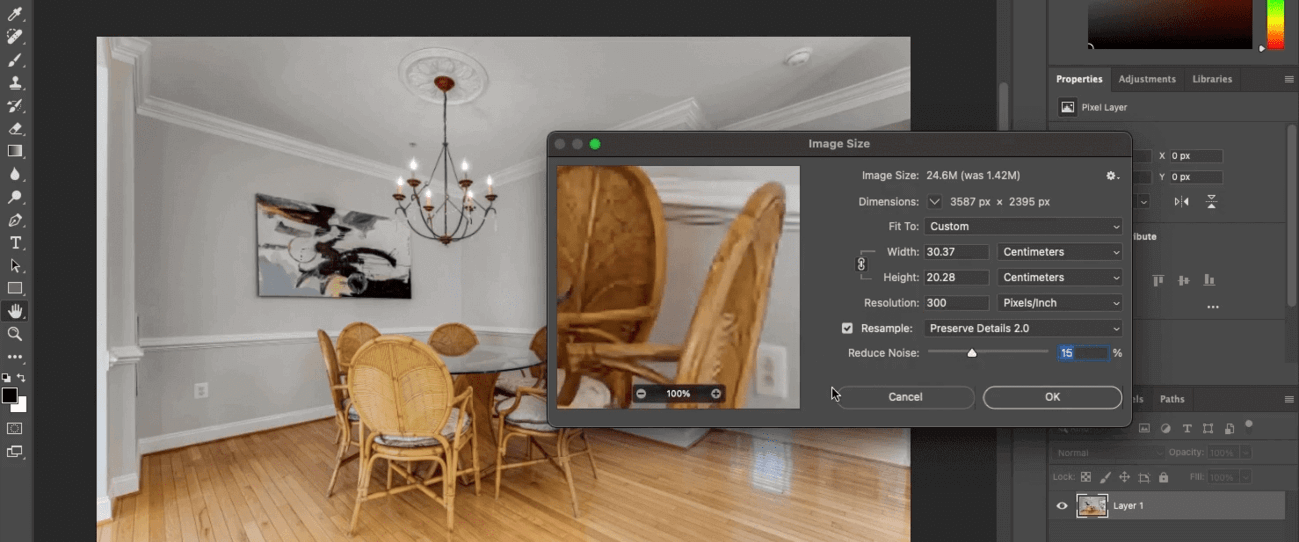
Step 3. Next, click Image and Image Size and increase the Resolution of your image to 300. Enable Resample and select Preserve Details 2.0.
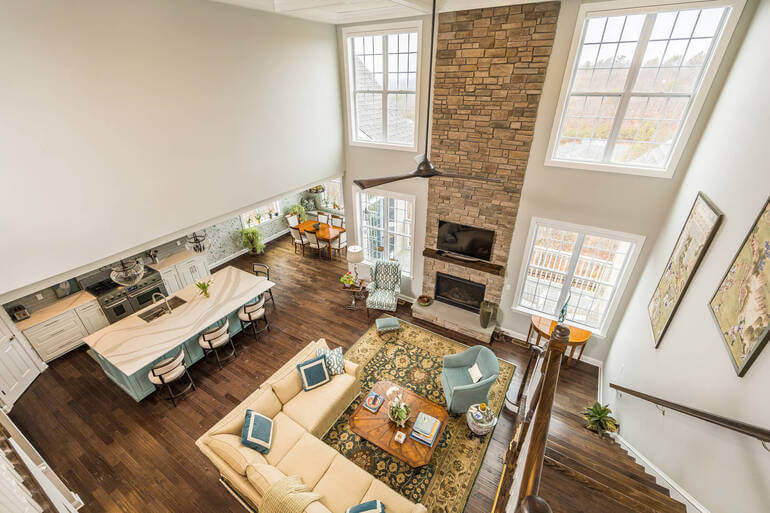
Step 4. Use the Slider to balance out Smoothness and Noise. When you’re satisfied with your image, click OK and you’ll then be left with a sharpened high-resolution image.
Here’s a before and after comparison. As you can see, there are improvements in the detail of the image.
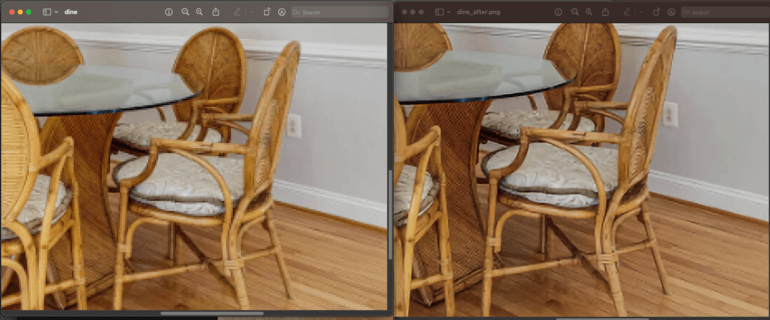
And that’s it! That’s how you can sharpen an image in Photoshop!
High-Quality & Consistent
Real Estate Photo Editing
Hire a dedicated editor with performance metrics from $7/hour.
Get Expert Real Estate Photo Editing Help From PhotoUp!
If you want to take the tedious and time-consuming photo editing off your plate and ensure top-notch quality of your real estate photography, PhotoUp is happy to be your editing partner.
PhotoUp has more than 10 years of experience in the business and employs several hundred photo editors around the world, making it hard to match our quality, service, and pricing.
We have a team of highly talented real estate photo editors who can help with for example:
- Image brightness and exposure correction
- Color and tone adjustments
- Window masking and glare reduction
- Clutter and advanced object removal
- Line and angle corrections
- HDR editing and manual blending
- Harsh shadows and lack of light
- Sky replacements
- Twilight and day-to-dusk editing, etc.
Browse Top Dedicated
Real Estate Photo Editors
Ready-to-hire editors for real estate photo editing, and more.

But that’s not all…
PhotoUp has everything you need for your real estate marketing needs under one roof and also offers additional services such as:
With our user-friendly software, you can upload and receive photos, and send instructions and feedback. Plus manage team members and clients, store final images, and more!
PhotoUp Real Estate Photo Editing Uploader
Have a look at our real estate photo editing uploader demo to see how easy it is to get started:
It’s really that quick and easy to get your images edited and returned to you in less than 24 hours!
Did we say that our photo editing starts at the low cost of $1.15 per image?! And for a limited time, you even get 5 free edits when you sign up for a PhotoUp account!
We hope this blog post helped you learn how to sharpen an image in Photoshop. Before you go, you may also want to check out the following resources:

