


Table of Contents
- Why Is Color Correction Vital in Real Estate Photography?
- Making Color Correction in Photoshop (2 Simple Ways)
- Other Color Correction Tools
- Color Correction FAQ
- Leverage Professional Real Estate Photo Editing
Do you want to learn how to color correct in Photoshop using some quick and simple techniques?
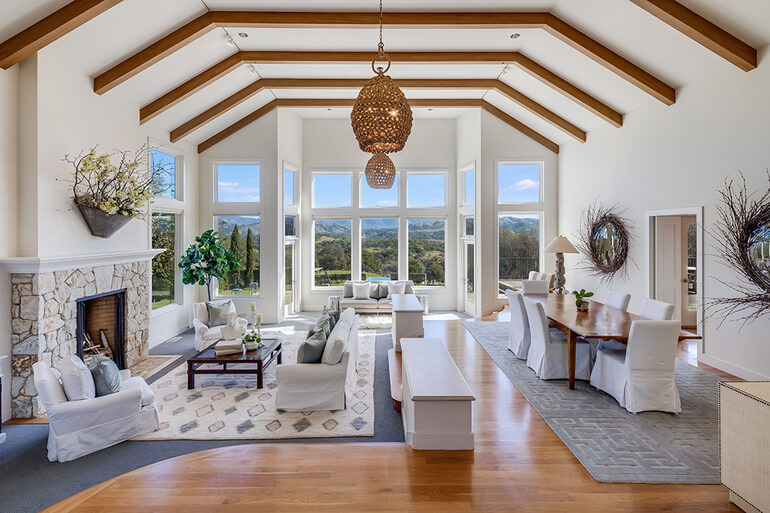
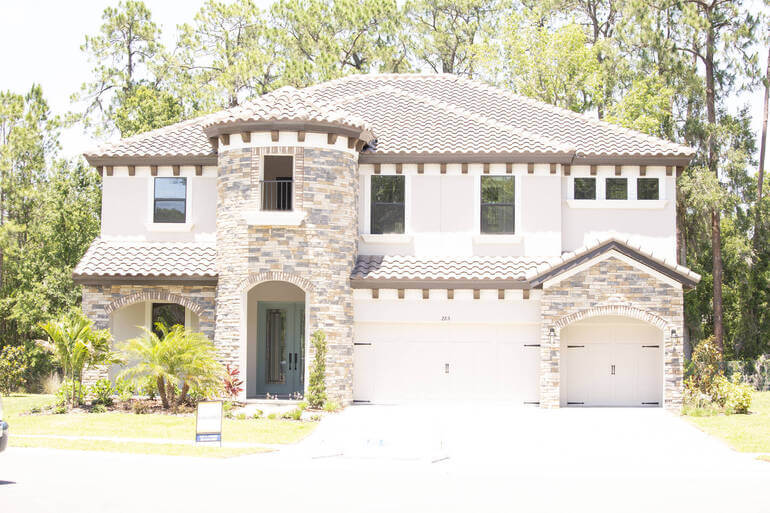
Adjusting the color and brightness is the backbone of all image enhancement. Interior lighting, window tint, outside weather conditions, camera settings, and other factors can affect the color of the property in the photo.
In this post, we’ll share how to color correct in Photoshop using 2 simple techniques. We’ll also cover how to perform color correction on a single layer without affecting the other layers and give suggestions on other tools to adjust tones and colors in an image.
Let’s get started!
Why Is Color Correction Vital in Real Estate Photography?
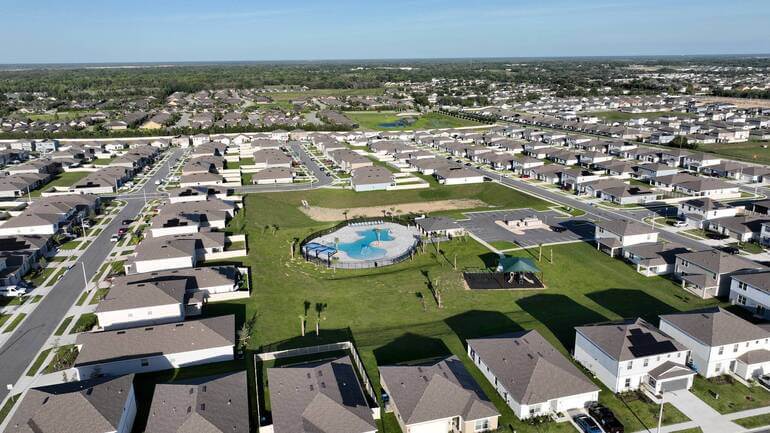
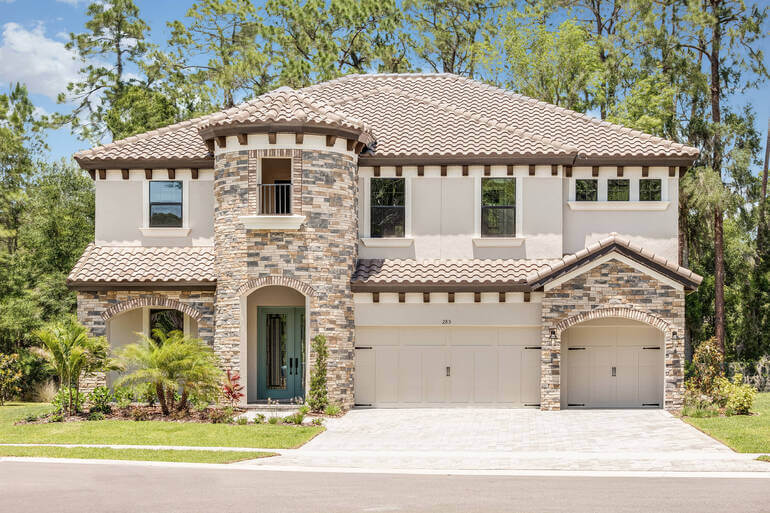
Color correction plays a major role in making real estate photos look captivating and expedite homebuyers to make their buying decision faster. Getting the colors right is vital in presenting the property in an authentic light.
From subtle tweaks to bold transformations, it’s the real estate photographer’s job to make sure potential buyers get an accurate view of the property. That way, they can go in with the right expectations and truly appreciate what a listing has to offer.
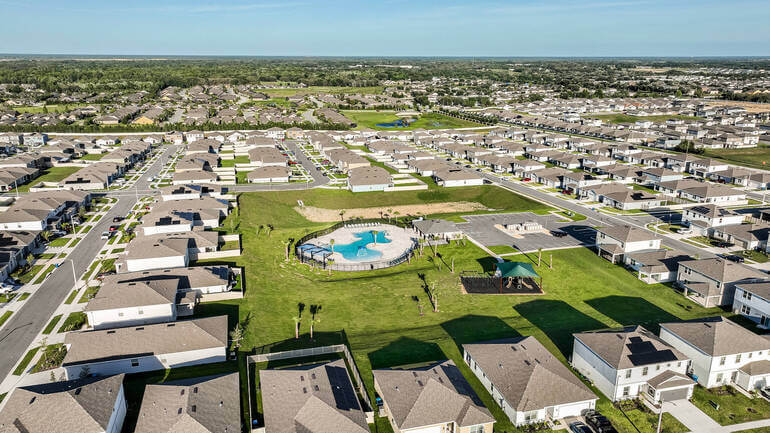
However, be wary not to drastically change the colors to the point that it is completely different from that of the actual property itself.
With that said, let’s take a look at how to color correct in Photoshop using 2 simple ways.
Making Color Correction in Photoshop (2 Simple Ways)

Real estate photo editors and other editors alike have two powerful options for adjusting the color of their images – Adjustment Layers and Adobe Camera Raw.
Both offer a wide range of control, so you can get the look just right without damaging your original image. This nondestructive editing allows flexible adjustments or complete reversals down the line while preserving file integrity.
With Adjustment Layers in Photoshop, you apply edits to specific parts on a separate layer in the image file, leaving the original image (background layer) intact.
Plus, you can add more than one adjustment layer for more complex image editing.
And when using the Adobe Camera RAW plug-in (for making color and tonal adjustments), all your tuning tools are organized neatly for any type of photo format; JPEGs/TIFFS and camera raw files alike.
It even allows you to save preset settings to quickly apply the same adjustment to multiple images.
Alright, let’s start by showing you how to color correct in Photoshop with the help of Adjustment Layers.
Option 1. Color Correction Using Adjustments Layers
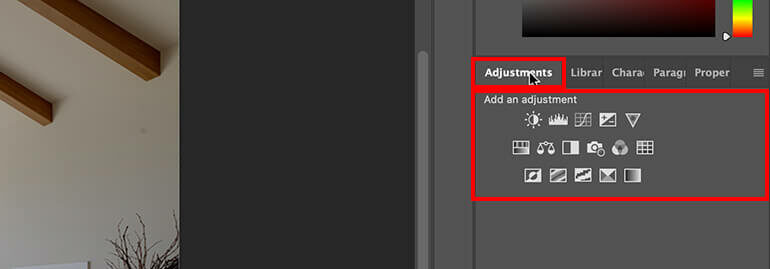
Step 1. To make color corrections in Photoshop in an image using Adjustment Layers, you need to first navigate to the Adjustment Panel.
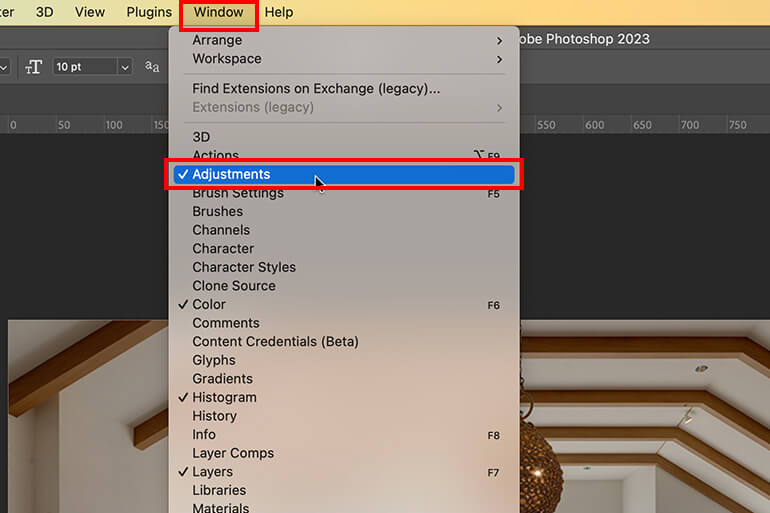
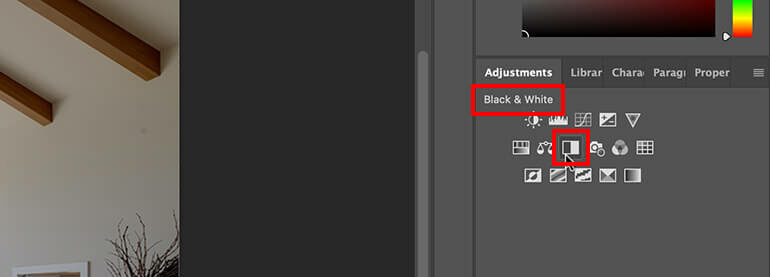
Step 2. In the Adjustments Panel, click the Tool Icon for the adjustment you want to make.
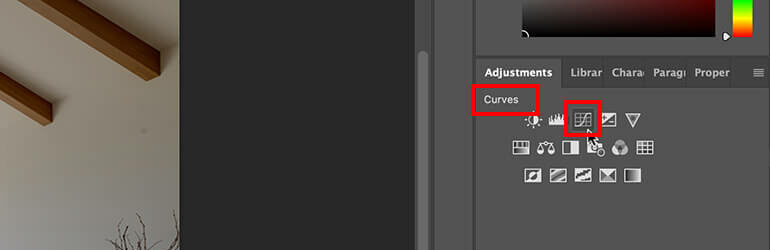
For tonality and color, click Levels or Curves.
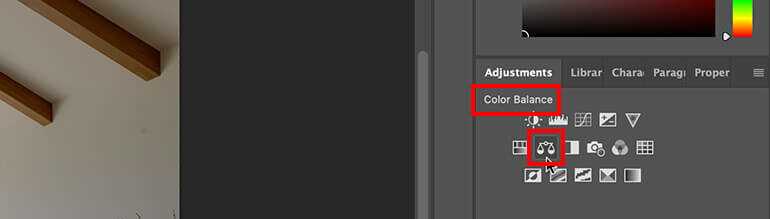
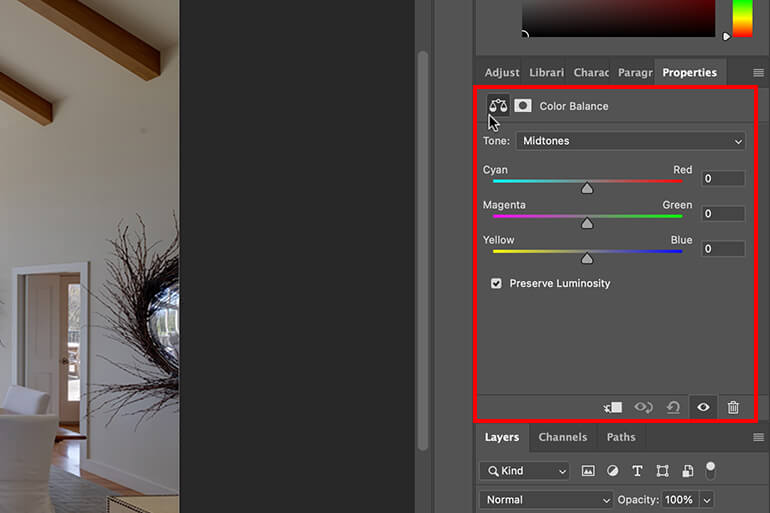
To adjust the color, click Color Balance or Hue/Saturation.
To make an image black and white, click Black & White.
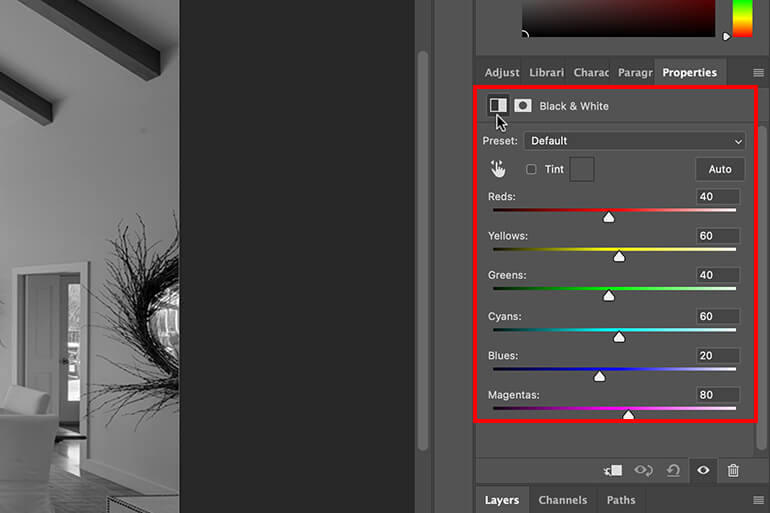
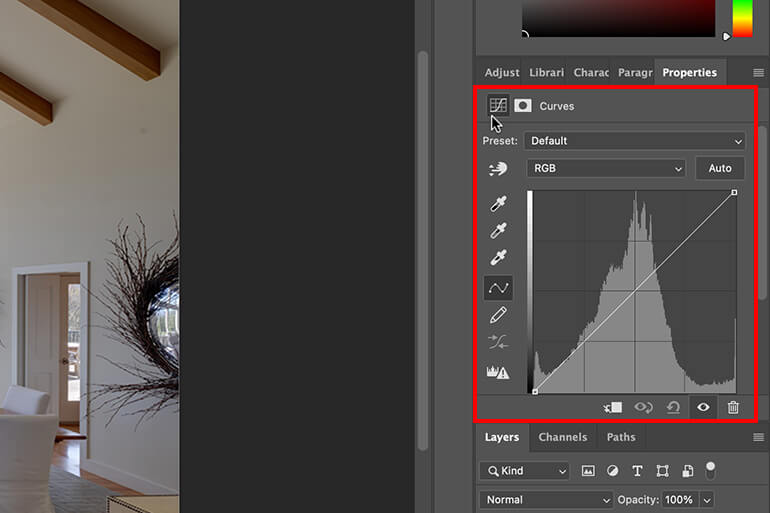
Using these tools, you can then adjust the colors and tones until you’re satisfied.
Let’s now move on to showing you how to make color corrections with the help of the Camera Raw plug-in.
High-Quality & Consistent
Real Estate Photo Editing
Hire a dedicated editor with performance metrics from $7/hour.

Option 2. Correcting the Color in Camera Raw
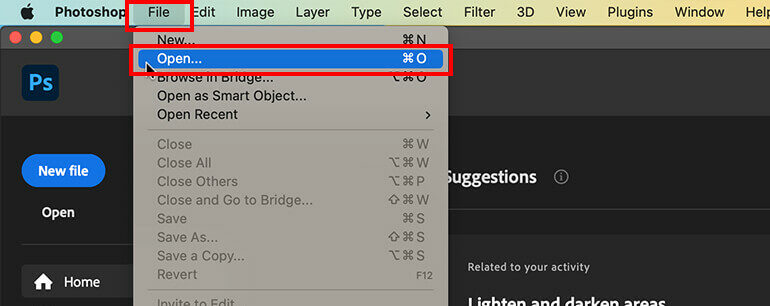
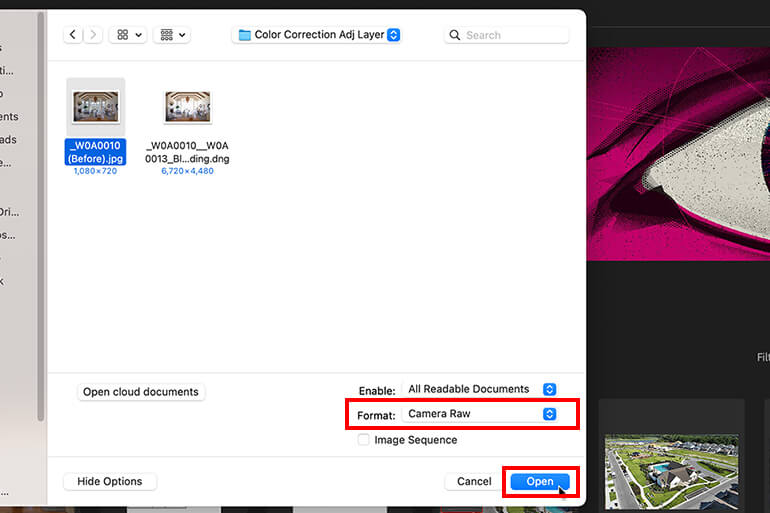
Step 1. To do color corrections using the Adobe Camera Raw plug-in, choose File > Open.
Step 2. In the Open window, select one or more camera raw files, TIFFs, or JPEGs, and then choose Camera Raw from the Format menu and click Open.
Step 3. Use the Controls in Adobe Camera Raw to adjust the settings. For example, you can use the Adjustment Brush to apply edits to specific areas of the image.
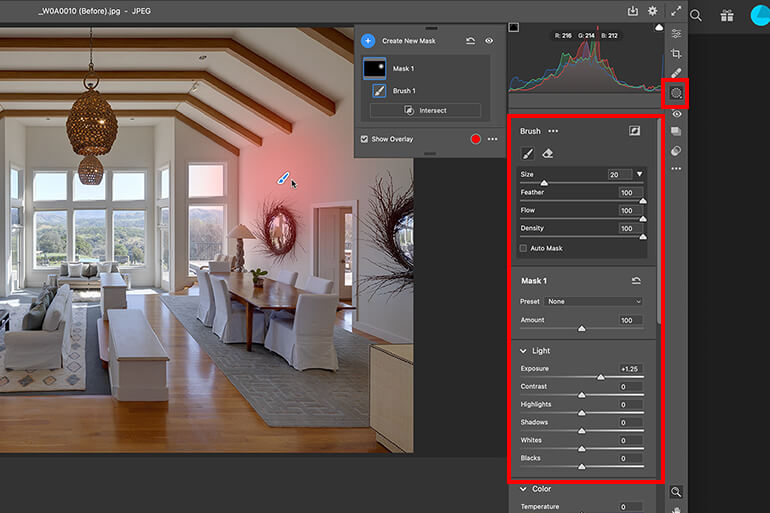
And that’s it!
Other Color Correction Tools
There are other effective tools you can use to make adjustments to the color and tone of an image.
For example, you can right-click on your Adjustment Layer and select Create Clipping Mask. Now, your color adjustments will only be transferred to the single layer beneath it.
You can also use the Eyedropper Tool to sample a color from your image and use it to correct the color of another area.
Lastly, the Color Balance window lets you easily adjust the Midtones, Highlights, and Shadows in your images.
Color Correction FAQ
What is the purpose of color correction?
Color correcting is the process of editing an image or video to fix any imbalances in the color, so it can appear how the eye is meant to see it.
Is color correction always needed in real estate photography?
Yes! Colors are used to set the mood and tone of a scene. If the color of a scene is off, it can throw off potential buyers or set the wrong expectations.
No matter how good a photographer’s equipment or lighting setup is, the colors won’t always come out right and need some editing.
Do you have to edit real estate photos?
Yes! In real estate photography, basic photo editing is a must. No matter how good the RAW inputs are, you still need to edit them to make sure your clients receive the best quality photos.
High-Quality & Consistent
Real Estate Photo Editing
Hire a dedicated editor with performance metrics from $7/hour.
Leverage Professional Real Estate Photo Editing
If you want to take the editing off your plate and focus your time on shooting more properties and growing your business, PhotoUp’s team of professional real estate photo editors is eager to help you create stunning photos.
With more than a decade in the business and several hundred skilled photo editors around the world, it’s hard to beat PhotoUp’s quality, service, and pricing.
Our team of real estate photo editing experts can perform photo edits such as:
- Image correction and enhancement
- Color and tone adjustments
- Window masking and glare reduction
- Clutter and object removal
- Perspective corrections
- HDR editing
- Manual blending
- Sky replacements
- Day-to-dusk conversions
- And much more!
We can handle any type of photo editing, from small, to large, or complex!
Browse Top Dedicated
Real Estate Photo Editors
Ready-to-hire editors for real estate photo editing, and more.
A One-Stop Shop for Real Estate Marketing
Apart from standard photo editing services, PhotoUp also offers other powerful real estate marketing tools, including:
We offer a quick turnaround time of 12-24 hours, and our real estate photo editing services start at the low cost of $1.50 per image for on-demand editing.
Easy Upload & Order Process
Getting started with PhotoUp is super easy – this is what to do:
Step 1. Sign up for a free PhotoUp account.
Step 2. Upload your photos to our easy-to-use software.
Step 3. Choose the level of editing that you need and provide instructions (optional).
Step 4. Wait for PhotoUp professional editors to edit and return the photos in less than 24 hours (48 hours for virtual staging).
Step 5. Download and start using your beautifully edited photos.
PhotoUp Real Estate Photo Editing Uploader Demo
To see how easy it is to get started, have a look at our real estate photo editing uploader demo:
It’s really as quick and easy as 1-2-3!
So, what are you waiting for?
Get started with PhotoUp today, and get 5 free credits you can use on any of our services when signing up for an account – it’s totally free!
We hope this post helped you learn how to color correct in Photoshop. If you found this post useful, you may also want to check out the following resources:

