


Do you want to know how to remove ghosting in real estate photos?
When you hear the words ghosting and real estate, what do you think? Haunted houses, right? Not quite.. Just like on Halloween, in real estate, you need to know how to remove ghosting from photos.
As you probably know, light flares and ghosting in a photograph are fairly common phenomena.
In some cases, it can enhance the mood of a photo. But in real estate marketing, ghosting comes across as a bit manipulative and cheesy. The reason for this is that it takes away the professional look of a picture.
Real estate photos used for marketing purposes need to be clean, simple, and captivating.
Specifically, they need to be free from obvious visual effects and any sense of trickery, which is one of the main reasons you should remove the ghosting effects.
So, in this post. we’ll show you how to remove ghosting in real estate photos. But first, let’s explain how ghosting happens in the first place.
More Than Industry Leading
Real Estate Photo Editing
PhotoUp is the end-to-end business platform for real estate photographers.

How Does Ghosting Happen?
Ghosting can happen when shooting bracketed images for HDR photography.
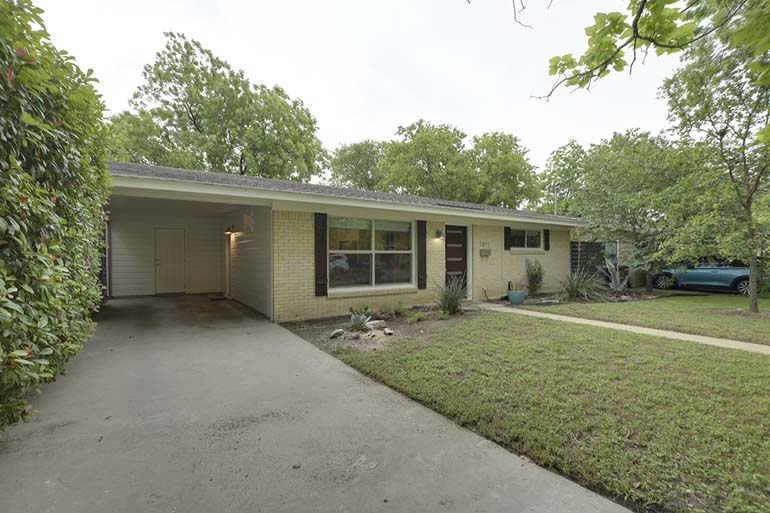
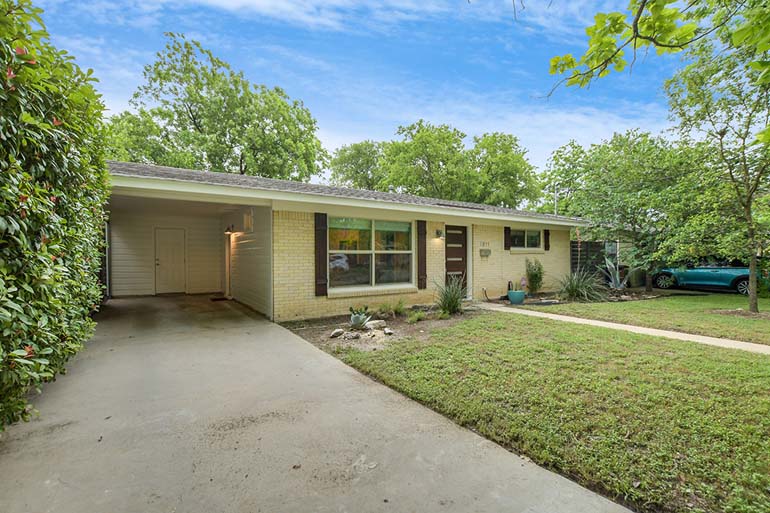
For example, trees blowing in the wind move from one exposure to the next across multiple images, causing the final blended image to show the tree branches or leaves with a blurred or “ghosting” effect.
While this may be great for Instagram photos, it’s not optimal for real estate photography, where blurry images mean low-quality images.
Thankfully, it’s easy to remove ghosting using Photoshop if you know your way around the software.
How to Remove Ghosting Using Photoshop (in 3 Simple Steps)
So, let’s now take a look at a video tutorial on how to remove ghosting from trees in 3 simple steps.
If you don’t want to watch the video tutorial, you can continue reading the text below.
Start by opening up your own photograph in Lightroom, and we’ll walk through the steps.
First, make sure that there are no lens corrections being applied to the image that’s giving the ghosting effect.
- Then, go the File Menu > Plug-in Extras > Blend Exposure using L/R Enfuse
- In the custom pop-up box, select the Auto-Align tab, and check so the ‘Auto-align images before blending them’ checkbox is selected
- Lastly, click Enfuse Images on the bottom right of the box
If that sorts out the problem, you’re done! And you can click on the Save button and move on.
If the Ghosting Still Persists
But if the ghosting effect still persists, you need to fix this in Photoshop.
Here are the next few steps to guide you:
- Process the infused photo > pick the middle exposure and then process it in the same way as the infused one
- Don’t make any adjustment to the Lens correction
- Next, select the two photos and edit them as layers in Photoshop
- Now, it’s time to mask the trees. Hold down the Options key and click the Add Layer Mask button in the Layers panel
- Set the infused photo as the base layer, and then add Inverted Masking to the top layer
- After adding the inverted masking, you’re ready to start brushing the areas where the trees are ghosting until you are satisfied with the result
- Once you’re happy with the results, you click Save
That’s all it takes to remove ghosting from real estate photos!
Let PhotoUp Do the Real Estate Photo Editing for You!
Removing any kind of ghosting isn’t a difficult procedure if you’re an experienced Photoshop user.
However, this be confusing if you don’t have any photo editing experience. And people often feel unhappy with the results when trying it themselves.
Perhaps, it would be a better use of your time to reach out to an online real estate photo editing service, like PhotoUp, and outsource that service?
Our team of editors is experts at cleaning up ghosting and any other kind of lens flares and giving your photos the kind of attention that gets them noticed by prospective buyers.
More importantly, the professional photography that PhotoUp will add to your portfolio will help you get ahead of the competition and boost sales.
How to Get Started
To get started using PhotoUp’s real estate photo editing service is super easy.
All you need to do is sign up for a free PhotoUp account, upload your images, choose export setting and turnaround time, and that’s it!
Check out our real estate photo editing uploader tutorial to see how easy it is to get started:
As simple as that!
So, what are you waiting for?
Get started with PhotoUp today, and get your professionally edited photos back in less than 48 hours!
We hope this post helped you understand how to remove ghosting in real estate photos. If you found this post useful, you may also want to check out the following resources:

