


Table of Contents
- Why Editing Is Crucial for Aerial Real Estate Photography
- How to Edit Drone Photos for Beginners (9 Simple Tips)
- Drone Photo Editing FAQ
- PhotoUp Can Help You Create Stunning Aerial Photos
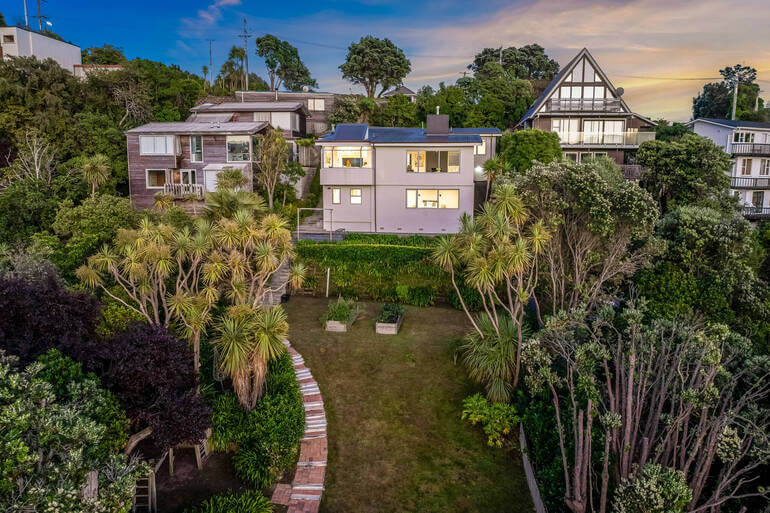
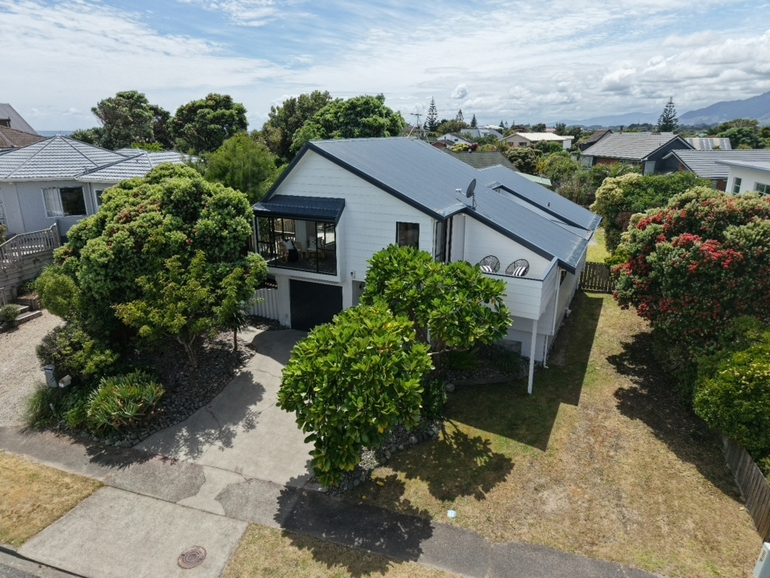
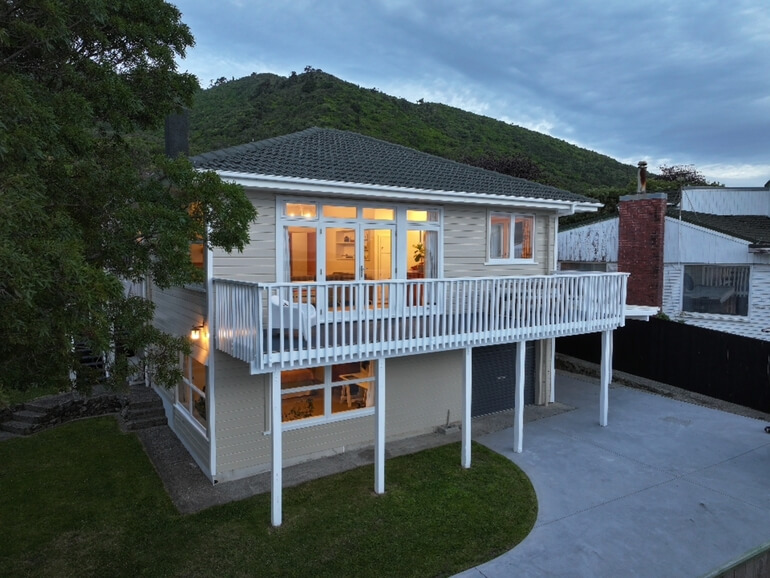
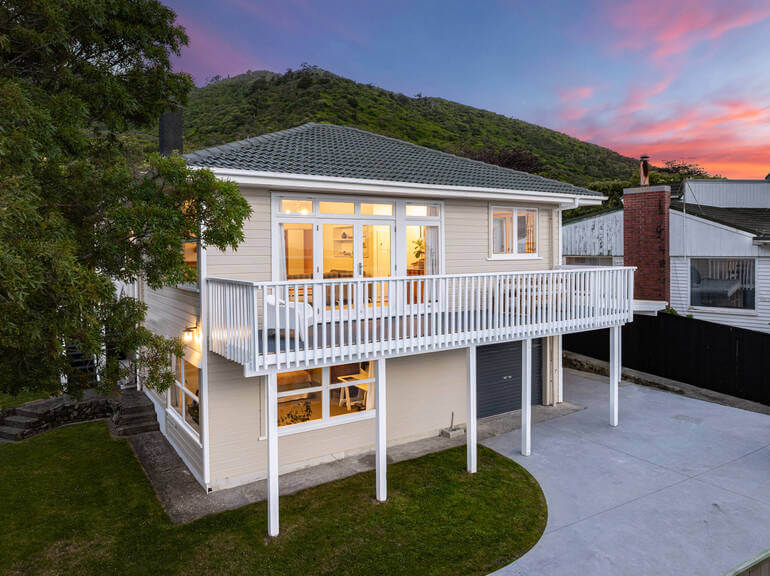
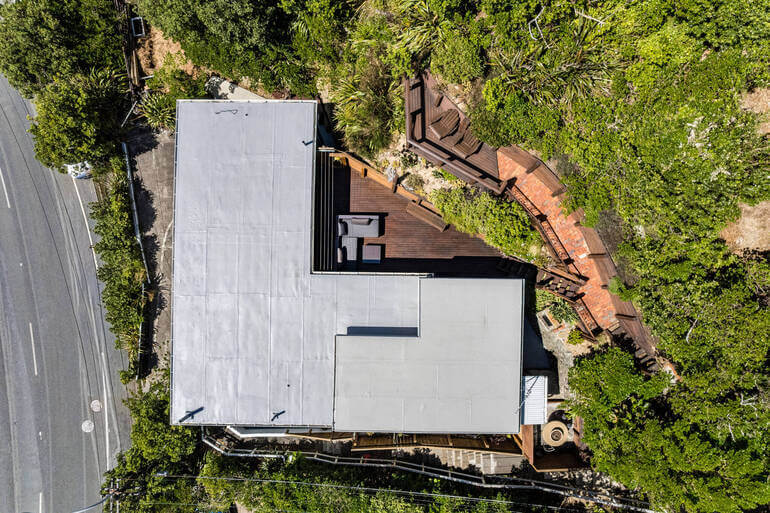
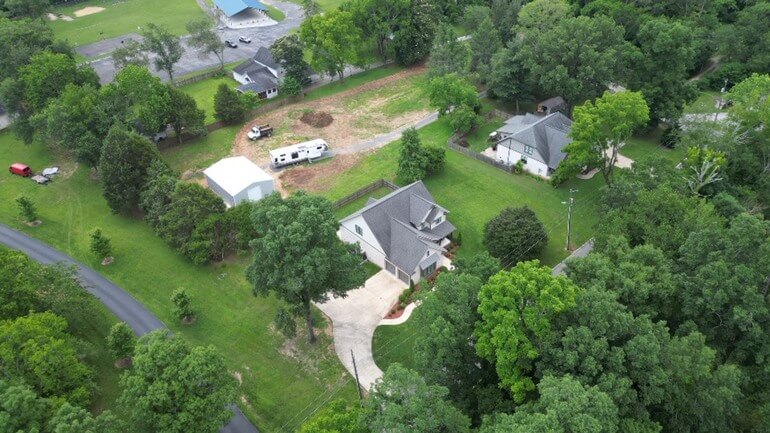
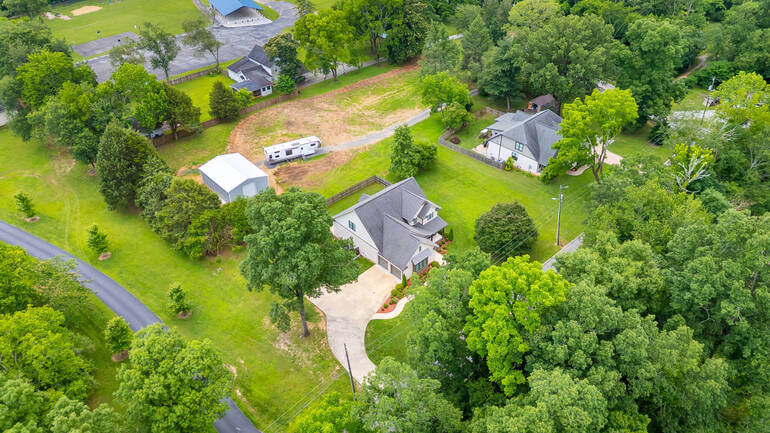
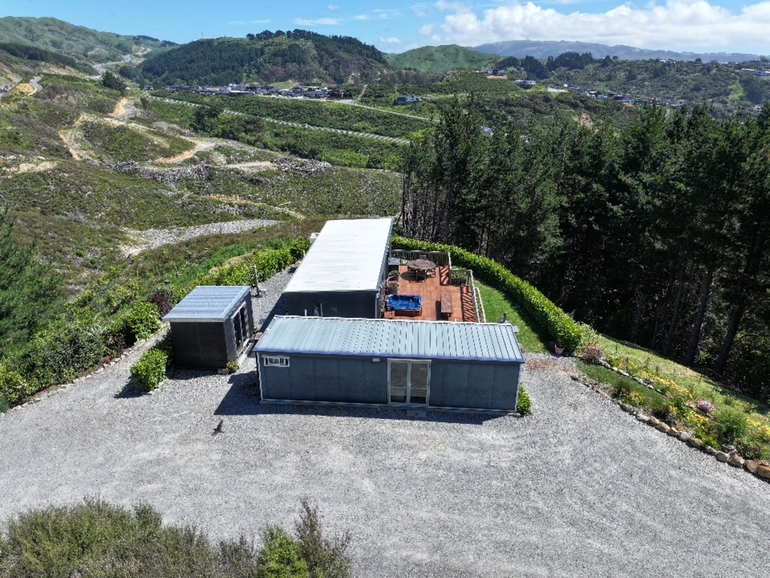
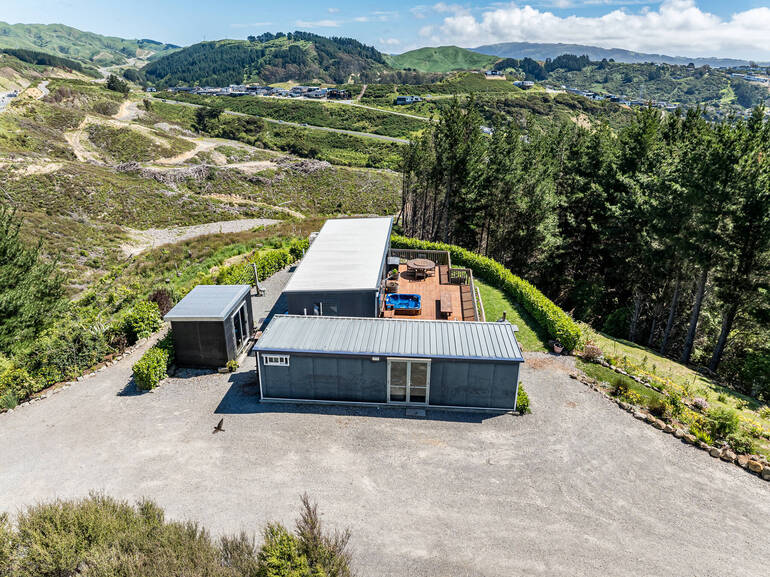
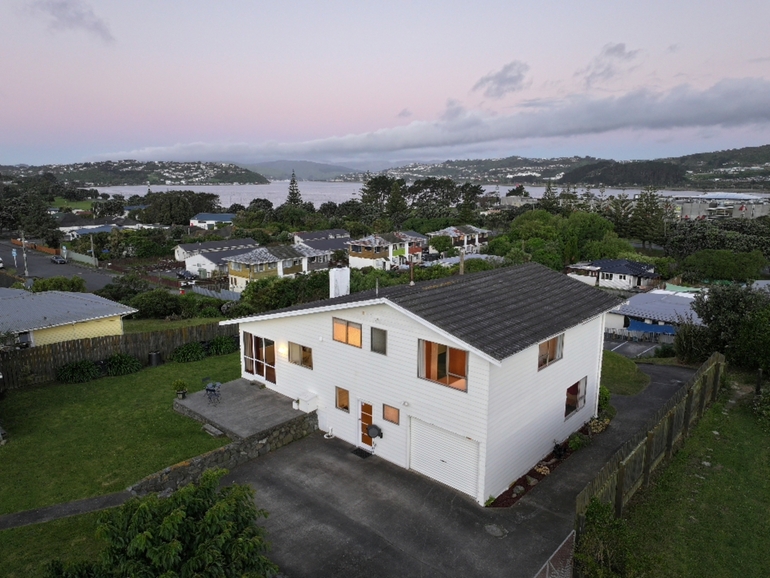
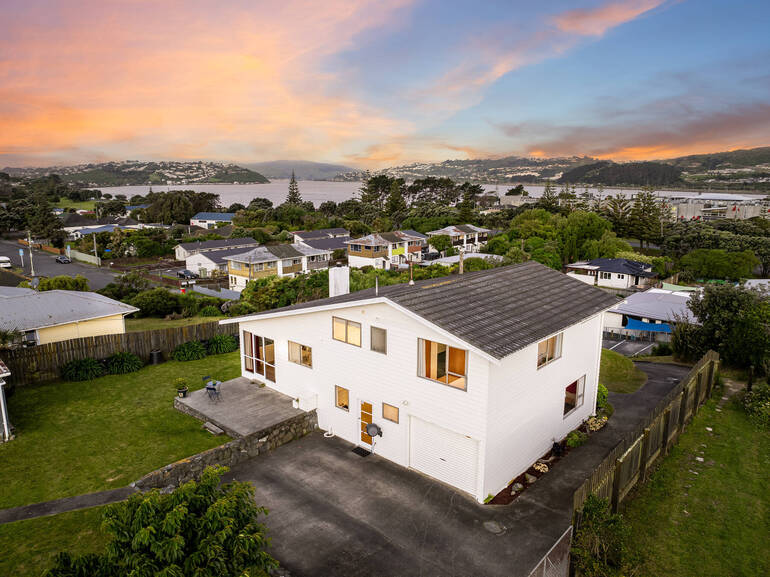
Drone photography has transformed real estate marketing. Instead of relying solely on ground shots, agents and photographers can now showcase breathtaking aerial perspectives—highlighting property scale, neighborhood surroundings, amenities, and overall lifestyle.
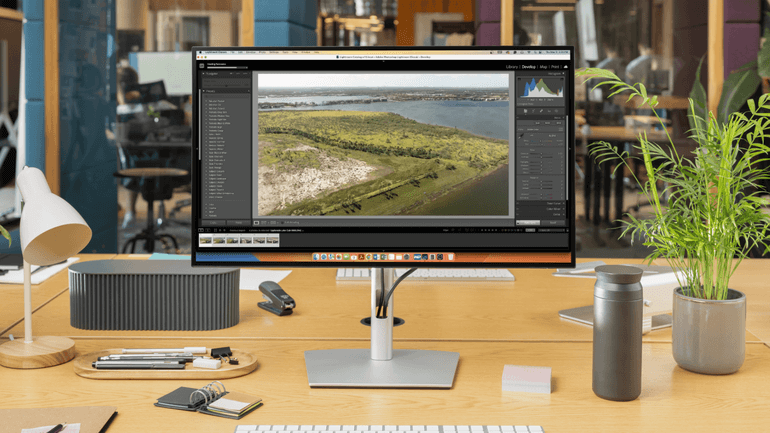
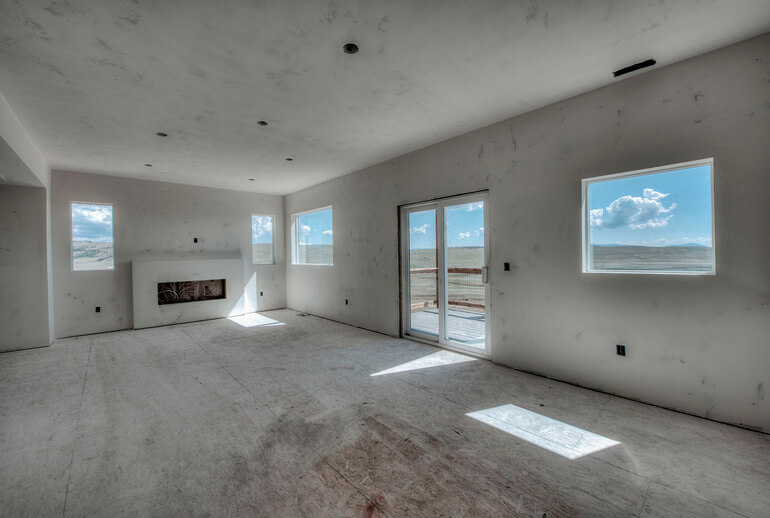
However, even the best drone cameras can’t always capture perfect listing-ready images straight out of the lens. Lighting, weather, haze, and color limitations often mean raw drone photos need polishing.
That’s where real estate photo editing becomes essential.
In this guide, we’ll explain why editing is crucial for aerial real estate images and walk you through beginner-friendly editing tips to help you create professional-looking drone photos with confidence.
Why Editing Is Crucial for Aerial Real Estate Photography🛩️
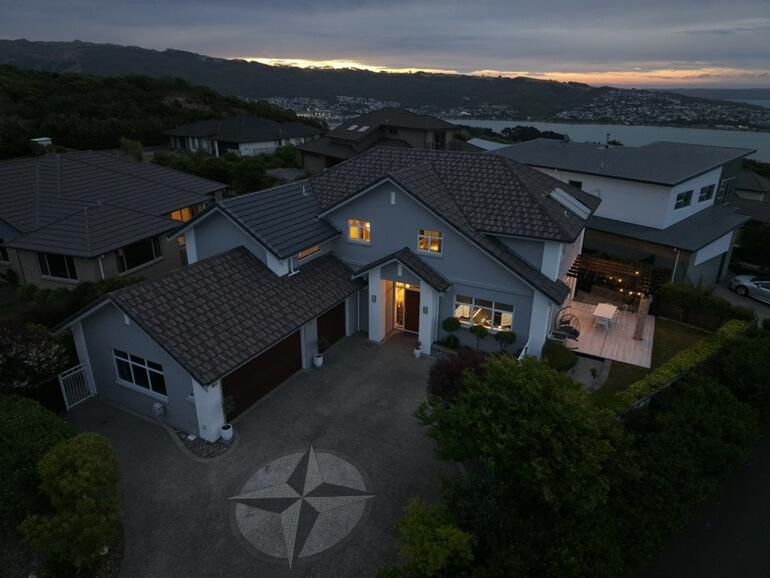
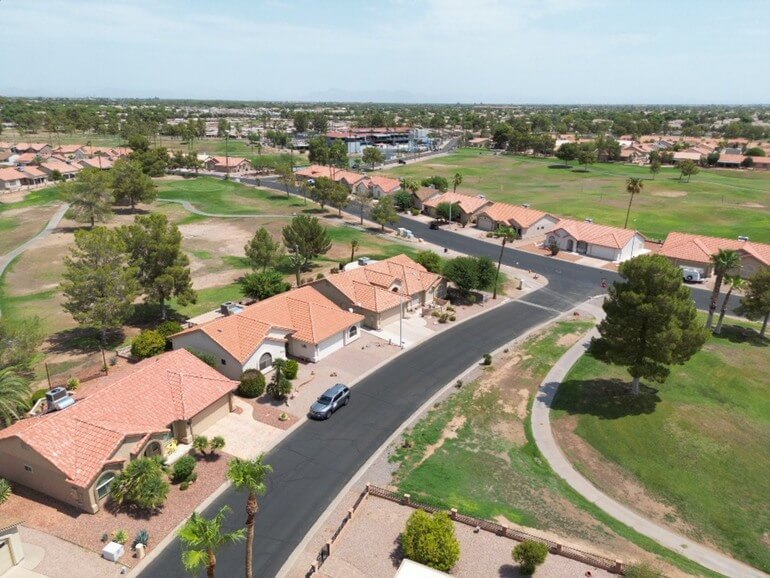
Drone images tell a much bigger visual story than standard photography. They reveal how a home sits on its lot, how spacious the property truly is, and how close it may be to key amenities like parks, waterfronts, or city centers.
These visuals influence buyer perception—and often their level of interest.
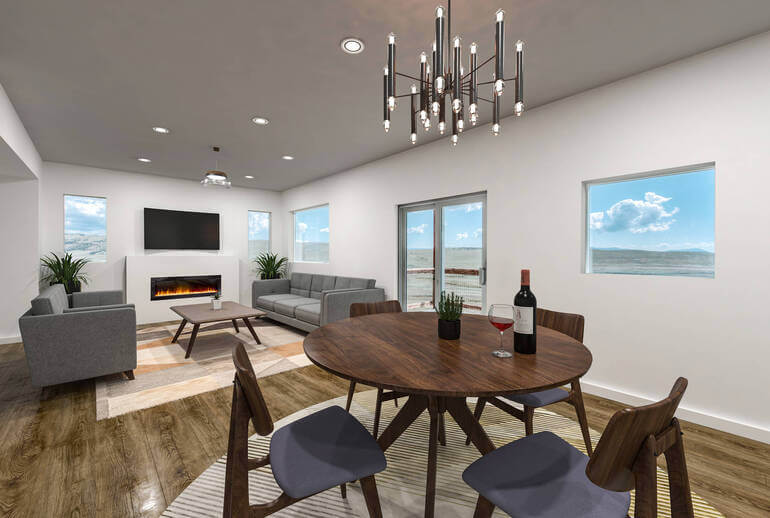
With the right editing approach, aerial images can be transformed into sharp, vibrant, and emotionally compelling visuals that attract more buyers, boost listing appeal, and help properties sell faster.
Consider these stats:
Professional real estate photography can increase the price per square foot by 47%, which makes editing crucial to boost sales prices. High-quality images also get 118% more online views.
Real estate photo editing is crucial to get potential buyers to pay attention to your listing images and sell your property at a higher price.
With that said, let’s discuss some pros and cons of drone photography.
Benefits of Drone Photography
Here’s why drone photo editing matters so much:
- Showcases the Full Scale and Lifestyle: Luxury properties often span large acreages, include resort-style amenities, and feature unique architectural layouts. Editing helps bring clarity to these big-picture visuals
- Corrects Drone Camera Limitations: Even high-end drones can struggle with exposure, haze, distortion, and color accuracy. Editing restores natural tones and enhances visual depth
- Enhances Sky, Water, and Landscape Appeal: Blue skies, bright pools, and vibrant greenery are essential for real estate marketing. Editing ensures these elements look crisp and inviting
- Creates a Consistent Aesthetic: Real estate photos must look cohesive across the full set—clean, elegant, and immersive. Editing provides that consistency
Challenges With Drone Photography
Even beginners can elevate their drone photography with a few simple editing techniques. However, aerial images also come with challenges:
- Bright skies can wash out images
- Harsh contrast can create dark shadows
- Haze can reduce detail and clarity
- Colors sometimes look dull or too cool
- Or skies may appear flat or gray
Without editing, even a beautifully captured aerial shot can appear lifeless or unbalanced. Drone real estate photo editing helps:
✅ Bring back details lost in shadows and highlights
✅ Add clarity and depth
✅ Enhance contrast and vibrancy
✅ Correct crooked horizons and distortion
✅ Create consistency across the listing photoset
In short, editing helps transform drone shots from simple documentation to compelling marketing imagery—and that makes a real impact on buyer engagement.
With this in mind, let’s take a look at how to edit drone photos.
How to Edit Drone Photos for Beginners (9 Simple Tips) 🚁
Whether you’re using Lightroom, Photoshop, Luminar Neo, or other editing tools, these beginner tips will help you enhance your aerial photos with confidence:
1. Always Start With a Straight Horizon🧭
Crooked horizons are one of the most common beginner mistakes in drone photography. Even the slightest tilt makes an image look unprofessional.
Use the Crop & Straighten Tool and align the horizon using the grid to ensure your image is properly balanced. Also, check that buildings and vertical structures look straight.
To learn how to create straight horizons and crop images, you can check out our tutorials on:
- How to Correct Perspective in Photoshop
- How to do Lens Correction in Photoshop
- How to Scale an Image in Photoshop Without Distorting
Why this work? A level and balanced horizon instantly creates a polished, professional first impression.
2. Correct Exposure and Balance the Lighting💡
Drone cameras often struggle when shooting in bright daylight, resulting in blown-out skies or dark shadows. Your goal is to create a balanced, natural-looking image.
Adjust the following:
- Increase exposure if the image feels too dark
- Lower highlights to bring back sky detail
- Raise shadows to reveal hidden details
- And add contrast to create depth
Balanced exposure ensures viewers can clearly see both the property and the surrounding landscape.
To learn how to correct exposure and balance lighting, you can visit the following guides:
Why this work? Proper lighting correction helps your aerial images feel bright, inviting, and visually engaging.
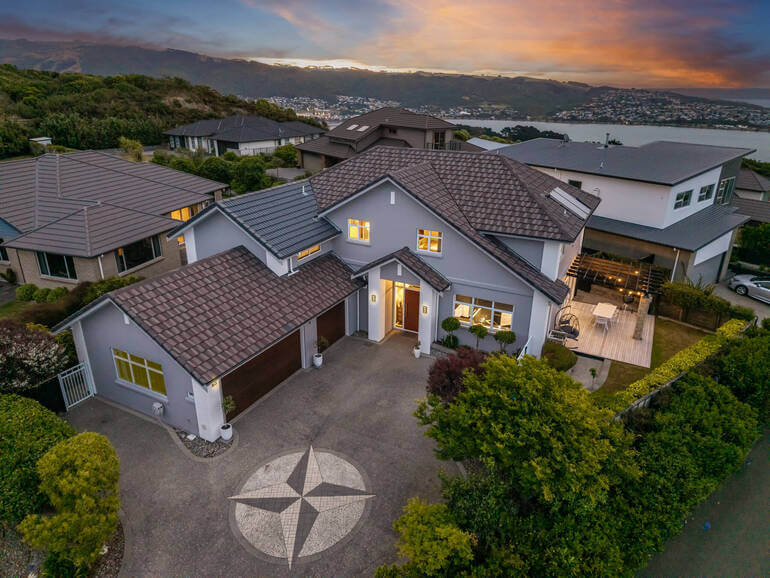
3. Enhance Colors for Realistic Vibrancy🎨
Color has a major emotional impact on buyers. However, the goal is natural enhancement—not artificial saturation.
Some simple yet effective real estate photo editing techniques will help you create a realistic vibrancy in your drone photos.
Adjust:
- Vibrance first to enrich muted tones
- Saturation sparingly for slight intensity
- Temperature to warm up cold, dull images
Additionally, focus on making:
- The grass look natural and healthy
- Water and sky appear rich and appealing
- And homes stay true-to-life in tone
Here are some tutorials that will help you achieve realistic vibrancy in your aerial photos:
Why this work? Subtle color enhancement adds life to your images without compromising authenticity.
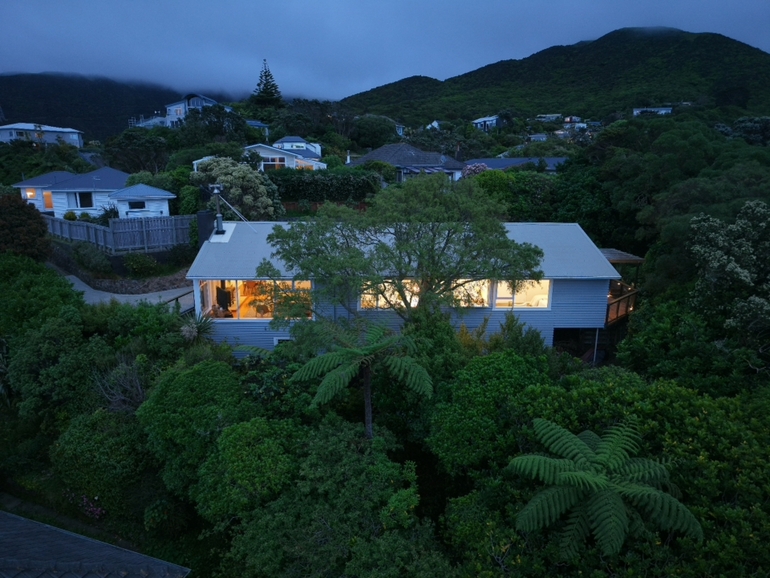
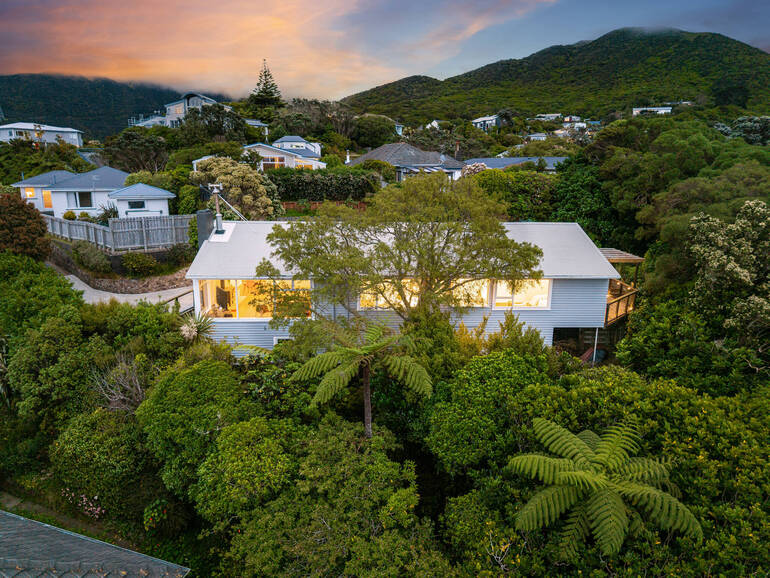
4. Enhance or Replace the Sky When Needed🌤️
A gray or flat sky can make even the best aerial image feel gloomy. Enhancing or replacing the sky can completely transform the overall mood.
To create inviting, sunny skies, you can:
- Deepen blues
- Add natural-looking clouds
- Replace a dull sky with a bright sunny one
- Or, add a dramatic twilight sky
Just ensure the lighting direction feels realistic.
To learn how to create inviting blue skies or dramatic twilight ones, check out our guides:
- How to Replace a Summer Sky in Photoshop
- How to Replace the Sky Using Adobe Lightroom
- How to Edit a Day to Dusk Image for Real Estate Photo Editing
Why this work? A vibrant sky creates instant emotional appeal and dramatically improves visual impact.
5. Enhance the Greenery and Landscape🌿
A brown, patchy lawn doesn’t convey a property that is well cared for. On the other hand, green landscapes convey a cared-for property.
Adjust the following for a lush, healthy look:
- Increase vibrance and saturation on greens
- Fix brown or patchy lawns
- Add subtle clarity and texture to landscaping
To learn how to create an inviting lawn, you can check out our guide on how to create a lush green lawn in Photoshop and boost curb appeal.
Why this work? A vibrant landscape makes the property look better maintained and more valuable.
The Ultimate All-in-One
Real Estate Photographer Business Platform
Grow a successful real estate photography business with PhotoUp.

6. Add Clarity and Sharpen Details✨
Drone photos capture wide views, and sometimes details can appear soft. Carefully applied clarity and sharpening can help define textures and enhance crispness.
Consider using these real estate photo editing tips:
- Increase clarity to enhance mid-tone detail
- Apply sharpening for crisper lines
- Reduce haze to improve distance visibility
Remember to avoid pushing too far—over-sharpening can make images look grainy.
To learn how to enhance clarity and sharpen details, you can check out our guides:
Why this work? Gentle sharpening helps your images feel clean, defined, and professionally edited.
7. Remove Visual Distractions🧽
Small distractions can pull attention away from the property. Object removal in real estate photo editing helps refine the visual story.
Fortunately, they’re easy to fix. You should try to remove or minimize:
- Garbage cans
- Parked cars blocking key views
- Construction materials
- Street clutter
- And utility objects
Use Clone, Healing, or Content-Aware tools depending on your editing program. For more details, check out our guide on how to declutter photos.
Why this work? Removing distractions keeps the buyer’s focus on the home, not the clutter.
8. Highlight Key Property Features🏡
Think about what sells the lifestyle. Use selective enhancement to bring attention to important features like:
- Pools
- Patios
- Landscaping
- Waterfront elements
- And nearby amenities
Enhancing these areas adds emotional value to the image.
You can use a professional virtual staging service like PhotoUp to highlight key property features or even add a pool where there is none to help buyers see the property’s full potential. Just remember to disclose that your images are virtually staged to avoid misrepresentation issues.
Why this work? Strategic editing helps tell a stronger visual story that resonates with buyers.
9. Keep Everything Natural and MLS-Compliant
While real estate photo editing enhances quality, the final result should still look realistic. Real estate photography should never mislead buyers🎯.
That said, you need to avoid:
- Over-saturation
- Using heavy HDR
- Unrealistic sky replacement
- And other extreme alterations
Aim for polished, authentic, and trustworthy drone images. Overall, professional real estate photo editing enhances reality instead of changing it.
Drone Photo Editing FAQ❓
Do drone photos really need editing?
Yes! Even high-quality drone cameras struggle with lighting, contrast, and color accuracy. Editing ensures images look clear, appealing, and professional.
What editing software is best for beginners?
Great beginner editing software includes:
- Adobe Lightroom
- Adobe Photoshop
- Luminar Neo
- GIMP (free option)
If editing feels overwhelming, outsourcing to a professional service like PhotoUp or BoxBrownie is an excellent option.
Are presets helpful?
Absolutely! Presets save time and provide consistency. Just remember to make final adjustments to match each photo’s unique lighting and conditions.
Should I replace every dull sky?
Not always. If the sky isn’t too distracting, a simple enhancement may be enough. However, replacing dull skies can be very beneficial for gloomy shoot days.
Is editing allowed in real estate marketing?
Yes! Editing real estate photography is standard industry practice. Just ensure enhancements don’t misrepresent the property.
If learning these drone editing techniques feels overwhelming and time-consuming, PhotoUp’s expert team of editors is here to help you. Let’s show you how to easily outsource your editing to PhotoUp.
Have You Ever Thought To
Outsource Photo Editing?
Try it today with 5 free edits from three professional photo editors.
PhotoUp Can Help You Create Stunning Aerial Photos🛩️
Editing aerial photos takes time, practice, and a sharp eye for detail. For busy real estate photographers and agents, handling both shooting and editing can quickly become overwhelming.
That’s why thousands of professionals trust PhotoUp.
PhotoUp’s expert real estate photo editors specialize in drone and aerial image enhancement, ensuring every shot looks clear, vibrant, and visually compelling.
PhotoUp can help you:
✅Balance lighting and exposure
✅Enhance colors and clarity
✅Replace dull skies beautifully
✅Remove distractions and visual clutter
✅Deliver polished, MLS-ready images
✅Maintain consistent quality across every shoot
With affordable pricing, fast turnaround times of 12–24 hours, and a highly skilled editing team, PhotoUp makes it easy to elevate your listings without adding more work to your plate.
And there’s more…
Browse Top Dedicated
Real Estate Photo Editors
Ready-to-hire editors for real estate photo editing, and more.
Powerful Real Estate Marketing Tools
On top of that, PhotoUp also offers other powerful real estate marketing services, allowing you to expand your product offerings and become more valuable to your clients.
Here are some of our powerful marketing tools:
We have everything you need to create eye-catching visuals, streamline your editing workflow, grow your business, and deliver high-quality content that sells.
How to Get Started With PhotoUp
Getting started using PhotoUp’s photo editing service is super easy.
This is all you need to do:
Step 1. Sign up for a free PhotoUp account.
Step 2. Upload your photos to our easy-to-use software.
Step 3. Choose the level of editing that you need and provide instructions (optional).
Step 4. Wait for PhotoUp professional editors to edit and return the photos in less than 24 hours.
Step 5. Download and start using your beautifully edited photos.
PhotoUp Real Estate Photo Editing Uploader Tutorial
To see how easy it is to get started, have a look at our real estate photo editing uploader tutorial:
As simple as that!
If you want your drone photos to stand out, impress buyers, and help homes sell faster, PhotoUp is here to help every step of the way!
👉 Sign up for a free PhotoUp account today and let our expert real estate photo editors help you create captivating aerial photos in less than 24 hours.
And the best part? When you sign up for an account, you’ll receive a bonus of 10 free credits to use however you please!
We hope this blog post helped you learn how to easily edit drone photos for beginners. Before you go, you may also want to check out the following resources:
- Professional Real Estate Photo Editing (Top 10 Services): A 2026 Review
- The #1 Edit to Create Stunning Real Estate Photos
- A Complete Real Estate Photo Editing Tutorial for Beginners
- 9+ Photo Editing Techniques That Make Properties Look Irresistible
- How to Save Time With Real Estate Photo Editing Services

