


Table of Contents
- Why Photo Editing Is Crucial to Market Real Estate
- How to Fix the Most Common Photo Editing Mistakes
- PhotoUp Can Help Fix Your Editing Mistakes
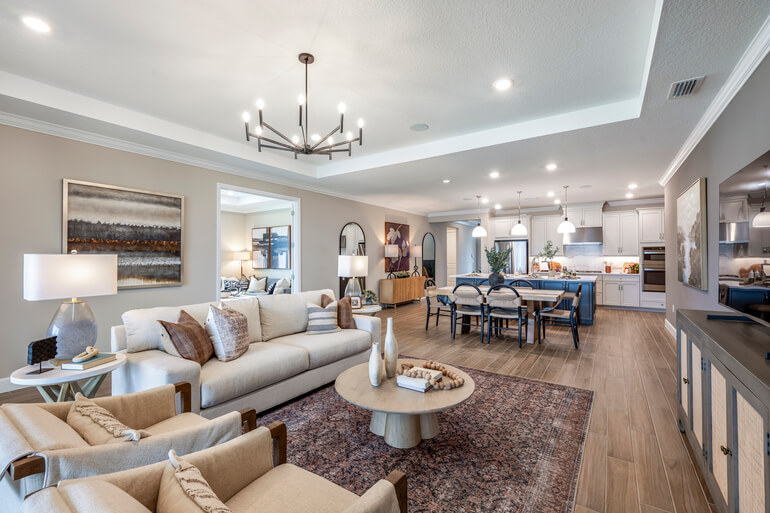
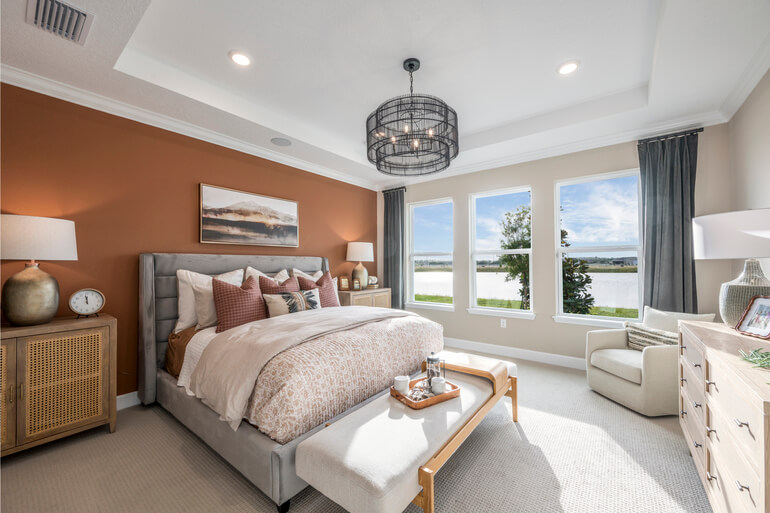
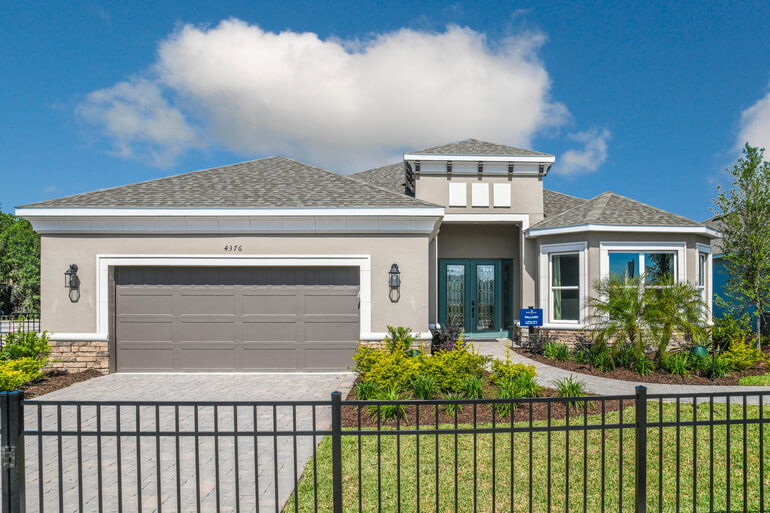
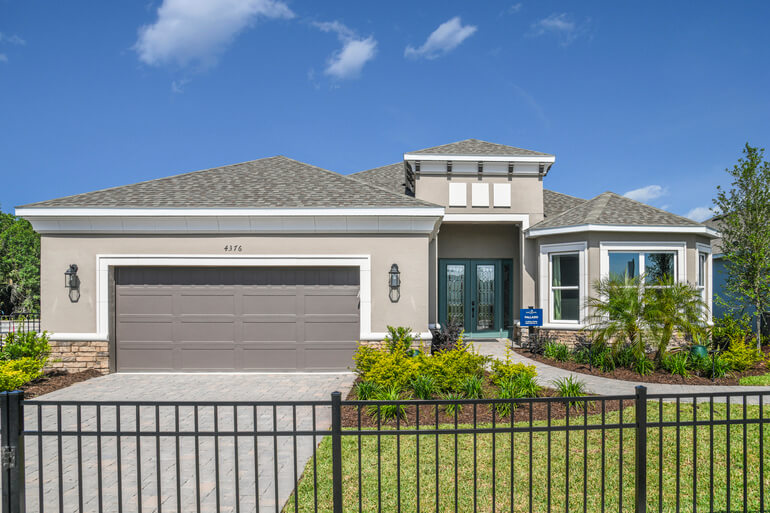
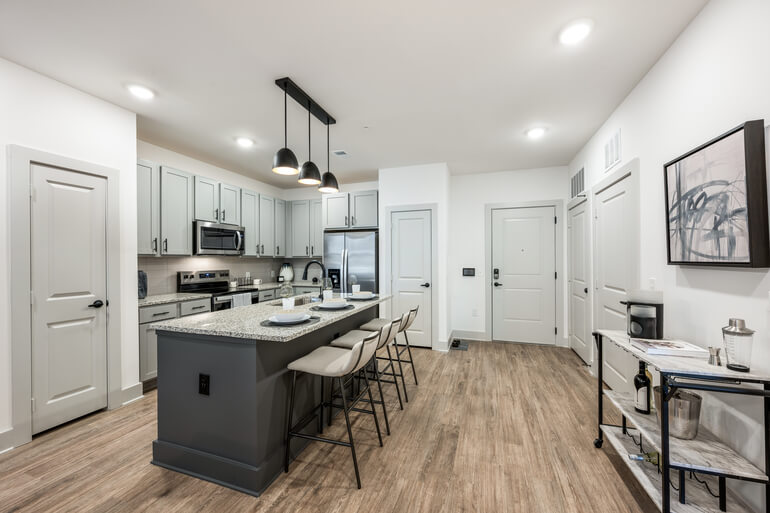
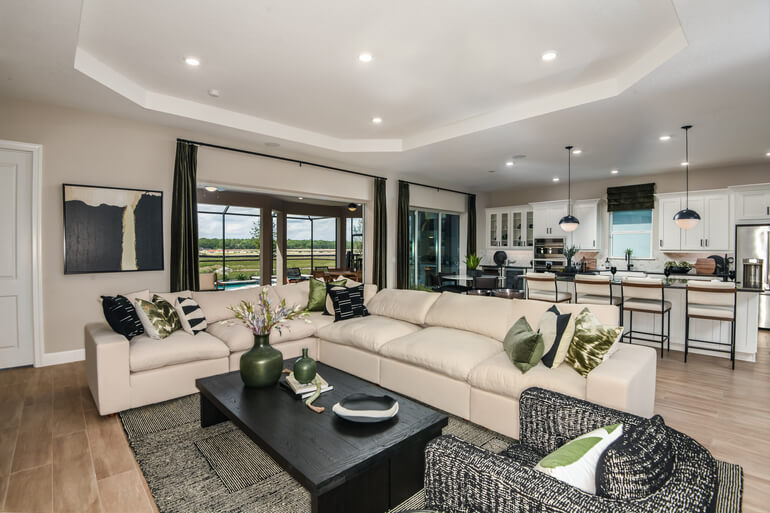
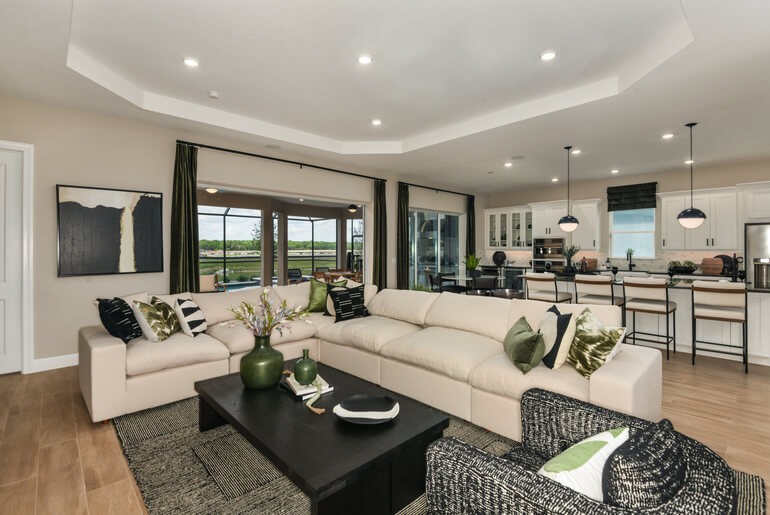
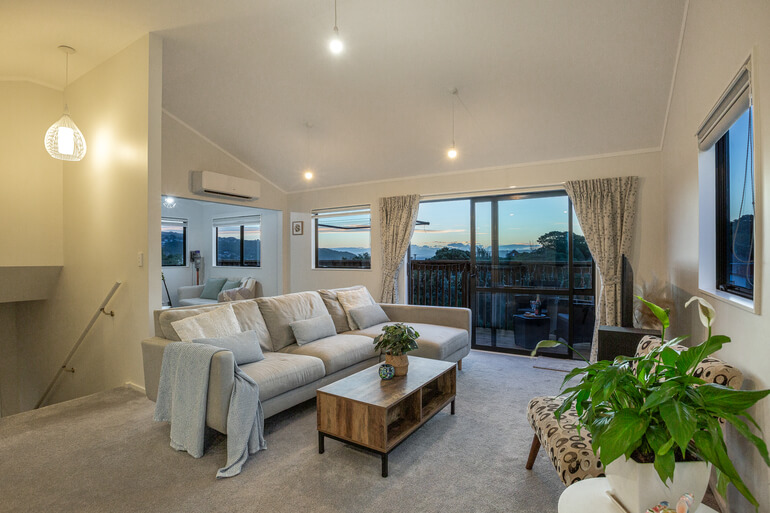
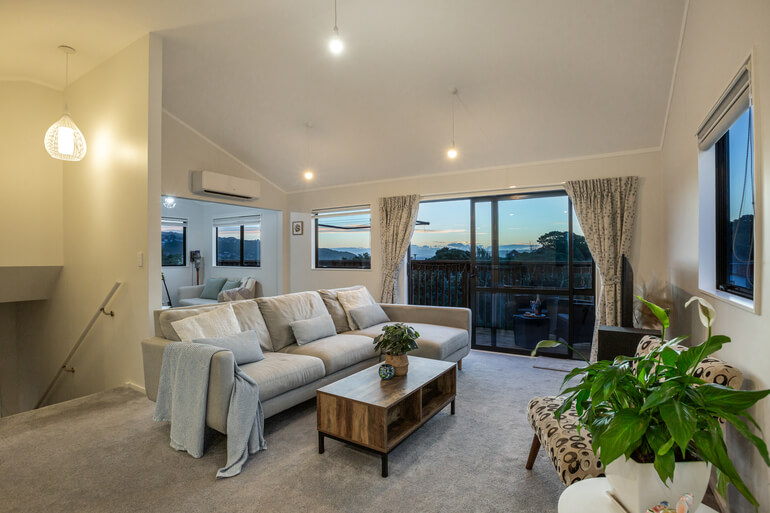
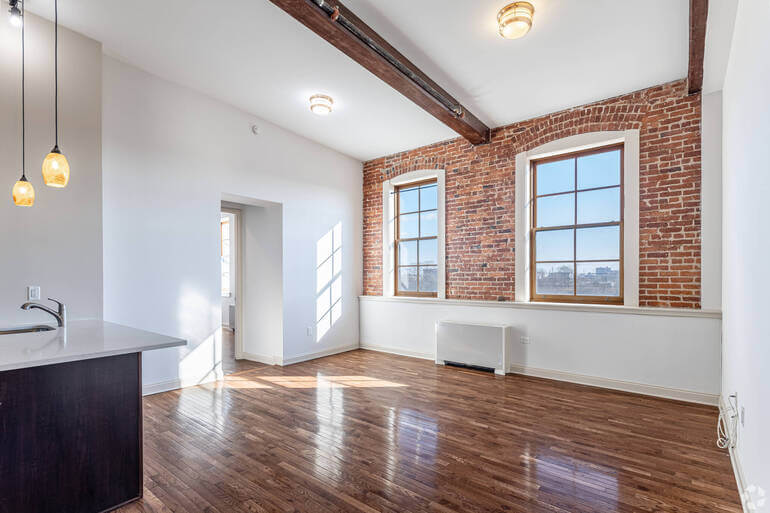
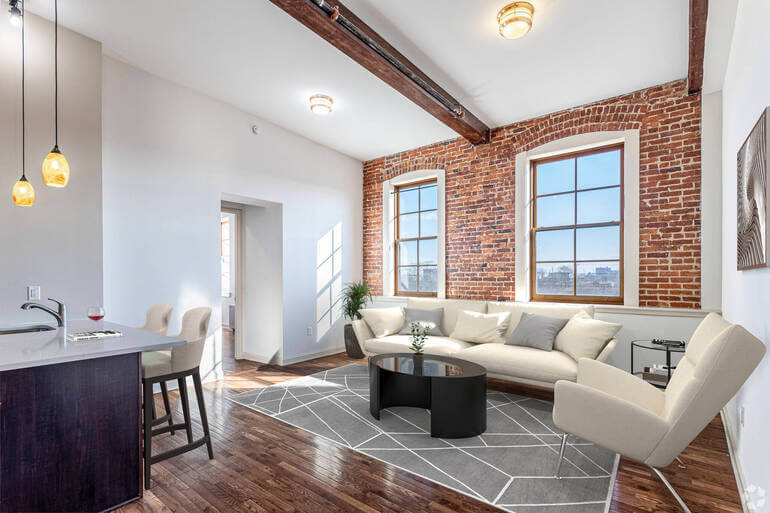
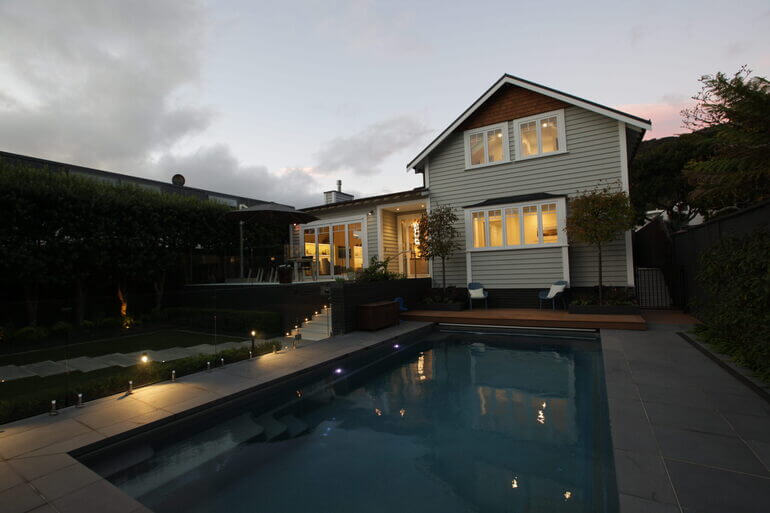
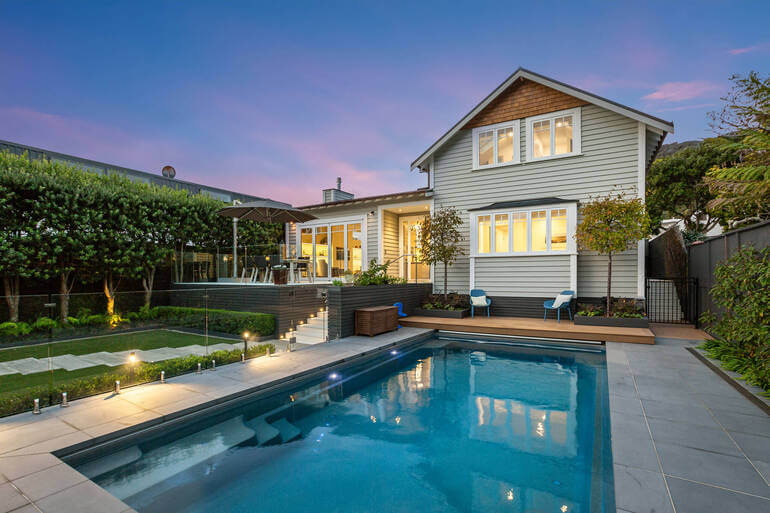
High-quality real estate photography is essential for attracting buyers and selling properties quickly.
However, even skilled photographers and editors can make mistakes during post-processing that compromise the overall quality of real estate images. These errors can result in unnatural-looking photos that deter potential buyers instead of drawing them in.
In this blog post, we’ll discuss the most common real estate photo editing mistakes and show you how to fix them, ensuring that your images are professional, accurate, and visually appealing.
Before we get into the nitty-gritty details, let’s take a look at why editing is crucial when marketing real estate.
Why Photo Editing Is Crucial to Market Real Estate
Real estate photo editing plays a vital role in marketing property listings by ensuring that images are visually appealing, accurate, and engaging.
High-quality, professionally edited photos enhance a listing’s appeal, attract more potential buyers, and help properties sell faster.
Studies show that professional visuals can help homes sell 32% faster and at higher prices, as buyers are more likely to be drawn to listings that showcase properties in the best possible light.
That being the case, well-edited photos can make all the difference in generating interest.
However, poor editing can have the opposite effect, making images look unrealistic or unprofessional.
Common Real Estate Photo Editing Mistakes
According to ACCC, real estate companies can be fined up to $1.1 million and individual agents up to $220,000, if their images are misleading buyers.
Some of the most common real estate photo editing mistakes include:
- Over-saturated colors
- Overexposed or underexposed images
- Harsh shadows
- Unrealistic sky replacements
- Poorly removed objects
- Excessive noise reduction
- Distorted perspectives
- Inconsistent white balance
- Over-sharpening
- And artificial-looking virtual staging
Editing mistakes like these will make your property photos look unrealistic and might repel buyers instead of drawing them in.
Luckily, there are ways to avoid and fix them. Let’s take a closer look at that next.
How to Fix the Most Common Photo Editing Mistakes
Here are 10 common mistakes when editing real estate photos, with guides and video tutorials on how to perform the edits correctly.
1. Over-Saturated Colors
Oversaturating colors can make a property look unnatural.
While vibrant colors may seem more eye-catching, excessive saturation often results in exaggerated hues, especially in grass, sky, and interiors.
The Fix:
- Use the HSL (Hue, Saturation, and Luminance) panel in Lightroom or Photoshop to tone down excessive color intensity
- Adjust the Vibrance instead of Saturation to maintain a balanced look
- Compare the edited image with the original to ensure the colors remain realistic
To learn how to adjust the colors properly, check out our tutorial on how to color correct in Photoshop.
2. Overexposed or Underexposed Images

Poorly exposed images can make details either too bright (overexposed) or too dark (underexposed), leading to the loss of essential visual information.
The Fix:
- Use exposure correction tools in Lightroom or Photoshop to balance the lighting
- Apply HDR (High Dynamic Range) blending by merging multiple exposures
- Adjust highlights and shadows separately to bring back lost details
This video tutorial walks you through how to manually blend multiple exposures in Photoshop:
3. Harsh Shadows and Uneven Lighting
Strong shadows and uneven lighting can create an unprofessional look, making the image appear poorly composed and difficult to interpret.
The Fix:
- Use flash ambient blending to balance interior and exterior lighting
- Adjust the Shadows and Highlights sliders in Lightroom to soften harsh contrasts
- Use the dodge and burn tools in Photoshop to even out lighting inconsistencies
If you need to freshen up your mind when it comes to making shadow adjustments, this video tutorial shows you how to remove shadows in Lightroom:
Additionally, here is a short video tutorial on how to remove flash shadows in Photoshop:
4. Unrealistic Sky Replacements
A poorly executed sky replacement can make an image look unnatural, with mismatched tones and unrealistic edges around trees or buildings.
The Fix:
- Choose a sky that matches the overall lighting conditions of the image
- Use feathering and blending tools to merge the new sky seamlessly
- Adjust the color tones of the sky and the overall image to ensure consistency
To learn how to do this edit properly, check out this video tutorial on how to replace a summer sky in Photoshop:
We have now come halfway to fixing common real estate photo editing mistakes. Let’s take a look at poorly executed object removal next.
5. Poorly Removed Objects
Messy or incomplete object removal can leave noticeable artifacts, disrupting the overall image flow and making the edits obvious.
The Fix:
- Use the Clone Stamp and Healing Brush tools in Photoshop for precise removals
- Pay attention to texture and shadow consistency when removing objects
- Zoom in and carefully refine the edges to ensure a natural look
To learn how to use the Clone Stamp Tool to declutter your images, watch this tutorial video on how to remove cords in Photoshop:
Have You Ever Thought To
Outsource Photo Editing?
Try it today with 5 free edits from three professional photo editors.

6. Excessive Noise Reduction
Overuse of noise reduction can result in an overly smooth, unrealistic image that lacks texture and sharpness.
The Fix:
- Apply noise reduction selectively instead of using it globally
- Use the Luminance slider in Lightroom to reduce noise without removing details
- Sharpen the image carefully after noise reduction to retain texture
For more details, check out our video tutorial on how to reduce noise in Lightroom and Photoshop:
7. Distorted Perspective
Wide-angle lenses can cause distortion, making vertical lines look curved or unnatural.
The Fix:
- Use the Lens Correction Tool in Lightroom to straighten lines and correct distortion
- Manually adjust perspective using the Transform Tool to ensure walls and edges appear straight
- Always review before-and-after versions to confirm accurate correction
To learn how to do perspective correction, you can check out our video tutorial on how to straighten verticals in Lightroom:
8. Inconsistent White Balance

Incorrect white balance can make images appear too warm (yellowish) or too cool (bluish), resulting in an unnatural color cast.
The Fix:
- Use the White Balance Tool in Lightroom to set a neutral tone
- Adjust Temperature and Tint sliders for accurate color correction
- Use reference points like white walls or ceilings to gauge the correct balance

In this video tutorial, we’ll show you 2 simple techniques on how to adjust white balance in Photoshop:
9. Over-Sharpened Images
Excessive sharpening creates unnatural halos around objects, making the image look overly processed.
The Fix:
- Apply sharpening selectively instead of to the entire image
- Use the Detail panel in Lightroom, adjusting the Radius and Amount sliders carefully
- Avoid applying sharpening to areas like the sky and smooth surfaces
For more information, check out this video tutorial on how to sharpen an image in Photoshop:
10. Artificial-Looking Virtual Staging
Poorly executed virtual staging with unrealistic furniture and incorrect lighting can make a listing look fake and unappealing.
The Fix:
- Use furniture and décor that match the style of the property
- Adjust shadows and reflections to make the virtual elements look natural
- Ensure the proportions and angles of furniture align correctly with the space
The best way to ensure top-quality results is to use PhotoUp’s AI virtual staging service.
: For only $5.00 per image, you can get photo-realistic virtual staging in less than 48 hours.
Final Thoughts
Avoiding these common real estate photo editing mistakes is crucial for creating visually compelling property images that attract buyers.
By understanding how to fix these issues, you can produce professional-quality photos that showcase properties in the best light.
However, if you want to save time and ensure perfection, outsourcing to a trusted editing service like PhotoUp is the best solution.
Have You Ever Thought To
Outsource Photo Editing?
Try it today with 5 free edits from three professional photo editors.
PhotoUp Can Help Fix Your Editing Mistakes
If you’re struggling with fixing editing mistakes, outsourcing your real estate photo editing to professionals can save you time and ensure high-quality results.
PhotoUp specializes in real estate photo editing and offers a variety of services to help you achieve stunning, professional-grade images, including:
- Overall imagine enhancements
- Perspective correction to ensure images are visually aligned
- HDR blending for vibrant, well-balanced lighting
- Sky replacement to enhance exteriors with beautiful skies
- Virtual staging that turns empty rooms into inviting spaces
- Day-to-dusk conversions to add curb appeal to property listings
- And much more!
Whether you need color corrections, object removals, sky replacements, or professional retouching, PhotoUp ensures that your images are flawless and ready to impress buyers.
An Eco-System of Real Estate Marketing

On top of that, PhotoUp also offers an interconnected system of real estate marketing services that can make your business even more effective, including:
With PhotoUp, real estate photographers and agents can focus on what they do best—capturing stunning images—while the experts handle the post-processing.
How to Get Started
Getting started with PhotoUp is super easy! Here’s all you need to do:
Step 1. Sign up for a free PhotoUp account.
Step 2. Upload your photos to our easy-to-use software.
Step 3. Choose the level of editing that you need and provide instructions (optional).
Step 4. Wait for PhotoUp professional editors to edit and return the photos in less than 24 hours (48 hours for virtual staging).
Step 5. Download and start using your beautifully edited photos.
PhotoUp Real Estate Photo Editing Uploader
To see how easy it is to get started with PhotoUp, check out our photo editing uploader tutorial:
It’s really as easy as 1-2-3!
Don’t let simple mistakes cost you potential sales—let PhotoUp take your real estate photography to the next level! Sign up for a free PhotoUp account today!
For a limited time, you’ll receive a bonus of 10 free credits you can use on any of our services when signing up for an account.
We hope this blog post helped you learn how to fix the most common real estate photo editing mistakes and create flawless images. Before you go, you may also want to check out the following resources:

