


In today’s real estate market, images are everything. With more competition than ever before, it’s crucial for real estate agents and photographers to create stunning images that capture the attention of potential buyers.
Luckily, photo editing tools have made it easy to take your images to the next level. With just a few simple tweaks, you can enhance your photos and create eye-catching images that showcase the best features of your property.
In this blog post, we’ll share 12 simple yet powerful real estate photo editing tips that will help you take your images to the next level.
Let’s get started!
12 Real Estate Photo Editing Tips to Create Stunning Images


If you’re striving for exceptional results, here are 12 real estate photo editing tips to create eye-catching images that will help sell your listing at record speed.
1. Adjust Colors
Color adjustments can be vital for making images stand out and look professionally edited. Getting the colors right is vital in presenting the property in an authentic light.


Adjusting the temperature or color saturation of an image can impact the visual appeal, add life to dull images, and allow the image to be consistent with the style of the home.
From subtle tweaks to bold transformations, it’s the real estate photographer’s job to make sure potential buyers get an accurate view of the property. That way, they can go in with the right expectations and truly appreciate what a listing has to offer.
To learn more, you can check out our blog post on how to color correct in Photoshop. You can also visit or watch our tutorial on how to remove color cast using 2 simple techniques:
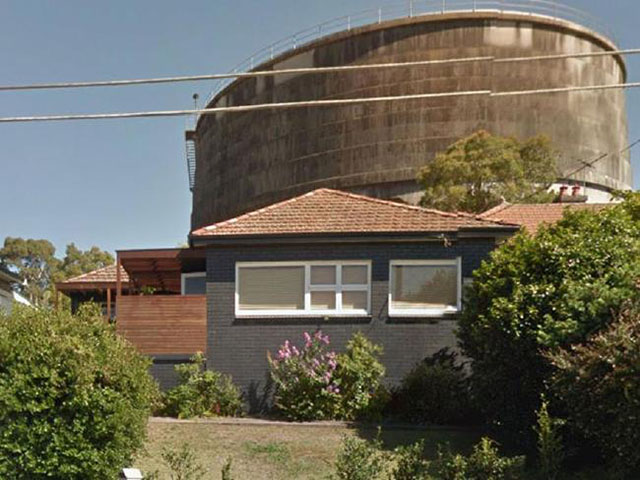
2. Remove Distracting Objects
Objects such as vehicles in the driveway, trash bins in the backyard, pet toys spread out all over the floor, or other minor imperfections can ruin an otherwise flawless photo.

You’ll want to crop out these distractions or remove them altogether using photo editing software to create a seamless and inviting photo.
For instance, you can easily edit these using the Clone Stamp Tool in Photoshop. Just select the Clone Stamp Tool and press the Alt key to choose the source area. Then, you’re ready to start cloning over the object you want to remove.
For more details and expert tips, check out this video tutorial on how to remove a car from a driveway in Photoshop:
Or, you can watch how to remove cords and wires from your real estate photos:
3. Get the White Balance Right


Poor white balance is one of the most common reasons why real estate photos look lackluster.
If the white balance is not right, the images may appear too yellow, blue, or green, which can be unappealing to potential buyers.
To learn how to rectify this, you can visit our step-by-step tutorial on how to adjust white balance in Photoshop.
The objective is to recalibrate until you capture the ambiance accurately, emanating a natural and inviting atmosphere through your images.
Fine-tuning this element not only revives the vibrancy of the property but also encapsulates an aesthetic that resonates with viewers.
4. Reduce Noise/Grain in Your Images
Those pesky grains scattered all over the image are called noise. Let me tell you, it’s been a long-standing battle for real estate photographers to minimize that grainy look.
Noise or grain decreases an image’s clarity and quality, making it look hazy or blurred. Home buyers love crisp, clear photos of the listings they are interested in.


Unwanted noise in your images can be the result of any of the following:
- Unexpected camera movement
- Too long exposure time
- And lens focus issues
But don’t worry, it’s usually easy to fix!
To learn how to fix noise, visit our blog post on how to perform noise reduction in Lightroom & Photoshop or watch this video tutorial:
5. Perform Perspective and Horizon Corrections


When shooting real estate, it’s crucial to pay attention to your lines to ensure a visually appealing composition. Ensure that the horizontal lines and perspectives are well-aligned.
Straight vertical and horizontal lines that don’t converge can be a common problem in real estate photography. Several factors, such as lens curvature, room shape, and camera position, can contribute to these distorted lines.
To see how to align verticals in post-processing, you can check out our video tutorial on how to straighten verticals in Photoshop:
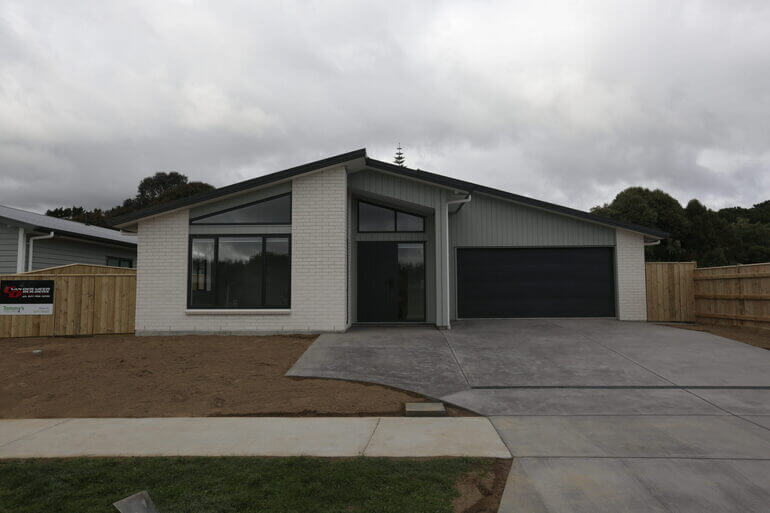
6. Replace an Overcast Sky With a Sunny and Bright One
Did you know that colors truly pop on bright, sunny days? However, when faced with gloomy and overcast skies, your real estate photography may appear lackluster.
But fret not! With just a few simple editing tricks, you can replace the sky and transform your dull photos into picture-perfect masterpieces.


The benefits of sky replacement in real estate photography are numerous:
- Enhances the overall appeal of the property
- Creates a positive and uplifting mood
- Provides real estate photographers with the freedom to shoot at any time, regardless of the weather or lighting conditions
With a little Photoshop magic, you can seamlessly swap gray, cloudy, or overcast skies with vibrant and sunny ones.
For more details, check out our video tutorial on how to do a sky replacement in Photoshop:
7. Add Twilight Effects for Captivating Photos
Photographing a house at dawn or twilight can greatly enhance the appeal of the exterior photos. However, capturing quality images under such lighting conditions can be quite challenging.


But fear not, real estate photographers! There is a solution – photo editing software. By adding twilight effects to the sky and exterior lighting, you can achieve the following:
- Increased sophistication to the look and feel of a property
- A touch of extra drama or a mood booster to the scene
- No need to worry about the weather or the time of day for the photoshoot
So, let’s dive into a few easy steps that will help you add those stunning twilight effects to your real estate photos, making them even more captivating and engaging.
Watch our video tutorial on how to edit a day to dusk image for real estate photo editing:
High-Quality & Consistent
Real Estate Photo Editing
Hire a dedicated editor with performance metrics from $7/hour.

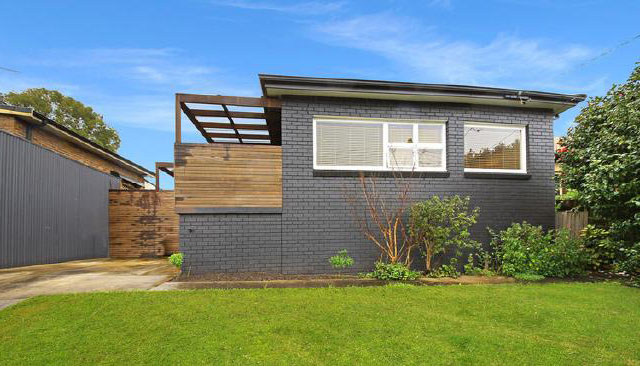
8. Create a Green, Lush Lawn
When it comes to selling properties, a beautifully landscaped, vibrant green lawn holds significant curb appeal.

However, factors such as seasonal variations, inadequate rainfall, or excessive heat can lead to browning or patchiness. Sadly, a dying lawn can detract from the overall allure of a stunning home.
To tackle this issue, real estate photographers can rely on the dynamic duo of Lightroom and Photoshop. These powerful tools enable you to adjust the lawn’s color and enhance other landscaping elements, elevating the visual appeal of your photos.
To learn how to create a beautiful green lawn, check out our video tutorial on how to make grass green in Photoshop:
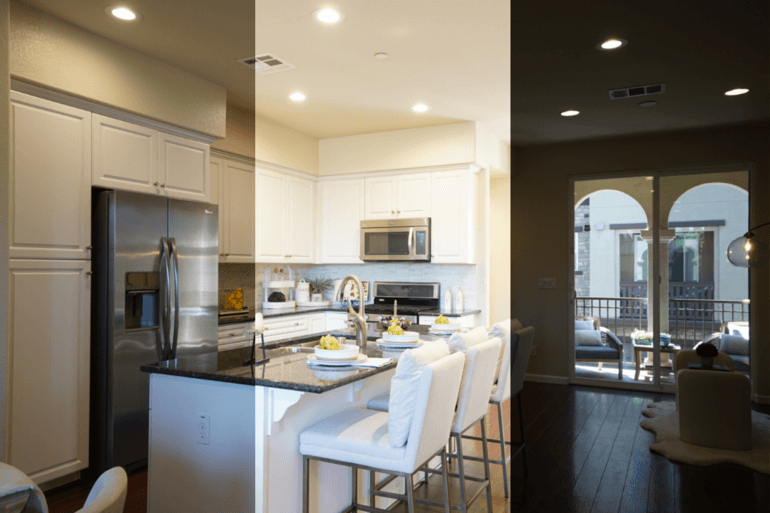
9. Use HDR Editing
HDR, short for High Dynamic Range, is a crucial element in real estate photography. It has the remarkable ability to capture every detail of a property image, from its striking highlights to its subtle shadows, resulting in a realistic and visually appealing representation.
This editing technique involves merging multiple images of varying exposures into a single, captivating image. Typically, photographers capture 3 to 5 exposures, which are skillfully blended to create the final masterpiece.

The blending process can be executed manually using editing software like Photoshop, or it can be streamlined with the assistance of automated tools such as Photomatix, Aurora HDR, and Luminance HDR.
These tools collectively enhance the overall visual impact and ensure an engaging viewing experience. This video will help you get started with HDR editing:
Better yet, if you don’t know how to use these programs or don’t have the time for post-processing, PhotoUp’s expert photo editors can help blend bracketed photos for you.
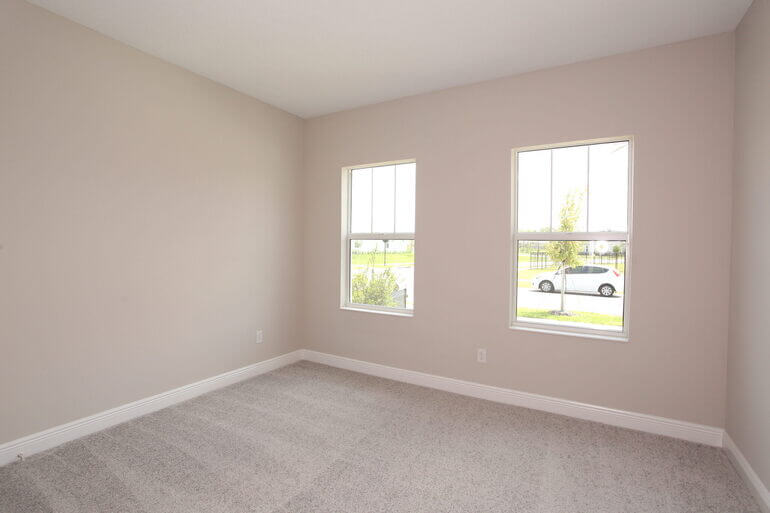
10. Leverage AI Virtual Staging


AI Virtual staging is the process of adding virtual furniture to an empty or outdated room in a photograph. It can also be used to declutter images, make virtual repairs, or improvements to the landscaping.
This powerful technique helps potential buyers envision themselves living in the home, while also showcasing the property’s potential.
The best part? It’s not only highly realistic but also cost-effective and incredibly quick, with a turnaround time of just 5 minutes.
Virtual staging offers a level of flexibility that traditional staging simply can’t match. You can showcase the home in multiple styles and designs, appealing to a wider range of buyer target audiences.
Plus, it’s perfect for buyers who are social-distancing, allowing them to visualize the home and imagine the endless possibilities.
Virtual staging can be done using software like Adobe Photoshop, or you can easily outsource it to professional service providers like PhotoUp.
PhotoUp AI Virtual Staging Demo
Check out this demo of how easy it is to outsource your virtual staging to PhotoUp’s designers:
11. Avoid Over-Editing
While real estate photo editing can certainly enhance your images, it’s important to avoid over-editing or manipulating them.
Over-editing creates unrealistic images that will make buyers skeptical. It’s best to keep things simple and make subtle adjustments to lighting and colors, rather than making drastic changes.
The value of real estate photography is to help agents sell a listing. And for that, you need to provide them with captivating but natural-looking real estate photos.
12. Take a Second Look

Now, we’re at the end of our real estate photo editing tips… Before sharing any property photographs, make sure to take a second look at your images.
Check for consistency when it comes to aspect ratio, angle of the shot between rooms, and photo saturation.
If you have multiple images, make sure that they have a certain degree of consistency so that they all sit well together.
Lastly, keep in mind that photo editing for real estate can take many hours. So many real estate photographers and agents outsource their photo editing.
And here’s where PhotoUp is ready and happy to help!
Have You Ever Thought To
Outsource Photo Editing?
Try it today with 5 free edits from three professional photo editors.
Outsource Your Real Estate Photo Editing to PhotoUp!


When it comes to creating breathtaking images, quality really matters. 72.2% of Realtors report that high-quality photography helps them win more listings, and homes with impressive listing photos receive 47% higher asking prices per square foot.
That’s why investing in professional real estate photo editing services can be a game-changer.
Look no further than PhotoUp – the ideal choice for real estate and architectural photographers seeking an affordable and highly skilled photo editing service.
Based in the US and with additional offices in the Philippines, we offer a full range of services to cater to all your photo editing needs, including:
- Brightness and color correction
- Vertical lines adjustments
- Advanced object removal
- Day-to-dusk conversion and Twilight editing
- Lawn greening and sky replacements
- HDR editing
- Manual blending
- Flambient editing
- And much more!
PhotoUp’s team of editors can handle any editing job — big or small, complex, or simple. And our pricing is also affordable, with most photo editing services starting at only $1.10 per image depending on your subscription.
Browse Top Dedicated
Real Estate Photo Editors
Ready-to-hire editors for real estate photo editing, and more.
Quick & Easy Ordering Process
All you need to do is sign up for a free PhotoUp account, place your first order, and your professionally edited images will be delivered back to you in less than 24 hours.
PhotoUp Real Estate Photo Editing Uploader
To see how easy it is to get started using PhotoUp, you can check out our real estate editing uploader demo:
It’s really that easy to get stunning images delivered back to you!
Sign up for a free PhotoUp account today, and give PhotoUp’s professional real estate editing service a try! For a limited time, we even offer 5 free edits when you sign up for an account.
We hope this blog post provided you with some useful real estate photo editing tips and tricks to create stunning images. Before you go, you may also want to check out some related resources:

