


Table of Contents
- Why Is Real Estate Photo Editing Important to Sell Homes?
- How to Edit Interior Photos in Photoshop (With Tutorials)
- Let PhotoUp Enhance Your Interior & Exterior Photos!
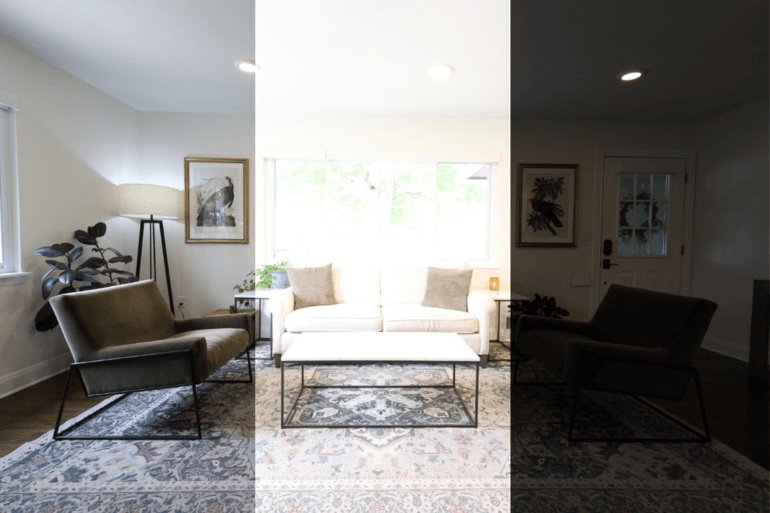
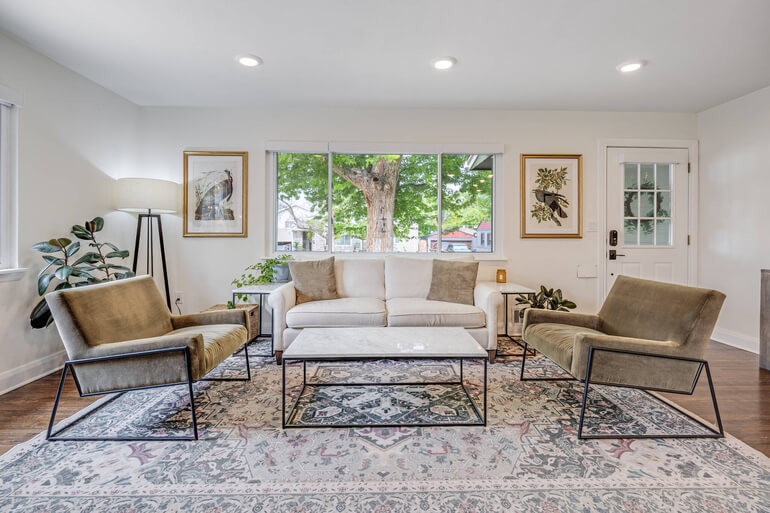
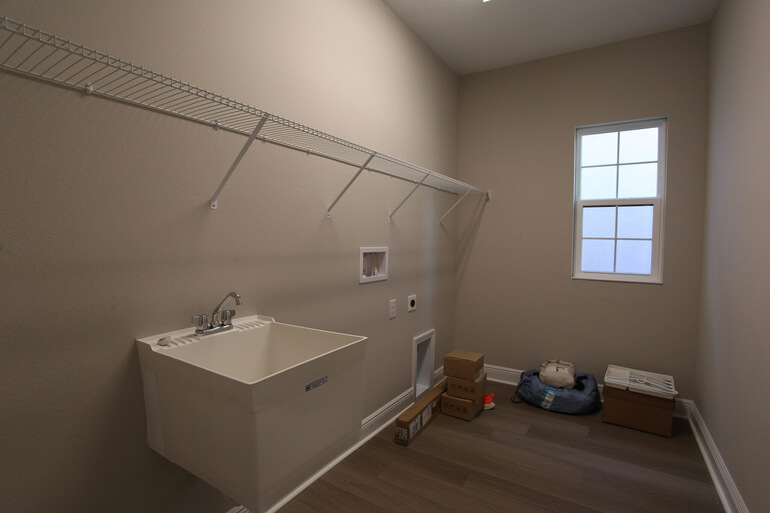
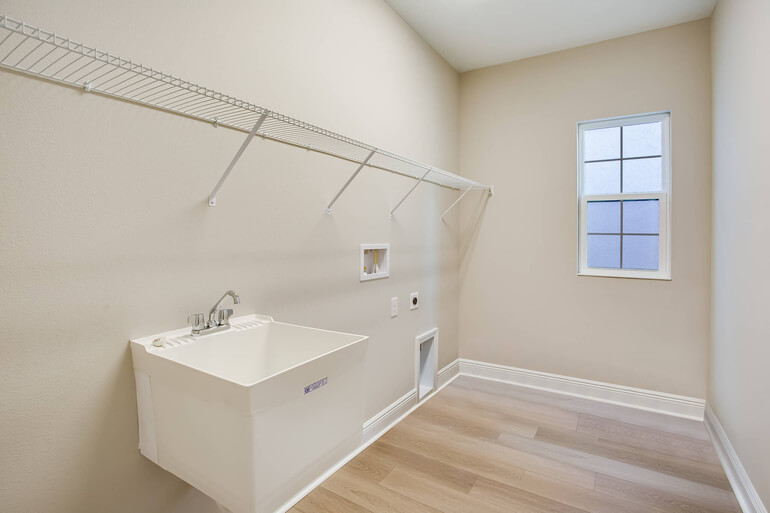
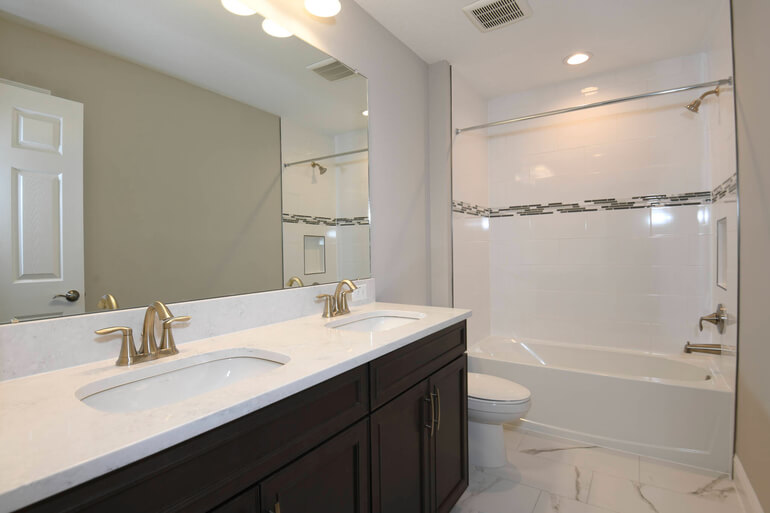
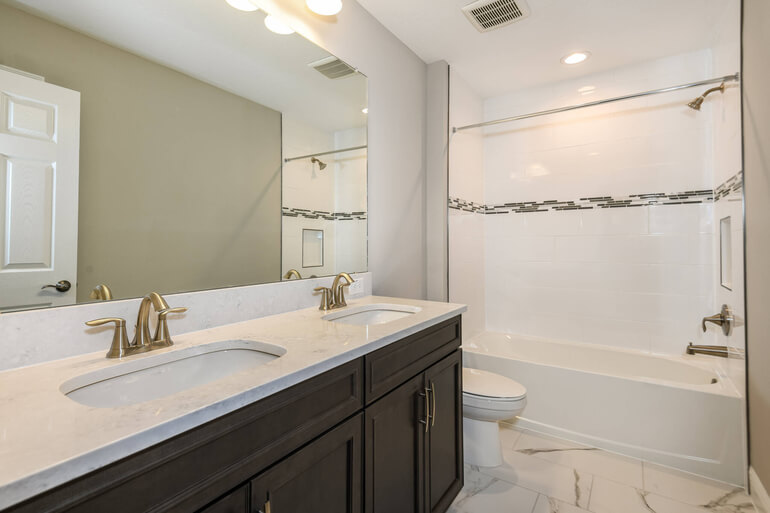
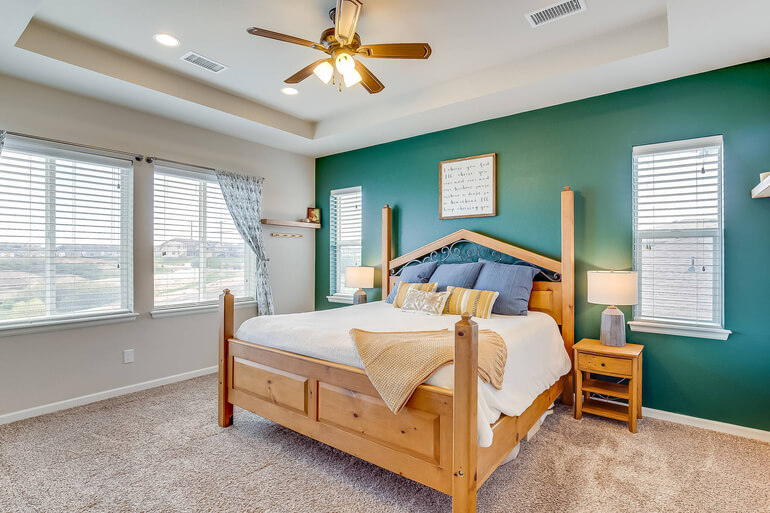
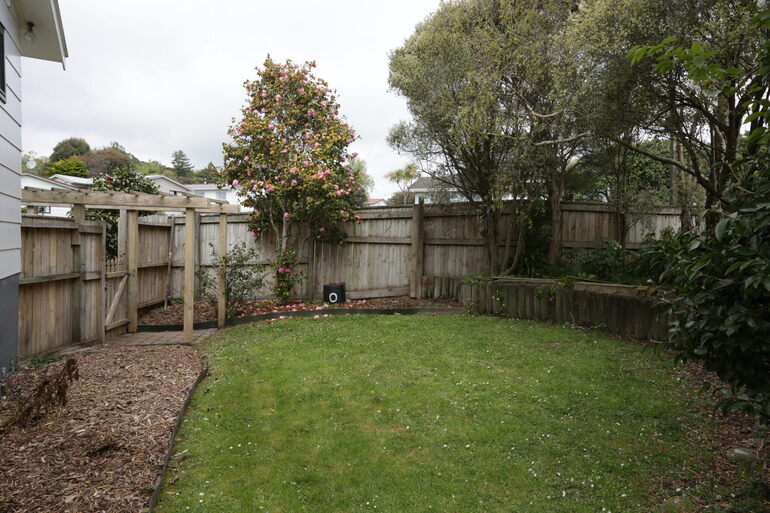
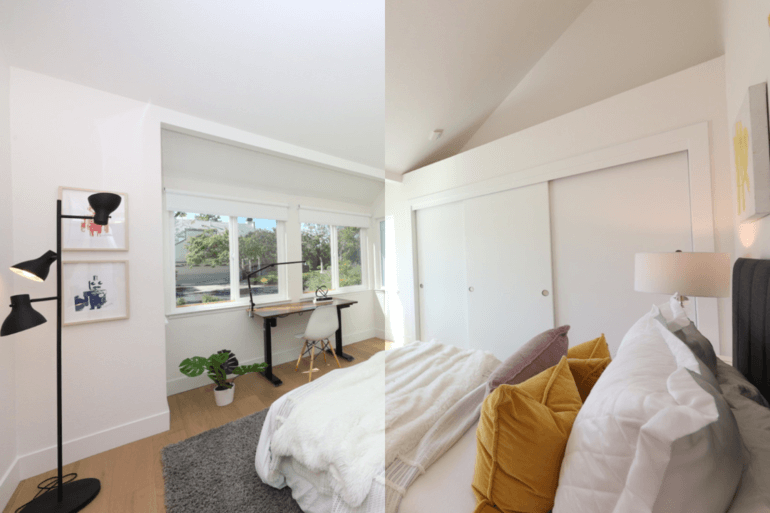
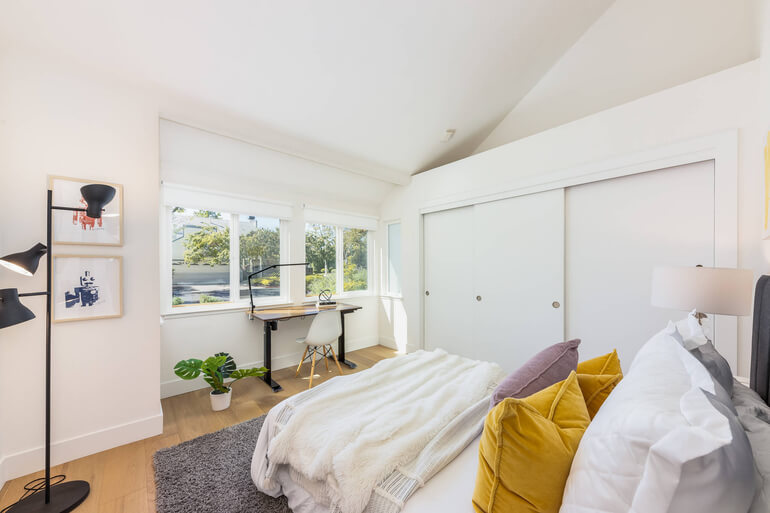
The most crucial aspect to take great interior real estate photographs is property lighting. However, sometimes glares from windows, reflective surfaces, and unbalanced or mixed lighting conditions can make your images look dull and dark.
Luckily, there are some quick and easy Photoshop edits that can make your dark images look bright and shiny!
In this post, we’ll show you how to edit interior photos in Photoshop to help you create stunning real estate photos that will wow potential buyers.
But before we get into the nitty-gritty, let’s take a look at why editing is so important for real estate sales.
Why Is Real Estate Photo Editing Important to Sell Homes?
We all know how important it is to present high-quality images when showcasing properties to potential buyers.
The best way to make a lasting impression and attract interest is through captivating photos that showcase every aspect of the home in the best possible light.
But did you know that in 2021, a whopping 97% of people use the internet to search for prospective homes? That’s a lot of people, and they’re all expecting to see stunning photos of the properties they’re interested in.
If you want to get these potential buyers in the door and sell as many homes as possible, you need to make sure your photos are top-notch.
Photo editing is a crucial aspect of any real estate photography business, period.
It allows you to tweak lighting, remove unflattering objects, enhance colors, align verticals, and more, so you can produce “picture-perfect” photos every single time.
How to Edit Interior Photos in Photoshop (With Tutorials)
So let’s now jump straight into post-processing and show you how to edit interior photos in Photoshop using 11 simple techniques.
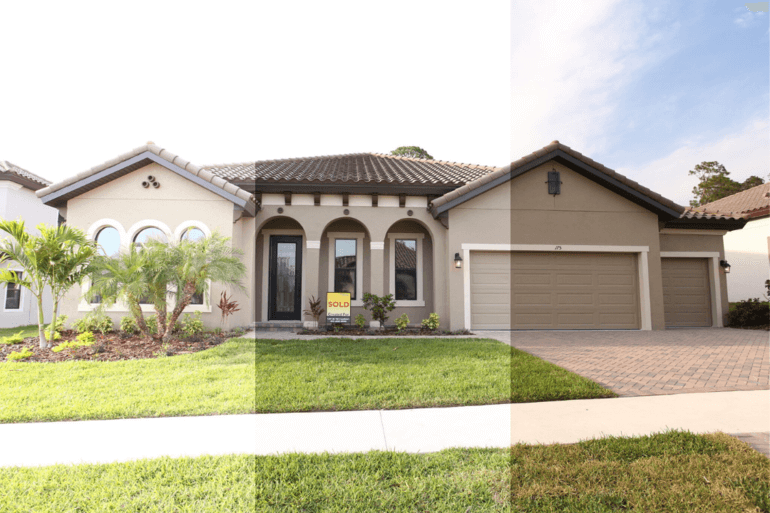
And if you want to learn some exterior photo editing techniques, you can visit or blog post on how to edit exterior real estate photos.
1. Brightness and Exposure Enhancements
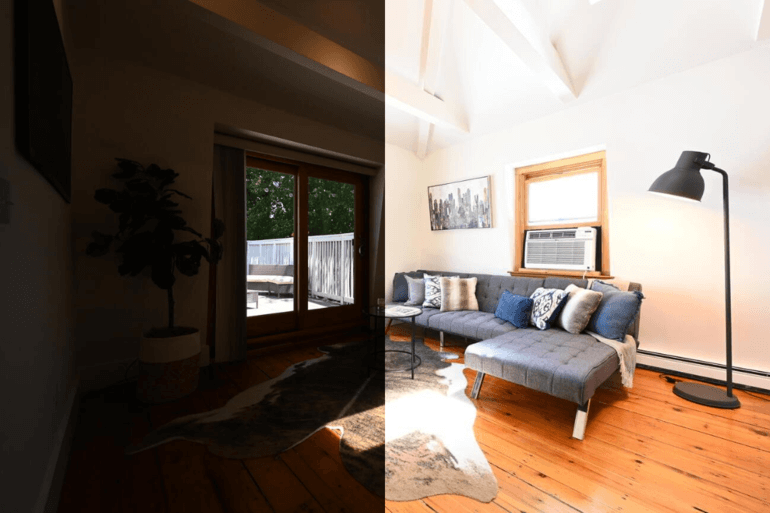
First off, let’s talk about lighting. Nobody likes looking at dark, dull photos, so your photos should naturally be nice and bright.
However, it’s important to avoid blown-out highlights or deep, dark shadows.
Relying on your light meter settings can go a long way in preventing exposure issues. But even with lots of care and planning, photos can still come out improperly exposed in situations like:
- Glaring windows on sunny days
- Fabrics and textures that soak up light
- Mirrors and reflective surfaces
- Or unbalanced or mixed lighting situations
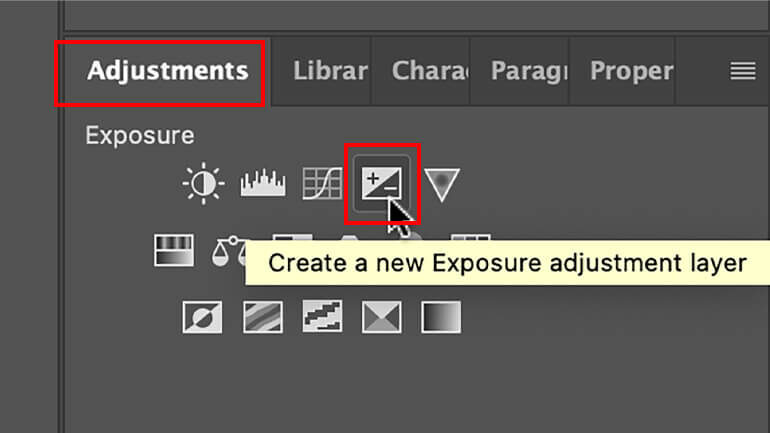
To quickly and easily change the exposure of your real estate photos in Photoshop, you can click on the Adjustments tab and Create a new Exposure adjustment layer by clicking on the Plus-Minus icon.
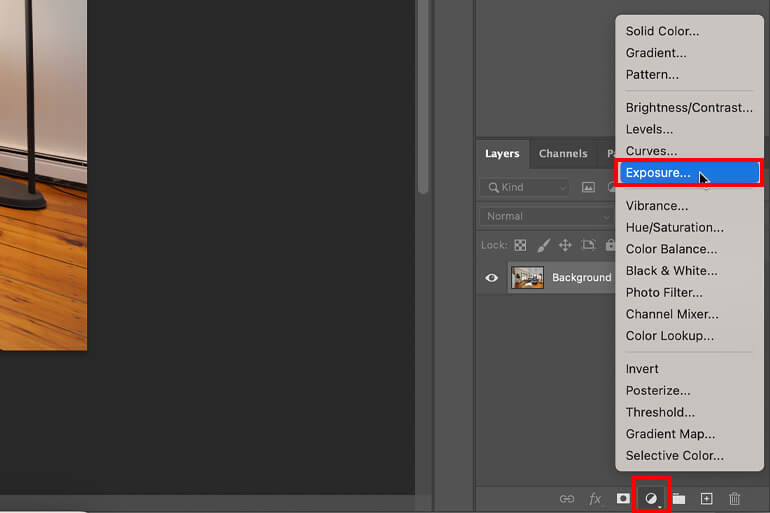
Or you can simply click on the Create new fill or adjustment layer icon in the bottom menu and choose Exposure.
The Exposure window will now pop up, and you can use the Exposure slider and drag it to the left or right to adjust the exposure.
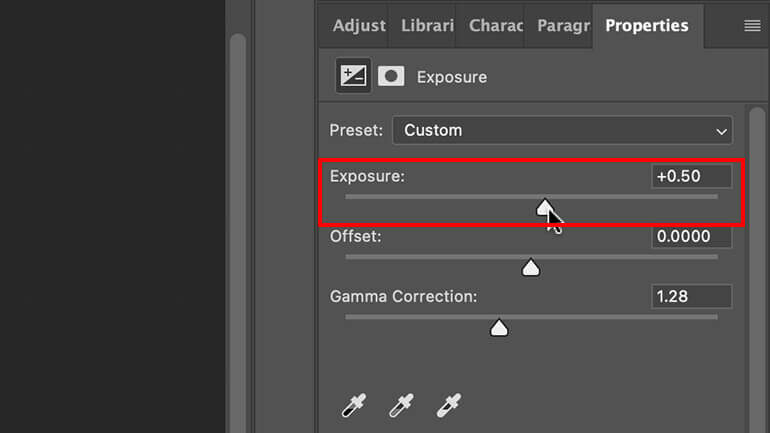
Watch out for not making your images over or under-exposed using this method though.
For example, adjusting the exposure too high will create blown-out details and if under-exposed, the image will look too dark. Use your judgment, and you’ll find the right balance.
For more details and two additional ways to change the exposure and brightness, you can check out our blog post on how to change exposure in Photoshop (3 simple ways).
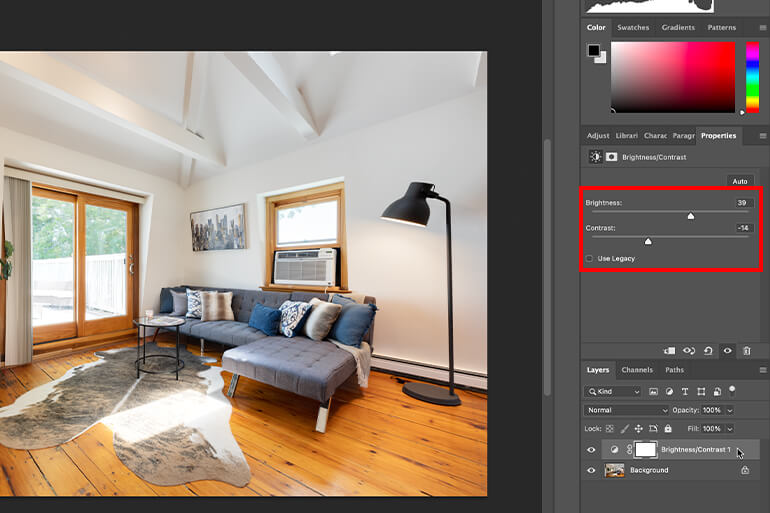
2. Adjusting the Contrast
Good contrast is key! You want darker elements to stay rich while still brightening up the walls and brighter parts of the photo.
And if there are colorful elements, you want to make sure they’re vibrant and have the correct temperature.
The easiest way to adjust the contrast and brightness of a photo in Photoshop is to create a new Brightness/Contrast adjustment layer in the Adjustments tab.
Or just like when adjusting the exposure, you can go to Layer and then click on New Adjustment Layer > Brightness/Contrast. Or you can simply click on the Create new fill or adjustment layer icon in the bottom menu and then click Brightness/Contrast.
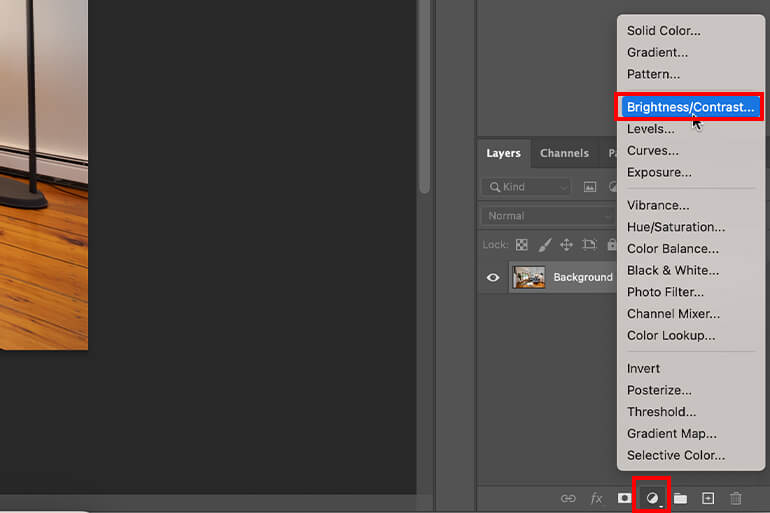
And in the Brightness/Contrast window, you can now adjust the brightness slider left or right to darken or lighten the photo.
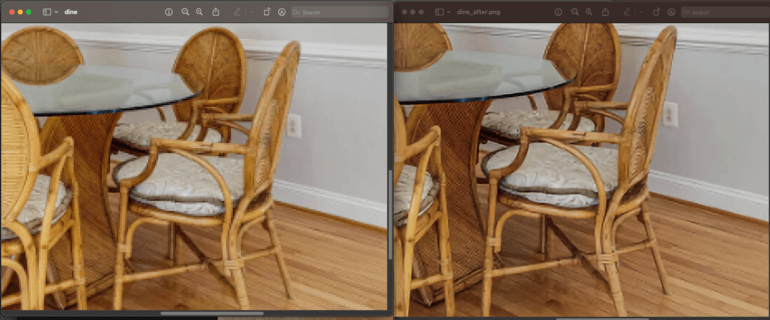
3. Removing Color Cast

Nobody wants to see color casts in photographs, especially not in the competitive world of real estate. Color cast is a tint of an unwanted color that detracts from the overall quality of an image.
There’s a range of lighting conditions that can be responsible for creating color cast in a photo, including:
- When fluorescent bulbs are used and can produce a bluish hue
- Or when dark window tint film makes a beige-colored wall look something like a watered-down fruit smoothie
- Plus, gray skies outside can also put a damper on an otherwise bright-looking interior wall
Even the best cameras can sometimes alter the natural color of a scene, but worry not!
Simple editing techniques exist to restore the original quality of the photo. To see how this is done, check out our video tutorial on how to easily remove color cast from real estate images in Photoshop:
4. Straightening Verticals
Many interior photos are ruined by distorted linear lines. For example, these would be uneven or bent lines of:
- Ceiling and corners
- Cabinet edges
- Windows and their framing and treatments
- Larger furniture or decorative objects
- Possibly also the fireplace
But fret not, well-done photo editing can straighten things after the shoot using cropping overlays and vertical/horizontal transform tools.
To learn more, watch our video tutorial on how to straighten verticals in Photoshop:
Have You Ever Thought To
Outsource Photo Editing?
Try it today with 5 free edits from three professional photo editors.

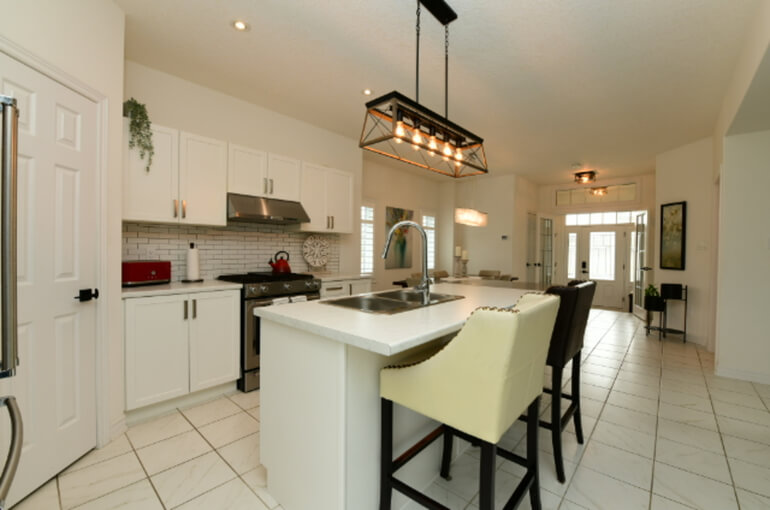
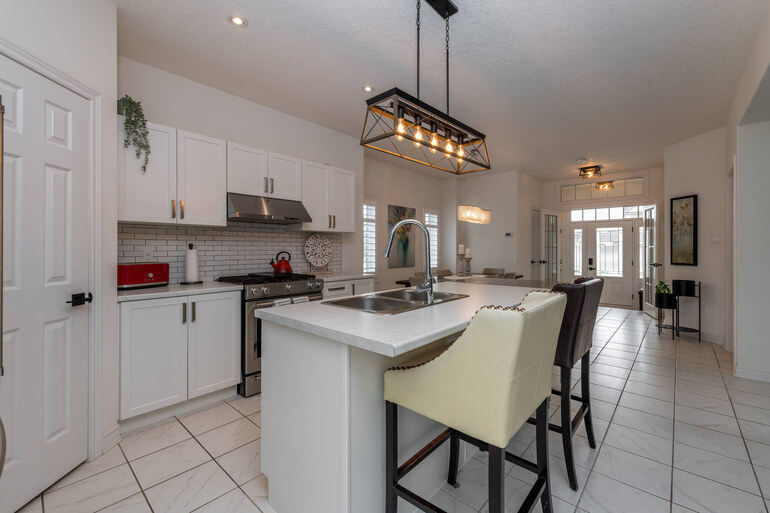
5. Cleaning Up Your Photos
Even with proper preparation, distracting items sometimes still find their way into interior photos. These might include:
- There are unsightly cords and wires
- Marks, cracks, or small holes in walls
- Lint or dust on furniture or surfaces
- The dog dropped a toy on the floor right before your shot
- And many more situations that can be easy to miss
The good news is that such items are easy to remove in post-processing or even with the help of virtual staging.
For more details, you can check out our video tutorial on how to remove cords in Photoshop:
6. Sharpening Your Images
Image sharpening is a great way to enhance the quality and appearance of your interior real estate photos.
Typical problems with grainy or noisy images tend to be the result of:
- Hazy lighting from windows
- The glare of interior lighting sources — particularly ceiling fixtures
With image sharpening, you’ll be able to reduce blurriness, fix lens distortion, and capture every moment in full detail.
However, it’s important to know your photo’s limits and not to over-sharpen it. A sign of over-sharpening is the appearance of white lines along the edges of an object.

Another sign of going overboard with sharpening is that the background of the image has a lot of added image noise or graininess.
So watch out for this when sharpening your images and you’ll know when it’s enough.
To learn how to do this simple yet powerful edit, you can watch our video tutorial on how to sharpen an image in Photoshop:
7. HDR Editing
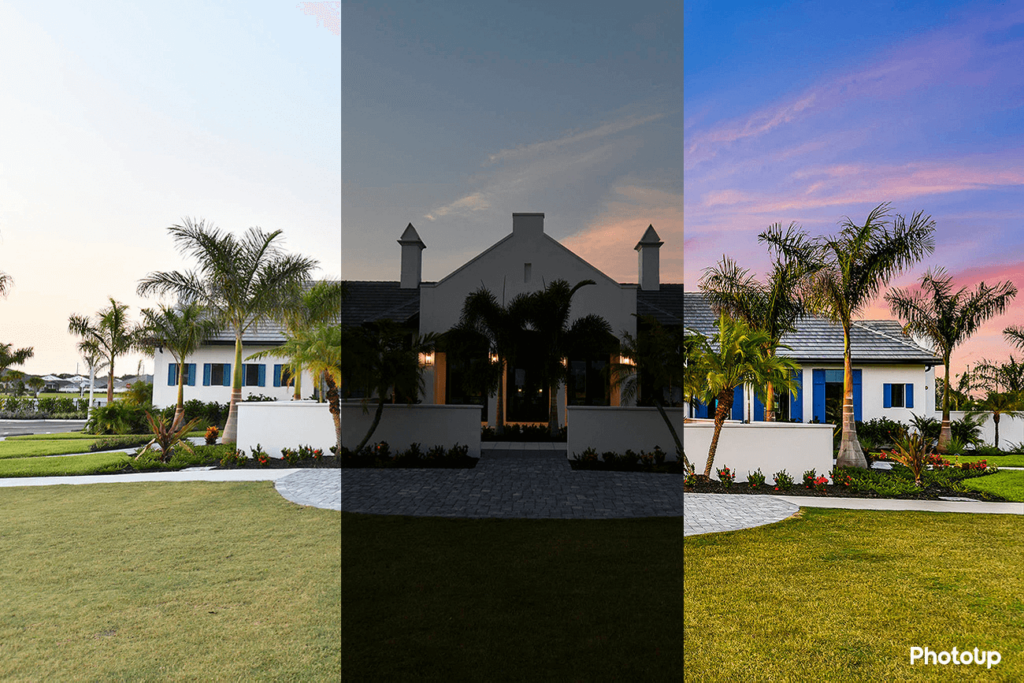
You must have heard of a technique named High-Dynamic-Range or HDR that many real estate photographers utilize to capture astounding photographs with vivid details.
Wondering what HDR is exactly?
It’s a technique in which multiple images are taken at different exposures and blended together suitable to create a greater dynamic range of luminosity.
And you know what’s cool about it?
All you have to do is merge 3 or more photos to create a magnificent image that brings out every little detail present in the scene.
For more details, see our video tutorial on how to edit HDR photos in Lightroom:
8. Removing Flash Shadows
When it comes to real estate photography, shadows, and uneven lighting are common obstacles.
While they can add a nice contrast to the image, they can also create distractions, making it appear unprofessional.
Did you know you can easily fix this by adjusting the shadows and highlights, whites, and blacks in Lightroom?
You can say goodbye to flash shadows and hello to a stunningly professional picture with this simple edit:
Cropping Your Photos

Did you know that cropping an image can make a huge difference to the overall photo?
It can improve framing, change the aspect ratio, and bring more focus to the subject rather than the background.
Just be careful not to crop out permanent structures such as electrical posts, water towers, or other fixtures around your home since that is considered photo manipulation and can get you into legal hot waters.
Making Batch Edits


Batch editing RAW files in Photoshop is a nifty trick for making simultaneous changes to multiple files, which can save you a lot of time.
This can prove quite useful when you need to update many files with the same adjustments, such as changing the contrast, color saturation, and exposure.
Once you edit one photo, with just a few clicks, you can apply the same changes across all your pictures efficiently and effectively!
To learn more, you can watch our video tutorial on how to batch edit RAW files in Photoshop:
Don’t Overdue It!
Last but not least important, make sure your photos look real and convincing.
You’ll be editing them quite a bit, but be careful not to overdo it and make them look too unrealistic.
Bright, vibrant, and contrasted are great, but don’t over-color, overexpose, or oversaturate them!
High-Quality & Consistent
Real Estate Photo Editing
Hire a dedicated editor with performance metrics from $7/hour.
Let PhotoUp Enhance Your Interior & Exterior Photos!

If you’re looking for the best photo editing experience possible — work with PhotoUp.
With over a decade in the industry, PhotoUp has employed several hundred photo editors around the world — making it hard to match their quality, service, and pricing.
Our highly skilled editors can handle any photo editing job — big or small, including:
- Improper exposure levels
- Color and tone adjustments
- Window masking and glare reduction
- Clutter and object removal
- Line and angle corrections
- Harsh shadows, lack of light, etc.
- Blurred or fuzzy images taken without a tripod
- Images that need cropping or other effects
- And much more!
Best yet, our pricing is affordable, with most photo editing services starting from only $1.10 per image depending on subscription level.
Browse Top Dedicated
Real Estate Photo Editors
Ready-to-hire editors for real estate photo editing, and more.
Apart from the standard real estate photo editing services, we also offer marketing services such as:
We have everything you need for your real estate marketing needs under one roof!
So, sign up for a free PhotoUp account, and let our expert real estate photo editors make every one of your interior photos look specular.
We hope this blog post helped you learn how to edit interior photos in Photoshop. If you found this post useful, you may want to check out the following resources as well:

