


In today’s fast-paced world, people want everything fast, including real estate transactions. About 90% of home buyers start their search online for properties they’re interested in. This is where images are important as they speak a thousand words.
That being said, good photo editing is crucial to attracting potential buyers. In this blog post, we’ll share 9 secrets to top-notch real estate image editing.
Let’s get started!
9 Secrets to Top-Notch Real Estate Image Editing
Here are 9 secrets to top-notch real estate image editing that will help you create stunning image results and sell your listing at record speed.
1. Use the Correct Equipment

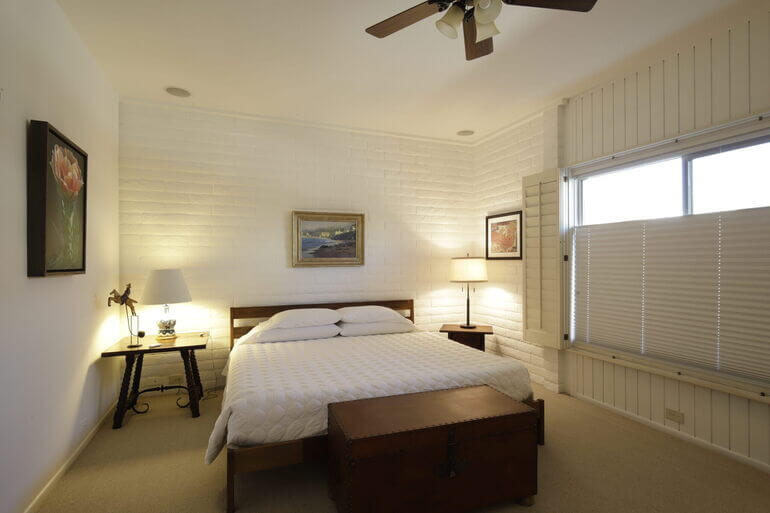
Your editing skills can only bring out the potential of your images only if the initial photo is of good quality.
It’s therefore essential to make sure you have the correct equipment, especially a high-quality camera and lens that allows you to capture sharp and clear images.
Also, consider investing in additional lighting equipment and a tripod to take multiple images and avoid camera shakes. This will help in making your editing job easier.
For more tips and information about the right gear, check out our a no nonsense guide to real estate photography gear.
2. Use the Right Editing Software

When it comes to real estate image editing, Photoshop and Lightroom are two powerful tools that are known to produce amazing results.
Such software offers numerous features, including exposure, color correction, and retouching tools that have access to layers of the image.
With the help of these tools, you can create a polished look, improve shadows, remove undesirable elements, and balance highlights.
Even better is to outsource your post-processing to a professional real estate photo editing service like PhotoUp.
They always use the latest software and technology to ensure top-notch image results and have thousands of editing hours under their belts.
This helps you free up time you can spend on other high-impact tasks to grow your photography business.
3. Always Work With RAW File Format
While JPEG is a standard format for images, it is a compressed format that results in losing data every time a save occurs.
Therefore, you should always choose RAW file format when taking photos for editing. RAW files are processed directly from the camera’s sensor, thus they do not use compression.
Because they are lossless, the images are extremely high-quality. They show more shades of colors and better representation of white balance, contrast, exposure, etc.
In addition, changes made to RAW files are non-destructive. Only the metadata that controls the rendering is altered, but the original file data remains untouched.
High-Quality & Consistent
Real Estate Photo Editing
Hire a dedicated editor with performance metrics from $7/hour.

4. Focus on Detailing Photos


Real estate photo editing with detailing means working on specific elements to make them pop.
This might include:
- Increasing sharpness and reducing noise
- Straightening lines
- Removing flash shadows
- Enhancing the colors
- Removing power lines and other distracting objects
While also highlighting the features such as textures, windows, doors, and flooring to make the image more appealing
In this regard, you need to master the retouching and masking techniques to achieve your desired result.
5. Don’t Over-Edit
It’s important to understand when to stop editing an image. If you over-edit the image, you can ruin the originality of the scene or room.
Overdoing the colors, exposure, or contrast will make the image look unrealistic.
Using this type of photo manipulation to make a property appear more attractive or desirable than it really is can be misleading and could potentially lead to disappointment or mistrust when buyers or renters see the property in person.
It can even be illegal in some cases.
For example, it’s generally not allowed to use photo manipulation to alter the appearance of a property in a way that would violate zoning or building codes. Or to make a property appear as though it has features or amenities that it does not actually have.
Therefore, always aim for naturally edited photos that represent the true essence of the property.
6. Use Day to Dusk Conversions
By learning how to turn a daytime shoot to dusk, you can add a warm, welcoming glow to any real estate photograph.
Most real estate photographs look better at dusk, and if you can’t shoot at dusk or twilight, you should learn how to recreate the look of a dusk shoot digitally.
Or, even better, work with a partner, like PhotoUp, who can do it for you.
Twilight editing helps you to capture the beauty of a property’s exterior shots with dynamic skies and magical golden glows that potential buyers can’t resist.


In fact, having a twilight image as the listing’s main photo averaged 76% more views than listings without the use of Twilight images.
With day to dusk conversion or twilight editing, your images are sure to stand out from the competition and capture buyers’ attention.
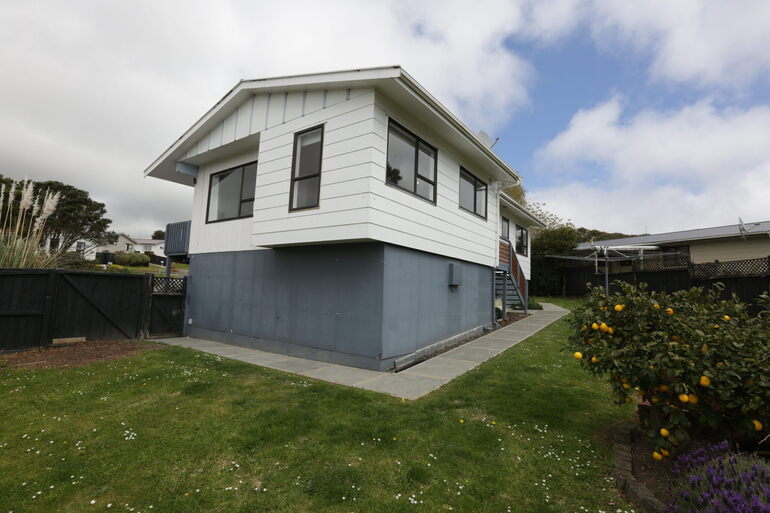
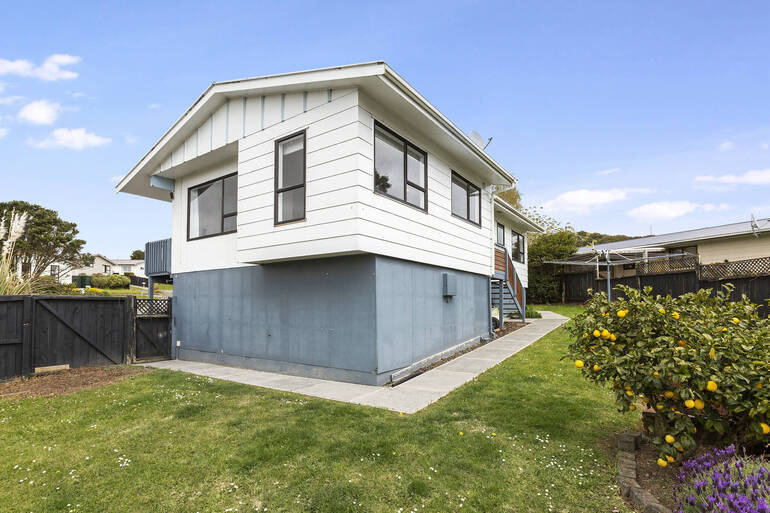
7. Remove Unwanted Objects

Real estate photography often includes unwanted objects that can diminish the quality of an image.
Fortunately, there are several situations where the removal of such objects can greatly enhance the overall appeal:
- Picture a stunning garden view, obstructed by a car parked in the driveway. By removing this unwanted element, the true beauty of the scenery can shine through
- Sometimes, the image may appear cluttered due to visible TV cords. With careful editing, these distractions can be eliminated, resulting in a cleaner and more appealing composition
- Imagine a gorgeous granite counter, marred only by an overlooked frying pan. With the right editing techniques, this imperfection can be erased, letting the countertop’s natural elegance take center stage
- It’s not uncommon to discover unsightly cracks in bathtubs or peeling wallpaper in kitchens. By digitally resolving these issues, the property can regain its allure and attract potential buyers
- And occasionally, an unexpected passerby might inadvertently appear in a shot. In such instances, retouching can discreetly remove their presence, ensuring that the focus remains solely on the property’s features
From unwanted cars to overlooked frying pans, professional image editing can transform real estate photographs, making them visually appealing and captivating to potential buyers.
For more details, you can visit our blog post on 5 simple editing techniques to remove objects in exterior photos.
8. Replace a Dull Sky With a Sunny, Bright One
Colors truly come alive on bright, sunny days, undeniably. However, when gloomy and overcast skies prevail, your real estate photography may appear lackluster.
With a few not-too-difficult editing tricks, you can replace the sky and transform your dull scenery into picture-perfect beauty.


Why bother replacing the sky in real estate photographs, you ask?
Well, it offers a plethora of benefits, including making the property more appealing, providing a mood boost, and granting real estate photographers the freedom to shoot regardless of weather or time of day.
So, with some clever techniques, you can replace gray, cloudy, or overcast skies with vibrant, summery ones using Photoshop.
High-Quality & Consistent
Real Estate Photo Editing
Hire a dedicated editor with performance metrics from $7/hour.
9. Leverage a Professional Real Estate Photo Editing Service
Did you know that homes with high-quality photos receive 47% higher asking prices per square foot?
Real estate photo editing is a crucial step not to be overlooked in marketing and selling properties. The secret to top-notch real estate image editing is to find a balance between the right software, skills, creativity, and accuracy.
And that’s where a professional real estate photo editing service like PhotoUp comes in!

PhotoUp is a global real estate marketing company based in the U.S. with hundreds of editors worldwide, offering a full range of photo editing and marketing services, such as:

Our skilled photo editors can help with, for example:
- Improper exposure levels
- Harsh shadows, lack of light, etc.
- Blurred images that were taken without a tripod
- Images that need cropping or other effects
- Lawn greening and sky replacements
- Twilight editing
- Clutter and object removal
- Line and angle corrections
- And much more!
Browse Top Dedicated
Real Estate Photo Editors
Ready-to-hire editors for real estate photo editing, and more.
PhotoUp’s expert team can handle any photo editing job — big or small, simple or complex for affordable prices, starting at $1.10 per image.
All you need to do to get started is sign up for a free PhotoUp account, place your first order, and your photographs will be delivered back to you in less than 24 hours.
PhotoUp Real Estate Photo Editing Uploader Demo
For more information on how to use PhotoUp’s software, check their real estate photo editing uploader demo:
As you can see, getting your images professionally edited is an easy and quick process!
Sign up for a free PhotoUp account and start working with the best real estate image editing service on the market. For a limited time, you even get 5 free edits when you sign up for an account.
So don’t wait! Try us out today!
We hope this blog post gave you some great tips on how to ensure top-notch real estate image editing. Before you go, you may also want to check out the following resources:

