


Wondering how to edit photos for real estate sales? This article will answer your questions and show you how.
72.2% of realtors report that high-quality photography helps them win more listings, and homes with impressive listing photos receive 47% higher asking prices per square foot.
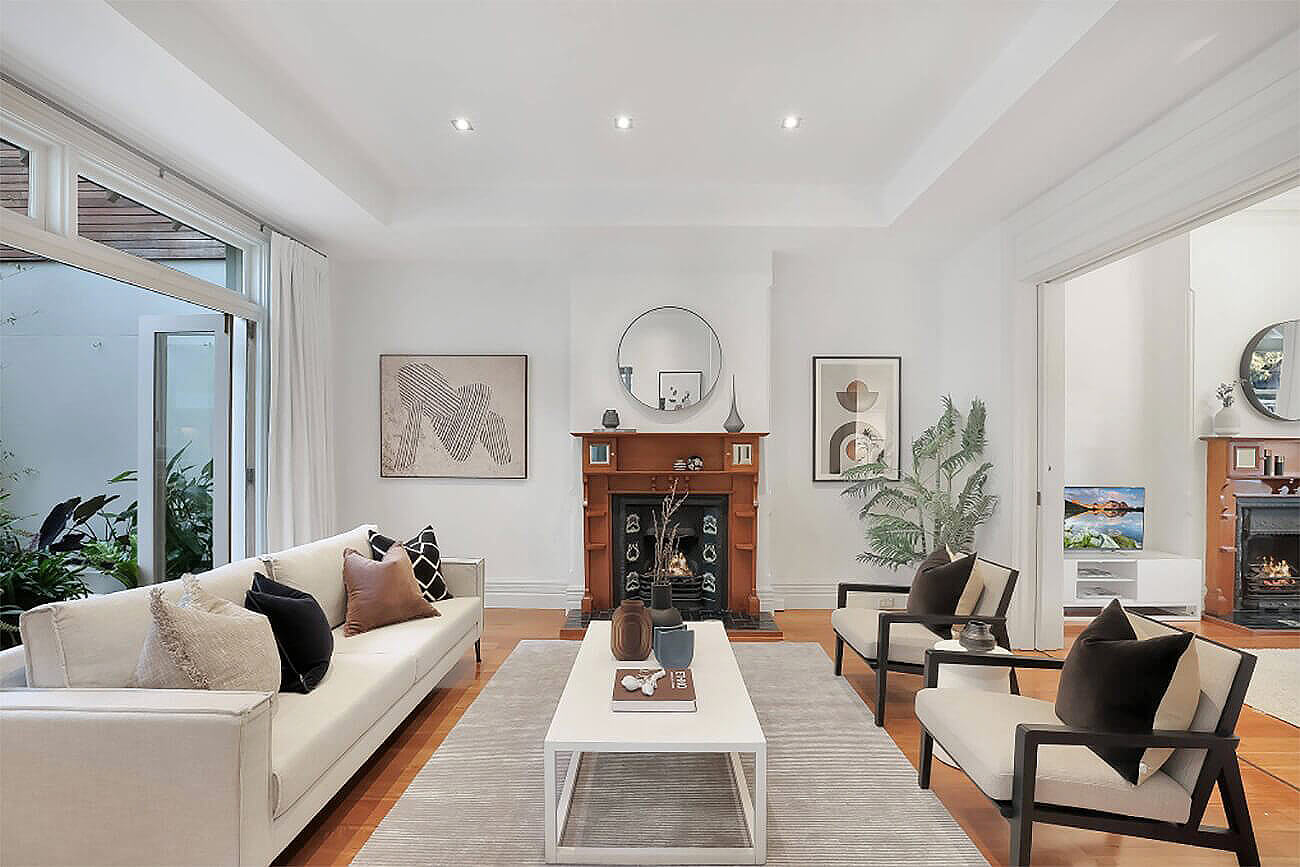
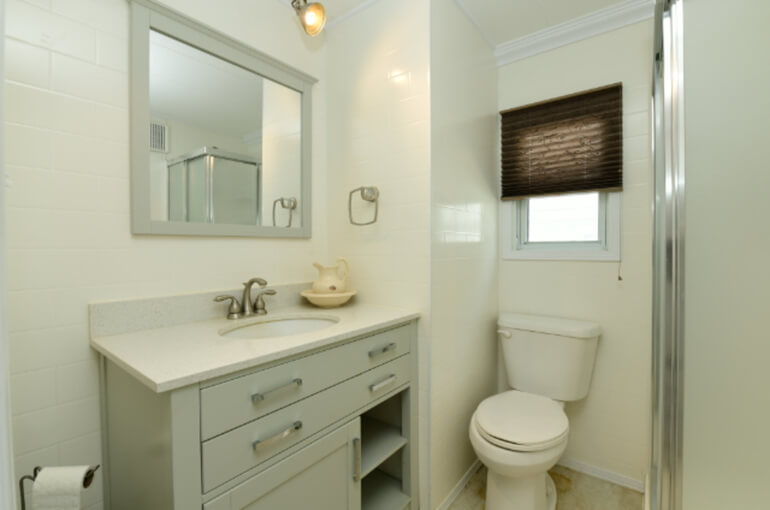
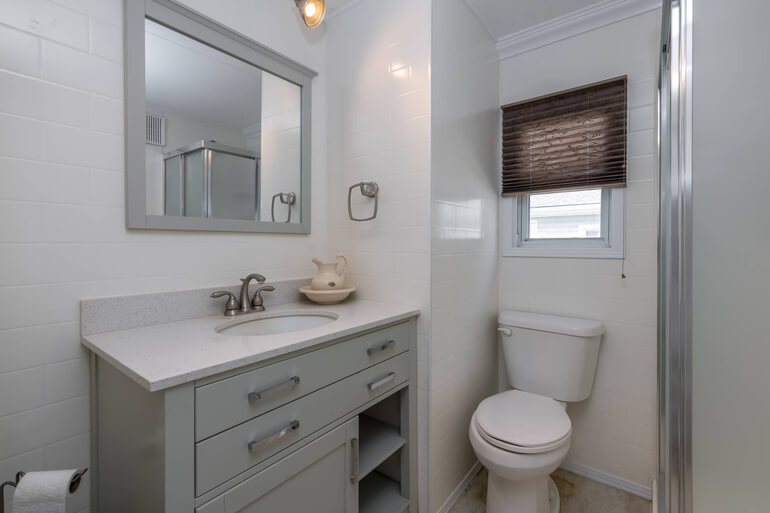
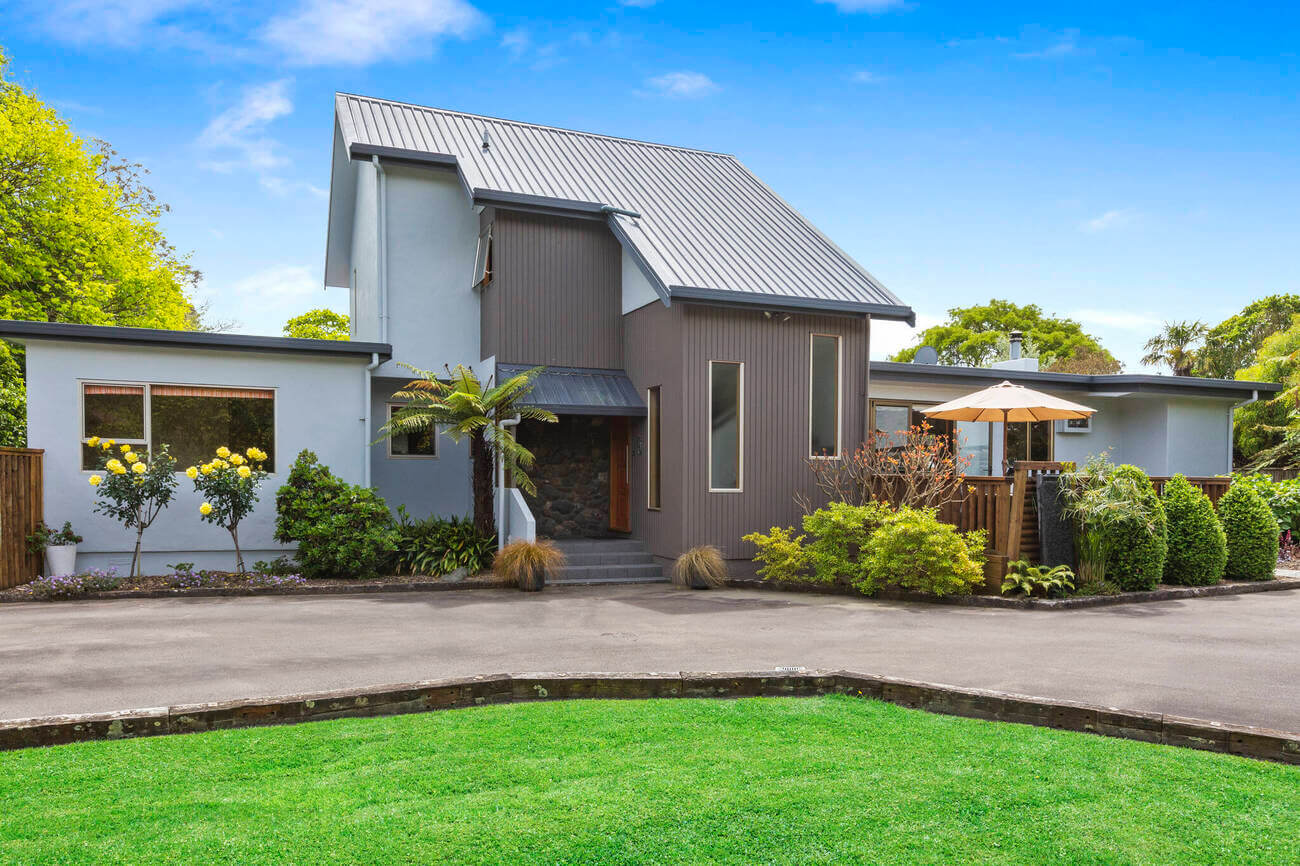
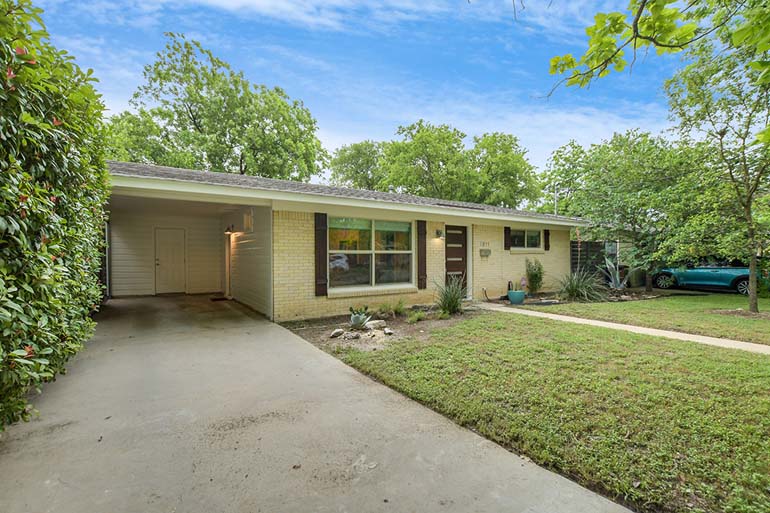
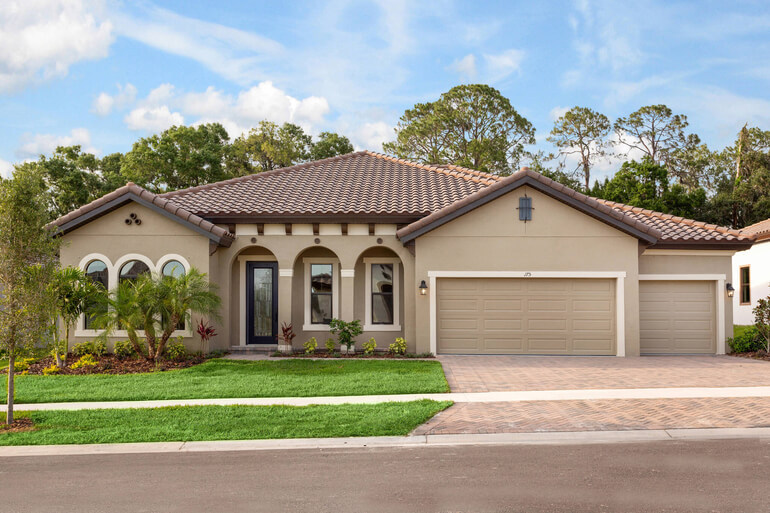
First impressions matter, and stunning photos help sell homes. Real estate photographers and sales agents know this and therefore know they need to have their images edited.
Therefore, in this post, we’ll show you how to edit photos for real estate in 15 simple steps.
How to Edit Photos for Real Estate in 15 Easy Steps
Real estate photo editing is essential for any successful real estate photography and sales business.
Regarding editing tools and software, most real estate sales professionals are familiar with Adobe Lightroom and Photoshop, but other options exist.
So, with that in mind, let’s take a closer look at how to edit real estate photos in 15 easy steps.
1. HDR Blending & Bracketing
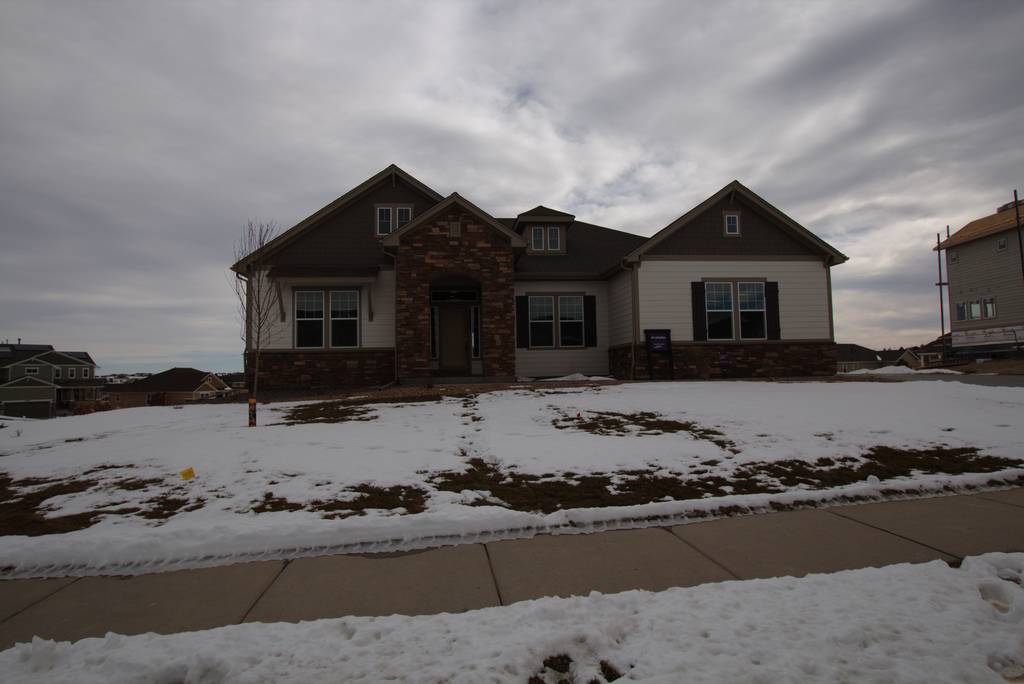
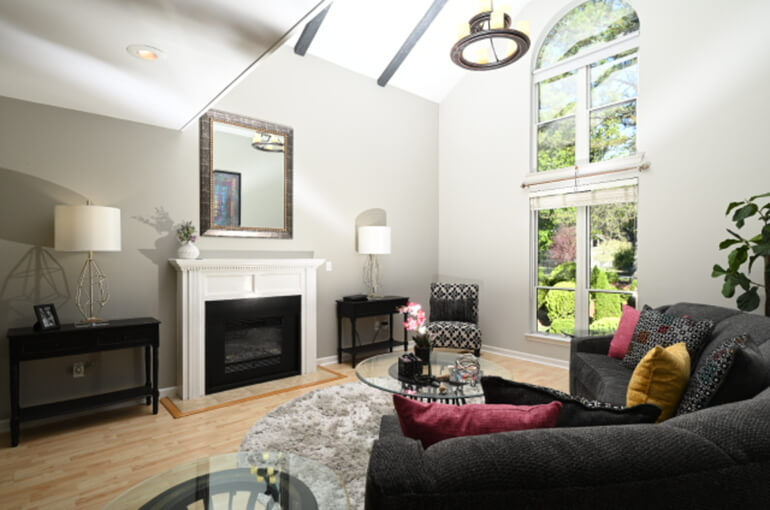
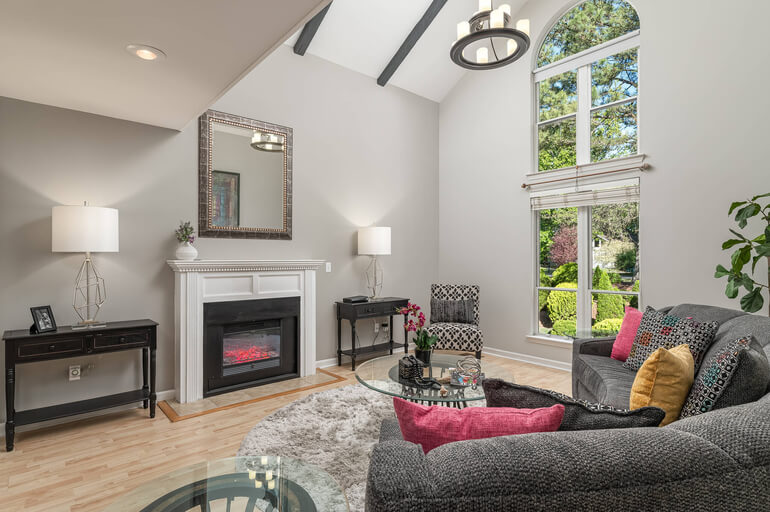
High-Dynamic-Range (HDR) is probably one of the most commonly-used photo editing techniques in real estate photography.
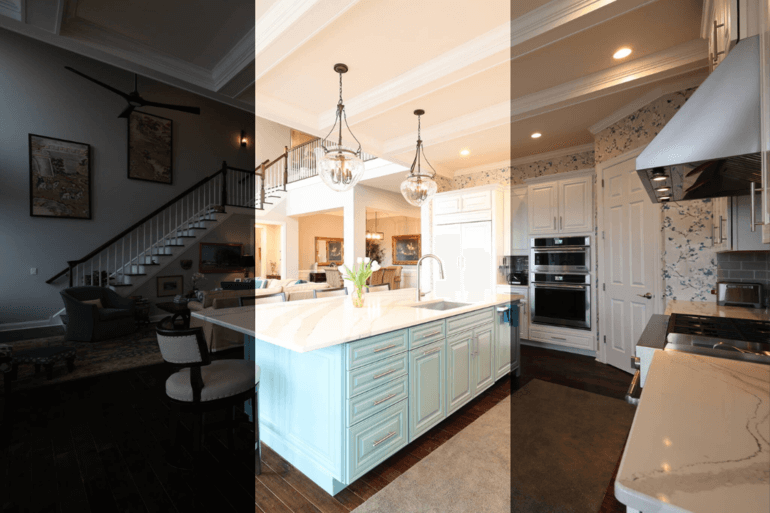
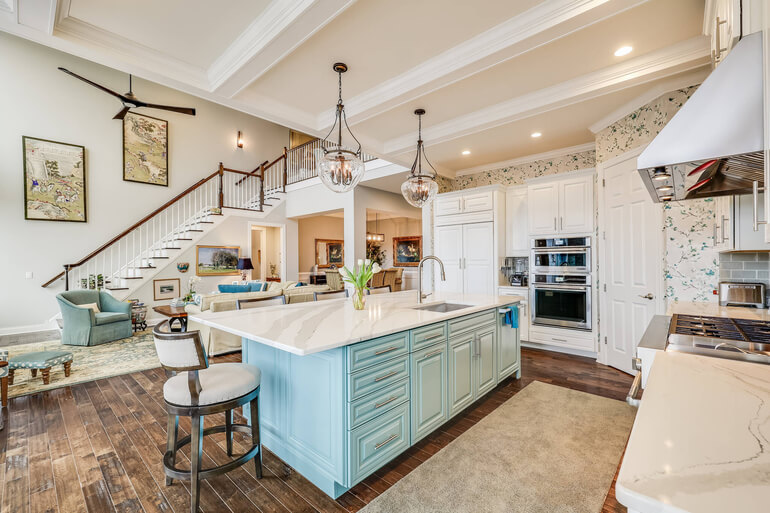
This process blends multiple images taken at different exposures and combines them in post-processing to create one perfectly blended image.
The result is crisp, bright, perfectly exposed images.
To create HDR images, you should shoot your subject in at least three bracketed images using different exposures. Then, you can blend the photos into one in Lightroom to show its highlights and shadows.
For more details, see our video tutorial on how to edit HDR photos in Lightroom:
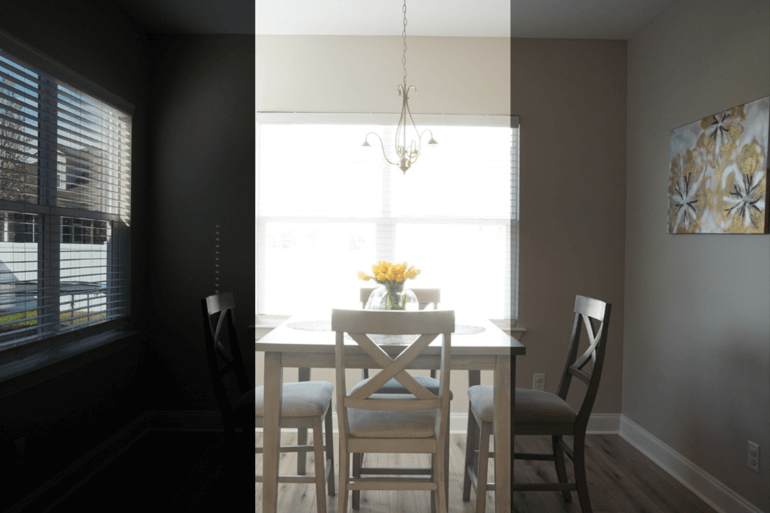
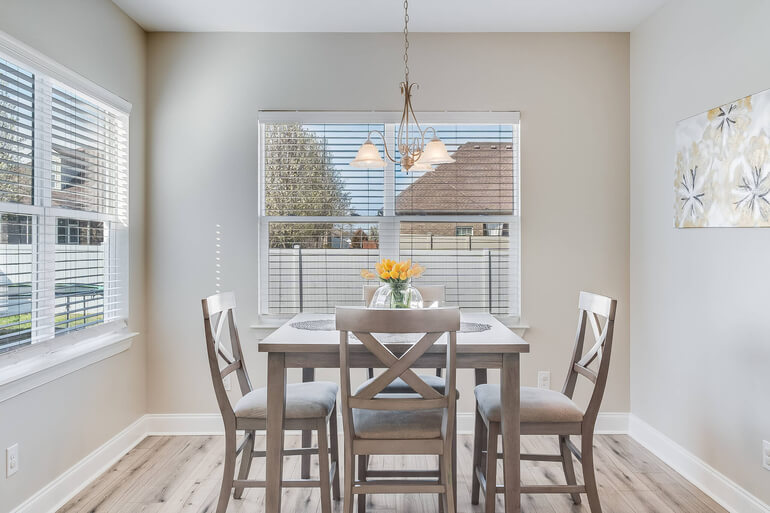
2. Adjusting Saturation Levels

Brightness and color saturation levels are fundamental photo editing concerns. A photo can be over or under-saturated for a variety of reasons, including:
- The effects of natural or artificial lighting
- Camera settings
- And possibly, the use of flash
Happily, with a few clicks of a mouse in most photo editing software programs, you can correct the color levels on any image, making them look bright and appealing.
To learn more about how to adjust saturation levels and tones, you can visit our blog post on how to color correct in Photoshop.
3. Line Straightening
Vertical and horizontal lines that don’t converge are common issues in interior real estate photography.
These perspective mishaps occur from a variety of causes, including:
- The curvature of the camera lens
- Where in the room the photographer was standing or how they held the camera
- Even the shape and size of the room can contribute to such issues
Thankfully, you can fix this issue with a simple retouch called a perspective correction. This editing technique corrects the misalignment of any lines.
To see how to align verticals using an alternative method, you can check out our video tutorial on how to straighten verticals in Photoshop:
4. Noise Reduction
Noise or grain decreases an image’s clarity and quality, making it look hazy or blurred. Home buyers love crisp, clear photos of the listings their interested in.
Unwanted noise in your images can be the result of any of the following:
- Unexpected camera movement
- Too long exposure time
- And lens focus issues
Among the many ways of how to edit photos in real estate, these issues are usually easy to fix!
Once in Photoshop, click the Filter menu and choose Noise > Reduce Noise.
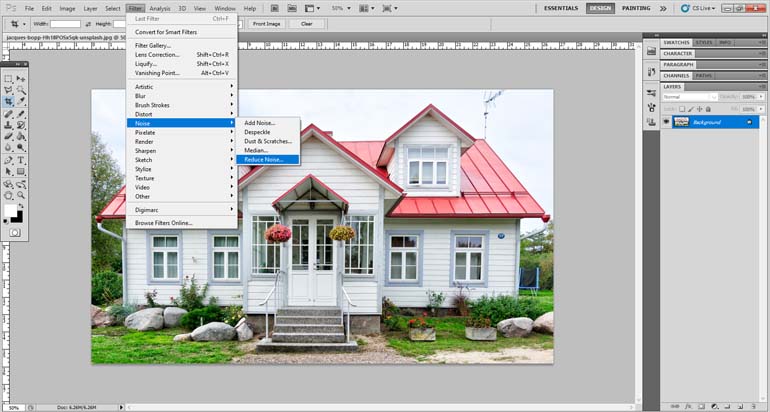
You can also call on PhotoUp’s professional photo editors to help you eliminate the noise making your photos clearer, richer, and more attractive.
5. Color Casting Corrections
Color cast issues are when a specific tint or temperature of color proves to be distracting in a photo.

These issues are hard to notice when taking your photos, but they show up later when you review your work. Consider these common instances:
- A tinted ceiling casts an unwanted hue over the walls of the room
- Warm-shaded light bulbs add a yellow tone to the items in the room
- Or the room has a blueish tinge from fluorescent or LED lighting
Fortunately, through editing, you can neutralize and remove the unwanted tint affecting the colors.
To see how to make these corrections, check out our video tutorial on how to easily remove color cast from real estate images in Photoshop:
6. Adding Objects
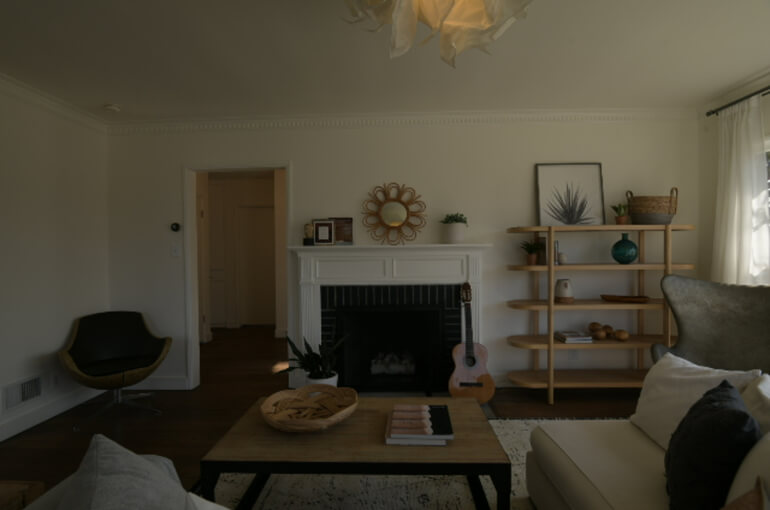
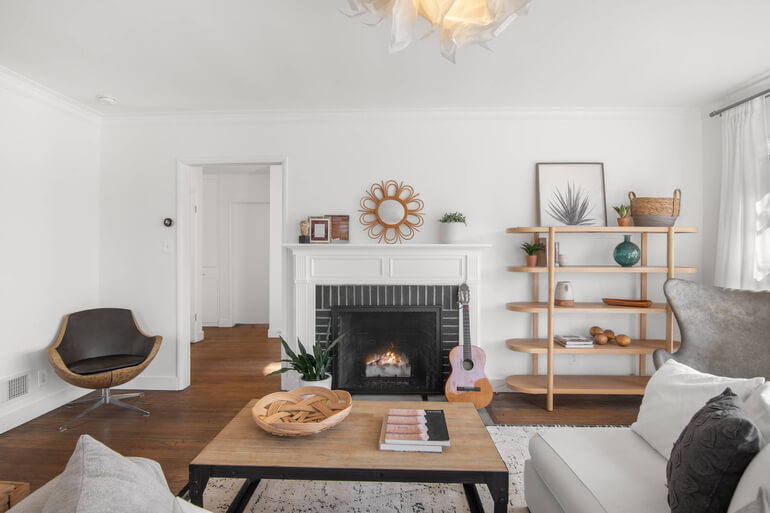
Sometimes, you look at your recently taken real estate photos and realize how much better the shot could have been if only a particular item had been added.
Examples of such occurrences include the following:
- Adding a vase of flowers to a dining room table or kitchen counter
- Having a warm fire in the fireplace
- Placing a cozy bench on the front patio
- Or even adding colorful throw pillows to outdoor furniture
Adding objects isn’t exactly an easy real estate photo editing task. So, in these situations, reach out to PhotoUp’s professional real estate photo editors, who can quickly and affordably do the work for you.
But to show you an example, you can check out this blog post on how to add fire to a fireplace using Photoshop.
High-Quality & Consistent
Real Estate Photo Editing
Hire a dedicated editor with performance metrics from $7/hour.

7. Object Removal
Often, a real estate photographer will notice unwanted objects in their images. For example, unwanted objects commonly include the following:
- Power cords or cables from lamps or computer equipment
- Telephone or power lines attached to the exterior of the house
- A car in the driveway or parked on the street
- Dishes in a sink, smeared windows, or lint on furniture
Once again, these and related issues can be addressed in Photoshop using the Clone Stamp Tool. Select the Clone Stamp Tool and pick the source area by pressing the Alt key. Then, you can start cloning the object that you wish to remove.
For more details and expert tips, check out this video tutorial on how to remove a car from a driveway in Photoshop:
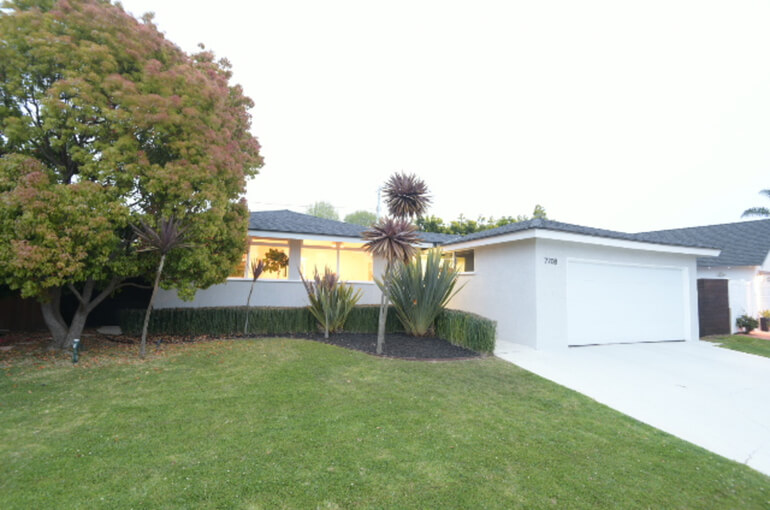
8. Sky Replacement


Real estate photographers may be highly skilled, but controlling the weather isn’t usually one of their talents.
Cloudy days can result in gray, dull, and unappealing skies over a beautiful home, distracting from its overall look.
Sunny blue skies make people smile, and real estate photos look more appealing. Properties and colors come alive on bright days under blue skies.
Fortunately, sky replacement is a reasonably easy photo editing technique, allowing you to add blue or dramatic skies over any listing.
For more details, check out our video tutorial on how to replace a summer sky in Photoshop:
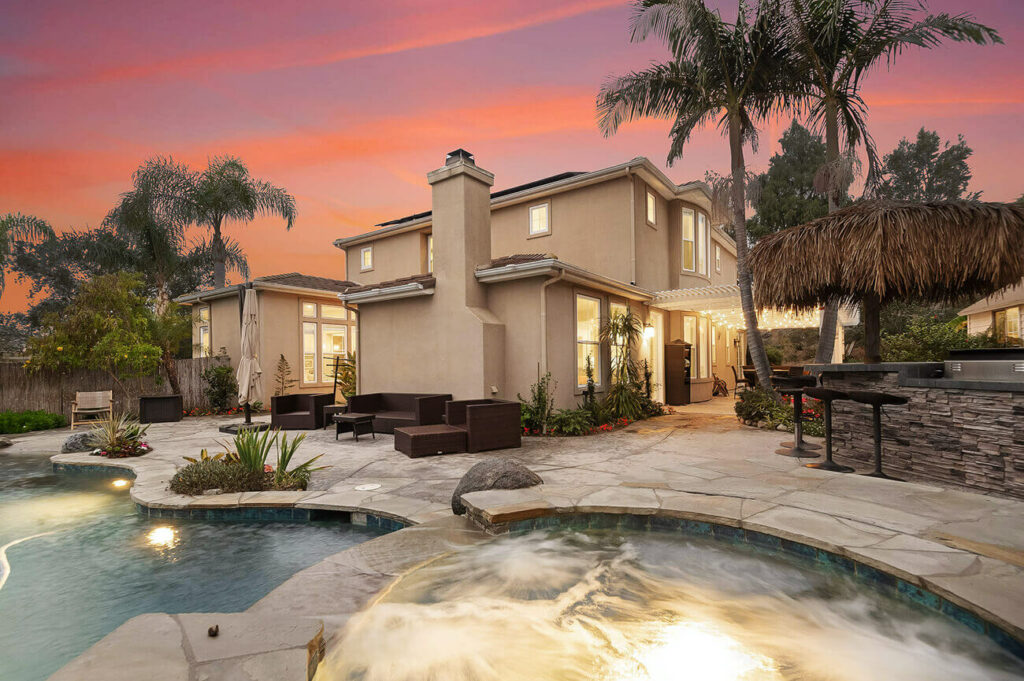
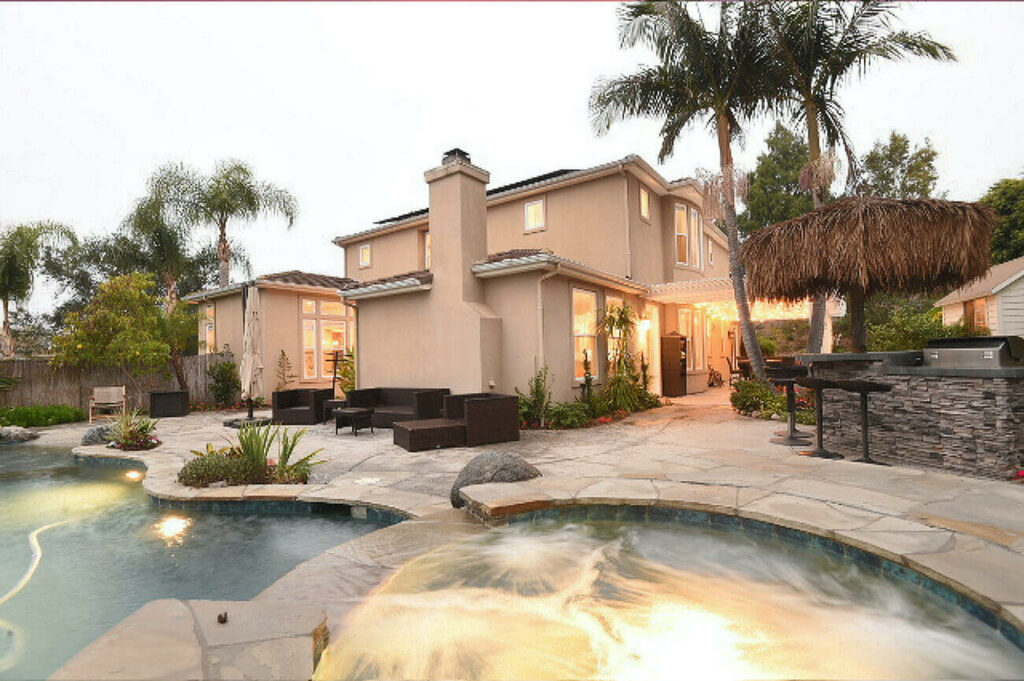
9. Twilight Effects
Photographing a house at dawn or twilight can add appeal to the exterior photos. However, producing quality images under such lighting conditions can be challenging.
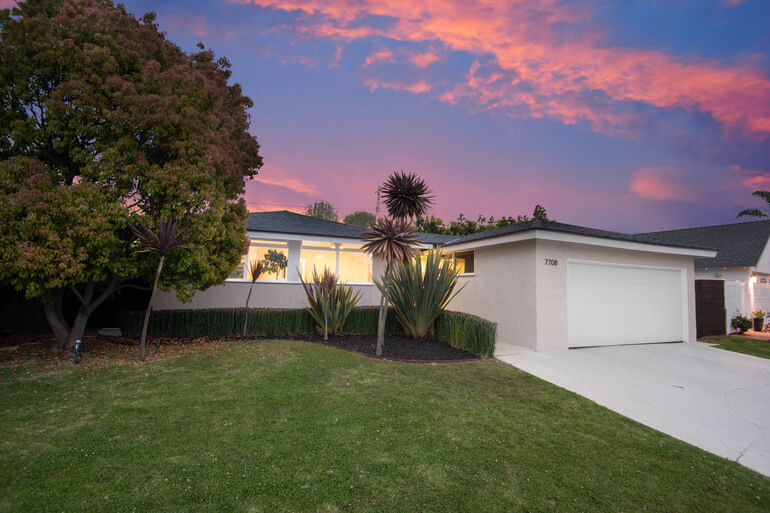
Once again, photo editing software comes to the rescue! Adding twilight effects to the sky and exterior lighting is easy and can help achieve the following:
- Increased sophistication to the look and feel of a property
- A bit of additional drama or as a mood booster to the scene
- Not having to worry about the weather or the time of day to do the photoshoot
So, in a few easy steps, you can add twilight effects when exploring how to edit your real estate photos to make them even more stunning.
To learn more, you can watch our video tutorial on how to edit a day to dusk image for real estate photo editing:
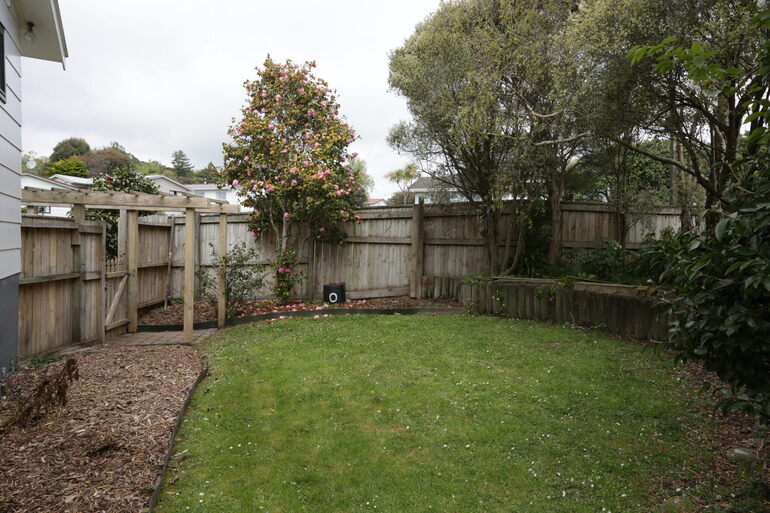
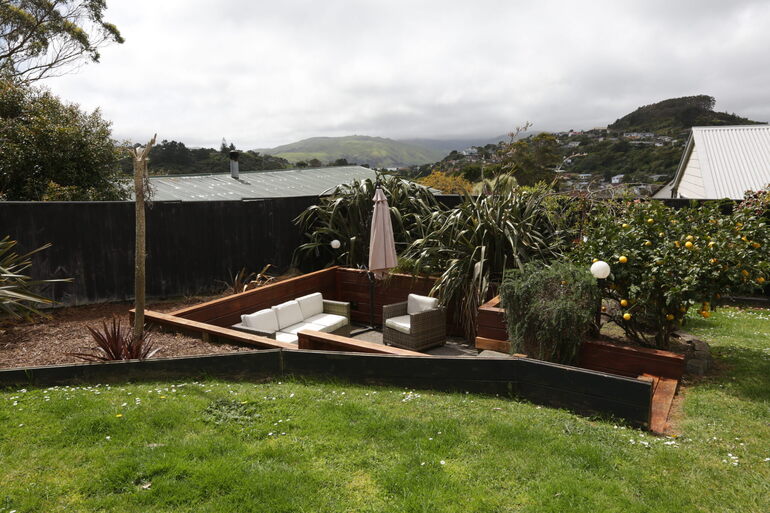
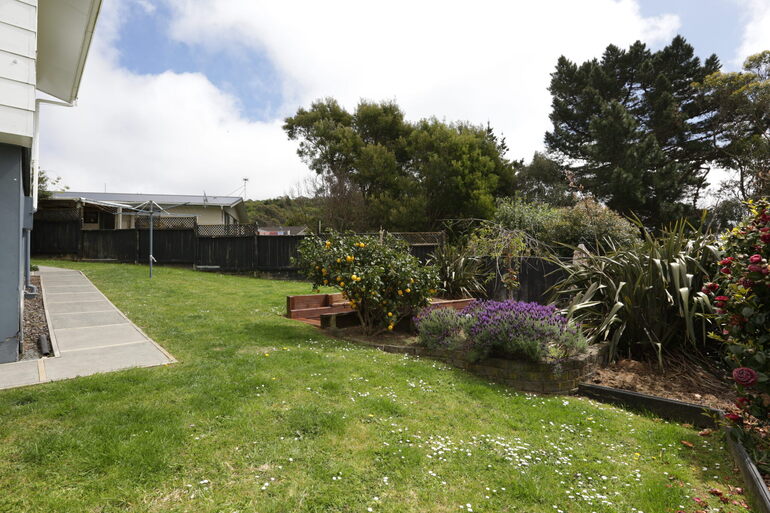
10. Grass Greening and Landscape Enhancing
A lush, fully green lawn is a definite selling point for any property. However, the time of year, a lack of rain, or excessive heat can brown a lawn or make it look spotty.
Few things distract from a beautiful home like a dying lawn.
Once again, turn to Lightroom and Photoshop to adjust the color of your lawn and even enhance other landscaping in your photos.
To learn how to create a beautiful green lawn, check out our video tutorial on how to make grass green in Photoshop:
11. Window Masking
Excessive glare and blurring can often result from too much natural light entering a room’s windows. In other situations, blinds may be distracting, or the windows may even be dirty.
Window masking is a photo editing technique that addresses such issues. It can even be used to change the view out the window completely.
To learn how to do window masking, visit our blog post on how to mask windows for real estate photography in Photoshop.
12. Eliminating Ghosting
Ghosting refers to blurring from moving objects, such as tree leaves blowing in the wind. It’s a fairly common problem in real estate photography.
Also, ghosting can happen when shooting bracketed images for HDR photography.
Some forms of artistic photography use ghosting to enhance the mood or feel of an image. However, ghosting makes real estate photos look unfinished and poorly done.
Luckily, removing ghosting using Photoshop is simple if you know your way around the software.
For more details, check out our video tutorial on how to remove ghosting in real estate photos:
13. Shadow Balancing
Excessive shadowing can result in any lighting situation, be it flash or natural light. In these instances, the images often show dark shadows and glare from the lighting source.
While dramatic shadows can enhance some images, they usually look distracting and less professional in real estate photography.
To address this, you can use photo editing software to adjust shadows and unwanted highlights and eliminate excessive glare.
For more details, check out our short video tutorial on how to remove flash shadows in Photoshop:
14. Use Batch Editing


This step in how to edit photos for real estate is a real time saver.
When you’re working on similar edits on multiple photos, it’s best to batch edit them using Photoshop. This allows you to save time and do minor edits all at one time.
It’s easy, simply do the retouches and adjustments on one photo and sync these changes into the rest of the images.
To learn how to do this, you can watch our video on how to batch edit RAW files in Photoshop:
15. Don’t Over Edit Your Photos
Remember, photo editing for real estate aims to have stunning, crisp photos that look natural.
If you over-edit your photos, they’ll look fake and exaggerated. Oversaturated, color-augmented images are a mistake in real estate photography, where buyers want realistic, accurate images of listings.
The value of real estate photography is to help agents sell a listing. And for that, you need to provide them with captivating but natural-looking real estate photos.
Lastly, keep in mind that photo editing for real estate can take many hours. So many real estate photographers and agents outsource their photo editing.
And here’s where PhotoUp is ready and happy to help!
High-Quality & Consistent
Real Estate Photo Editing
Hire a dedicated editor with performance metrics from $7/hour.
Let PhotoUp Do Your Real Estate Photo Editing
The quality of your real estate photos matters – 97% of home buyers begin searching online, looking through hundreds of real estate pictures to find the right home.
PhotoUp’s real estate photo editing team can help with all your real estate photo editing needs.
Browse Top Dedicated
Real Estate Photo Editors
Ready-to-hire editors for real estate photo editing, and more.
And it’s hard to beat PhotoUp’s quality, service, and pricing, with most photo editing costing $1.10 to $9.00 per image, depending on the complexity.
And PhotoUp does much more than just real estate photo editing. Their services also include the following:
So, take the next step, and have all your listing photos look their absolute best.
PhotoUp Real Estate Photo Editing Uploader
Have a look at our real estate photo editing uploader video tutorial to see how easy it is to get started:
As simple as that!
Sign-up for a free PhotoUp account to get stunning marketing images for real estate sales. And as a bonus, you get 5 free edits when you sign up.
We hope you benefited from this blog post on how to edit photos for real estate in 15 simple steps. If you found this post valuable, you may also want to check out some related resources:

