


Table of Contents
- Why Photo Editing Is Essential for Residential Homes
- Top 7 Residential Real Estate Photo Editing Tips
- Outsourcing Helps to Scale Your Photography Business
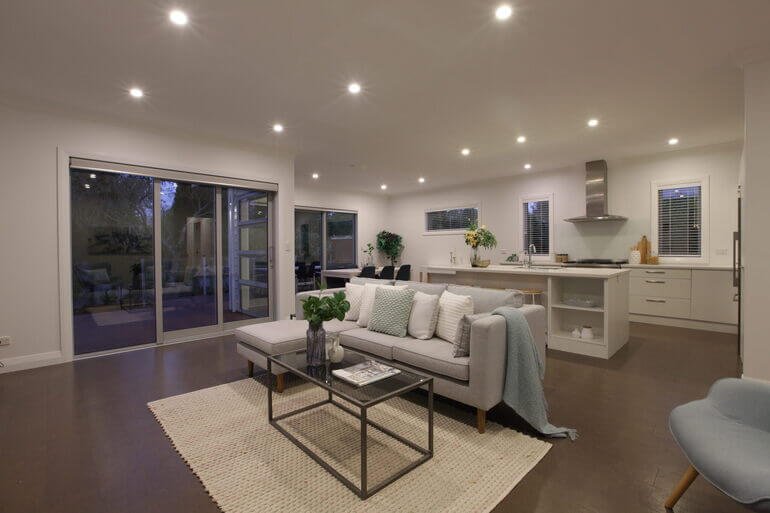
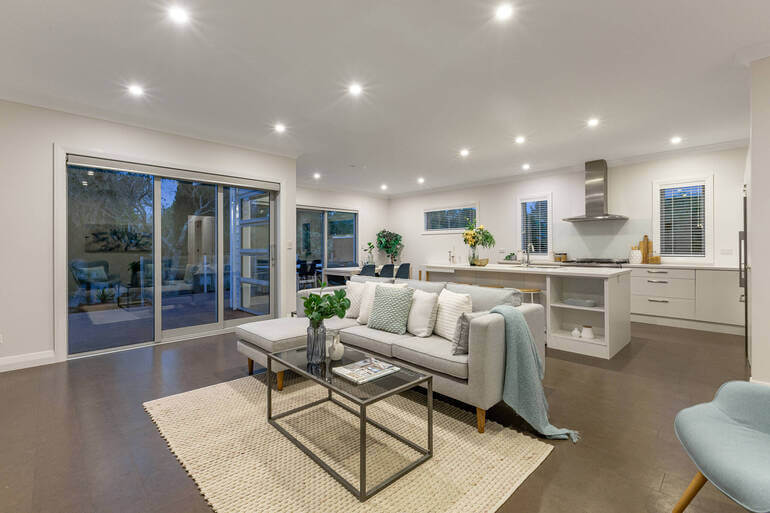
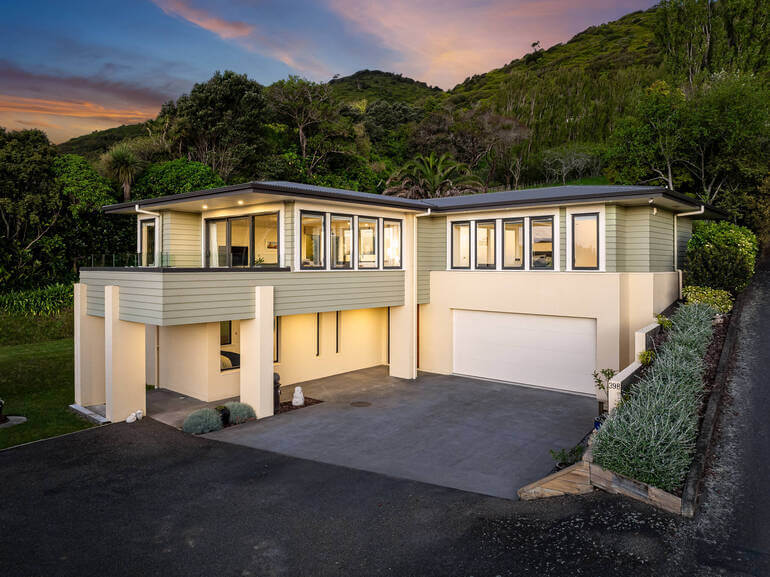
Even the most stunning home can look underwhelming if the photos aren’t edited correctly. That’s where real estate photo editing comes in!
Professional editing helps bring out the best in every shot—balancing lighting, enhancing colors, removing distractions, and creating a consistent, appealing look that resonates with buyers.
In this guide, we’ll share why photo editing is essential for residential real estate and reveal the top 7 editing tips that can take your listing photos from average to irresistible.
Why Photo Editing Is Essential for Residential Homes🏠
Before diving into the techniques, it’s worth understanding why real estate photo editing matters so much in residential real estate.
Here are 4 key reasons why editing is crucial for marketing residential homes:
1. Buyers Shop With Their Eyes
Homebuyers make emotional decisions based on how a property makes them feel. Recent studies show that 85% of homebuyers consider photos the most critical factor when evaluating a property online.
High-quality, professionally edited images help convey warmth, space, and comfort — the elements that turn a house into a “dream home.”
2. Photos Influence Perceived Value
A well-edited photo can make a $300,000 home look like a $400,000 listing. In fact, listings with pro-quality listing images close between $934 and $116,076 higher than comparable listings with low-quality photography.
By improving brightness, color tone, and visual balance, you elevate the property’s perceived value, attracting more interest and potentially higher offers.
3. Editing Compensates for Uncontrollable Shooting Conditions
Even with perfect equipment, natural lighting changes, weather conditions, and tight interiors can make photography challenging.
Real estate photo editing ensures consistency across all images, correcting flaws that cameras can’t always capture perfectly.
4. Edited Photos Help Listings Stand Out Online
In competitive markets, professionally enhanced photos are essential to stand out among dozens of listings.
Eye-catching, polished visuals increase click-through rates, keeping your property top-of-mind with potential buyers.
With this in mind, let’s take a look at how to create real estate listings that stand out online and attract more views and buyers.
Have You Ever Thought To
Outsource Photo Editing?
Try it today with 5 free edits from three professional photo editors.

Top 7 Residential Real Estate Photo Editing Tips🌄
Now that you understand the importance of editing your images, let’s dive into the top 7 residential real estate photo editing tips to help your listings shine:
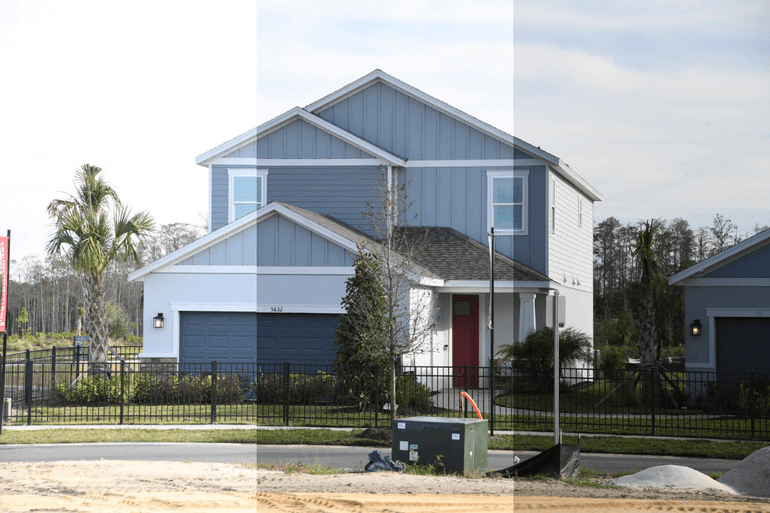
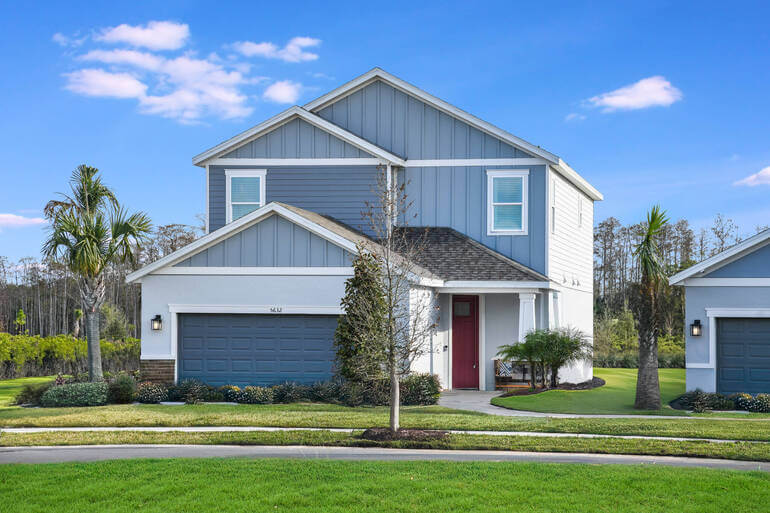
1. Correct Lighting and Exposure for a Natural Balanced Look
Lighting is the most critical factor in real estate photography. Even the most beautiful interiors can look dull or gloomy if the exposure isn’t right.
The goal in editing is to achieve a natural, balanced look: bright, airy, but not overexposed.
Consider these effective editing tips:
- Adjust brightness and contrast to make the image pop without washing out details
- Use shadow and highlight sliders to bring out details in darker and lighter areas
- If the window view is blown out, merge multiple exposures using HDR (High Dynamic Range) editing to balance indoor and outdoor lighting.
Here are some tutorials that will help you achieve a natural, balanced look in your real estate photos:
- How to brighten a photo in Photoshop
- How to change exposure in Photoshop
- How to easily edit HDR real estate photos
A perfectly lit photo gives buyers a sense of openness and warmth, which are key emotional triggers in residential real estate.
2. Adjust White Balance and Color Temperature
Color accuracy is crucial for creating realistic, inviting photos. Uncorrected white balance can make interiors look too yellow, orange, or blue, depending on the light source.
Use these editing tips:
- Leverage the white balance tool to ensure whites appear truly white, not tinted
- For interiors with mixed lighting (natural and artificial), fine-tune temperature and tint sliders manually
- Aim for a slightly warm tone to make rooms feel cozier and more welcoming
Proper color correction makes walls, furniture, and décor look true to life, helping buyers visualize themselves in the space.
To learn how to create realistic, inviting photos, you can check out these guides:
3. Straighten Lines and Fix Perspective Distortion
When photographing rooms with wide-angle lenses, vertical and horizontal lines often appear skewed, especially near the edges of the frame.
This can make walls, doorways, and windows look unnatural or leaning—something that subtly undermines buyer trust.
Consider these real estate photo editing tips:
- Use perspective correction tools in Photoshop or Lightroom to straighten walls and floors
- Keep vertical lines perfectly parallel for a professional, architectural look
- Crop edges symmetrically to maintain visual balance
Correcting distortion creates cleaner, more professional images that give viewers a realistic sense of space.
To learn how to align vertical and horizontal lines in your photos, check out our tutorial on how to correct perspective in Photoshop.
4. Enhance Sky and Window Views
Outdoor shots and window views can make or break a listing. A dull gray sky or a washed-out window can ruin the overall appeal of an otherwise perfect photo.
Here are some editing tips to enhance skies and window views:
- Replace dull skies with vibrant blue skies using sky replacement tools in Photoshop or AI editing software
- Adjust exposure separately for interiors and exteriors to reveal both in balanced HDR images
- Use layer masks for natural blending to make sure replacements look realistic, not overdone
- Also, leverage window masking techniques for clear and breathtaking window views
Bright, inviting skies and clear window views convey a sense of freshness and tranquility, making the property look more desirable.
Here are some tutorials that will help you achieve blue, inviting skies, and clear window views:
- How to replace a summer sky in Photoshop
- How to change exposure in Photoshop
- How to use a layer mask in Photoshop
- How to mask windows for real estate photography in Photoshop
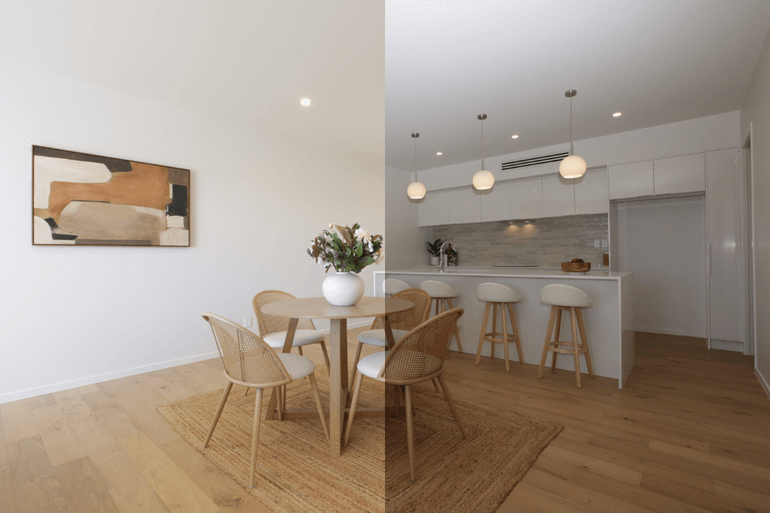
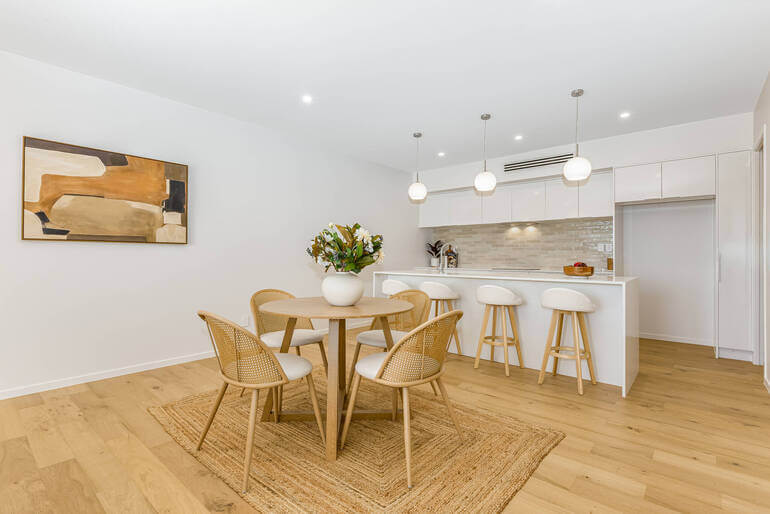
5. Remove Unwanted Objects and Distractions
Sometimes, small details can distract from the property’s best features. For example, a trash can on the curb, cords on the floor and walls, a car in the driveway, or reflections in mirrors.
These should be removed to keep the viewer’s attention focused on the home itself. Too many personal belongings can even put off potential buyers.
Use these editing tips to declutter your listing photos:
- Use Photoshop’s Spot Healing Brush or Content-Aware Fill to remove unwanted items
- Eliminate lens flares, glares, or blemishes that draw attention away from the subject
- Clean up reflections on glossy surfaces and windows for a polished finish
Clutter-free photos look more professional and make rooms appear cleaner, larger, and more inviting.
If you want to learn how to declutter your images manually, you can visit our guide on how to remove unwanted objects using Photoshop.
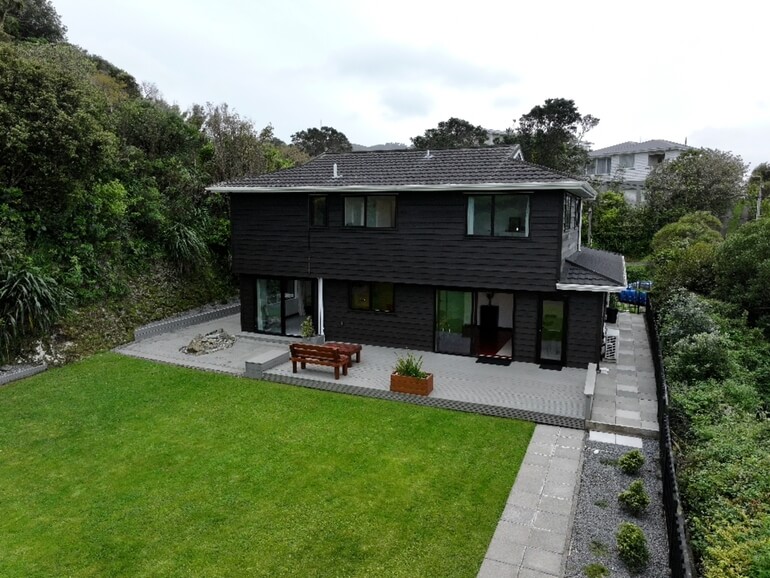
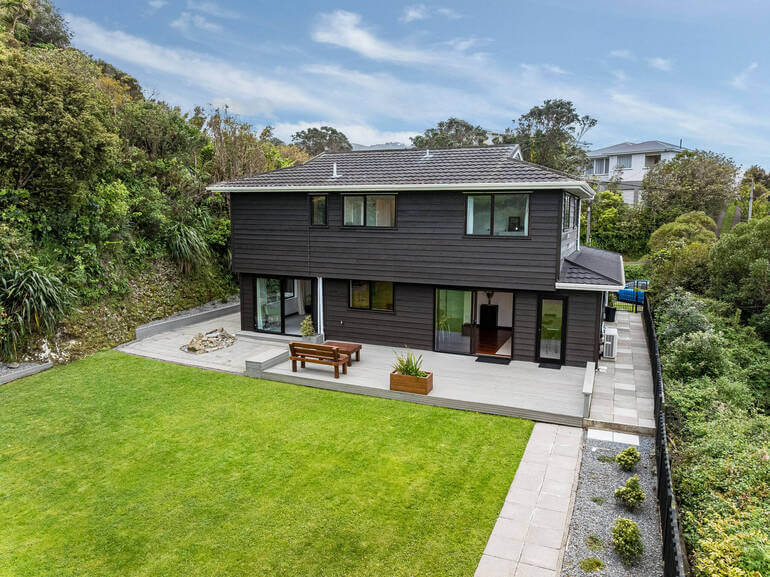
6. Lawn Enhancements: Bring Outdoor Spaces to Life and Boost Curb Appeal
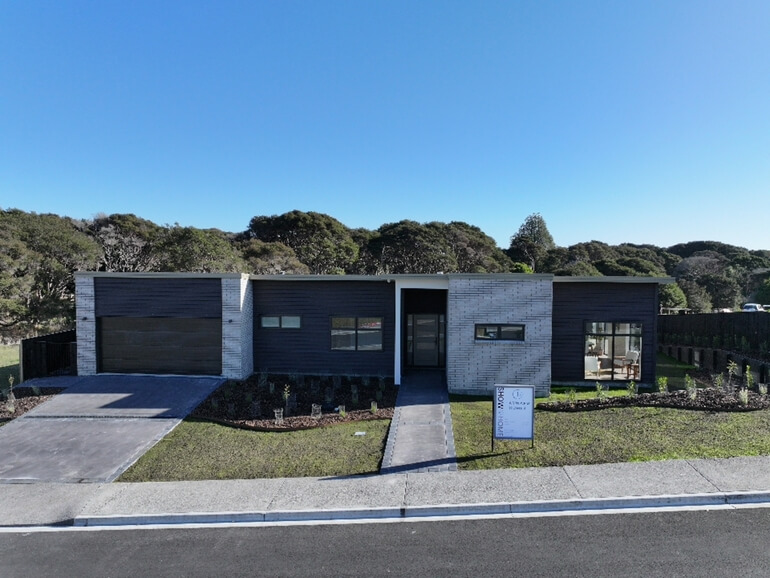
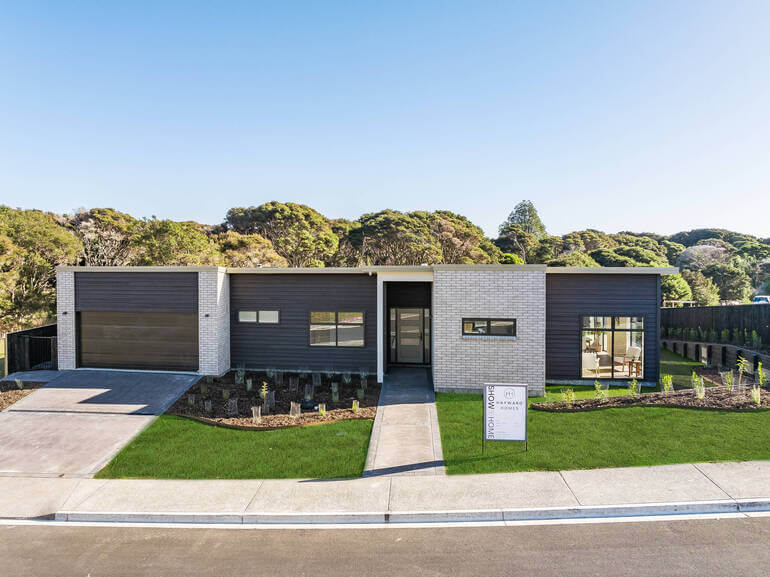
A lush, green lawn can make an enormous difference in how a home is perceived, especially in exterior shots.
Unfortunately, it’s not always possible to capture perfect grass during every shoot. Seasonal changes, weather, or maintenance issues can leave lawns looking patchy or dull.
That’s where lawn enhancement editing comes in. This process transforms dry or brown grass into healthy, vibrant greenery that complements the property and boosts its overall curb appeal.
Leverage these real estate photo editing tips to create a lush, green lawn:
- Use selective color adjustment to enhance the greens without oversaturating them
- Blend patches of brown or bare soil using Photoshop’s Clone Stamp or Content-Aware Fill tools
- Add realistic grass textures and gradient tones to create depth and natural variation
- For consistency, ensure the edited lawn matches the lighting and tone of the surrounding environment
When done correctly, lawn enhancement editing can make exteriors look fresh, well-maintained, and move-in ready—qualities that instantly attract more attention from potential buyers.
To learn how to perform this powerful edit, check out our tutorial on how to create a lush green lawn in Photoshop and boost curb appeal.
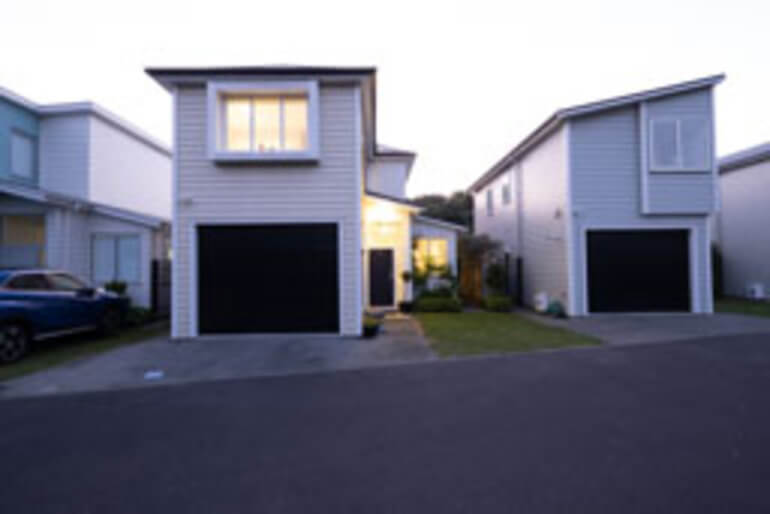
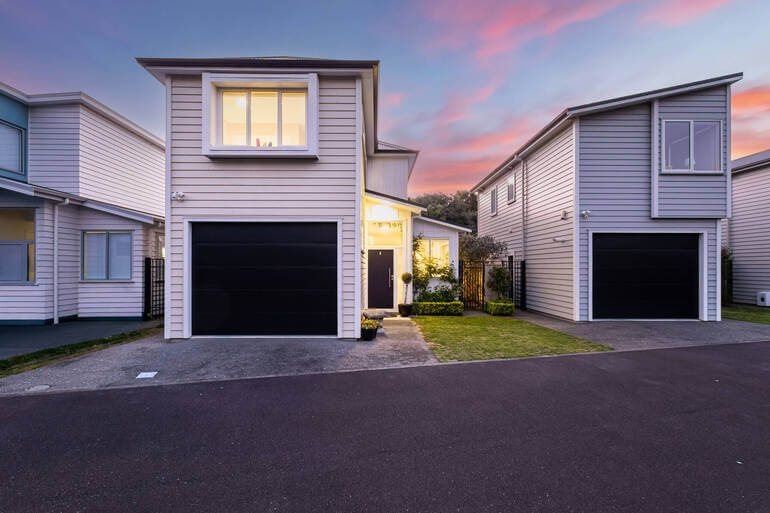
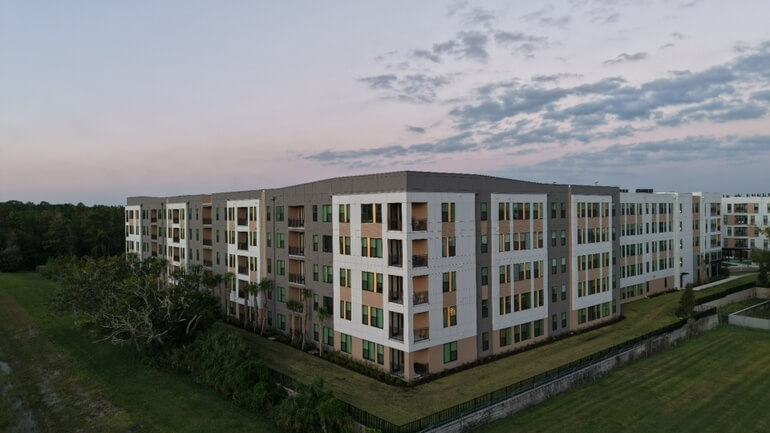
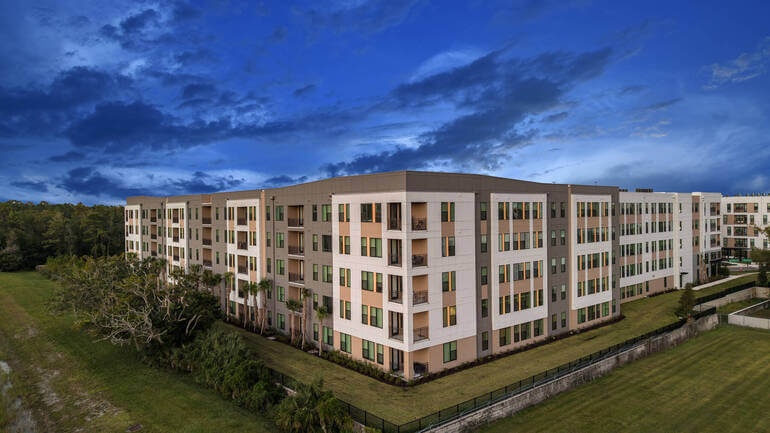
7. Add Virtual Staging or Twilight Conversions for Extra Appeal
Once you’ve mastered the basics, advanced editing techniques can elevate your listings even further. Two of the most effective are virtual staging and twilight photo conversion.
Virtual Staging
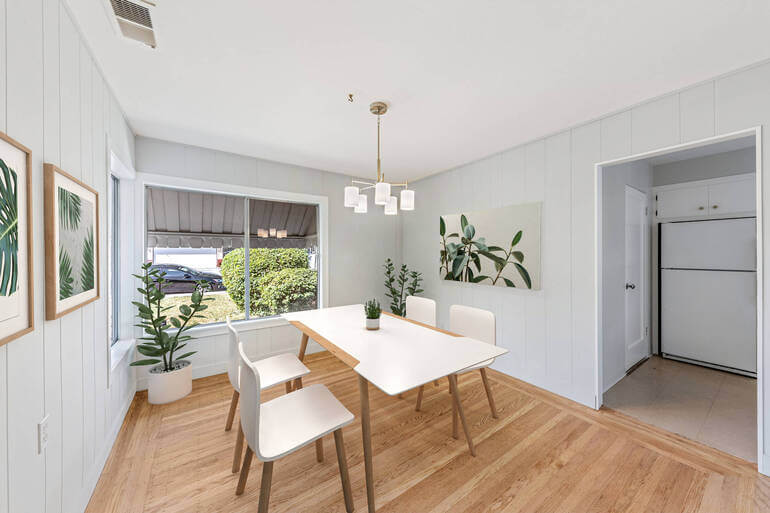
Empty rooms often feel cold and uninviting, making it hard for buyers to imagine the potential of a space.
AI Virtual staging digitally adds furniture, décor, and lighting to help buyers visualize how the home could look when fully furnished.
Twilight Conversions

A twilight conversion transforms a daylight exterior into a beautiful dusk scene, with glowing windows and soft, dramatic lighting.
These images create an emotional connection, evoking warmth, comfort, and “home.”
Here are some editing tips to consider:
- Use realistic 3D-rendered furniture and décor for virtual staging to maintain authenticity
- Keep lighting and shadows consistent for believable twilight conversions
- Always disclose that the images are virtually staged when marketing the property
To learn how to convert dull skies into golden twilights, check out our guide on how to edit a day to dusk image.
Also, check out PhotoUp’s quick and affordable AI virtual staging service, starting at just $5.00 per image.
These enhancements are powerful marketing tools that can significantly boost engagement and inquiry—especially in luxury or high-end residential markets.
And there you have it!
By leveraging these simple yet effective real estate photo editing techniques, you can make your residential homes shine and attract more views and buyers.
Let’s now take a look at some bonus tips to help you ensure image consistency and professionalism.
Bonus Tip: Maintain Consistent Editing Styles Across All Images📷
Consistency builds trust and professionalism. A listing where one photo looks bright and modern while another looks dull or overly saturated can confuse potential buyers.
Consider these pro tips:
- Use presets or develop custom editing templates for consistency
- Match white balance, tone, and contrast levels across the entire photo set
- Review all edited images together before final delivery to ensure a cohesive look
Consistent editing creates a seamless visual experience that makes your listings look polished and expertly curated.
Wrapping Up
In today’s image-driven real estate market, professional photo editing isn’t optional—it’s essential.
From perfecting lighting and colors to removing distractions and adding emotional appeal through twilight or AI virtual staging, post-processing plays a critical role in how buyers perceive a property.
By applying the 7 tips above, you can create stunning, consistent, and emotionally engaging visuals that help your listings sell faster and at higher prices.
And if you’re ready to take editing off your plate entirely, PhotoUp can help.
With professional editors, fast turnarounds, and a full suite of real estate marketing services, PhotoUp empowers photographers to deliver exceptional results, impress clients, and scale their business effortlessly.
Let’s take a look at how outsourcing your editing to PhotoUp can help you grow your business.
Have You Ever Thought To
Outsource Photo Editing?
Try it today with 5 free edits from three professional photo editors.
Outsourcing Helps to Scale Your Photography Business🤝
Real estate photo editing is essential, but it’s also time-consuming.
For busy real estate photographers juggling multiple shoots each week, post-processing can easily eat up hours that could be spent growing the business or capturing new clients.
That’s where PhotoUp’s professional real estate photo editing services come in!
Our editors provide more than just standard retouching, including:
- HDR editing and exposure blending
- Sky and grass replacements
- Object removal and decluttering
- Day-to-dusk conversions
- Virtual staging and virtual renovations
- Floor plans and lawn enhancements
This allows real estate photographers to enhance their portfolio and stand out in a competitive market.
Why Choose PhotoUp?
Here are some compelling reasons why you should consider outsourcing your editing to PhotoUp:
| Professional Quality and Fast Turnaround: PhotoUp’s team of expert editors specializes in real estate photo editing, delivering consistent, high-quality results within 12 to 24 hours. From basic enhancements to complex object removals and sky replacements, every detail is handled with care. |
| Scalable Editing Solutions: Whether you’re an independent photographer or managing a growing agency, PhotoUp offers flexible packages that scale with your workload. You can upload your photos, select your desired edits, and receive professionally enhanced images all through a streamlined online dashboard. |
| Time Savings and Increased Productivity: By outsourcing editing, photographers can reclaim valuable hours for what truly matters—shooting more properties, expanding their client base, and improving service quality. |
| Dedicated Support and Custom Preferences: With PhotoUp, you can build a dedicated editing team that understands your style preferences. Over time, they learn your specific requirements, ensuring every batch of photos looks exactly how you want it, without endless revisions. |
With the help of our team of professional editors, we’ll help you deliver exceptional results, impress clients, and scale your real estate photography business effortlessly.
Browse Top Dedicated
Real Estate Photo Editors
Ready-to-hire editors for real estate photo editing, and more.
Your Real Estate Marketing Partner
On top of that, PhotoUp offers so much more than just photo editing! We also provide additional real estate marketing services such as:
With our user-friendly software, you can easily send and deliver photos, request revisions, and deliver final images to your clients.
As well as tap into an array of additional services to help grow your real estate photography business.
How to Get Started
Getting started using PhotoUp’s real estate photo editing service is super easy.
This is all you need to do:
Step 1. Sign up for a free PhotoUp account.
Step 2. Upload your photos to our easy-to-use software.
Step 3. Choose the level of editing that you need and provide instructions (optional).
Step 4. Wait for PhotoUp professional editors to edit and return the photos in less than 24 hours (48 hours for virtual staging).
Step 5. Download and start using your beautifully edited photos.
PhotoUp Real Estate Photo Editing Uploader Tutorial
Have a look at the real estate photo editing uploader tutorial to see how easy it is to get started with PhotoUp:
As simple as that!
Sign up for a free PhotoUp account today, and let us help you grow your real estate photography business!
For a limited time, you even get 5 free credits you can use on any of our services when you sign up for an account.
We hope this guide provided you with 7 key real estate photo editing tips to enhance residential homes. If you found this blog post useful, you may also want to check out the following resources:

