


This article will present the top 14 tips for real estate photography that can make your photos truly shine and help sell a listing ultra-fast.
When it comes to selling a home, first impressions really count. Thanks to the power of online listings, today’s buyers form an opinion of your property before they ever step through the door.
That means agents need top-notch photos that will capture potential buyers’ interest and fast! So, why are some home sellers still relying on dark cellphone pictures? We don’t know…
But if you’re hiring a professional real estate photographer, investing in quality equipment, and following these 14 real estate photography tips, you’ll have a better chance of standing out from the competition.
Top 14 Tips for Real Estate Photography
That said, here are the top 14 tips for real estate photography that will help you create captivating images and sell your listing ultra-fast.
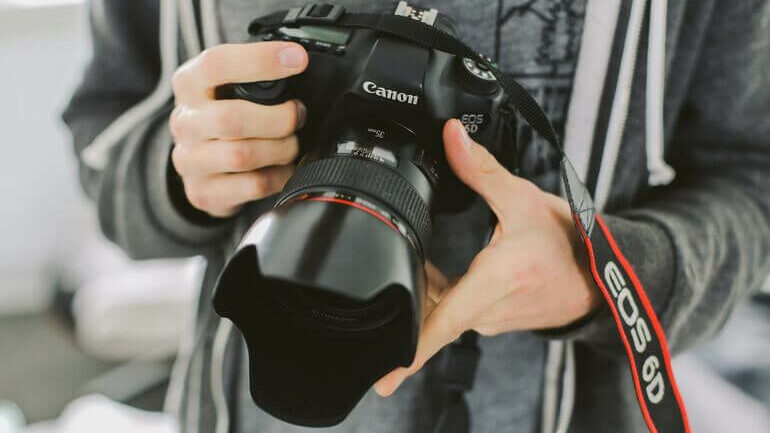
1. Use a Quality DSLR Camera
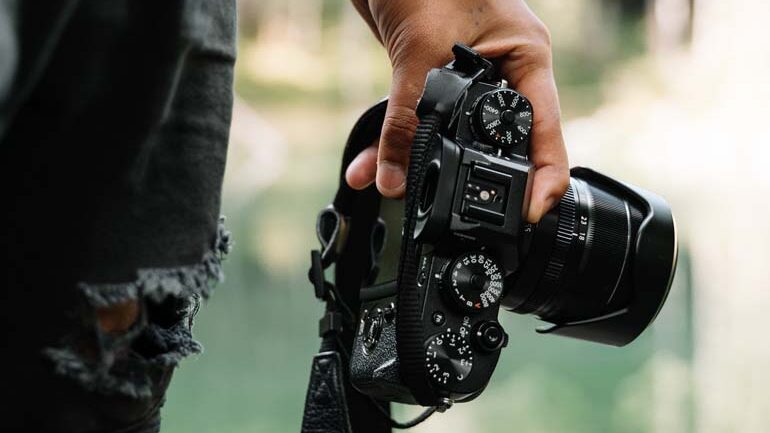
Experienced real estate photographers know that it’s not just the lens that makes for high-quality photos — the camera matters too. And in today’s real estate sales market, the quality of the photos matters more than ever!
In general, DSLR cameras are the favored choice for real estate photography. These cameras allow the photographer the greatest flexibility, ease of use, and settings options.
DSLR cameras produce accurate shots that help potential buyers see the full layout of a home, thereby getting a better feel and sense of the property.
Here are 3 DSLR cameras we recommend:
For more detailed information about each camera, you can check out our blog post on the best cameras for real estate photography.
2. Avoid Camera Shakes With a Tripod
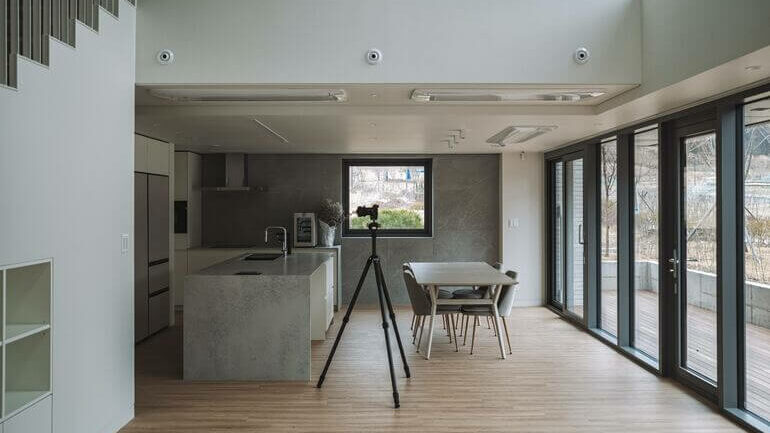
It’s well worth investing in a good tripod if you want to ensure crystal-clear images with zero camera shakes.
The tripod won’t only give you crisper shots at slower shutter speeds, but also provide a reliable base for all kinds of photography, from real estate shots to landscapes.
Using a tripod will make successful long exposures easier as well as allow you to fully experiment with light and movement.
And let’s not forget the huge convenience factor; without one you’ll be stuck in awkward positions trying to take that perfect photo, meaning tripod owners will savor the extra few precious minutes.
3. Invest in a Wide-Angle Lens
Investing in a wide-angle lens is one of the best investments that photographers can make.
Taking wide shots captures the whole room, from corner to corner and ceiling to floor with ease.
Shooting wide also works great for portrait and landscape photography, as well as live events with larger groups.
Wide-angle lenses are an invaluable tool for capturing great interior shoots where you need to capture the whole room. You can find some great options in our blog post on the best lens for real estate photography.
4. Visit the Property in Advance

Before you begin capturing a property in all its glory, take the time to explore it. Look closely—each home has unique features that will make your photo session stand out from the competition.
While “walking around” familiarize yourself with every corner of both interior and exterior spaces and snap some photos for good measure if you feel that’s needed.
You may even uncover small details such as lighting or furniture placement (that would otherwise remain hidden). Check to make sure nothing needs tidying up or touch-ups before the photo session begins.
Doing so will guarantee perfect shots at any angle—all while helping bring potential homebuyers one step closer to their dream home.
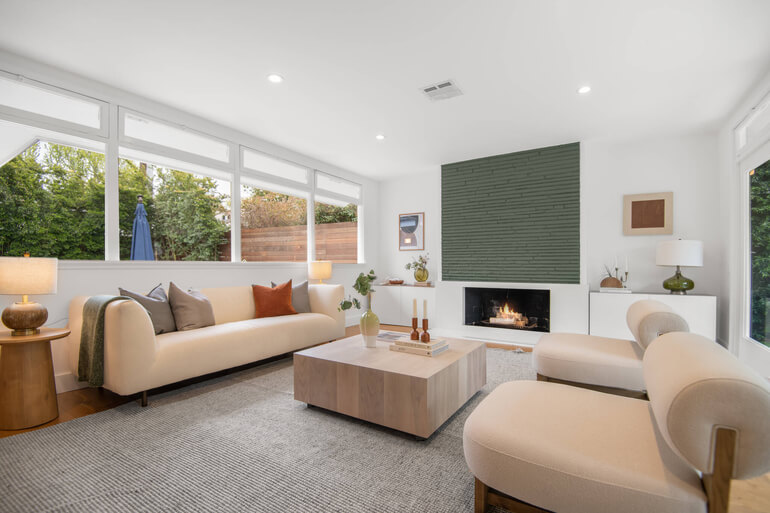
5. Clean and Stage the Home

When it comes to getting the perfect shot for your listing, organization is key!
Start by strategically moving furniture around as needed—just a few minor adjustments can make all the difference. Try to make the space appear bigger than it is.
Next, clear off countertops and other surfaces so buyers get an easier visual of how they would use each space in their own home.
Extra appliances like coffee makers or mixers should be tucked away in order for buyers to really envision themselves living there with ample countertop space.
When you’re finished shooting just put everything back exactly where it was before. And to make sure the home looks its best, don’t forget to clean the light fixtures. Shine up chandeliers and lamps to give them an extra sparkle before you snap those pics.
Also, remember to swap out worn or yellowed lampshades and vacuum floors for a clean finish after the staging is all done — this will help keep pesky dust particles from showing in photographs of your property
By creating eye-catching shots to showcase clean spaces with maximum potential, you can attract more prospective homebuyers than ever.
6. Light the Place Up
Don’t let dark and dreary photos be the highlight of your property listing. Maximize natural lighting by opening all shades, blinds, and curtains—the more light you bring in, the bigger a room will appear.
Look for strategically placed natural light sources such as natural window lighting.
Also, take advantage of the golden hour when the sun is setting to create a romantic and mystic glow to your photos.


Don’t worry if you can’t fit this short time window of sunset into your schedule. You can always edit twilight photos in post-processing.
If there are outside factors that prevent maximizing sunlight (like cloudiness or buildings blocking sun rays), camera accessories like reflectors can help boost the brightness to make sure no potential buyer misses out on great features because of dull pictures.
Also, invest in high-quality handheld flash for those dark corners. Or better yet, hire a professional real estate photographer to work their magic with lighting and camera equipment.


They can, for example, take multiple shots from different angles and then blend them together into one balanced shot with so-called HDR blending. This will bring out maximum detail in the image.
7. Think of the Background
Consider the background by strategically displaying colorful art and decorations on walls or above a fireplace to provide depth to your images.
When styling bookshelves, employ an organized approach by coordinating materials with colored sleeves or heights for visual interest. Overstuffed shelves with various books and decor can create a visual nightmare.
Keep it simple—you can’t go wrong with classic stacks of books coupled with minimal pop-up decor pieces arranged neatly between them.
But remember that less is more!
High-Quality & Consistent
Real Estate Photo Editing
Hire a dedicated editor with performance metrics from $7/hour.

8. Consider Interior and Exterior Angles
To help potential buyers discover the home’s true beauty, make sure to capture exteriors from an angle so viewers get a real understanding of their potential living space.

Viewers can then see the depth of the home instead of a “flat” two-dimensional view of the front.
Additionally, try not to include any obstructions if possible. Items such as garbage cans, telephone poles, and electrical wires do nothing to make a home look appealing and actually detract from what should be the center of attention — the house itself.
So removing these items will help boost the overall curb appeal of the property.
On the other hand, when shooting interiors, take photos looking into each room as if you are walking through it.

Make it easy for buyers to explore and imagine themselves in the property’s physical spaces.
9. Inspect Every Area to Avoid Photo Blunders
As real estate experts, we know that beautiful listings create powerful first impressions. Showcasing a home in its best light is key to achieving those ‘love-at-first sight’ moments.
Before snapping any photos of a room, make sure the bathroom seat lids are down and there’s no TV running in the background as it can detract from overall shots.
Also, remember to move vehicles out of driveways before taking pictures since they can obstruct the overall view. Don’t worry if the homeowner failed to do this before your actual shoot, you can easily remove cars and other vehicles in post-processing.


In summary, make sure to cautiously inspect every area for optimum photo results.
We hope you enjoy these tips for real estate photography so far. Let’s now move on to the importance of composition.
10. Think Carefully About the Composition

When it comes to taking photographs of a room, you need to think carefully about composition.
Avoid dead space and create the perfect balance between floor and ceiling – all by getting your camera lens at just the right height.
If you’re not totally “green” as a photographer, you know how important that can be for capturing the best shots possible. So, remember to level up when planning out those photo angles.
Also, you can easily maximize the space in your shots by including hallways, which shows off how open and inviting this property can be.
11. Use a Drone for Aerial Photography

Drones are the perfect way to snap stunning aerial images for real estate photography.
Not only do they help to capture the property from unique and interesting angles but they can also provide clients with a bird’s eye view of the neighborhood.
To ensure safety while flying drones over buildings or residential areas make sure that area isn’t restricted by downloading an app like B4UFLY, which will detect airspace restrictions based on your location information.
12. Virtually Stage Vacant Rooms
Vacant homes sell for an average of $11,306 less and spend 6 more days on market compared to staged and virtually staged homes.
AI Virtual staging can be a useful tool to help showcase vacant properties. Not only will it transform an empty space into a more inviting home, but it also brings out the full potential of the property.


Virtual staging is easy and cost-effective to use. It requires no physical furniture or decoration, so there’s no need for expensive set-ups or having to worry about transportation and setup logistics associated with using traditional staging.
Plus, virtual staging can be ordered online quickly, so you don’t have to worry about delays in completing the job.
Furthermore, using virtual staging allows buyers to visualize how their own furniture or decorations could look in the space, helping them make an informed decision about whether or not they would like to purchase the property.
Finally, adding virtual staging also gives your photographs an edge over listings without this additional layer of presentation, making your online portfolio stand out as well as making it easier for buyers to envision themselves living in the space.
13. Use Virtual Landscaping to Boost Curb Appeal of the Property
If you’re trying to sell a property that has a neglected outdoor area, consider virtually landscaping the space.

It works exactly the same as regular virtual staging but is done to improve the landscaping instead of digitally furnishing vacant or outdated rooms.
It’s quick and easy – just upload a photograph of any outdoor area that needs some sprucing up, and watch it turn from plain yard to potential paradise in no time flat.
Whether you need new grass laid or want to add something special like a pool, virtual landscaping gives buyers an inspiring view of what they could create when investing in their very own piece of real estate perfection.
High-Quality & Consistent
Real Estate Photo Editing
Hire a dedicated editor with performance metrics from $7/hour.
14. Don’t Forget to Edit Your Photos to Ensure Top-Notch Quality!
Remember that your photos need to be enhanced in post-processing to look absolutely their best.
No matter how good of a photographer you are, you’ll still need to make some adjustments to ensure top-notch image quality. But going through and editing all images can be incredibly time-consuming, not to mention exhausting!
Thankfully, there’s an easier solution to achieve amazing real estate photo editing results. With a professional real estate photo editing service like PhotoUp, you can free up your time and energy so that you can focus on the artistry instead.


As an added bonus, you’ll benefit from the expertise of experienced real estate photo editors that understand how to make your images truly shine.
Starting at the low cost of $1.15 per image, PhotoUp has a team of highly talented real estate photo editors who are ready and eagerly waiting to take the editing off your plate.
Browse Top Dedicated
Real Estate Photo Editors
Ready-to-hire editors for real estate photo editing, and more.
For example, we can help with:
- Image brightness and exposure correction
- Color and tone adjustments
- Window masking and glare reduction
- Clutter and advanced object removal
- Line and angle corrections
- HDR editing and manual blending
- Harsh shadows, lack of light, etc.
- And much more!
On top of that, PhotoUp is a one-stop shop for all your real estate marketing needs and also offers additional services such as:
Easy Ordering and Upload Process
Getting started using PhotoUp’s real estate photo editing service is super easy.
All you need to do is sign up for a free PhotoUp account, upload your images, add instructions, choose export settings and turnaround time, and that’s it!
PhotoUp Real Estate Photo Editing Uploader
Check out our real estate photo editing uploader tutorial to see how easy it is to get started:
It’s really that easy to get beautifully edited images returned to you in 24 hours or less!
So if you need a little extra help, sign up for a free PhotoUp account to ensure the highest quality real estate photos every time. You won’t regret it!
Plus, for a limited time, you even get 5 free edits when you sign up for an account.
We hope this blog post gave you some valuable real estate photography tips to help sell a listing ultra fast.
Before you go….
Preparing for a Real Estate Photoshoot PDF
Download our free Preparing for a Real Estate Photoshoot PDF and bring it to your photoshoot to make sure you’re not forgetting anything.
Now use these tips for real estate photography and grab your camera and start shooting amazing photos! If you found this post useful, you may also want to check out the following resources:

