


Table of Contents
- Why Proper Lighting Is Essential
- How to Choose the Right Lighting (6 Tips)
- The Best Time of Day to Photograph a Property
Are you looking into different lighting choices for real estate photographers that will help you shoot captivating property photos?
As a beginner, the abundance of lighting choices for real estate photography can be daunting. But never fear! This guide will help you navigate the different types of lighting to make the best choice for your needs.
By understanding the properties of light and how they affect your photos, you’ll be able to create stunning images that sell houses.
So let’s get started!
Why Proper Lighting Is Essential


Navigating different lighting choices for real estate photographers can be tricky. Proper lighting is arguably the most important element to consider when creating good photography.
When shooting real estate, natural lighting brings out the beauty in every property, making sure each angle and feature stand out and capture potential buyers’ attention.
At the same time, when shooting indoors or at night you can use artificial lighting to help create a dynamic scene and enhance the best features of the space that would otherwise look dull or stay hidden in darkness.
Ultimately, lighting as part of photography helps to capture properties in vivid detail and make your images stand out from the competition.
No matter what kind of subject you’re photographing – lighting plays an equally vital role! So let’s take a look at what lighting choices you have when shooting real estate.
Have You Ever Thought To
Outsource Photo Editing?
Try it today with 5 free edits from three professional photo editors.

How to Choose the Right Lighting (6 Tips)
When it comes to shooting a property, natural or available light should always be your first option. It’s free, looks natural, and is especially good for taking interior photos and avoiding harsh flash shadows.
However, available light doesn’t always give you the exact look you’re going for or provide enough light depending on the photo you’re snapping and the time of day.
Here are 6 lighting tips to consider:
1. Available Light
Available light is always the best option; the natural light coming through windows, combined with interior lights can produce beautiful results – if they are close in brightness.
However, this is only controlled by the time of day and may lead to strange shadows or uneven lighting at times.
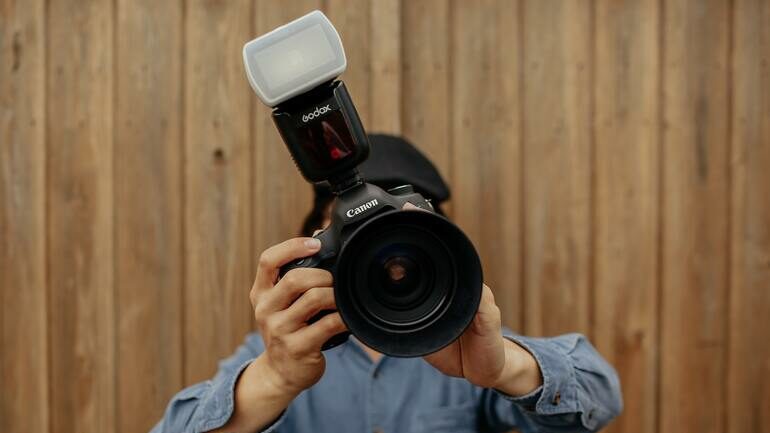
2. Single On-Camera Flash in Automatic Mode
Alternatively, you might want to try using one single on-camera flash that’s set up in automatic mode. Overall, a single on-camera flash can give you great illumination.
This is ideal for small spaces where its lower power won’t cause too many reflection issues or create flat images. But it likely wouldn’t give enough output when shooting larger spaces since the single flash doesn’t have enough power.
3. Multiple Flashes Using Manual Mode
Multiple flashes are usually needed if you’d like to create evenly distributed lighting throughout an area. Additionally, manual flashes offer the advantage of reliable triggering and near-maximum window brightness.
However, time is required for mastering setup techniques. For those who desire quick results, e-TTL or CLS auto modes from camera manufacturers provide an even distribution of light but may be expensive as all gear must match that manufacturer’s brand in order for it to work properly.
Not ideal if you’re on a budget!
4. Use a Bounced Flash
Use a bounced flash to reveal details in the shadows. Real estate photography professionals often rely on a bouncing flash because it’s excellent in order to fill a room with soft, even light.
To best do this, try bouncing the flash off the ceiling. However, you need to keep the ceiling itself outside the frame of your shot. Otherwise, you end up with a blown-out white spot on the ceiling or wall in your image.
Also, bounced flash works best if the ceiling is a relatively neutral color. Neutral grays and whites work best, so, look for white or near-white ceilings and/or walls.
5. Hot Lights
Hot lights or studio-style continuous (always-on) lights are easy because they can always show what your final image will look like in your viewfinder. They work best if you need an even spread of lighting over an entire room as they can provide greater coverage than a flash or natural light source alone.
However, this entails heaps of additional bulky gear, which lessens speed while taking shots.
6. High Dynamic Range (HDR)
HDR is your go-to tool when shooting on the fly. It’s quick, easy, and inexpensive to throw together a series of shots for processing later – no expensive lighting equipment is required.
Finding that right tone mapping balance can be tricky at first but with practice, you’ll master it in no time. Plus new HDR software pops up regularly, so applying its effects has become super smooth sailing, yielding more realistic results than ever before.
It’s definitely worth doing some research before deciding how best to use various forms of photographic lighting efficiently and effectively. For any situation, experiment until your shots look just right!
The Ultimate All-in-One
Real Estate Photographer Business Platform
Grow a successful real estate photography business with PhotoUp.
The Best Time of Day to Photograph a Property

Photographing your home can be a tricky process and choosing the best time of day to do so is key.
As a photographer, I believe the best time for real estate photography is during the golden hours: early morning and late afternoon.
During these times, the long shadows created by the soft, diffused light make spaces appear larger and can offer a romantic glow look to your photos.
In order to capture stunning photos of a property at its best, timing is essential. If you aim to get remarkable photos, consider taking them in these prime lighting conditions of the golden hour.
Browse Top Dedicated
Real Estate Photo Editors
Ready-to-hire editors for real estate photo editing, and more.
Conclusion
As you can see, proper lighting is crucial in taking great real estate photography. It can be the difference between a photo that looks flat and lifeless, and one that has dimension and stands out from the competition.
Now that you understand the different types of lighting and how to choose the right lighting to shoot real estate, it’s time to get out there and start taking some great photos!
And when you’re ready to have them professionally edited, PhotoUp’s team of real estate photo editors is ready and eager to help you create captivating, high-quality real estate photography.
Sign up for a free PhotoUp account today, and get 5 free edits!

