


Are you looking into how to edit real estate photos and especially exterior shots?
As a real estate photographer, you’ll find exterior property shots simpler and faster to edit than interiors, which come with their own set of challenges. Plus, the editing process follows a similar process no matter what type of exterior shot you’re working with, from HD to luxury level.
Ready to learn the basics on how to edit exterior real estate photos using 12 powerful techniques?
Let’s dive in!
12 Best Techniques on How to Edit Exterior Real Estate Photos


Photo editing is a crucial aspect of any real estate photography business. It allows you to improve lightning, remove unflattering objects, enhance colors, align verticals, and more, so you can produce “picture perfect” photos (*pun intended).
By using Photoshop and Lightroom, you’ll find it possible to achieve that final look you are aiming for without going overboard.
Here are the 12 best and most powerful techniques to help you edit your exterior real estate photos to perfection.
1. Making Batch Edits RAW Files


To get started, we want to share how to do batch editing of RAW files. Instead of editing each image file one by one in Photoshop, batch editing RAW files will help you save a lot of time and can help you better organize your photos.
Batch editing RAW files in Photoshop is the process of making the same change to multiple files at once.
This can be useful when you need to update many files with the same adjustments, such as changing the contrast, color saturation, and exposure to all image files at the same time.
And after doing it once, you can efficiently and quickly apply the same edits across all your photos in just a few clicks.
To learn how to batch edit your RAW files in Photoshop, you can check out this short video tutorial:
2. Adjusting Contrast and Color


As a real estate photographer, you know that capturing the perfect shot isn’t always easy. But if you want to showcase a property’s exterior in the best possible way, there are a few tricks to try out.
Start by adjusting the lighting and contrast to create vibrant, eye-catching photos. You can also adjust the clarity and shadows to improve the quality of your images. Some simple tweaks can make all the difference.
And, when you’re satisfied with the overall look, don’t be afraid to play with the hue and saturation settings to make colors really pop.
For more details, you can check out our blog posts on how to change exposure in Photoshop and how to color correct.
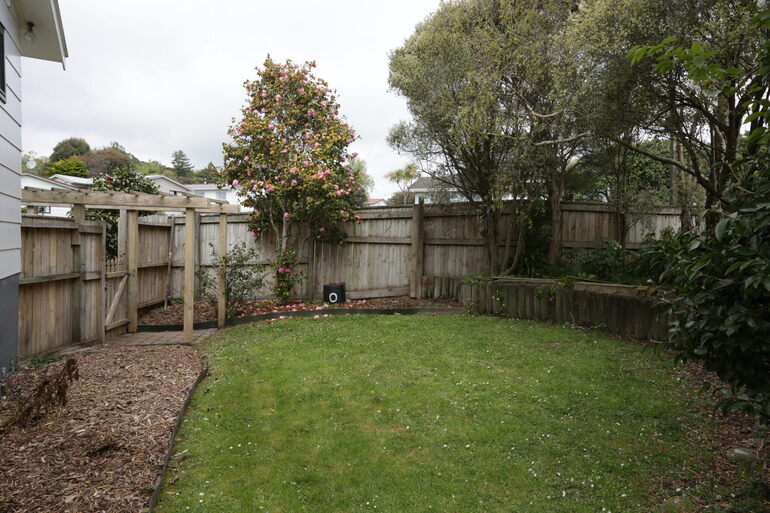
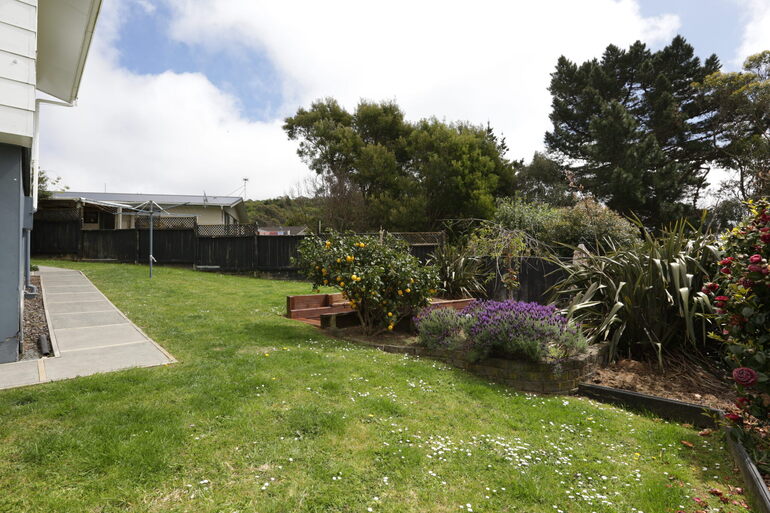
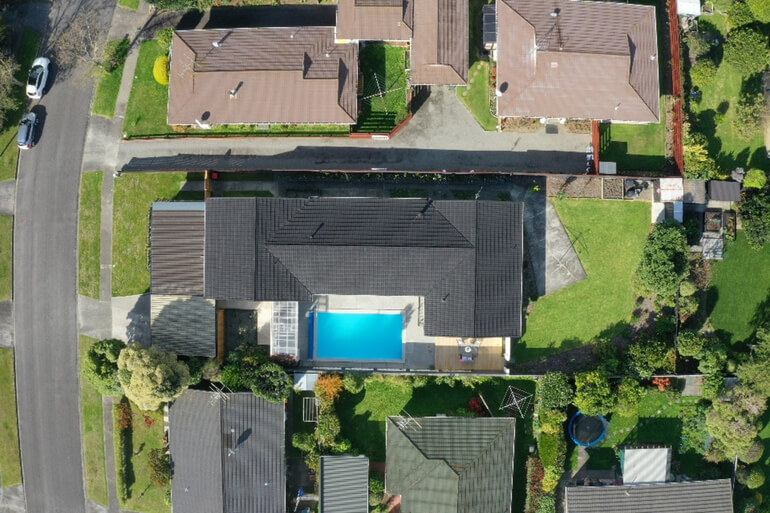
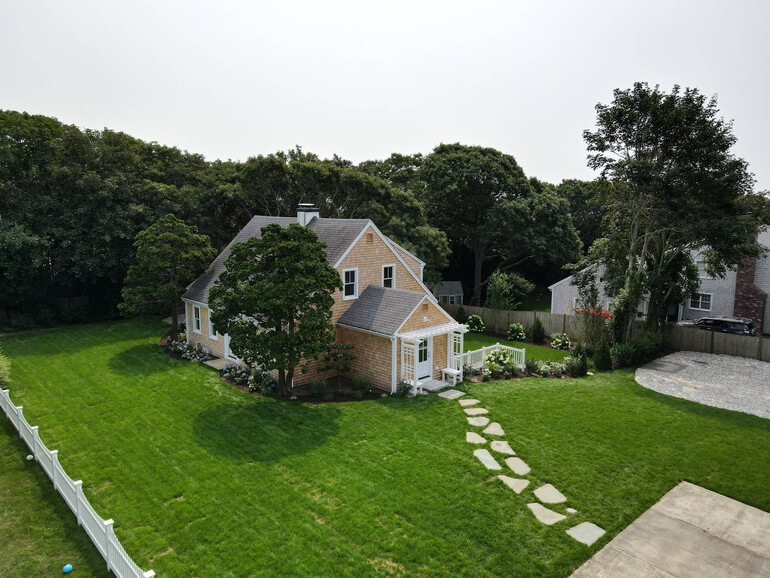
3. Making the Grass Green


A healthy lawn is key to boosting your property’s curb appeal.
97% of homebuyers use the internet to search for a new home, so eye-catching pictures that highlight your home’s curb appeal are an absolute necessity if you want to get a top-dollar offer.
But what if you need to take photos in the off-season when the lawn is full of brown, dry patches?
No worries – we’ve got a solution!
Check out our tutorial video on how to green your grass in Photoshop. Our easy-to-follow steps will help you make a lawn look lush and amazing in no time:
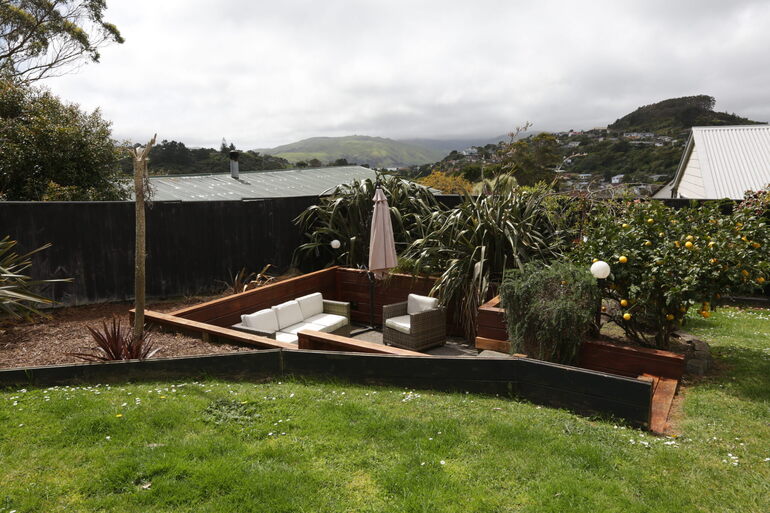
4. Replacing a Dull Sky With a Blue, Bright Sky
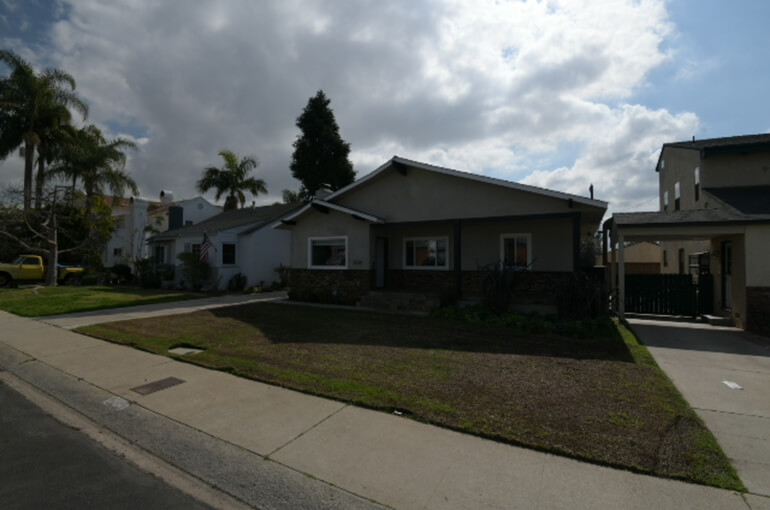

You don’t have to let a drab sky ruin near-perfect real estate images. No matter the weather during your shoot, a sky replacement can enhance your images and make them look warm, sunny, and captivating.
Taking the time to brighten up the sky and make your images more vibrant may seem like extra work, but trust us, it’s worth it. A beautiful sky has a remarkable effect on prospective home buyers, and it’s all about creating a welcoming atmosphere.
Not only will your real estate images capture their attention, but with a clear, bright, and inviting sky, potential buyers are also more likely to fantasize about themselves living in the home.
You want to create an emotional connection that will last a lifetime, and that’s exactly what a stunning sky can provide.
Plus, as a savvy photographer, you don’t have to worry about the weather or getting the perfect time of day for your shoot.
You can simply edit your images in post-processing like in this video on how to replace a summer sky in Photoshop, and voila! You’ll have gorgeous, eye-catching photos that will delight your clients.
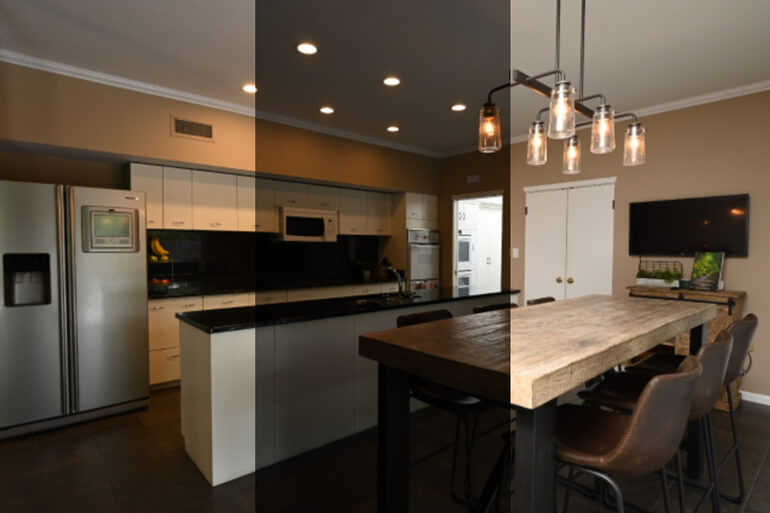
5. Editing Day to Dusk


Editing a day to dusk image, also called Twilight editing, is powerful when you want to create stunning real estate photography that captures buyers’ attention.
Twilight photographs are very pleasing to the eye because they capture “the golden hour” at sunset which adds a romantic and mysterious glow to your photos.
During the golden hour, you can capture stunning shots that make your rooms look bright, inviting, and downright swoon-worthy.
But here’s the thing – this window of opportunity passes by quickly, especially for exterior shots. That’s where twilight or day to dusk editing comes in – a powerful tool that can recreate that warm, mysterious glow that only the golden hour can offer.
To learn how to do this, you can check out our video tutorial on how to edit a day to dusk image:
6. Removing Unwanted Objects


To enhance your exterior home photos, you may need to remove unwanted objects from your photos.
For example, here are a few situations when you should consider performing object removal:
- There’s an unwanted car in the driveway
- You failed to notice a person walking through the exterior just as you took the shot
- There’s an ugly spot of peeling paint on the exterior of the home
- There’s trash left on the pavement next to the house
Removing these objects using Photoshop can improve your overall real estate photography. And fortunately, you can do this in a few simple steps.
To show you an example of object removal, check out our video tutorial on how to remove a car from a driveway in Photoshop:
High-Quality & Consistent
Real Estate Photo Editing
Hire a dedicated editor with performance metrics from $7/hour.

7. Flambient Editing

When it comes to real estate photography, flambient photos are the way to go.
They’re like an improved version of bracketed HDR images, but instead of simply taking shots with different exposure settings, you take 2-3 shots to create one amazing image.
Here’s how it works: you capture an ambient light shot, a flash shot, and sometimes even a window shot. Then, you combine all of them together in the post-processing stage, and voila!
The result is a crisp, clean, and detailed image that looks stunning.
The trick is to balance the flash and ambient shots correctly, so you get the best of both worlds. Flambient photography recognizes the strengths and limitations of all-flash or all-ambient shooting and cleverly combines them to create outstanding results.
Editing flambient images incorporates the use of layers, window pulls, and brushing out identified parts of the image. To get started, you can watch our video tutorial on how edit using the flambient method:
8. Removing Ghosting


If you’re looking to take your real estate photos up a notch, it’s crucial to tackle those pesky light flares and ghosting.
As you may know, ghosting can happen when shooting bracketed images for HDR photography.
No one wants to see blurred or “ghosted” tree branches or leaves in their final blended image. It’s off-putting and downright unprofessional.
Luckily, there’s a solution!
With a bit of Photoshop know-how, removing ghosting is a breeze. Check out our super helpful video tutorial on how to remove ghosting in real estate photos. You’ll be producing crystal-clear exterior home photos in no time!
9. Performing Perspective Correction
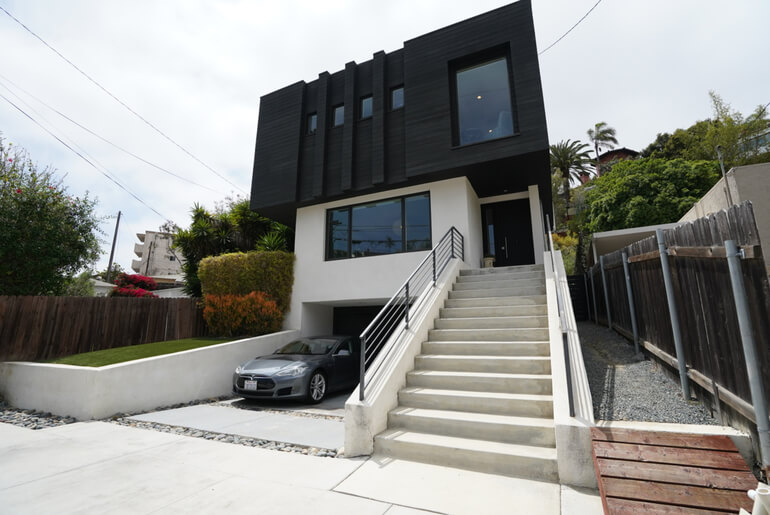

Straight vertical and horizontal lines are a must-have in architectural and real estate photography.
But let’s be real, it’s not always easy to get these lines right due to factors like lens curvature and the shape of the room or items inside the property.
That’s where perspective correction comes in handy!
By aligning distorted lines with the frame of the image, a natural and cohesive look is achieved, drawing the viewer’s attention to the photo’s key features.
Even though this video is illustrating how to fix verticals in Photoshop of an interior image, it can still be applied to exterior photos:
10. Reducing Noise


Real estate photographers have been battling forever to reduce that grainy look that they sometimes get in their photographs.
Noise or grain is a common issue that can ruin otherwise perfect photos. These annoying dots tend to show up when lighting conditions are poor or when certain camera settings go awry.
They can make your beautiful photos look grainy and unappealing.
Fortunately, you can use a variety of editing techniques to tone down noise and make your photos appear clearer, richer, and more attractive.
For example, in Photoshop click on Filter, hover over Noise, and click Reduce Noise. Set the value of Strength to 0% to start.
Then, drag the “Strength” slider to the right to remove as much of the luminance noise as possible. Avoid dragging the slider too far to the right to remove the details from the photo.
11. Cropping Your Images

Cropping can make a big difference in making your shots stand out.
While it might seem like an easy edit, cropping actually enhances the overall framing and can alter the aspect ratio, ultimately focusing more attention on the subject of the image.
Remember, though, permanent home structures like water towers and electrical posts should NOT be cropped out inadvertently.
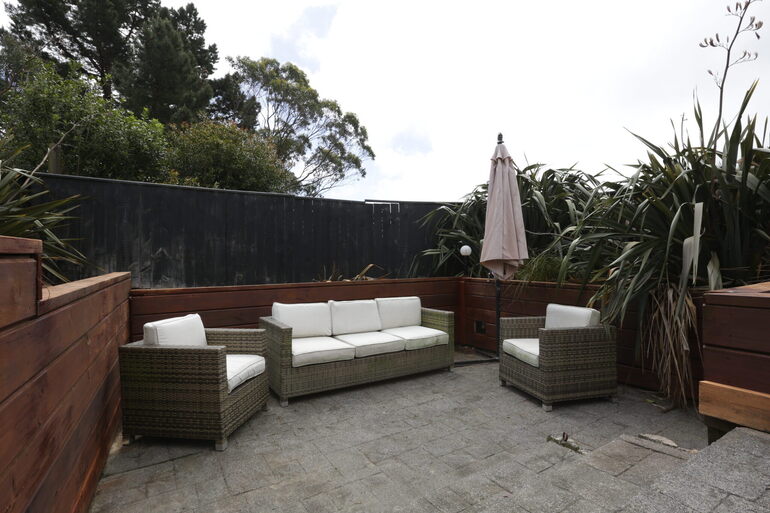
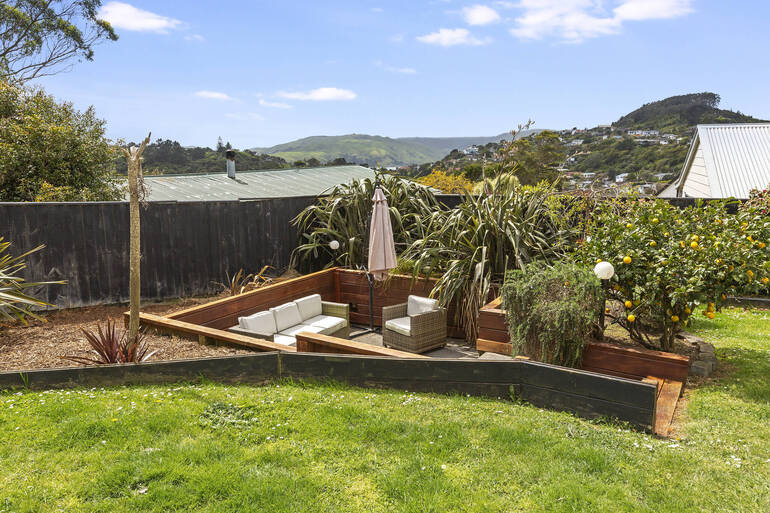
12. Leveraging Virtual Landscaping
AI Virtual staging or virtual landscaping is the most common enhancement technique for exterior property photos, and it’s perfect for showcasing your properties’ full potential!
With virtual landscaping, you can make the grass greener, give trees and plants some extra oomph, or even repair fences and cracks in exterior paint.
Plus, you can add trendy outdoor furniture or a stunning pool and patio area to the mix!
Potential homebuyers will love seeing how the house would look with a fully maintained, updated, and manicured yard.
And the best part? You don’t need any special software to make it happen! Just let a professional real estate photo editing company like PhotoUp do the work for you.
Starting at the low cost of $3 per image, PhotoUp’s AI virtual staging will enhance your exterior or interior property photos and generate them within 10 minutes, looking absolutely amazing.
Your photos will be the talk of the real estate market and you’ll be able to impress clients with ease. Let’s elevate your exterior photography game with virtual landscaping today!
High-Quality & Consistent
Real Estate Photo Editing
Hire a dedicated editor with performance metrics from $7/hour.
Save Time on Real Estate Photo Editing With PhotoUp!

If you don’t wish to edit your real estate photos yourself and are looking to save time, PhotoUp’s team of expert real estate photo editors can happily do it for you.
With more than a decade in the business and several hundred skilled photo editors around the world, you can’t beat PhotoUp’s quality, service, and pricing.
Browse Top Dedicated
Real Estate Photo Editors
Ready-to-hire editors for real estate photo editing, and more.
PhotoUp offers affordable photo editing starting at $1.10 per image depending on your subscription level, delivered with fast turnaround times of 24 hours or less.
Except for standard editing, our real estate photo marketing services also include:
When signing up for a free account, PhotoUp also gives you an all-in-one photo management system, so you can upload and receive photos, send instructions and feedback, track and manage team members and clients, and deliver photos directly to your clients.
PhotoUp Real Estate Photo Editing Uploader
Check out how easy it is to get started with our user-friendly software in this real estate photo editing uploader demo:
With a few clicks, you can get beautifully edited images returned to you for download in less than 24 hours!
Sign up for a free PhotoUp account today, and let PhotoUp edit your images to perfection. And for a limited time, you’ll even get 5 free edits when you sign up for an account!
We hope this blog post helped you learn how to edit exterior real estate photos. If you found this post useful, you may also want to check out the following resources:

