


Do you want to learn how to remove an object in Adobe Photoshop for your real estate photography?
There’s a lot you can do to change the objects in a real estate image – provided you know what you are doing.
To give you a brief background, real estate marketing images have never been more important.
As the industry embraces the tools of online marketing, your images take center stage and need to convey everything there is to know about a listing.
You can no longer rely on the feel of a place to convince buyers. All they have to work with is your image – so it needs to be perfect.
In this post, we’ll show you how to remove an object in Adobe Photoshop to help improve your real estate photography using 9 simple steps.
But first, let’s take a look at why removing unwanted objects are necessary in the first place.
Why Should You Remove Unwanted Objects in Your Real Estate Photography?

Fortunately, the software tools to radically alter the appearance of a room are there for everyone to use – if you know what to do.
In fact, removing an object in an image is one of the more challenging tasks you’ll do in Photoshop.
And if you aren’t familiar with the software, it can end up looking clunky and fake.
But if you are a skilled operator, then it’s almost magical how you can take unwanted distractions out of any photograph by working with areas that surround the unwanted object to cover it up.
When would you want to remove an object? Let’s look at a few examples:
- There’s an ugly spot of peeling paint in the kitchen
- The photo of the bedroom has clothes strewn all over the carpet
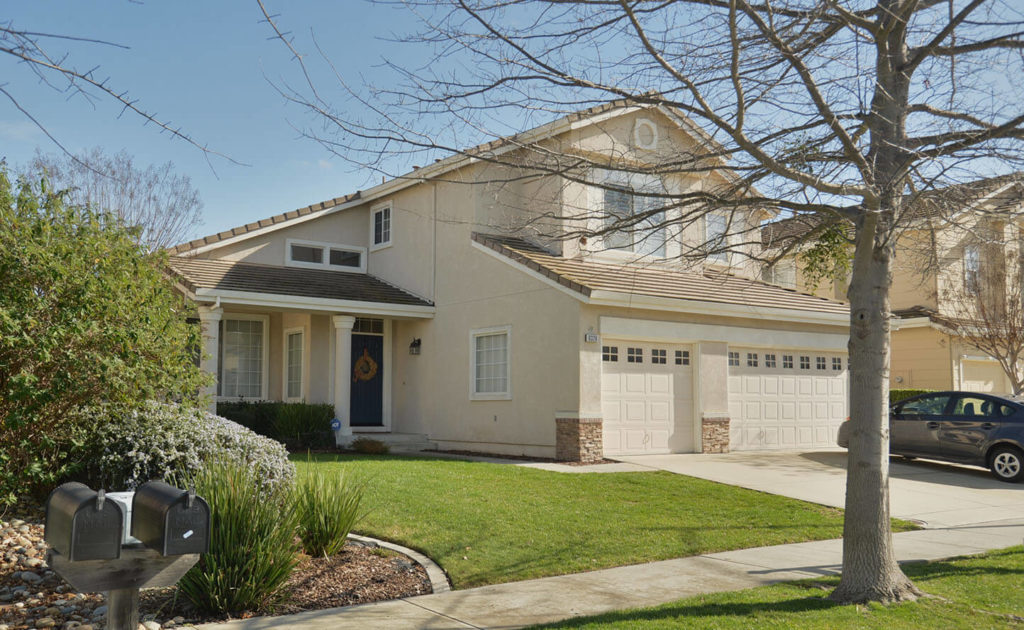
- There’s an unwanted car in the driveway
- You failed to notice a person walking through the exterior just as you took the shot
These are all situations when removing an object using Photoshop can improve your real estate photography.
Alright, let’s get into the nitty-gritty!
Removing an Object in Adobe Photoshop
To get started, you can either watch the video tutorial on how to remove a car from a driveway. Or you can continue reading the text below.
Step 1. Start by right-clicking on the image you are working on, then select Edit in Adobe Photoshop.

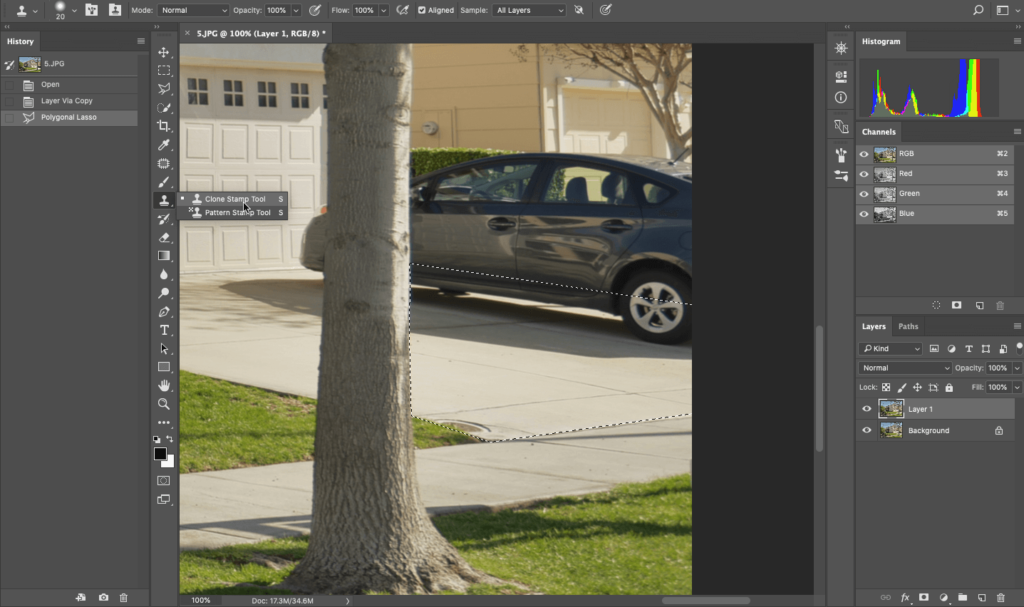
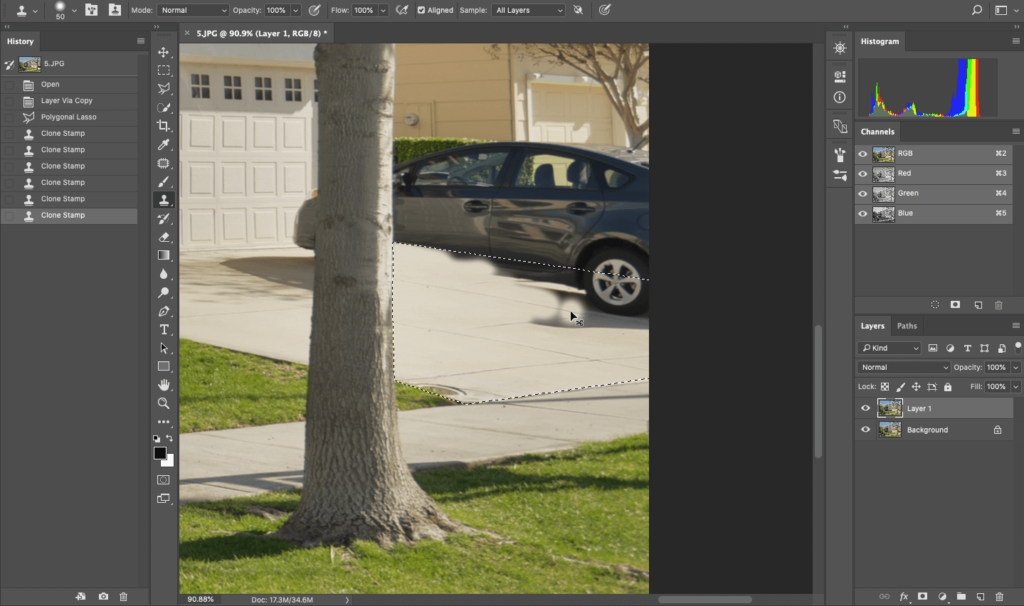
Step 2. Next, use the Lasso tool to select the area you want to replicate and to expand over your unwanted object.
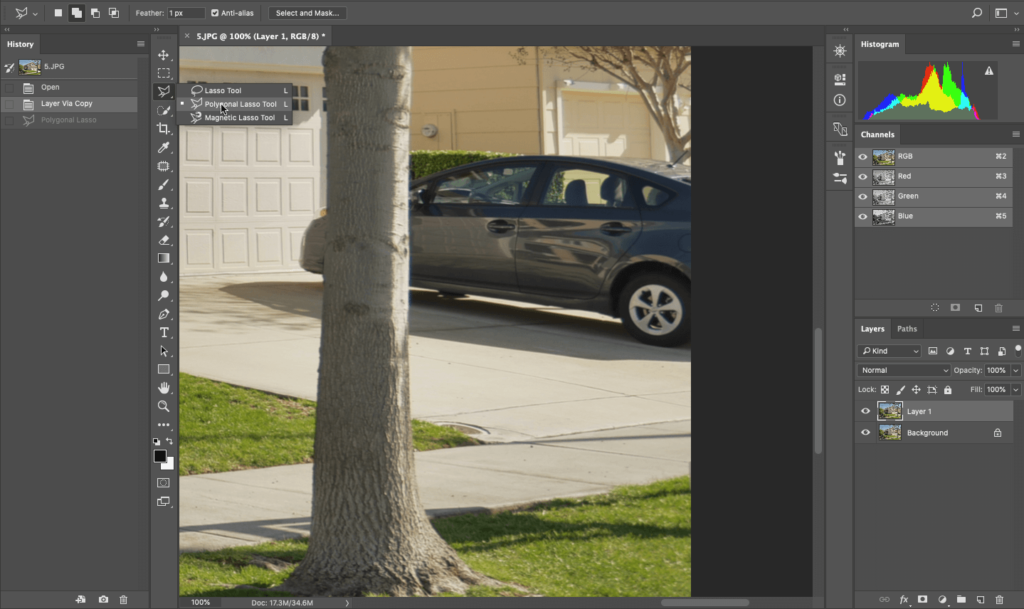
Step 3. After marking the object using the Lasso tool, you select the Clone Stamp tool.
The Ultimate All-in-One
Real Estate Photographer Business Platform
Grow a successful real estate photography business with PhotoUp.

Step 4. Now, carefully brush over the area you want to remove using color and texture from the background so that they blend in and look the same.
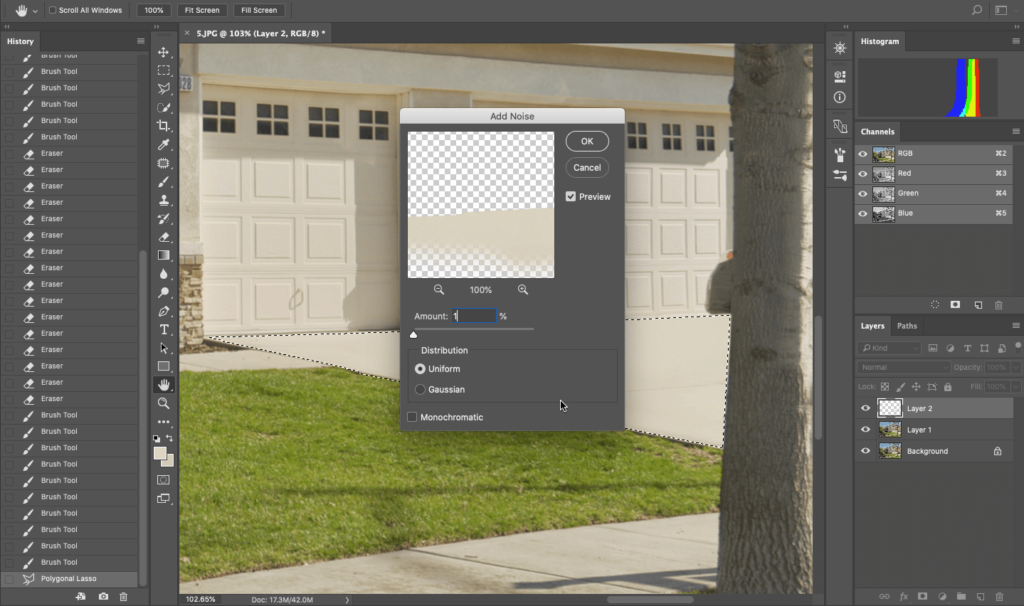
Step 5. Don’t make it too clean though – add a little ‘noise’ to the image by going to Filter > Noise > Add Noise.
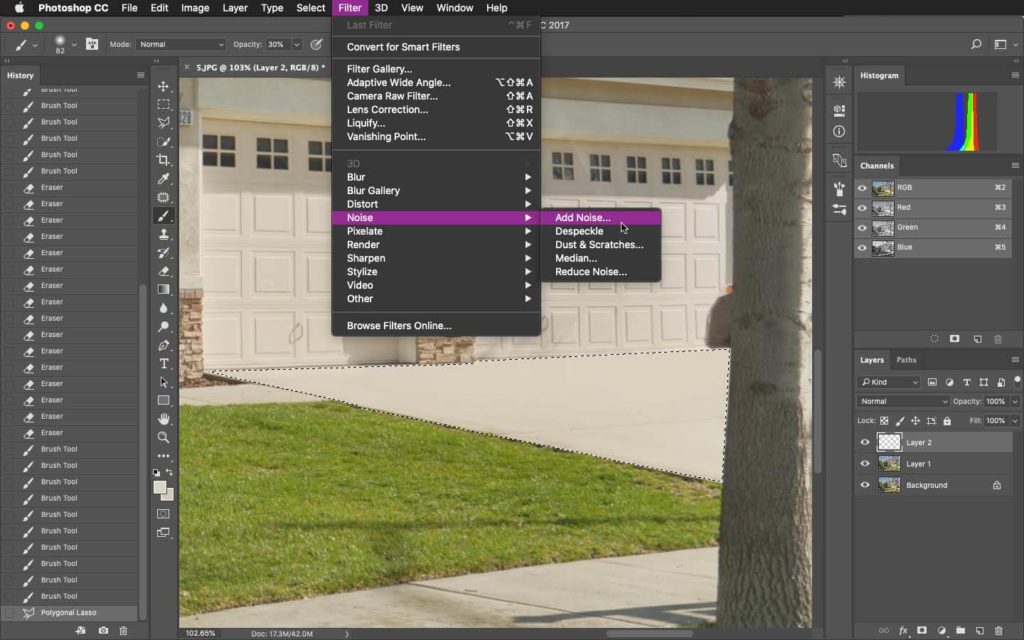
Step 6. Then, add 0.5 – 1% noise for a natural look.
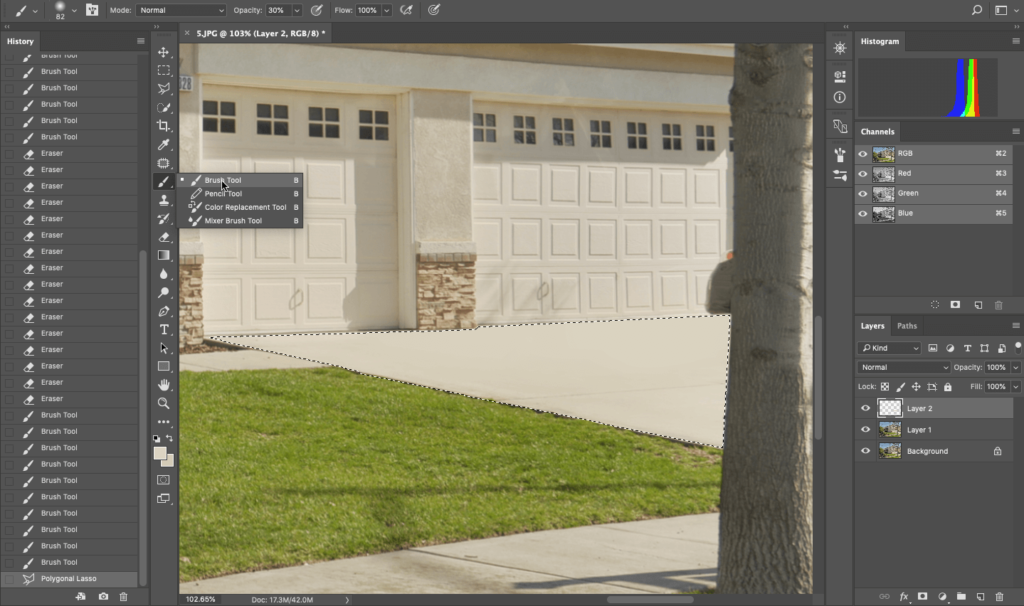
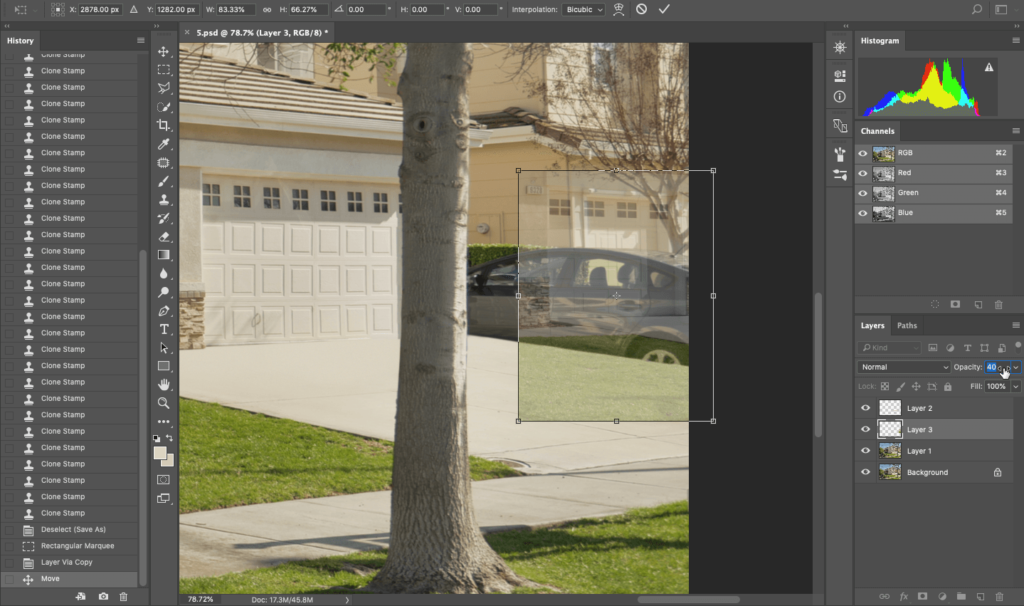
Step 7. To cover over a larger area, open a new layer and use the Rectangular Marquee Tool to select it.
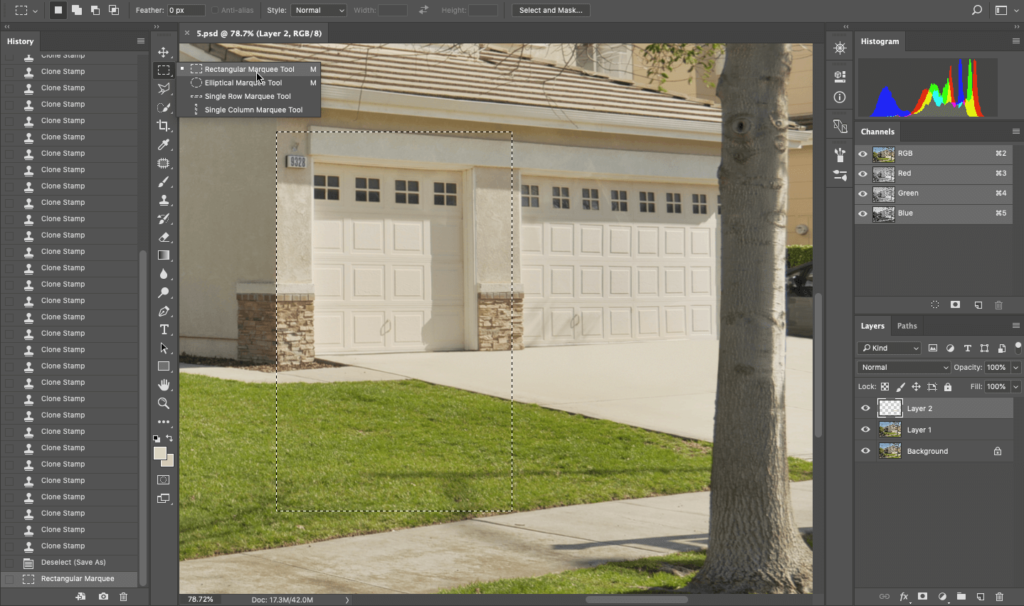
Step 8. Then, copy and drag that area, change the opacity to between 30%-50%, and cover over the object you want to remove.
Step 9. Lastly, make sure there is no obvious repetitive cloning visible.
That’s it!
Wrapping Up
With a bit of time and lots of practice, you can get really good at removing objects from real estate photos in Photoshop.
But if there are ways that you can better spend your time and energy, then you should consider outsourcing this kind of work to the trained professionals at a real estate photo editing company, like PhotoUp.
Browse Top Dedicated
Real Estate Photo Editors
Ready-to-hire editors for real estate photo editing, and more.
Our teams of skilled photo editors and virtual staging artists are highly skilled and experienced and waiting to take photo editing off your hands.
All you need to do is upload your images and instruct the team on what you’d like – they’ll do the rest.
PhotoUp delivers hi-resolution, high-quality images, edited in your style within hours.
To see what PhotoUp can do for your real estate marketing images, sign up for a free account today.
We hope this post helped you understand how to remove unwanted objects in Adobe Photoshop to improve your real estate photography.
If you found this post useful, you may also want to check out the following resources:

