


Table of Contents
- Real Estate Photo Editing Workflow for Fast Editing
- Pro Tips for an Even Faster Photo Editing Workflow
- Stop Doing Everything Yourself! Outsource to PhotoUp!
As a photographer, you know that high-quality images can make or break a listing. But producing stunning photos isn’t just about having a great camera—it’s about having a fast and effective real estate photo editing workflow.
Whether you’re a solo photographer or managing a team, optimizing your workflow helps save time, maintain consistency, and deliver polished, professional images that sell properties faster.
Here’s a step-by-step breakdown of the best real estate photo editing workflow to maximize your productivity and results.
Let’s get started!
Real Estate Photo Editing Workflow for Fast Editing
A great real estate photo editing workflow isn’t just about speed—it’s about consistency, quality, and delivering value to your clients.
With a structured and efficient editing process, you can meet tight deadlines without sacrificing image quality.
Here’s an excellent workflow to follow to speed up your post-processing:
1. 🗂️ Organize Your Files From the Start

Before you jump into editing your photos, you must get organized. This step is necessary if you hope to establish an efficient process and workflow.
Creating a storage system with proper labeling and dating of photo collections will save you valuable time later.
So, before you even open Lightroom or Photoshop, create a solid folder structure to keep things clean and efficient.
Suggested structure:
- Main folder: Property address or MLS number
- Subfolders:
- RAW Files
- Edited
- Exports
- Final Delivery
Pro tip: Rename your files consistently (e.g., 123MainSt_LivingRoom_01.CR2) so they’re easy to locate and match with rooms or angles later.
2. 🖼️ Import and Cull in Lightroom

Once your files are organized, import them into Adobe Lightroom Classic.
Here are some things to consider:
- Cull efficiently using star ratings or flags to identify the best images
- Discard duplicates, misfires, or out-of-focus shots to streamline the next steps
- Group bracketed exposures together if you’re using HDR or flambient real estate photo editing techniques
Pro tip: Use “Smart Previews” to edit faster without needing to stay connected to your original files.
3. 🏙️ Apply Basic Global Adjustments

In the next step, you need to select your hero shots and start with global corrections, including:
- White balance adjustment: For color accuracy
- Exposure, contrast, and highlights/shadows: To enhance the dynamic range
- Clarity and vibrance: To add life without overprocessing
- Lens corrections: To remove distortion and vignetting
- Cropping and straightening: To correct perspective
Pro tip: Use batch editing for rooms with similar lighting conditions to save time.
The Real Estate Photography
Business Systems You Need
PhotoUp is the ultimate real estate photographer business platform.

4. Advanced Edits: HDR or Flambient Blending
Depending on your shooting style, here are some editing tips:
🌅 HDR (High Dynamic Range)


When editing HDR images, start by merging bracketed exposures in Lightroom or Photoshop:
- Select 3–5 bracketed shots
- Use Photo > Photo Merge > HDR
- Make additional tone adjustments after merging
In this video, we’ll walk you through how to get started editing HDR photos in Lightroom:
💡Flambient Editing


For higher-end listings, blend flash and ambient exposures manually in Photoshop.
This is what to do:
- Open layers: Ambient at the bottom, Flash above it
- Set the flash layer to “Darken” or use “Luminosity Masks”
- Mask areas selectively for a natural, well-lit interior
Flambient provides more realistic lighting and better window pulls compared to auto HDR.
For more details, check out our video tutorial on how to edit flambient real estate photos:
5.🌿Edit in Photoshop for Detailed Enhancements
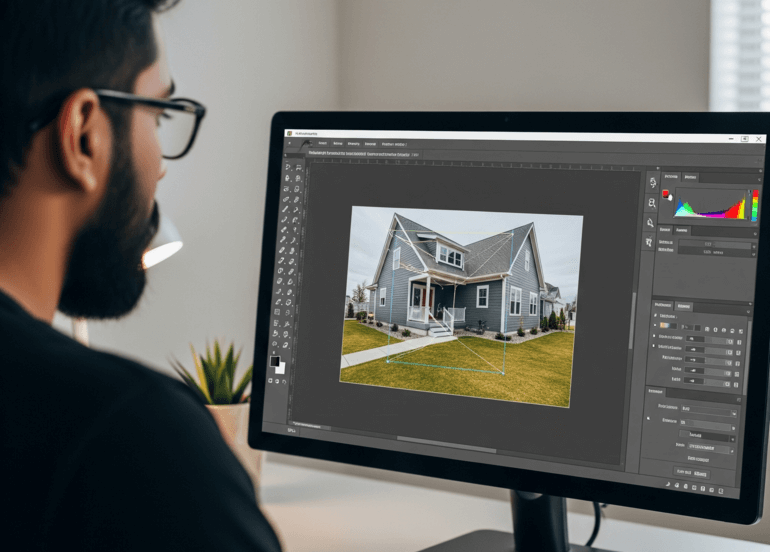
After making global corrections and exposure blending, move your best shots to Photoshop for refinements:
- Sky replacement: Use blue skies or twilight for exterior shots
- Window masking: Insert clear window views without glare
- Object removal: Eliminate clutter, cords, or distracting items
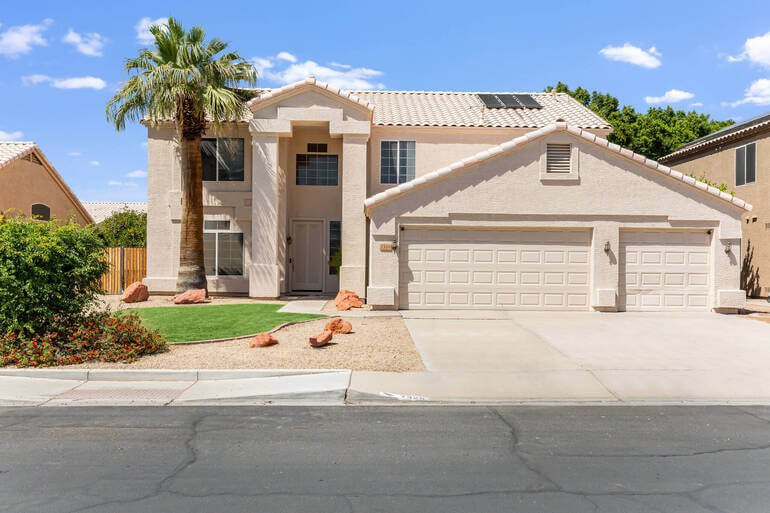
- Lawn greening & landscaping touch-ups: Fill in brown spots and dead patches with a lush green lawn and make other enhancements where needed
- Color cast removal: Remove color cast from walls or furniture
- Perspective correction: Straighten verticals and horizontal lines for architectural accuracy
Pro tip: Use actions and batch scripts to automate repetitive tasks in Photoshop where possible.
6. 📤Export With Proper Settings

When you have made the detailed enhancements, make sure to export your final images with web and MLS standards in mind:
- Resolution: 2048px on the long edge is typically safe for MLS
- Format: JPEG, 80–100% quality
- Color space: sRGB for accurate online display
- File names: Keep descriptive (e.g., 123MainSt_Kitchen_01.jpg)
Pro tip: Export to a dedicated folder like “Final Delivery” to keep your files organized.
7. ☁️ Backup and Deliver to Clients

Don’t forget the final steps!
- Backup your RAW and final images to an external hard drive or cloud storage
- Use platforms like Dropbox, Google Drive, or a client portal for delivery
- If working with a team or clients, use real estate photo platforms like PhotoUp to upload, review, and approve images in one streamlined system
And that’s it!
Whether you handle the entire process yourself or outsource parts of it, following the steps above will help you build a professional and scalable real estate photography business.
Now, let’s take a look at some pro tips to speed up your workflow even more.
🔧 Pro Tips for an Even Faster Photo Editing Workflow


Once you’ve nailed down your core real estate photo editing workflow, these extra tips can help you speed things up even more.
Whether you’re looking to shave off editing time or simply make your process more efficient, these quick wins will keep your productivity high and your turnaround times short.
Here are some pro tips:
| Use Lightroom Presets: Create your own or buy presets to jump-start your photo edits. |
| Outsource When Needed: Partner with a professional editing service like PhotoUp to save hours and scale your business. |
| Work in Batches: Avoid switching between tasks—edit similar images together. |
| Use Dual Monitors: One screen for Lightroom/Photoshop, the other for references or folders. |
| Keyboard Shortcuts: Learn essential shortcuts to navigate faster. |
🚀 These small optimizations add up to big time savings, giving you more room to take on new clients, focus on shooting, or just enjoy a better work-life balance.
Have You Ever Thought To
Outsource Photo Editing?
Try it today with 5 free edits from three professional photo editors.
Stop Doing Everything Yourself! Outsource to PhotoUp!

If you’re one of those busy real estate photographers who are spending after-hours editing your images, you need to stop and listen!
Consider outsourcing real estate photo editing to PhotoUp.
PhotoUp, a leading real estate photo editing service, boasts over 12 years of experience in the industry and a team of several hundred skilled photo editors worldwide.
With a fast turnaround time of 12-24 hours, unparalleled quality, exceptional service, and competitive pricing, PhotoUp stands as the ultimate choice for all your photo editing needs.
Our skilled photo editors can help with the following issues:
- Improper exposure levels
- Harsh shadows, lack of light, etc.
- Blurred images that were taken without a tripod
- Images that need cropping or other effects
- Lawn greening and sky replacements
- Twilight editing and day-to-dusk conversions
- Clutter and object removal
- Line and angle corrections
- And much more!
No job is too big or too small for our expert team, who excel in handling both complex and simple editing tasks.
Dedicated Photo Editing
We also offer dedicated photo editing services. A dedicated editor learns your style and approach and provides consistency while improving turnaround times.
You’ll also be surprised at how dedicated photo editing can save you money.
Consider this – on average, a dedicated editor outputs 1,800+ edits per month, at a final cost of $0.72 per edit. We have even seen $0.50 per edit.
Working with a dedicated photo editor is not only affordable, but it will save you countless hours while also boosting your image quality!
Browse Top Dedicated
Real Estate Photo Editors
Ready-to-hire editors for real estate photo editing, and more.
A Complete Real Estate Marketing Partner
On top of that, PhotoUp is a complete real estate marketing partner and also offers additional services such as:
We have everything you need to enhance and market real estate photography in one easy-to-use platform!
All you need to do is sign up for a free PhotoUp account, place your first order, and your photographs will be delivered back to you in less than 24 hours.
PhotoUp Real Estate Photo Editing Uploader Tutorial
To see how easy it is to get started with PhotoUp, you can check out our real estate photo editing uploader tutorial:
As simple as that!
Sign up for a free PhotoUp account today and let our expert editors help make your workflow ultra-fast!
Did we mention that you get 10 free credits when you sign up for an account?!
We hope this guide provided you with an effective real estate photo editing workflow that will make your post-processing a lot faster. Before you go, you may also want to check out these other related resources:
- How to Create a Strong Brand as a Real Estate Photographer
- The Role of AI in Real Estate Photo Editing: Is It Worth the Hype?
- 5+ Best Photo Editing Programs for Real Estate Photographers
- Benefits of Hiring a Professional Real Estate Photo Editing Service
- Best Real Estate Photo Editing Companies of 2026

