


Editing mistakes are common in real estate photo editing. Editing should be all about presenting properties in their best light — literally.
When done right, editing enhances key features, improves lighting, and removes distractions. But when overdone or applied poorly, these techniques can make photos look fake, damaging buyer trust and the listing’s credibility.
In this blog post, we’ll share the top 5 common editing mistakes that make your real estate photos look fake and show you how to perform these edits correctly.
Let’s get started!
Top 5 Editing Mistakes That Make Property Photos Look Fake
85% of homebuyers consider photos the most critical factor when evaluating a property online.
Professional real estate photo editing is crucial to enhance image quality. But it’s easy to take enhancements too far…
Here are the top 5 editing mistakes that make real estate photos look fake. We’ll also share video tutorials on how to do these editing techniques correctly to create captivating images.
🌅 1. Overdone Sky Replacements
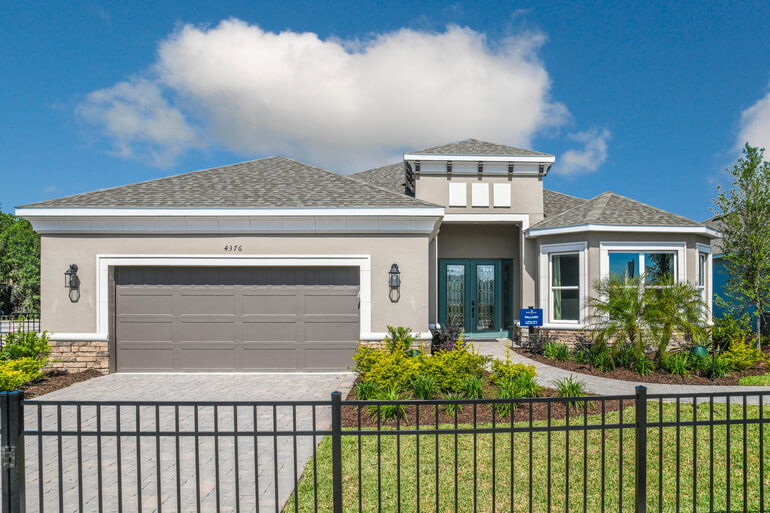
Sky replacement is commonly used to fix dull, cloudy, or overexposed skies.
A blue, sunny sky adds warmth, vibrancy, and curb appeal, making the property look more inviting and market-ready.
What typically goes wrong:
When editors use overly dramatic or unrealistic skies—like intense sunsets, lens flares, or surreal clouds—it creates an image that feels artificial.
Additionally, if the lighting direction of the sky doesn’t match the shadows on the home, the photo feels mismatched and obviously manipulated.
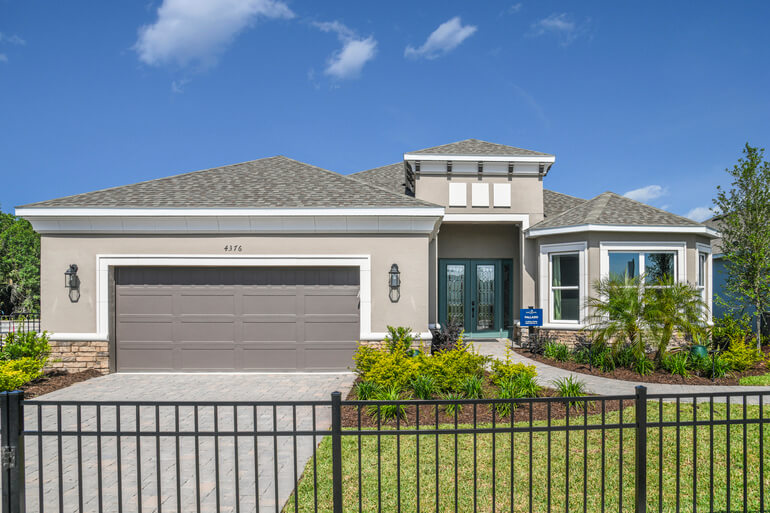
Best practices:
- Choose sky images that reflect the time of day and natural lighting conditions
- Blend skies carefully to maintain believable edges around trees, roofs, and antennas
- Avoid skies that overshadow the property itself
To learn how to perform this edit properly, check out our video tutorial on how to replace a summer sky in Photoshop:
💡 2. Unrealistic Lighting & Overexposure
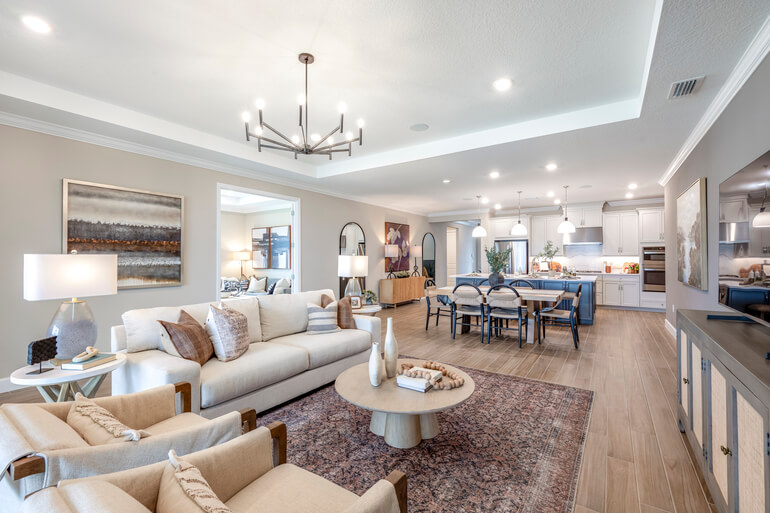
Good lighting makes interiors appear bright, spacious, and clean.
Editors use exposure adjustments, flash-ambient blending, or HDR to bring out details in both bright windows and darker interiors.
What typically goes wrong:
Too much exposure or aggressive HDR blending can eliminate shadows, flatten the image, and create unnatural glowing effects—especially on white walls or ceilings.
This often results in images that look sterile or like digital renderings rather than real photos.
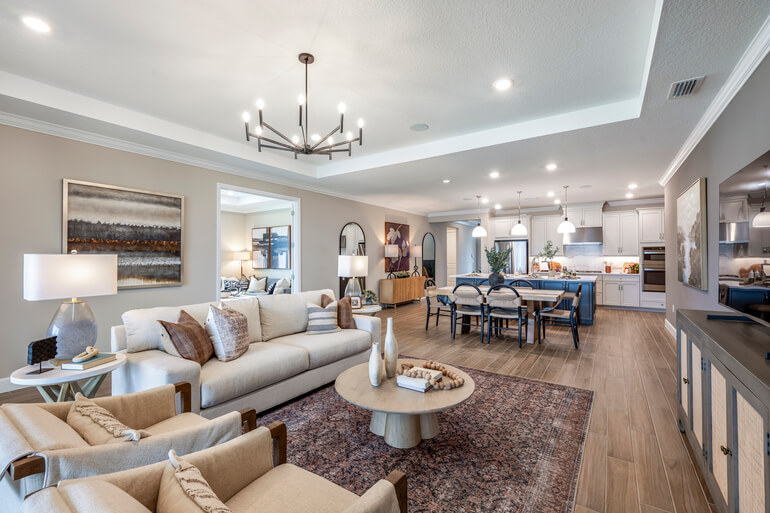
Best practices:
- Use flash-ambient (flambient) blending to retain natural shadows and highlights
- Keep the light direction and intensity consistent throughout the photo
- Avoid flattening contrast or over-smoothing textures like carpets, walls, or countertops
In this video, we’ll show you how to edit flambient real estate photos:
For more information, this video tutorial walks you through how to properly brighten a photo in Photoshop:
🎨 3. Over-Saturated Colors

Color correction and saturation are used to bring life into dull images.
Neutral tones are enhanced, greenery looks more alive, and wooden surfaces become richer and more appealing.
What typically goes wrong:
When saturation is pushed too far, grass becomes unnaturally green, water appears radioactive blue, and wooden floors may look orange or red.
This breaks the realism and makes the entire image feel overly edited.
Best practices:
- Use selective adjustments to correct specific problem areas without affecting the whole image
- Match color tones to realistic references or daylight white balance
- Focus on enhancing without exaggerating

To learn how to adjust the colors correctly, check out our tutorial on how to color correct in Photoshop.
Additionally, this video tutorial shows you how to adjust white balance in Photoshop:
And if you have issues with color cast, this video tutorial will show you how to correct that:
Have You Ever Thought To
Outsource Photo Editing?
Try it today with 5 free edits from three professional photo editors.

🪑 4. Poorly Done Virtual Staging

AI Virtual staging helps buyers visualize how a vacant or outdated space can look when furnished.
It’s more cost-effective than physical staging and adds warmth and context to cold, empty rooms. It’s actually up to 97% cheaper than traditional staging.
What typically goes wrong:
Low-quality furniture renderings, incorrect shadows, poor scaling, or mismatched lighting can make the virtual staging look fake or even comical.
If the staged elements don’t look like they belong in the room, it hurts buyer trust.
Best practices:
- Use high-quality 3D models and furnishings appropriate for the style of the home
- Match furniture scale to the room’s proportions
- Apply correct lighting and shadows to integrate the furniture naturally into the environment
To ensure photo-realistic virtual staging, use PhotoUp’s AI virtual staging service. For only $5.00 per image, you’ll get your images virtually staged in less than 48 hours.

All you need to do is sign up for a free PhotoUp account, upload your images, choose furniture sets, and let our expert CAD designers do the job.
🪞 5. Overuse of Object Removal


Object removal is used to get rid of distractions like trash bins, cars, cords, stains, or personal items that clutter a photo or hurt the presentation.
What typically goes wrong:
Too much removal, or sloppy use of the clone stamp or healing tools, can create visible smudges, warping, or inconsistencies—like repeated patterns in the grass or missing wall shadows.
In some cases, removing permanent fixtures like fences or AC units could even be considered misleading.
Best practices:
- Remove only what detracts from the scene (e.g., clutter, personal items)
- Maintain texture consistency and lighting in the retouched area
- Avoid altering architectural features or permanent installations

To learn how to do object removal the right way, watch this video tutorial on how to remove cords in Photoshop:
And there you have the 5 most common editing mistakes when it comes to real estate photography. By knowing these common mistakes, you’ll also know how to avoid them.
Now, let’s take a look at some common questions and answers when it comes to editing mistakes.
FAQ: Editing Mistakes


Why do overly edited real estate photos hurt a listing?
Buyers today are savvy — they can spot when a photo looks “too good to be true.” If a property doesn’t match its photos during an in-person showing, it creates disappointment and damages the agent’s credibility.
Can real estate photos be edited legally?
Yes. Common enhancements like fixing lighting, correcting color, or removing temporary items are allowed. But removing structural flaws or adding features that don’t exist (like fake views or pools) crosses ethical lines.
What’s the difference between HDR and flambient editing?
HDR combines multiple exposures for detail in bright and dark areas, but it can sometimes look artificial if over-processed.
Flambient combines flash and ambient light exposures to create a more realistic and balanced image with natural shadows.
How can I avoid making photos look over-edited?
Stick to subtle enhancements. Use professional editors like PhotoUp who understand real estate photography, and always review the final image compared to the original to spot overcorrections.
Have You Ever Thought To
Outsource Photo Editing?
Try it today with 5 free edits from three professional photo editors.
🛠️ How PhotoUp Helps You Edit With Confidence


PhotoUp is a trusted real estate photo editing service that understands the fine line between enhancement and exaggeration.
With expert editors trained specifically in real estate photography, PhotoUp ensures your images look professional—without looking fake.
Here’s how PhotoUp helps you get it right:
| ✅ Accurate sky replacements that align with natural lighting. |
| ✅ HDR and flambient blending that enhances light realistically. |
| ✅ Color correction and white balance tuned for natural tones. |
| ✅ Virtual staging with high-quality, photorealistic furnishings. |
| ✅ Thoughtful object removal that maintains photo integrity. |
| ✅ And much more! |
Plus, with quick turnaround times of 12-24 hours, affordable pricing starting at just $1.50 per image, and a user-friendly photo management system, PhotoUp helps real estate agents and photographers save time, attract buyers, and boost their brand image.
And there’s more…
A One-Stop Shop for Real Estate Marketing
Additionally, PhotoUp is more than just photo editing! We also offer other powerful real estate marketing services like:
Having access to all these marketing tools on one platform allows you to expand your product offerings and become more valuable to your clients.
Together with PhotoUp, you can quickly grow and scale your business.
How to Get Started
Getting started with PhotoUp is super easy! Here’s what to do:
Step 1. Sign up for a free PhotoUp account.
Step 2. Upload your photos to our easy-to-use software.
Step 3. Choose the level of editing that you need and provide instructions (optional).
Step 4. Wait for PhotoUp professional editors to edit and return the photos in less than 24 hours (48 hours for virtual staging).
Step 5. Download and start using your beautifully edited photos.
PhotoUp Real Estate Photo Editing Uploader Tutorial
Watch how easy it is to get started with PhotoUp in our real estate photo editing uploader tutorial:
As simple as that!
So, say goodbye to fake-looking photos and hello to natural, market-ready images.
👉 Sign up for a free PhotoUp account today and bring your real estate photos to life — the right way.
For a limited time, you’ll even get 10 free credits when signing up for an account that you can apply to any of our services.
We hope this blog post helped you learn how to avoid common editing mistakes and make your real estate photos look natural yet captivating. Before you go, you may also want to check out some related resources:

