


Table of Contents
Are you looking for a HDR real estate photography tutorial to learn how to edit your photos using the flambient method?
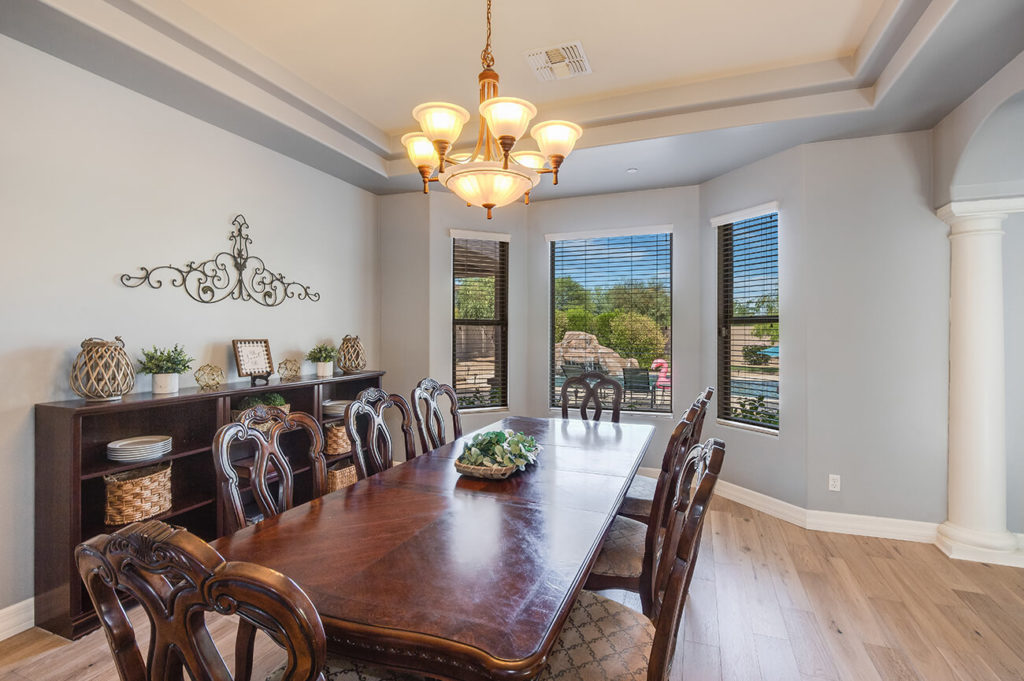
Real estate photography is surging across the globe as more and more people turn to digital marketing methods to buy and sell real estate. Nothing is more important than high-quality photographs when it comes to motivating a potential buyer.
When traditional shots can’t do the property justice, many photographers turn to the new and highly effective “flambient” method. What it does is mix flash and ambient exposures together to generate special effects and stunning images.
This HDR real estate photography tutorial will help you learn everything you need to know about editing using the flambient method in Photoshop.
But first, let’s take a look at what the flambient method is and when it’s used.
What Is the Flambient Method?


The word flambient is a mash-up of two words; flash and ambient.
As its name suggests, a flambient photo is a combination of the two styles of photography in order to achieve the best possible final image.
Additionally, ambient photos rely on natural light and flash photos are used to help with color correcting, window views, and of course, additional lighting.
Each shooting method has different pros and cons. But taken together, they offer a well balanced, clean, and natural final image.
When Is Flambient Photography Used?
The flambient photography is most often used when you have extreme dynamic range in the home.
Usually, there are areas of a room that are quite dark, while the view outside the window is very bright.
And that’s the kind of range that is difficult to capture with just one image or a set of ambient brackets.
So, it’s in these scenarios using the flambient method is extra beneficial.
High-Quality & Consistent
Real Estate Photo Editing
Hire a dedicated editor with performance metrics from $7/hour.

Working With Flambient Photos
1. The Ambient Shot
We recommend starting with an ambient photo as your base and building from there.
So, take at least three ambient photos that you’ll use to build your flambient image.
Make the first one your base image. Then, lock off the camera and shoot one image using a lower F-stop and the other at a higher F-stop.
To make things easier, this process can be automated through bracketing.
2. The Flash Shot
Moving on to the flash shot, we recommend separating the flash from the camera. And then pointing it up at the roof to get a nice spread of light.
Make sure that you’re aiming the flash at a white surface because that will give you nice, natural colors to work with when you start to blend the flash shot with the ambient shots.
Note, there are times when you may want to shoot an additional flash shot that is used to get a nice, natural view outside the window.
This can be very helpful when photographing homes with breathtaking views that deserve to be highlighted.
Typically, this process is referred to as “window masking” or simply, “masking”.
Also, remember the goal in real estate photography is to achieve a shot that looks clean, crisp, and natural to the eye while highlighting the most important features of the room or space.
It’s harder than it sounds, but this is all achievable using the flambient method.
Now, when you have the flash and ambient shots ready, let’s move on to showing you how to edit a flambient photo next.
HDR Real Estate Photography Tutorial
How to Edit Flambient Real Estate Photos
To get started, you can either watch the video tutorial or continue reading the text:
- Open your photos in Lightroom, select them and right-click
- From the menu, select Edit In, then select Open as Layers in Photoshop
- In Photoshop, ensure the Ambient Layer is on top of the Flash layer
- Change the blending mode to Luminosity
- Next, add a blank new layer and change it’s blending mode to COLOR
- Open a brush, select the surrounding color in an area that needs work and start painting in the areas where discoloration is visible.
- When you’re done with that, add a MASK to the window view on the ambient layer
- Finally, set your brush to 0% hardness with 10-20% opacity, and brush over the areas that need recovery, excluding areas where the flash shadow is permanent
- Click Save and then you’re done with your first flambient photos!
Like we said, this process can be time consuming and difficult to master, but the results are worth it.
If you’re looking to offload your editing, but need someone experienced in the flambient editing method, look no further.
Sign up with PhotoUp today, and start working with our team of professional editors who are masters when it comes to editing flambient photos for real estate.
Browse Top Dedicated
Real Estate Photo Editors
Ready-to-hire editors for real estate photo editing, and more.
We hope you’ll find this HDR real estate photography tutorial useful as you learn how to create your own flambient photos. Before you go, you may also want to check out the following resources:

