


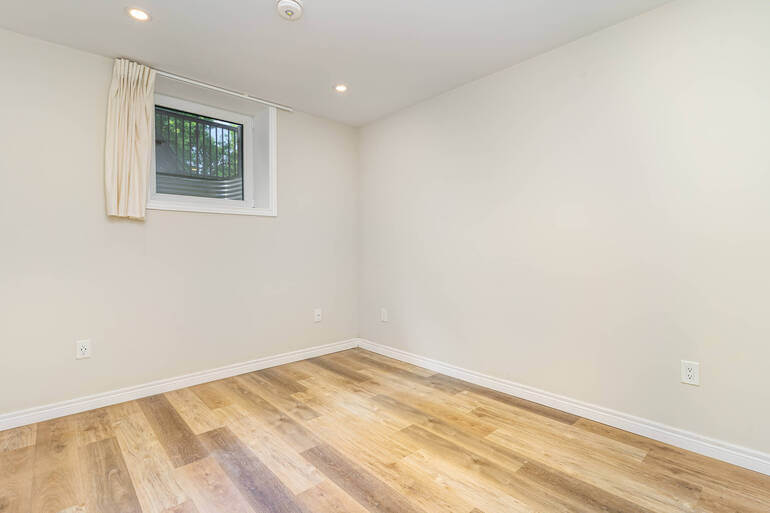
Real estate photography is an art form that combines the precision of a commercial shoot with the nuanced creativity of architectural storytelling. The images you capture are often the first impression potential buyers will have of a property, making your editing process a crucial element in selling a lifestyle.
In this post, we dive into the 10 significant hurdles you’ll likely face when editing real estate photos, offering you a roadmap to navigate the complexities of this vital phase in the photo production process.
Let’s get started!
Top 10 Challenges When Editing Real Estate Photos
To learn how to master the art of real estate photo editing, we have listed the top 10 challenges when editing real estate photos and how to overcome them with some simple yet effective editing techniques.
1. Managing White Balance
Photography can be a bit of a color trickster, especially when it comes to white balance. This is all about making sure that the whites in your photos look truly white, rather than blue, yellow, or some other tint.


It’s like your camera has its own pair of color glasses, and sometimes it sees things differently from how we do. But don’t worry!
Even though fixing this can be challenging, most DSLR cameras and photo editing software have tools to help.
You can either adjust the white balance directly in your camera settings or adjust the “Temperature Slider” in Adobe Lightroom.
While white balance correction will likely continue to be a head-scratcher for some time, it’s also a promise of better, more accurate photos waiting just around the bend.
2. Taming the Dynamic Range
Real estate photography often features rooms with diverse lighting, from the brightness of a sunlit window to the shadowed corners.
This can result in a high dynamic range (HDR) in photos, leading to overexposed windows and underexposed interiors.


Using HDR blending techniques or masking the windows can help balance these extremes, ensuring that both the view and the details inside the property are well-exposed without losing realism.
For a quick introduction to HDR editing, check out our video tutorial on how to edit HDR photos:
Additionally, to learn how to do window masking, you can visit our blog post on a quick and easy way to mask windows in Photoshop.
3. Averting Distorted Perspectives


Wide-angle lenses are a staple in real estate photography for capturing more of a scene, but they can cause distortions such as converging verticals and skewed horizontals.
Correcting these in post requires a delicate touch to retain the sense of space and scale, allowing prospective buyers to accurately perceive the room’s dimensions.
In this video tutorial, we’ll show you how to correct vertical lines properly:
4. Defending Against Clutter
A cluttered space is the enemy of a good real estate photo. Each item can inadvertently bear witness to the personal life or habits of the current owner, defeating the goal of a neutral, inviting atmosphere.
Careful real estate photo editing can declutter rooms, either by physically removing items or digitally retouching them out, to create a clean, open canvas for the viewer.


To learn how to declutter your real estate photos, check out our blog post on 5 simple editing techniques to remove unwanted objects in exterior photos.
Plus, in this post, we’ll show you how to quickly and easily declutter a home, which also includes utilizing AI virtual staging.
5. Enhancing Dull Skies and Keep the Realism


Real estate photography demands quick, high-quality shoots regardless of weather or lighting.
Post-production editing can be the ally that ensures every property looks its best with tweaks that enhance the mood and allure of the images.
Making a sky replacement can make an overcast, dull sky look warm and inviting. This will help capture the attention of potential buyers and make them look at your images for longer.
However, the sky has to still look realistic and not over-saturated or overly manipulated. To learn how to do a sky replacement the right way, you can check out our video tutorial below:
Have You Ever Thought To
Outsource Photo Editing?
Try it today with 5 free edits from three professional photo editors.

6. Crafting a Consistent Outlook
In real estate photography, a sequence of images might span different times of day and weather conditions.
When editing real estate photos, it’s crucial to maintain a consistent look and feel across all photos.


This process involves color correction and ensuring that the levels of contrast and exposure harmonize, creating visual coherence that ties the property’s story together.
To learn how to color correct and adjust the contrast and exposure properly, check out our guides on how to color correct in Photoshop and how to change exposure in Photoshop.
7. Managing “Time of Day” Challenges
Sunlight can dramatically change the appearance of a home and its surroundings throughout the day.
To counteract these challenges, enhancing or toning down particular times of day can be necessary.
This might involve making the skies more dramatic or aiming to achieve the popular “golden hour” or twilight effect to highlight the property’s exterior features.


Learn how to edit a day-to-dusk image to create that romantic glow of twilight photography:
8. Addressing Distracting Details


Sometimes, details such as stray objects, cords and wires, stains, or scratches can divert attention and become the focal point of a real estate photo.
Polishing these out requires patience and a meticulous approach, using tools such as the Clone Stamp or Content-Aware Fill to seamlessly replace unwanted elements with background textures.
Editing real estate photos with more advanced techniques like this requires some practice. This video walks you through how to remove cords in Photoshop:
9. Resisting Over-Processing

When editing real estate photos, it’s easy to fall into the trap of over-processing the images, particularly with the wide array of editing tools at our disposal.
Striking a balance between enhancement and maintaining the natural character of the property is crucial.
Overly edited photos can misrepresent the property and lead to a disconnect when potential buyers visit in person. It can even cause legal ramifications.
Learn more about the difference and what is allowed or not in our blog post: how is photo manipulation different from real estate photo editing?
10. Delivering Efficient Turnarounds

In today’s competitive real estate market, timing is of the essence. Clients expect a quick turnaround on their real estate photos.
To meet these demands, it’s important to develop an efficient workflow, utilizing presets, batching similar edits, and outsourcing when necessary, without compromising on the quality of your work.
Successfully navigating these challenges will result in real estate photos that not only market the property effectively but also showcase your skill as a photographer and editor.
Remember, each challenge you overcome is another step toward perfecting the art of real estate photography editing.
Have You Ever Thought To
Outsource Photo Editing?
Try it today with 5 free edits from three professional photo editors.
Outsource Your Real Estate Photo Editing to PhotoUp!
Why not make sure you’ll never have to face any of these challenges by outsourcing your real estate photo editing to the professionals at PhotoUp?


Based in the US, PhotoUp offers a comprehensive range of affordable photo editing services tailored specifically for professional real estate and architectural photographers, such as:
- Brightness and color correction
- Advanced object removal
- Day-to-dusk conversion
- Lawn greening
- Sky replacements
- HDR editing
- Manual blending
- Flambient editing
- Floor plans
- And much more!
Our expert team can handle any photo editing job — big or small, complex, or simple.
Best of all, PhotoUp’s pricing is affordable, with most photo editing services starting at $1.10 per image depending on your subscription. There are also discounts for large bulk orders available.
Browse Top Dedicated
Real Estate Photo Editors
Ready-to-hire editors for real estate photo editing, and more.
But that’s not all…
Powerful Real Estate Marketing Services

On top of that, PhotoUp also offers other powerful real estate marketing services like:
We have everything you need to enhance your images and market real estate on one easy-to-use platform.
How to Get Started
Getting started using PhotoUp’s real estate photo editing service is super easy.
All you need to do is sign up for a free PhotoUp account, upload your images, choose export setting and turnaround time, download your edited images, and that’s it!
PhotoUp Real Estate Photo Editing Uploader Demo
For more details, check out our real estate photo editing uploader demo to see how easy it is to get started:
It’s really as easy as 1-2-3!
So, don’t wait!
Sign up for a free PhotoUp account today, and start outsourcing your real estate photo editing to PhotoUp’s expert team of dedicated editors. For a limited time, you’ll even get 5 free edits when signing up!
We hope this blog post helped you learn about the top 10 challenges when editing real estate photos and how to master them. Before you go, you may also want to check out some related resources:

