


Table of Contents
- Shoot RAW for Non-Destructive Photo Editing
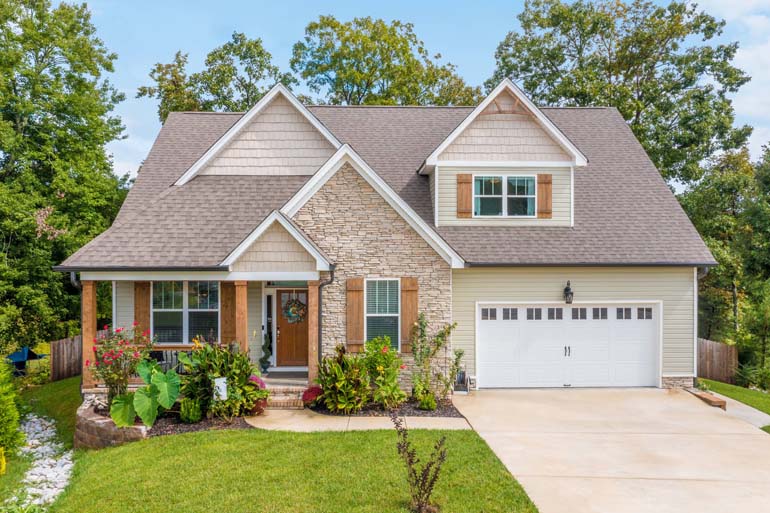
- Real Estate Photo Editing of Exteriors (9 Effective Tips)
- Let PhotoUp Edit and Enhance Your Real Estate Photography
Are you looking for tips on how to edit real estate photos in Lightroom? Every photographer should be familiar with the editing process, especially if you specialize in real estate photography where the photos need to capture buyers’ attention.
A professional real estate photographer should be familiar with all the procedures required from the actual photoshoot to post-processing in order to create high-quality photography that will sell homes quickly.
In this post, we’ll show you how to edit exterior real estate photos in Lightroom to help you create stunning photos.
Before we dig in deeper, let’s take a look at why you should always shoot RAW to not risk ruining your images in post-processing.
Shoot RAW for Non-Destructive Photo Editing

Real estate photography professionals should always shoot RAW. For starters, the RAW file format, in contrast to JPEG, records every bit of image data that the sensor is capable of recording.
Contrarily, JPEG uses compressed information that may lower the image quality when editing. But with RAW, you can fix issues that you might not be able to do with JPEG and create high-quality photographs.
Additionally, when photographing real estate in RAW, you can capture higher levels of brightness, which are sometimes required for interior shots.
And don’t worry about the exposure since that’s an easy fix in Adobe Lightroom.
The bottom line is that you can always fix things in RAW since it allows you to make adjustments to your photo without affecting the original data.
High-Quality & Consistent
Real Estate Photo Editing
Hire a dedicated editor with performance metrics from $7/hour.

Real Estate Photo Editing of Exteriors (9 Effective Tips)
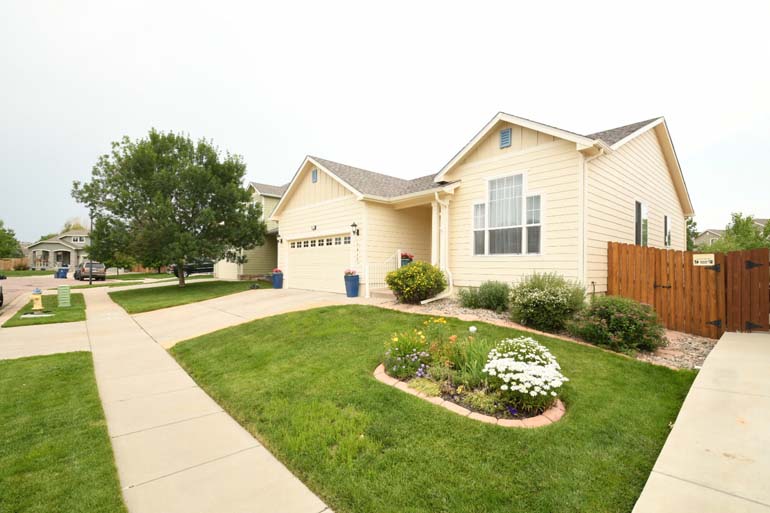
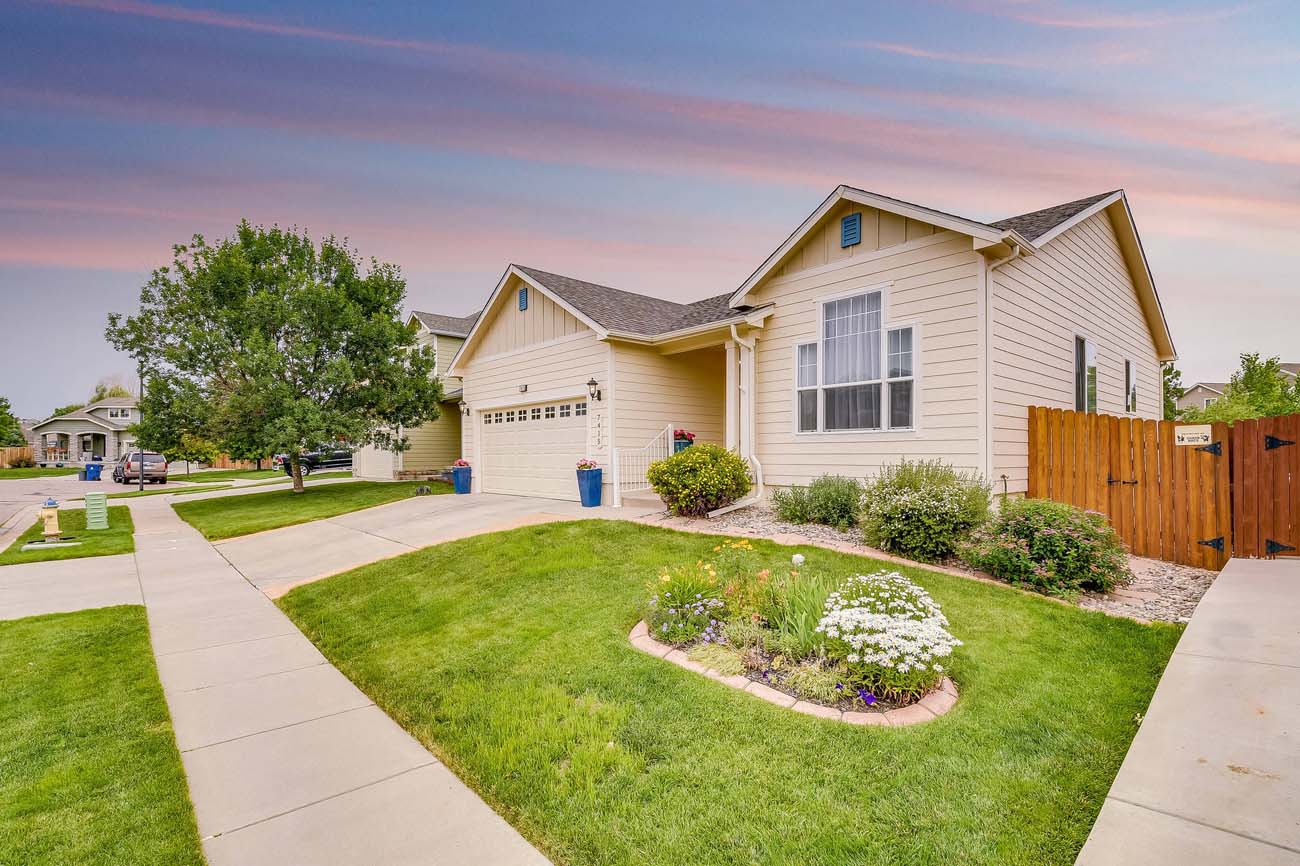
After shooting your photos in RAW, you must edit them to make them look perfect for your clients.
Remember that the purpose of your real estate photography is to help agents sell homes fast and for higher prices. This will also lead to returning customers for your photography business.
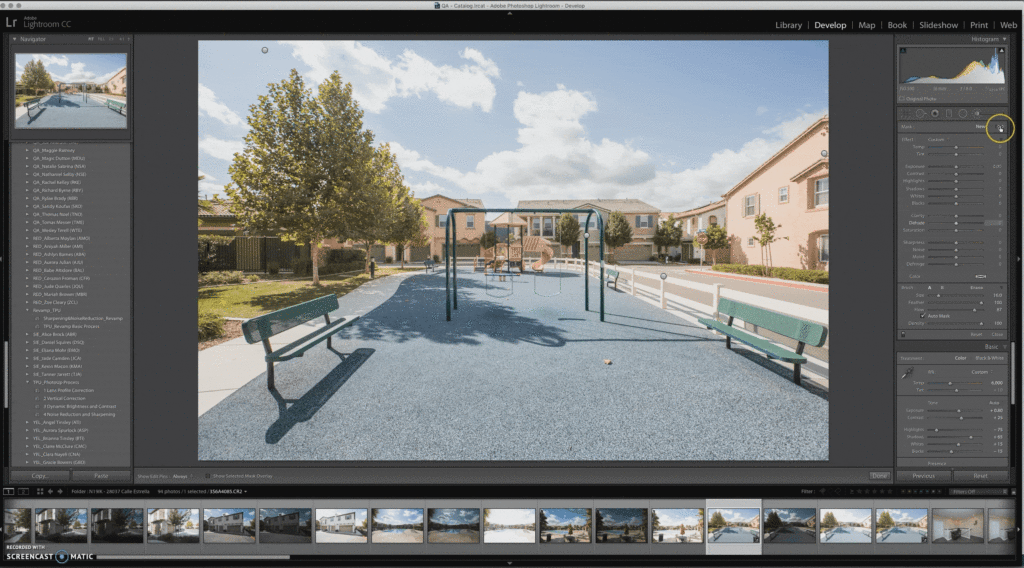
Adobe Lightroom is proven to be one of the most reliable programs for real estate photo editing. For example, it lets you easily edit your photos and apply color presets.
With that said, here are 9 effective tips to help you edit exterior real estate photos in Lightroom.
1. Adjust the Exposure
To get started, check the exposure of your photos and adjust it to make them look natural. If your image is underexposed, try to recover the exposure by dragging the Exposure bar.
You can also adjust the contrast in order to add a little punch to your image. Simply drag the Contrast bar in a similar manner.
2. Set the Blacks and Whites
To expand the brightest whites, drag the Whites slider to the right while holding the Alt key on Windows or the Option key on Mac.
When the screen goes black, you’ll need to keep dragging the slider until you see white dots. And the same process goes for setting the blacks.
While dragging the Blacks slider, keep pressing the Alt key or Option key depending on your operating system. In contrast to the black screen, the screen will now turn white.
Just keep moving the slider to the left until the black areas in the photo start to appear. This adds a punch back to the image.
3. Adjust the Shadows and Highlights
To get rid of the exposure hotspots and adjust the shadows and highlights in the image, slide the Highlights bar to the left.
Then, increase the Shadows bar if the image has any dark parts to bring out more details in the image.
Also, make sure to adjust the lighting and shadows as necessary.
Have You Ever Thought To
Outsource Photo Editing?
Try it today with 5 free edits from three professional photo editors.
4. Check the Temperature
Once your photo has good exposure, you can move on to adjusting the temperature of the image.
Drag the Temperature slider to the left to create a cold tone and the opposite to create more warmth. Overall, this is a matter of personal preference.
5. Fix the Saturation
Now, to adjust the saturation of the image, scroll down to the HSL/Color/B&W tab and click on the Saturation option.
To choose a specific color to saturate without impacting the remainder of the image, simply click on the small Clicker box, choose the area you wish to de-saturate, and then drag the mouse down to get your desired level of saturation.
6. Improve Clarity
In the next step, by using the Clarity slider, you can improve the image’s clarity.
This slightly boosts the mid-range tones of your image while leaving the highlights and shadows untouched.
7. Enhance the Sky in Your Photos

Beautiful and vibrant skies will enhance your real estate photography and hopefully accelerate sales.
If your image is shot outdoors and you have a washed-out sky, you can click on Luminance and drag the Blue slider to the left in order to bring the color out.
For more details, you can check out our blog post on how to do a sky replacement in Lightroom.
8. Adjust the Sharpening and Reduce Noise
By using the sliders, you can alter the Sharpening of the image and increase the Radius if you wish to add more details to your image.
With masking, move the slider to the right while holding down the Alt key or Option key, and the image will be slightly sharpened.
Also, if you’ve upped the shadows earlier, you may need to increase the luminance a bit further. This removes the grain that your image gets from the sharpening.
9. Choose Lens Correction Options
There are options for lens correction in Lightroom. Click on all the options or boxes under Lens Correction and click Vertical Adjustments.
These options/boxes are:
- Enable profile correction
- Remove chromatic aberrations
- And constraint crop.
By clicking these options, your image will be adjusted immediately. To bring out the edges of the building in your photo, you can readjust vertical corrections by increasing the vertical correction.
Lastly, check the verticals to ensure that they are aligned properly.
Don't Try One, Try Three
Freelance Photo Editors
Try editing from 3 professional photo editors. Screened and ready-to-hire.
Let PhotoUp Edit and Enhance Your Real Estate Photography
If you don’t wish to edit your real estate photos yourself and are looking to save time, PhotoUp’s team of expert real estate photo editors can happily do it for you.
With more than 10 years in the business and several hundred skilled photo editors around the world, you can’t beat PhotoUp’s quality, service, and pricing.
PhotoUp offers affordable photo editing starting at $1.50 per image, delivered with fast turnaround times of 24 hours or less.
Browse Top Dedicated
Real Estate Photo Editors
Ready-to-hire editors for real estate photo editing, and more.
Except for the standard editing mentioned in this post, our real estate photo editing services also include:
- Advanced object removal
- Day-to-dusk conversion
- Lawn greening
- HDR editing
- Manual blending
- Pano stitching
- Flambient editing
- AI Virtual staging
- And much more!
On top of that, PhotoUp is a complete real estate marketing service that also offers:
PhotoUp Real Estate Photo Editing Uploader
When signing up for an account, PhotoUp also gives you an all-in-one photo management system, so you can upload and receive photos, send instructions and feedback, track and manage team members and clients, and deliver photos directly to your clients.
Check out how easy it is to get started in this real estate photo editing uploader demo:
As simple as that!
Sign up for a free PhotoUp account today, and let PhotoUp create photos that will help your agent clients sell homes at record speed!
We hope this blog post helped you learn how to edit real estate photos in Lightroom. If you found this post useful, you may also want to check out the following resources:

