


Table of Contents
- What Is HDR in Real Estate Photography?
- Why HDR Works so Well for Real Estate Interiors
- When to Use HDR
- Key Tips for Shooting HDR Real Estate Photos
- 5 HDR Photo Editing Tips for Real Estate Photos
- How to Perform HDR Photo Editing in Lightroom
- HDR Photo Editing FAQ
- Speed Up Your Editing Workflow With PhotoUp!
In the world of real estate marketing, first impressions are everything—and those impressions often start with a photo.
One powerful technique that can instantly elevate your property listings is HDR photography. According to studies, HDR photography increases online views by 118%.
But what exactly is HDR, and how can you use it effectively in real estate photo editing?
Let’s explore how HDR works, when it’s best to use it, and key HDR photo editing tips to help your real estate photos pop with professional polish and stunning detail.
Let’s dive in!
What Is HDR in Real Estate Photography? 📷

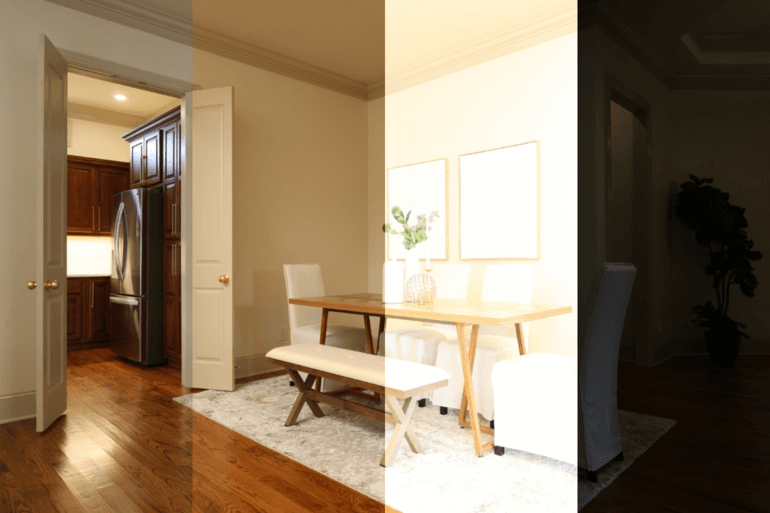
HDR stands for High Dynamic Range, and it’s a photo technique used to balance light and detail in both the bright and dark areas of an image.
In a typical photo, a camera may struggle to capture the full range of lighting—think of rooms with bright windows and dark corners.
HDR photography solves this by blending multiple exposures of the same scene—usually three to five shots taken at different brightness levels:
- The first one is a mid-range exposure shot
- The second image exposure is set to draw out the highlights
- And the third image seeks to capture shadows and depth
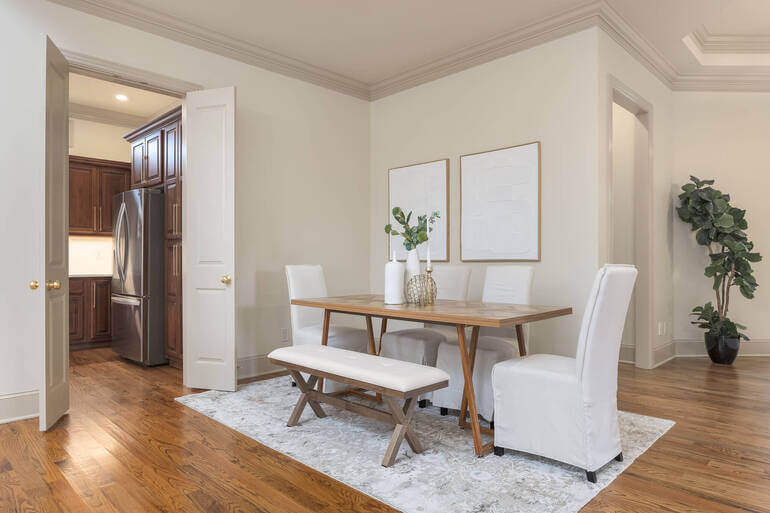
These are then merged into one perfectly balanced image in a process known as HDR blending.
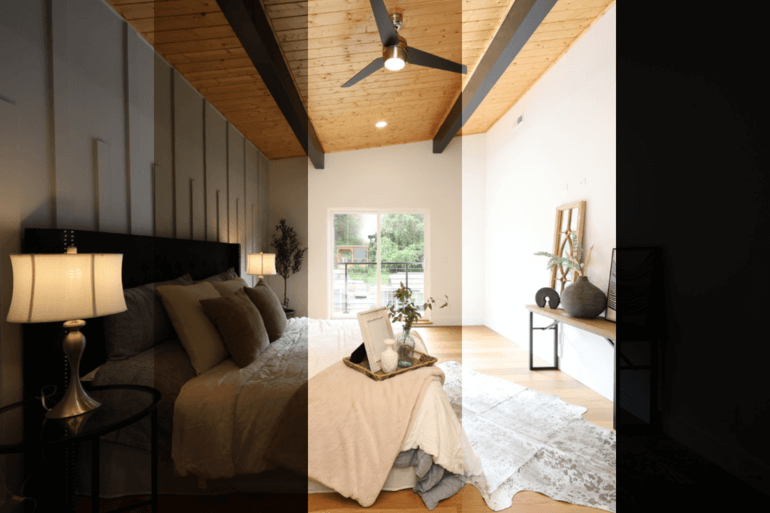
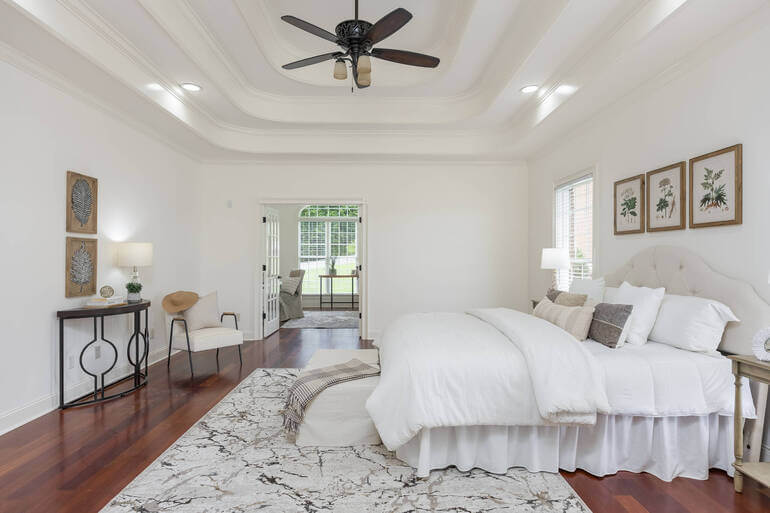
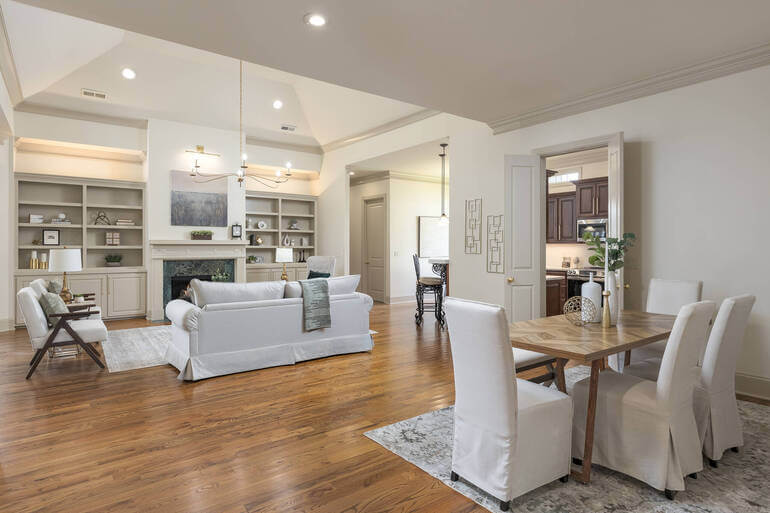
Why HDR Works so Well for Real Estate Interiors 🏘️
Real estate interiors often feature challenging lighting conditions, especially when natural light floods through windows while interior spaces remain dim.
HDR helps overcome this by:
- Preserving window views without darkening the room
- Highlighting texture and color in furniture, floors, and walls
- And creating a more natural, true-to-life representation of the space
This leads to professional-looking photos that catch a buyer’s eye and build trust in the quality of the listing.
For HDR photography tips, check out our blog post on the best practices for shooting bracketed images for HDR.
Now, let’s take a look at when it’s best to use HDR in real estate photography.
When to Use HDR
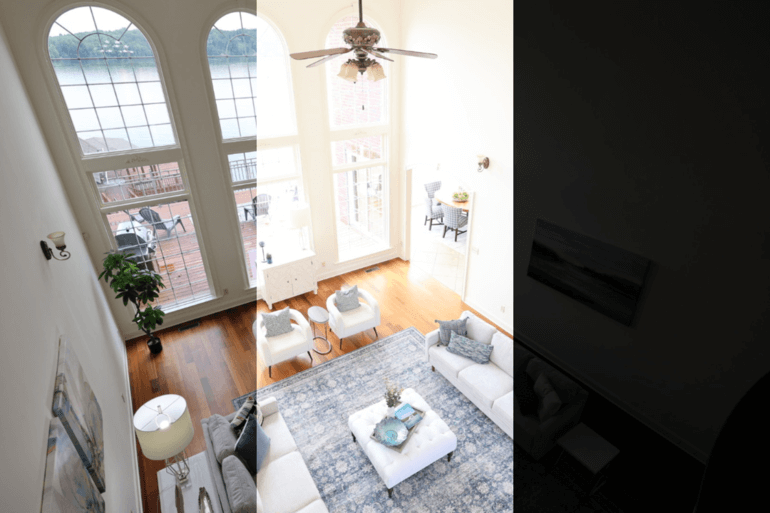
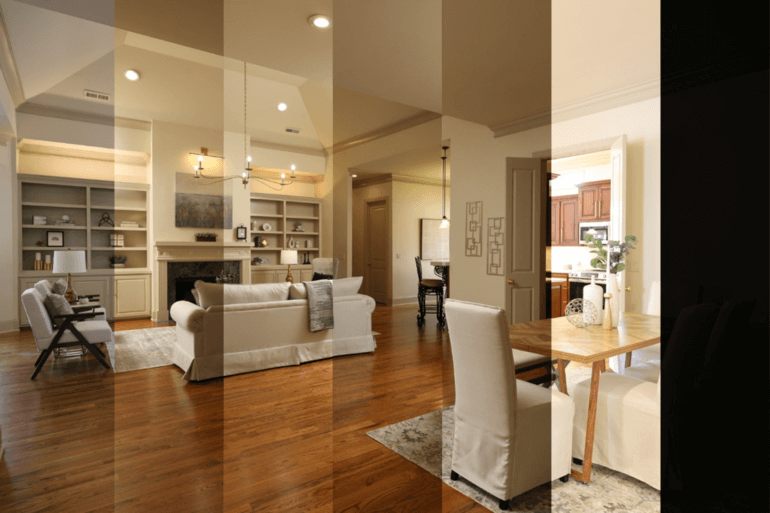
While HDR can enhance many situations, it shines brightest under specific conditions. Use HDR photography when:
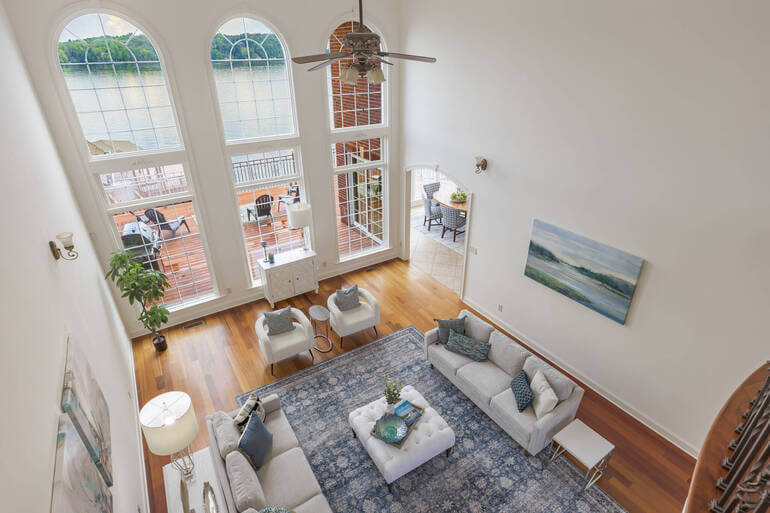
| There’s Strong Backlighting: When sunlight pours through large windows or glass doors, it can wash out the view or leave the rest of the room too dark. HDR balances this beautifully. |
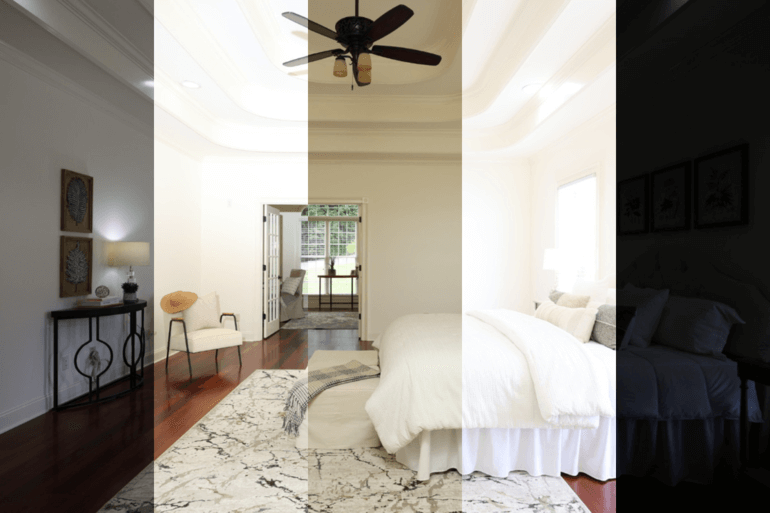
| You’re Photographing Interior Rooms With Mixed Lighting: Rooms with artificial lights (like lamps) and natural light sources can cause harsh shadows or color inconsistencies. HDR helps correct these imbalances. |
| You’re Capturing Exterior Shots at Twilight: During “golden hour” or twilight, HDR can bring out subtle colors in the sky and highlight architectural details without blowing out the highlights or losing shadow detail. |
| You Want to Preserve Fine Detail: From textured wallpaper to polished countertops, HDR blending brings out the nuances in surfaces that standard photos often miss. |
In these scenarios, HDR not only solves lighting challenges but also elevates the overall visual appeal, making your real estate photos more compelling and market-ready.
With this in mind, let’s take a look at some powerful tips for shooting HDR photos.
Have You Ever Thought To
Outsource Photo Editing?
Try it today with 5 free edits from three professional photo editors.

Key Tips for Shooting HDR Real Estate Photos

Creating HDR photos begins with capturing a series of bracketed shots. This is what you need to do:
- Set your camera to take multiple shots with different exposures. The number of shots and their exposure differences vary (e.g., -2, 0, +2), depending on the dynamic range of the scene
- Use a tripod to keep the frame stable between shots
- Consider using a remote shutter release or the camera’s self-timer to minimize any movement during capture
- Remember to shoot in RAW format to take full advantage of editing possibilities and image quality
The last step is to process the multiple exposures using HDR photo editing software to merge them into a single, balanced image, which we’ll take a closer look at below.
5 HDR Photo Editing Tips for Real Estate Photos🎨
Even with the perfect shots, editing is where HDR really comes to life. Here are 5 key HDR photo editing tips for producing magazine-worthy results:
1. Use Manual Blending for Greater Control
Auto HDR can look over-processed. For a more natural finish, use manual layer blending in Photoshop or Lightroom to selectively apply exposures to specific areas of the photo.
2. Keep Colors True to Life
HDR photo editing can sometimes oversaturate images. Use color correction tools to keep whites neutral and maintain a realistic color palette that matches the property.
3. Balance Highlights and Shadows
Avoid crushing shadows or blowing out highlights. Instead, adjust the tonal curve to maintain subtle contrast while retaining detail throughout the image.
4. Watch Out for Window Pulls
When using HDR for interiors, make sure the window views remain crisp but not overdone. Blend just enough of the bright exposure to reveal the outside without making it look fake.
5. Remove Ghosting and Artifacts
HDR can cause motion artifacts (called “ghosting”) if objects moved between shots—like trees blowing outside or a ceiling fan.
Use deghosting tools during merging or fix them manually in post. For more information, check out our tutorial on how to remove ghosting in real estate photos.
How to Perform HDR Photo Editing in Lightroom
To get started learning how to perform HDR photo editing in Lightroom, you can either watch the video tutorial or continue reading the text below:
Import and Infuse Photos
Step 1. To get started, Import your photos into Lightroom. Then, Sort your Photos by File Name to keep the photos in order during the HDR process.
Step 2. To produce an HDR photo, we need to infuse them. So, Select your images, right-click, and select Stacking and Group into Stack. Or you can select them all and Auto Stack by Capture Time, and Lightroom will automatically stack them.
Step 3. For the infuse process, you can also infuse multiple stacks of photos. Just select them all, and then go to File >> Plug-in Extras, and then click on Blend exposures using LR/Enfuse. This will open a dialog box.
Step 4. In the Auto Align tab, you need to make sure the option Automatically align images before blending them is checked so that Lightroom will automatically align the photos before blending them.
Step 5. Since we stack our photos, in the Output tab, the Batch Mode should be checked. Next, in Output files (on the same tab), you need to also check the Create blended images in the same folder as the images in the stack option.
Saving Your Infused Files
Step 6. To save the infused files in the same folder as the original (still on the same tab under after blending), check the Reimport image into Lightroom option so the infused product will automatically appear in Lightroom after reviews.
Besides that, you have the option to Stack with originals. Stacking with originals will automatically group with the images you’ve stacked beforehand. It’ll be the first image on the stack.
On the other hand, if you opt not to stack with originals, the infused image will appear beside the stacked images. Either way is fine.
Step 7. Next, click Infuse Images. The progress can be viewed in the upper left corner of the screen. However, since we infused multiple stacks of photos, this will take time.
Step 8. When the infuse is done and you don’t see the infused photos, go to the Library and select the Folder, where you put the images. This will sort of refresh the folder.
If you are still confused, the infused image will always be a TIFF file. When the infuse is done, you can now start editing the photos with basic editing.
And that’s it! You’ve now learned how to start your HDR photo editing journey.
Wrapping Up
HDR photography and blending offer real estate professionals a powerful tool to showcase properties in their best light—literally.
When used wisely, HDR can transform standard photos into compelling visual stories that drive buyer interest and higher offers.
HDR Photo Editing FAQ
Is HDR better than flash photography for interiors?
Not necessarily—it depends on the setting. Flash can be better for small rooms or tight spaces, but HDR excels in wide, naturally lit areas with complex lighting.
Can I shoot HDR with any camera?
Most modern DSLRs, mirrorless cameras, and even smartphones offer HDR shooting modes. However, for professional results, use a camera with manual exposure settings and bracketed shots.
How many exposures do I need for HDR real estate photos?
Three is usually sufficient (underexposed, normal, overexposed), but you can use up to five for scenes with extreme contrast. Just ensure your tripod is stable to avoid misalignment.
Should I use HDR on every real estate photo?
No—HDR is powerful, but overuse can make images look unrealistic. Use it strategically for areas with tough lighting or strong visual interest.
Have You Ever Thought To
Outsource Photo Editing?
Try it today with 5 free edits from three professional photo editors.
Speed Up Your Editing Workflow With PhotoUp!
If you’re a real estate photographer or agent looking to speed up your workflow and ensure professional-quality edits every time, PhotoUp is here to help!
Our team of expert real estate photo editors can handle HDR blending, window pulls, color correction, and more—at affordable rates and fast turnaround times.
With editing starting at just $1.50 per image, fast turnaround, and a user-friendly platform, PhotoUp makes it easy to upload, track, and receive professionally enhanced photos that sell the experience—not just the space.
But that’s not all…
Browse Top Dedicated
Real Estate Photo Editors
Ready-to-hire editors for real estate photo editing, and more.
A Complete Real Estate Marketing Partner
Except for basic and advanced editing services, PhotoUp is a complete estate marketing partner and also offers other powerful marketing tools, such as:
We have everything you need to enhance and market real estate photography in one user-friendly software.
How to Get Started
Getting started using PhotoUp’s photo editing service is super easy.
This is all you need to do:
Step 1. Sign up for a free PhotoUp account.
Step 2. Upload your photos to our easy-to-use software.
Step 3. Choose the level of editing that you need and provide instructions (optional).
Step 4. Wait for PhotoUp professional editors to edit and return the photos in less than 24 hours (48 hours for virtual staging).
Step 5. Download and start using your beautifully edited photos.
As simple as that!
Let us do the heavy lifting, so you can focus on shooting more properties and closing deals.
👉 Sign up for a free PhotoUp account and let our expert editors help you create HDR images that will bring out the details in each and every photo!
For a limited time, you even get 10 free credits you can use on any of our services when you sign up for an account.
We hope this blog post provided you with some useful HDR photo editing tips and helped you understand when to use HDR. If you enjoyed this guide, you may also want to check out the following resources:

