


Table of Contents
- Why Aerial Photography Matters in Real Estate
- What to Keep in Mind When Capturing Aerial Photos
- How to Fix Aerial Distortion and Enhance Quality
- Aerial Photography for Real Estate FAQ
- Elevate Your Aerial Photography With PhotoUp
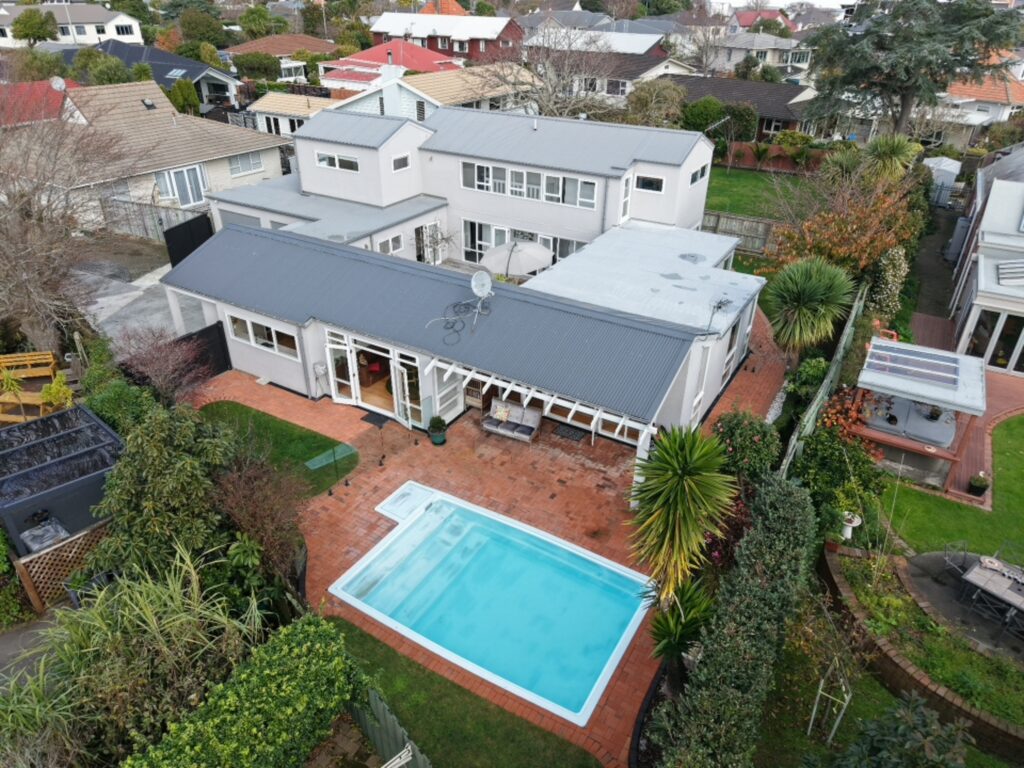
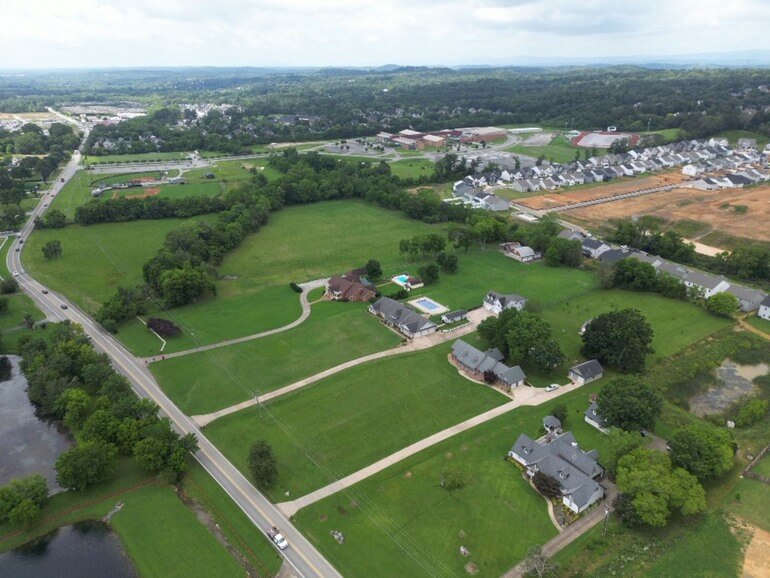
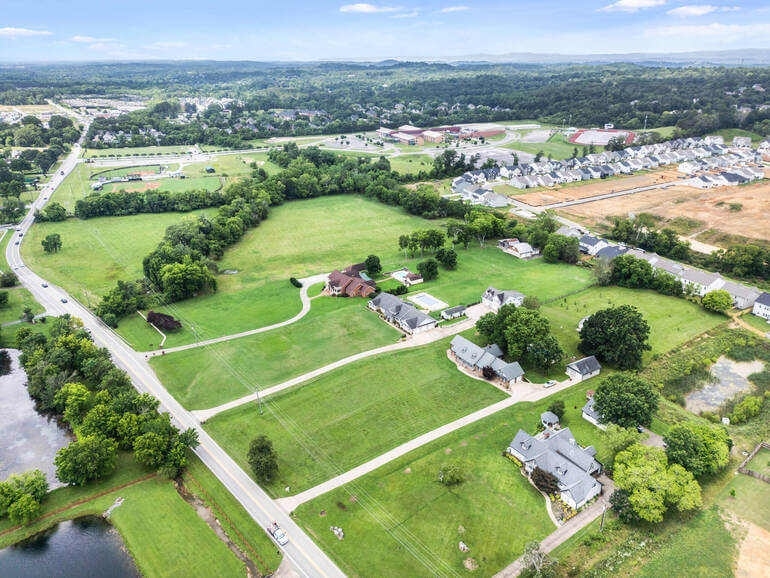
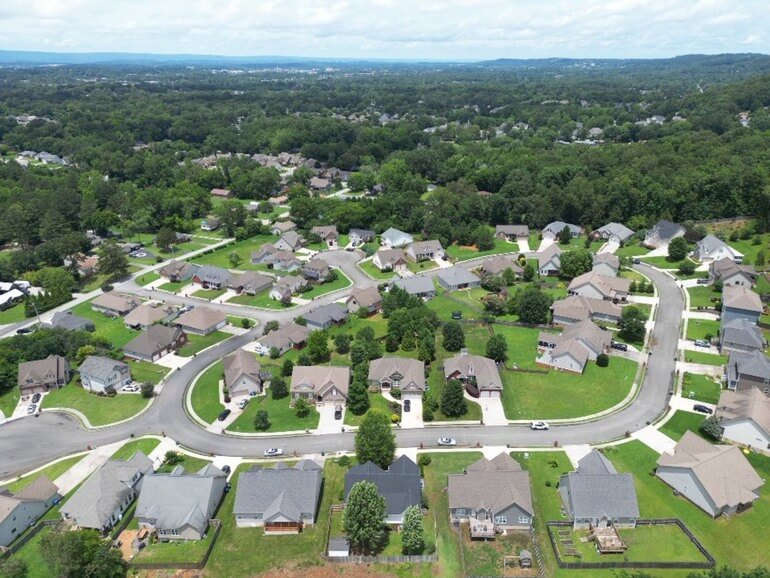
Aerial photography for real estate listings has become a game-changer. With the rise of drones, photographers can now showcase properties from dramatic, high-up angles that highlight the full scope of a listing—including rooftops, landscaping, amenities, and nearby attractions.
But capturing stunning aerial shots is just one part of the equation. To truly boost the accuracy and visual impact of these images, professional photo editing is essential.
In this post, we’ll explore why aerial photography is crucial, what to consider before launching a drone, and how post-processing can fix common issues like distortion to supercharge your aerial photography.
Let’s get started!
🚁 Why Aerial Photography Matters in Real Estate
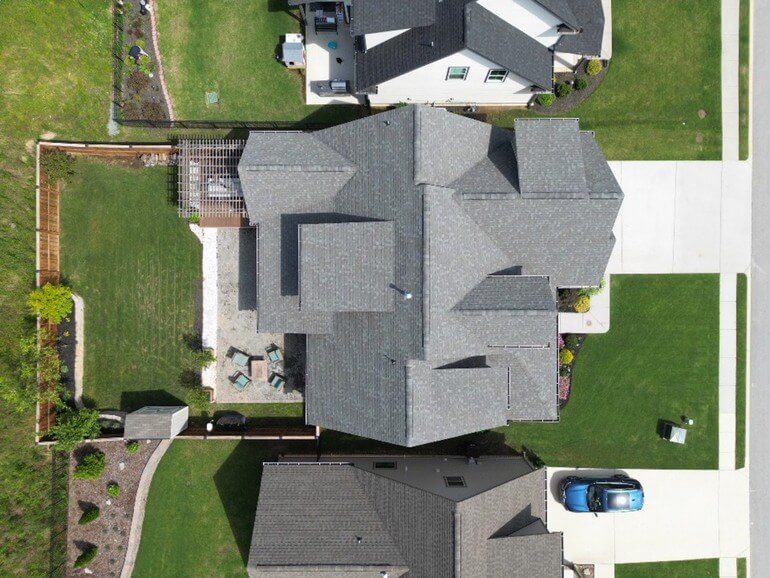
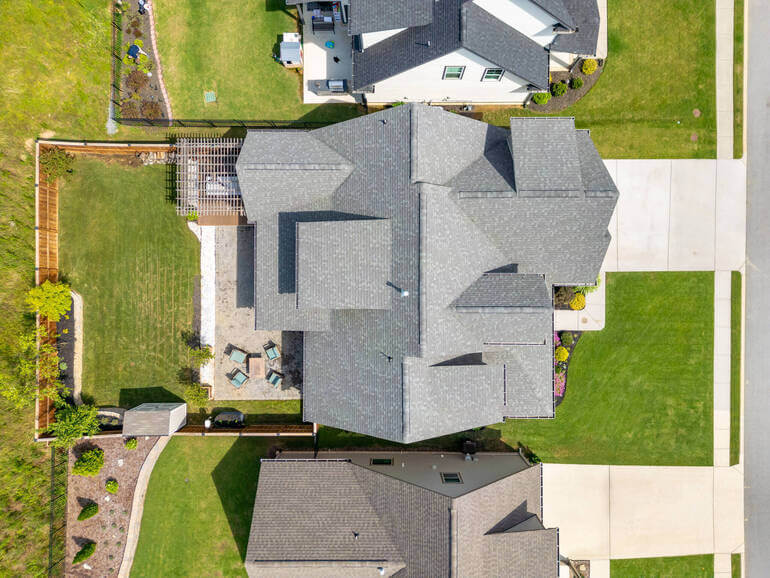
Utilizing drones in real estate marketing offers a dynamic perspective of the property, showcasing unique angles that highlight the home, roof, yard, and surrounding area.
Buyers want more than just interior shots—they want a bird’s-eye view of their potential investment:
- According to a National Association of Realtors study, 57% of buyers expect to see at least 8 to 10 aerial shots of most residential properties
- Buyers are 65% more likely to schedule an in-person showing for listings featuring drone aerial photography
This is because aerial photos help:
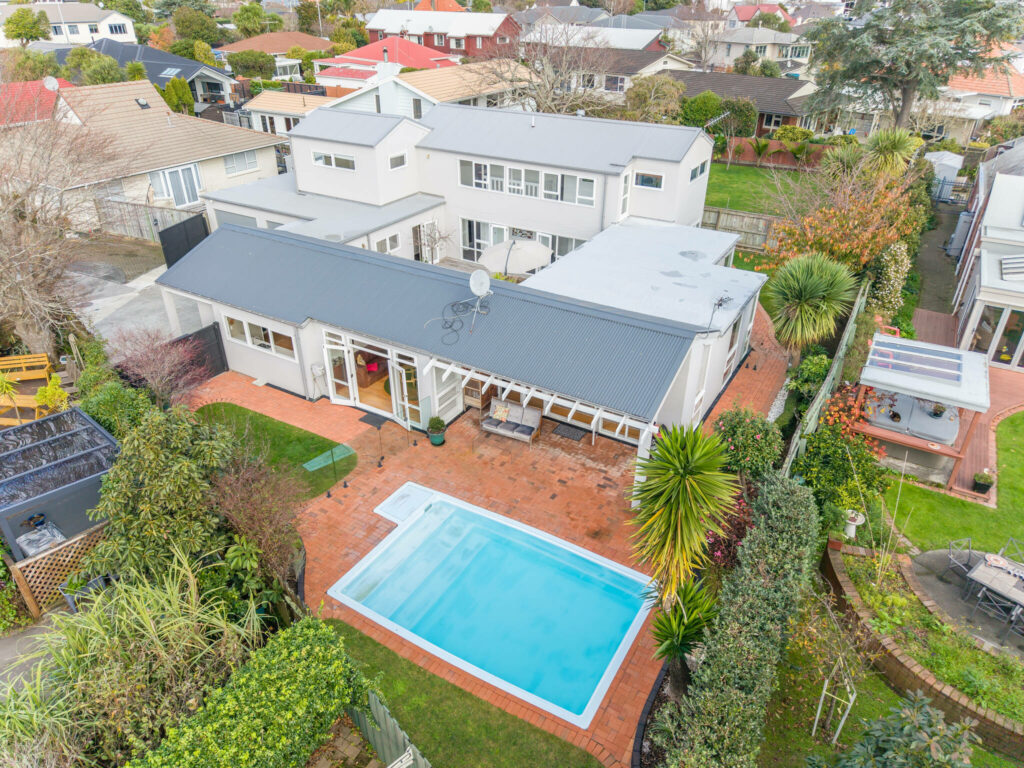
- Showcase property size and boundaries
- Highlight proximity to features like parks, schools, or beaches
- Display the condition of roofs, driveways, and landscaping
- And create a more professional, high-end listing appearance
In fact, listings with aerial images can receive up to 68% more attention and a price increase of up to 10% than those without.
Here are more powerful aerial photography for real estate statistics to consider:

Overall, aerial photography is a powerful tool that turns browsers into buyers, especially in competitive markets.
With this in mind, let’s take a look at what to think of when taking drone photos.
🛫 What to Keep in Mind When Capturing Aerial Photos
Real estate drone photography captures fantastic aerial views and perspectives of properties and their surrounding landscape.
But before sending a drone into the sky, consider these important factors:
1. Licensing and Legal Compliance
In the U.S., commercial drone pilots must be certified under the FAA’s Part 107 regulations.
This includes passing a knowledge test and following rules for safe flying (e.g., altitude limits, flying in daylight, avoiding restricted zones).
Using a licensed drone pilot is not just smart—it’s legally required.
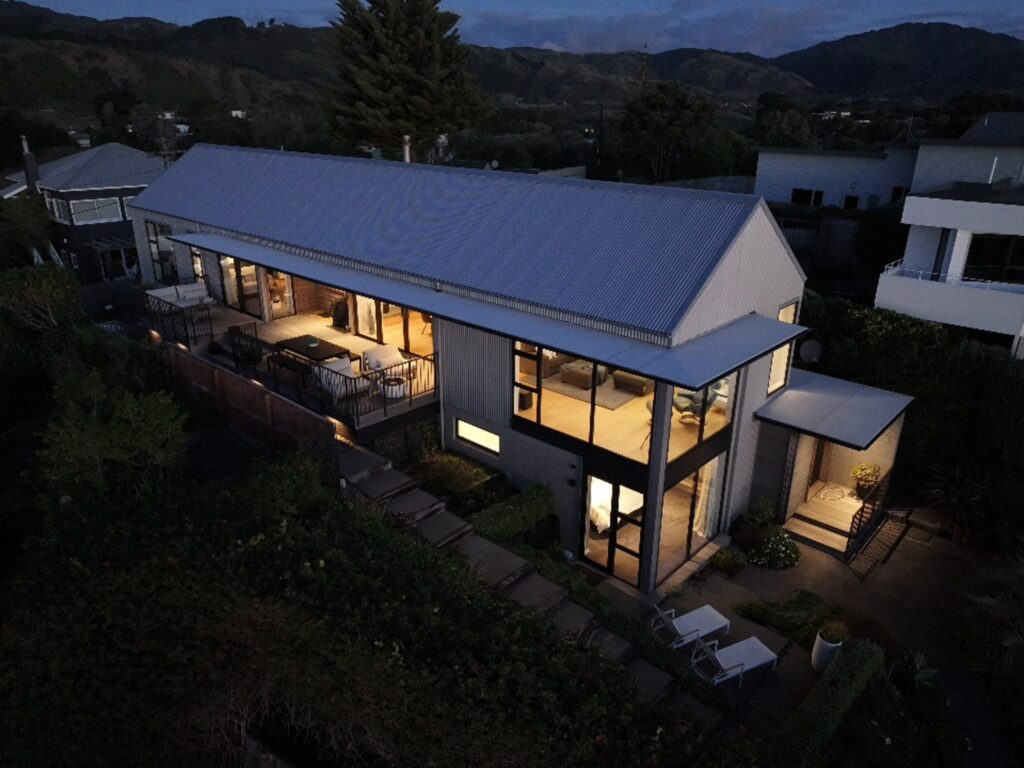
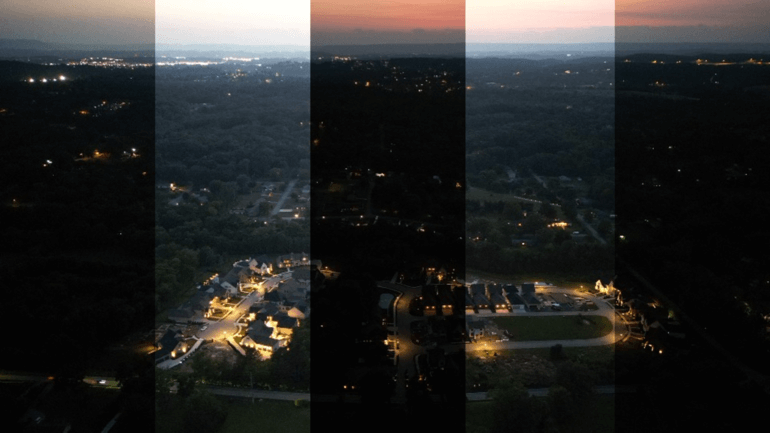
2. Weather and Lighting Conditions
Lighting is everything in real estate photography.
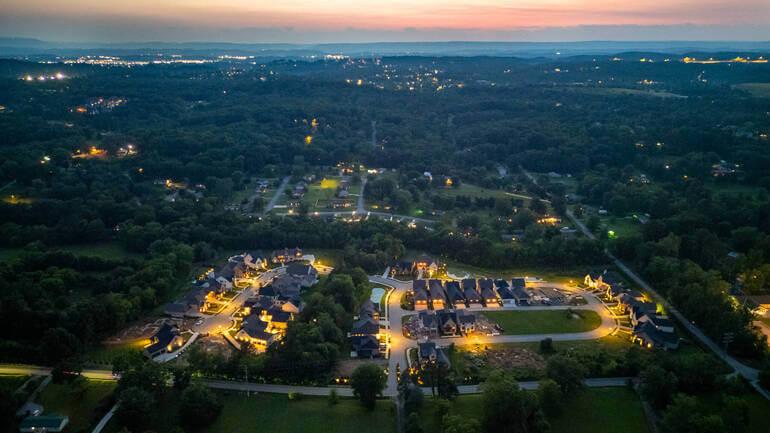
Aim to shoot during the “golden hour” shortly after sunrise or before sunset, for optimal shadows and soft highlights.
Wind and rain can affect drone stability and image clarity, so it’s essential to check the forecast before flying.
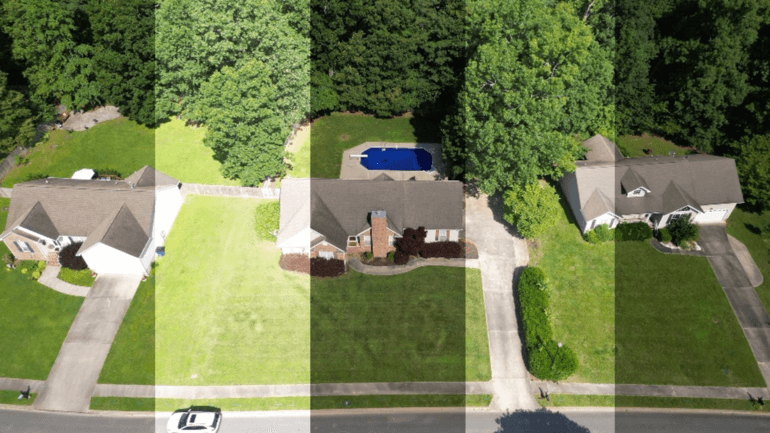
3. Framing and Composition
Framing and composition are also essential in aerial photography for real estate. Keep these tips in mind to get the best results:
- Use grid overlays to maintain straight horizons
- Capture multiple altitudes for variety
- Include neighboring streets or landmarks to provide context
- Avoid overly tilted angles that can cause excessive perspective distortion
By thoughtfully framing each shot, you’ll ensure your aerial photos not only look professional but also provide valuable spatial context that resonates with potential buyers.
One common issue when taking drone photos is aerial distortion, so let’s take a look at how to fix this and boost overall quality in post-processing.
Have You Ever Thought To
Outsource Photo Editing?
Try it today with 5 free edits from three professional photo editors.

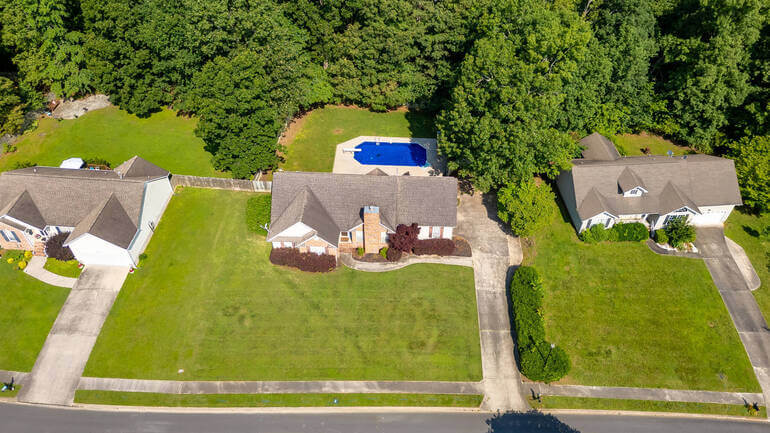
🛠️ How to Fix Aerial Distortion and Enhance Quality
Even with careful planning, aerial photos often suffer from distortion due to the use of wide-angle lenses, camera tilt, or drone movement.
And depending on the weather and lighting of your shoot, your images can also appear dull. That’s where real estate photo editing comes in!
Here’s how professional real estate photo editors improve aerial image accuracy:
1. Perspective Correction
Aerial shots may warp buildings, making them appear as though they’re leaning or stretching unnaturally.
Editors use perspective correction tools in Photoshop or Lightroom to straighten vertical lines, fix skewed angles, and restore architectural integrity.
To learn this editing technique, you can check out our tutorial on how to correct perspective in Photoshop.
2. Lens Distortion Removal
Drone cameras often come with ultra-wide or fisheye lenses, which exaggerate curves around the edges.
Real estate photo editors apply lens correction profiles that automatically straighten these curves and correct barrel or pincushion distortion.
For more information, check out our guide on how to do lens correction in Photoshop.
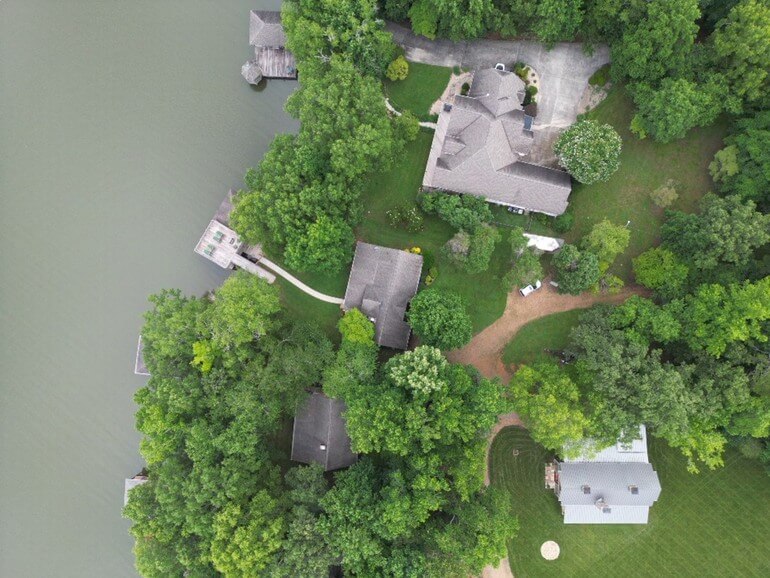
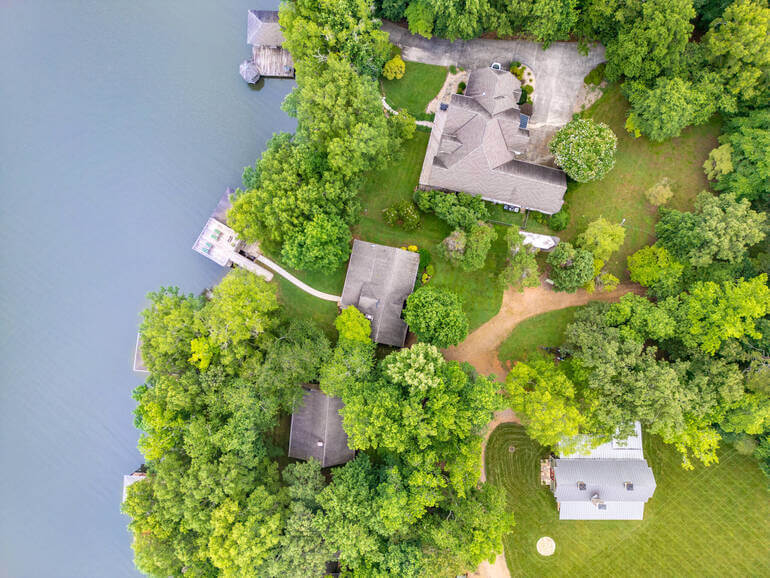
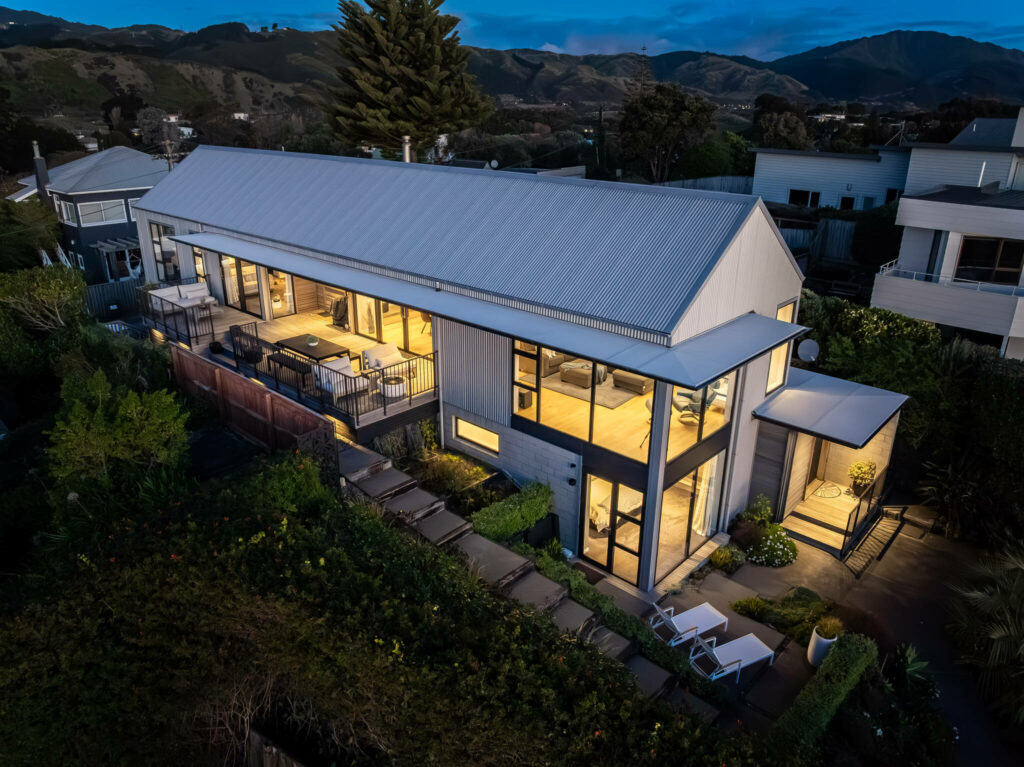
3. Horizon Line Straightening
A tilted horizon can make the whole image feel off-balance.
Experienced editors can align the horizon line and adjust verticals properly, ensuring the photo looks clean and professional.
This is especially important for waterfront or skyline views.
To learn this simple yet effective edit, you can check out our tutorial on how to fix verticals in Photoshop.
4. Color and Clarity Enhancements
Aside from distortion fixes, editors also adjust brightness and exposure, contrast, saturation, and clarity to ensure your aerial images pop.
Typically, they also clean up images by removing unwanted elements like cars, trash bins, or construction materials to create a clean, market-ready photo.
Here are some helpful tutorials to help you master these edits:
- How to brighten a photo in Photoshop
- How to color correct in Photoshop
- How to change exposure in Photoshop
- How to adjust white balance in Photoshop
- Simple techniques to remove objects in exterior photos
5. Map Overlay or Lot Line Visualization
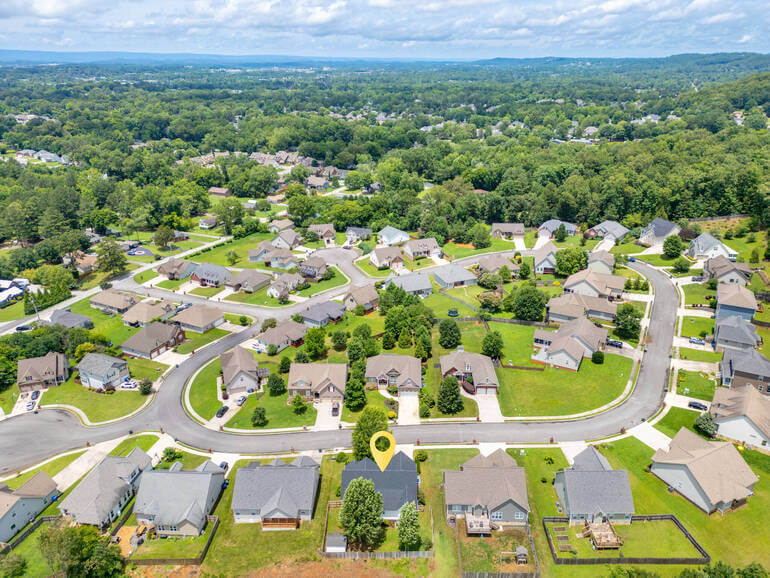
Want to show boundaries or nearby points of interest?
Professional photo editors can add property lines, directional arrows, or custom labels to give buyers extra context.
And that’s it! Implementing these powerful real estate photo editing techniques will help you correct distortion and supercharge the quality of your aerial photos.
Aerial Photography for Real Estate FAQ
Do I need a license to use a drone for real estate photography?
Yes. In the U.S., anyone using a drone for commercial purposes—including real estate—must hold a Part 107 certification from the FAA. Check local regulations if you’re outside the U.S.
What causes distortion in aerial images?
Common causes include wide-angle or fisheye lenses, drone tilt, wind instability, and low shooting altitudes. These can make lines bend, buildings lean, and perspectives feel off.
Can I fix aerial distortion on my own?
Basic edits are possible with software like Lightroom or Photoshop. But for consistent, high-quality results, especially for multiple images, it’s best to outsource to a professional real estate photo editing service like PhotoUp or AgentUp.
How long does aerial image editing take?
Most professional services offer a turnaround time of 12–24 hours, depending on the complexity and number of images.
Is it worth the extra cost to edit aerial photos?
Absolutely! High-quality aerial imagery boosts listing appeal, builds buyer confidence, and helps properties stand out, especially in luxury or high-demand areas.
Let’s take a look at the perfect solution to help you create breathtaking aerial photography – PhotoUp.
Have You Ever Thought To
Outsource Photo Editing?
Try it today with 5 free edits from three professional photo editors.
🚀 Elevate Your Aerial Photography With PhotoUp
Aerial photography can elevate a property listing—literally and figuratively. But to unlock its full potential, it’s essential to correct distortion and fine-tune the visuals through skilled photo editing.
Clean, accurate aerial images not only showcase the property in its best light but also establish trust with buyers and agents alike.
Need help polishing your drone photos? PhotoUp offers expert real estate photo editing services, including:
- Distortion correction
- Sky replacement
- Correcting improper exposure levels
- Landscape enhancement
- Adding drama with twilight editing
- Removing unwanted objects
- Lot line visualizations
- And more
With a fast turnaround time of 12-24 hours and affordable pricing, PhotoUp’s expert team of editors can help to supercharge your aerial photography.
A Full-Service Real Estate Marketing Company
On top of that, PhotoUp is a full-service real estate marketing company offering all the tools you’ll need to sell more listings and grow your sales business:
We help real estate photographers and agents save time and sell homes faster, while making every listing look seasonally polished and emotionally resonant.
How to Get Started
Getting started is super easy – this is what to do:
Step 1. Sign up for a free PhotoUp account.
Step 2. Upload your photos to our easy-to-use software.
Step 3. Choose the level of editing that you need and provide instructions (optional).
Step 4. Wait for PhotoUp professional editors to edit and return the photos in less than 24 hours (48 hours for virtual staging).
Step 5. Download and start using your beautifully edited photos.
PhotoUp Real Estate Photo Editing Uploader Tutorial
To see how easy it is to get started with PhotoUp, check out our real estate photo editing uploader tutorial:
As simple as that!
👉 Sign up for a free PhotoUp today and take your aerial real estate photography to new heights!
For a limited time, we even offer 10 free credits you can use on any of our services when you sign up for an account.
We hope this blog post helped you learn how to supercharge your aerial photography for real estate listings. Before you go, you may also want to check out some related resources:

