


Table of Contents
- Why Perspective Correction Is Crucial in Real Estate Marketing
- Understanding Common Distortion Issues
- Step-by-Step Guide to Correcting Lines and Angles
- Let PhotoUp Help You Correct Distortion and Angles
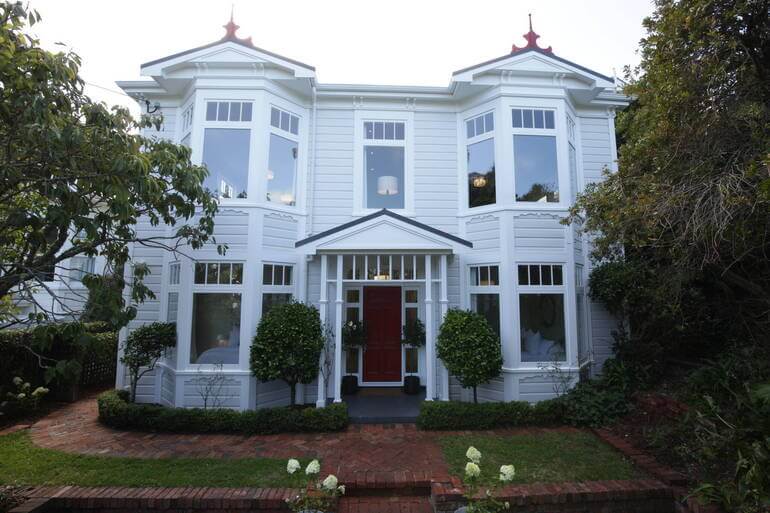
Correcting lines, angles, and distortion is one of the most important steps in real estate photo editing. Wide-angle lenses and camera positioning often introduce perspective issues that can make walls lean, floors slope, or rooms feel distorted.
If vertical walls appear slanted or door frames look stretched, buyers may subconsciously interpret the property as poorly maintained or oddly shaped—even when it isn’t.
In this guide, we’ll cover why perspective correction matters and walk you through how to correct lines, angles, and distortion step by step in real estate photo editing.
Let’s begin by discussing why perspective correction is crucial in real estate marketing.
Why Perspective Correction Is Crucial in Real Estate Marketing

In real estate marketing, visuals do far more than simply document a property—they shape a buyer’s perception within seconds.
According to NAR, 85% of buyers consider images to be the most important factor when evaluating which homes to visit. Clean, balanced, and professional images help listings appear trustworthy, spacious, and well-maintained.
Even experienced photographers often encounter a common issue: distorted lines and tilted angles caused by camera positioning and wide-angle lenses. These lenses are essential in real estate photography because they capture more of a room in a single frame.
However, they often introduce perspective distortion, especially when the camera is tilted up or down.📐 For instance, this distortion can cause:
- Leaning vertical lines
- Bowed walls or curved edges
- Skewed door frames and windows
- And rooms appearing awkward or uneven
When buyers scroll through listings online, these subtle distortions can make a home look unprofessional or poorly photographed.
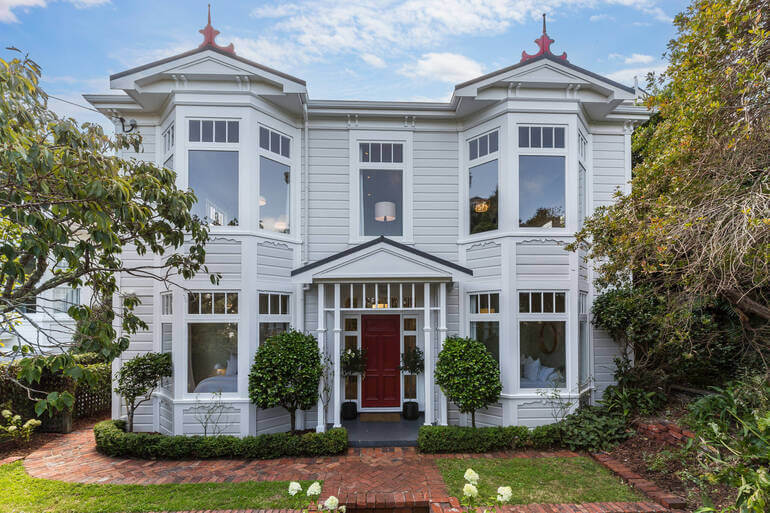
Perspective correction restores natural geometry so that walls appear vertical and rooms feel balanced. This helps listings look more polished and trustworthy, which can improve engagement and click-through rates.
In short, correcting lines and angles helps present a property exactly as buyers expect to see it in person.
Now that we understand why perspective correction matters, let’s take a closer look at the most common types of distortion photographers encounter.
Understanding Common Distortion Issues🔍
Before correcting perspective, it’s helpful to identify the 3 types of distortion that typically occur in real estate photos:
1. Vertical Distortion
This happens when the camera is tilted upward or downward. As a result, vertical elements like walls, cabinets, and windows appear to lean inward or outward.
This is one of the most noticeable issues in interior photography.
2. Horizontal Distortion
Horizontal distortion occurs when the camera is slightly rotated to the left or right, causing floors, countertops, or ceilings to appear slanted.
Even a small misalignment can make a room feel visually uncomfortable.
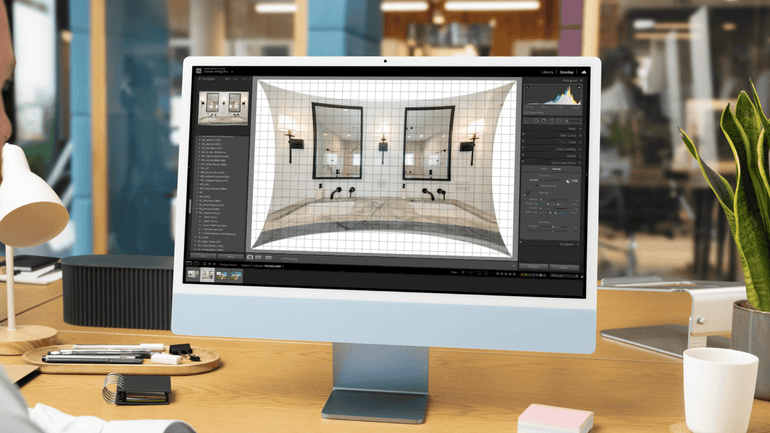
3. Lens Distortion
Wide-angle lenses, especially those between 10mm and 20mm, can create barrel distortion, where straight lines curve outward near the edges of the frame.
Without correction, this can make walls appear bowed or rooms look artificially stretched.
Understanding these issues is the first step toward fixing them. Next, let’s look at the tools photographers typically use to correct perspective.
Common Tools Used for Perspective Correction
Modern editing software includes powerful tools designed specifically to correct perspective distortion. 🧰 Some of the most commonly used tools include:
- Transform tools in Adobe Lightroom
- Perspective warp in Adobe Photoshop
- Lens correction panels for barrel distortion
- Vertical and horizontal alignment sliders
- Or, guided upright tools that automatically detect lines
These tools allow editors to adjust geometry with precision while maintaining a natural appearance.
While software automation has improved significantly, professional real estate photo editors often combine automated tools with manual adjustments to achieve the most realistic result.
Have You Ever Thought To
Outsource Photo Editing?
Try it today with 5 free edits from three professional photo editors.

Step-by-Step Guide to Correcting Lines and Angles🪜
Now that we know what tools are available, let’s walk through the step-by-step process of correcting lines and distortion.
Correcting perspective typically follows a structured workflow to ensure the image remains natural and balanced. Let’s start with smart cropping:
1. Simplify Scenes With Smart Cropping

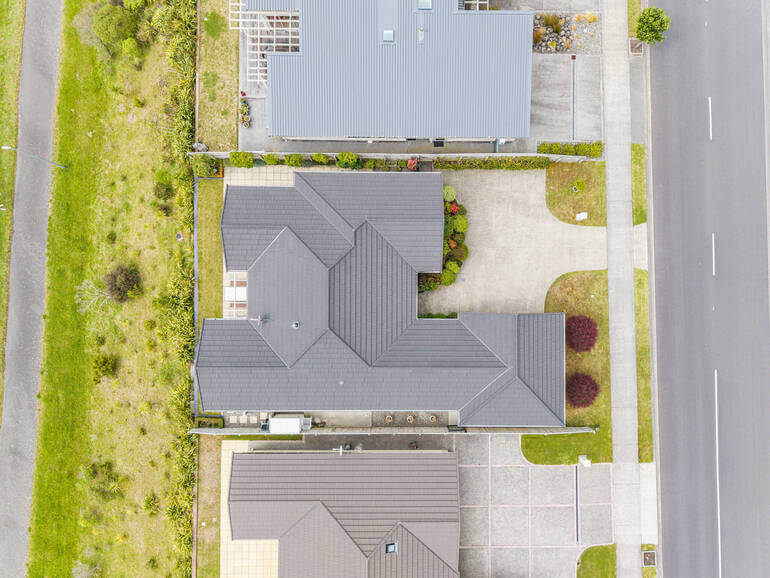
Imagine a photograph where the main subject—the property—gets lost in the chaos of a busy background.
That’s where smart cropping becomes your first essential editing technique.
By trimming the edges of your image, you ensure your viewers’ eyes are drawn directly to the real estate masterpiece you’re showcasing.
When nothing noteworthy resides at the periphery, bring your photo dimensions into focus and let the property take center stage.
Here’s how to crop your images in Photoshop:
Step 1. Simply, open your image in Photoshop, and select the Crop Tool in the Tools menu.
Step 2. Next, frame your photo by dragging the corner handles around the part of the image you want to keep.
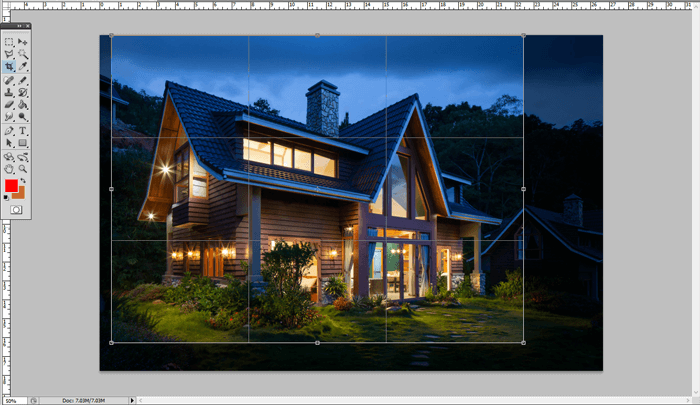
Step 3. Lastly, press Enter to crop out the edges, and that’s it!
Cropping isn’t just about fitting a picture into a frame; it’s about sculpting your image to highlight its true hero.
2. Mastering the Grid With Vertical and Horizontal Corrections
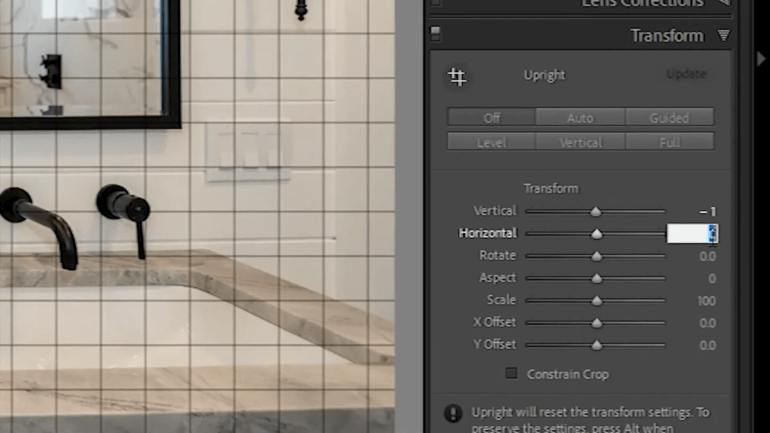
Now, let’s tackle those lines. Your property’s walls and frames should stand tall and true, not crooked as if they’re ready to topple.
By aligning your image with the precision of the x- and y-axis, you can correct those vertical and horizontal lines that might otherwise distract and detract.
The result? A photograph that exudes professionalism and polish.
To learn how to do this, you can check out our video tutorial on how to straighten verticals in Lightroom:
Say goodbye to wobbly angles that scream ‘hobbyist’ and welcome a level of sophistication that reassures viewers that they’re dealing with nothing less than expert imagery.
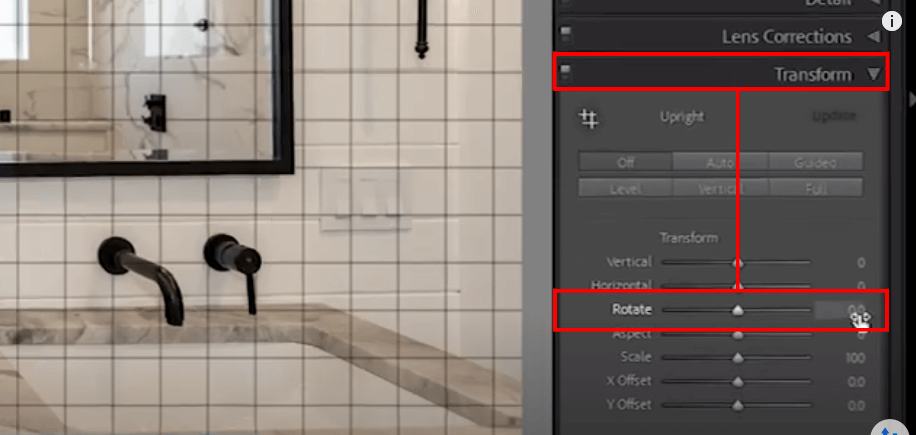
3. Correct Angles Like a Pro

Lastly, let’s talk about taming rogue angles. Sometimes, despite our best efforts, a photo emerges with the horizon slanted, as if the world within it is slipping away.
Rotating the image for proper angle alignment brings balance back to your composition.
Your camera may betray you with a nudge during that critical click, but your skills in angle correction will save the day.
You can use the method we previously used in step 2 to rotate the image. This is what to do:
Step 1. Instead of using the Vertical or Horizontal sliders, simply drag the Rotate slider in the Transform panel to rotate your image, and voila!
This will help you fix those trying tilt issues and present a visual narrative that feels grounded and genuine—never forcing viewers to tilt their heads in bewilderment.
The goal is always to enhance accuracy without making the image feel manipulated.
When done correctly, buyers won’t notice the editing—they’ll simply perceive the space as clean, balanced, and inviting.
Now that we understand the workflow, let’s explore some best practices professionals follow.
Best Practices for Perspective Correction👌
Experienced real estate photo editors follow a few key principles to ensure corrections look natural. Here are some best practices to consider:
| Avoid Over-Correction: Perfectly straight lines are important, but over-correcting can make rooms feel stretched or unnatural. The goal is visual realism, not mathematical perfection. |
| Preserve Natural Proportions: Rooms should maintain their real-world proportions. Over-adjusting the perspective can make spaces appear artificially tall or wide. |
| Use Reference Lines: Door frames, windows, and cabinets provide reliable reference points for accurate alignment. |
| Combine With Other Edits: Perspective correction works best when combined with: – Exposure balancing – HDR blending – Color correction – Sky replacement – Lawn enhancement |
Together, these edits create listing images that look polished and professional.
With these best practices in mind, let’s take a look at how PhotoUp can help busy real estate photographers and agents correct perspective and distortion in their images.
Have You Ever Thought To
Outsource Photo Editing?
Try it today with 5 free edits from three professional photo editors.
Let PhotoUp Help You Correct Distortion and Angles🏠
By applying lens corrections, aligning vertical and horizontal lines, cropping strategically, and fine-tuning proportions, photographers can transform imperfect images into clean, balanced visuals that showcase properties accurately and attractively.
However, performing these adjustments across dozens of images can be time-consuming—especially for photographers managing busy shooting schedules.
That’s where PhotoUp’s professional real estate photo editing service can help!
Except for perspective correction, we also offer other common edits like:
- Improper exposure levels
- Harsh shadows, lack of light, etc.
- Blurred images that were taken without a tripod
- Lawn greening and sky replacements
- Clutter and object removal
- HDR blending
- And much more!
We will handle all types of issues – from basic to complex editing!
With affordable pricing and fast turnaround times, PhotoUp helps real estate photographers deliver polished listing photos without spending hours behind the computer.
The result? Better images, faster workflows, and more time to focus on growing your photography business.
Browse Top Dedicated
Real Estate Photo Editors
Ready-to-hire editors for real estate photo editing, and more.
How to Get Started
Getting started using PhotoUp’s photo editing service is super easy.
This is all you need to do:
Step 1. Sign up for a free PhotoUp account.
Step 2. Upload your photos to our easy-to-use software.
Step 3. Choose the level of editing that you need and provide instructions (optional).
Step 4. Wait for PhotoUp professional editors to edit and return the photos in less than 24 hours.
Step 5. Download and start using your beautifully edited photos.
PhotoUp Real Estate Photo Editing Uploader Demo
Have a look at the real estate photo editing uploader demo to see how easy it is to get started with PhotoUp:
As simple as that….so, don’t wait!
👉 Sign up for a free PhotoUp account today, and we’ll help you ensure clean and balanced real estate photos that will captivate potential buyers!
Did we mention that you get 5 free credits when you sign up for an account that you can use for any of our services?!
We hope this blog post helped you learn how to correct lines, angles, and distortion in real estate photo editing. Furthermore, why don’t you check out the following resources below before you go?
- How to Scale Real Estate Photo Editing Without Losing Soul (AI + Human Editing)
- How to Best Create a Consistent Look in Real Estate Photo Editing
- 9 Proven Reasons Why You Should Use Real Estate Twilight Photos
- How to Use Virtual Landscaping to Upgrade Your Backyard
- How to Build & Manage Your Offshore Editing Workflow for 24-Hour Turnaround

