


Table of Contents
- Why Consistency Matters in Real Estate Photo Editing
- How to Create a Consistent Look in Real Estate Photo Editing
- Bonus Tips: Tools That Help Maintain Consistency
- Need Help Keeping Your Real Estate Photos Consistent?
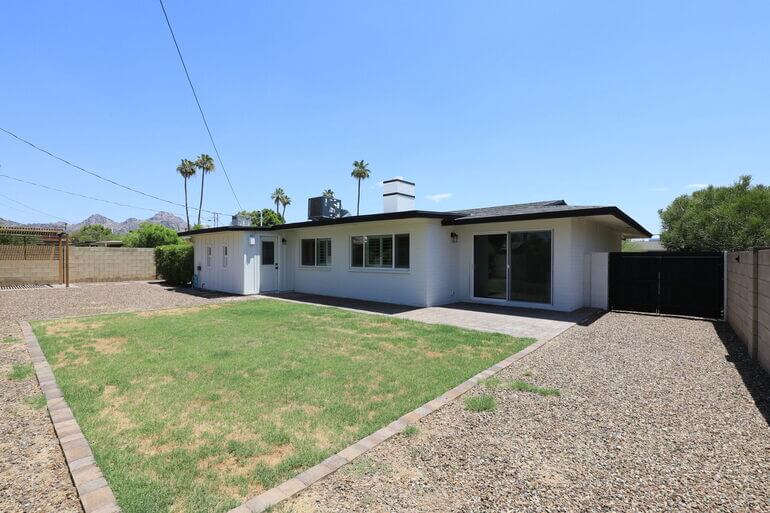
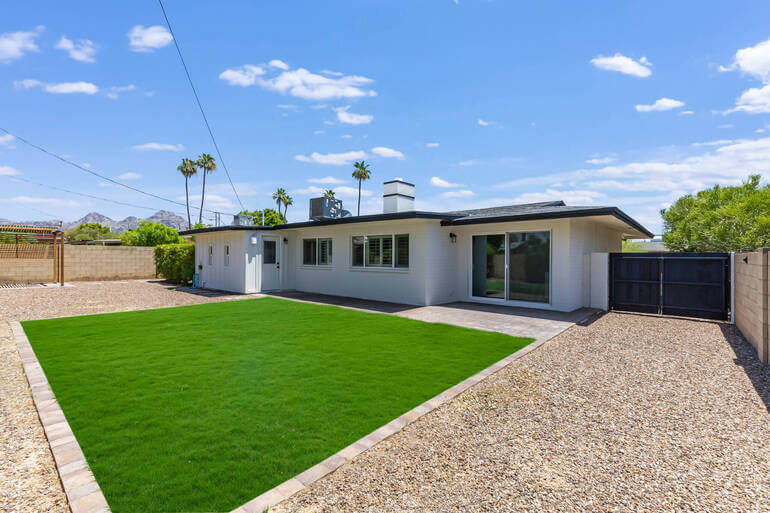
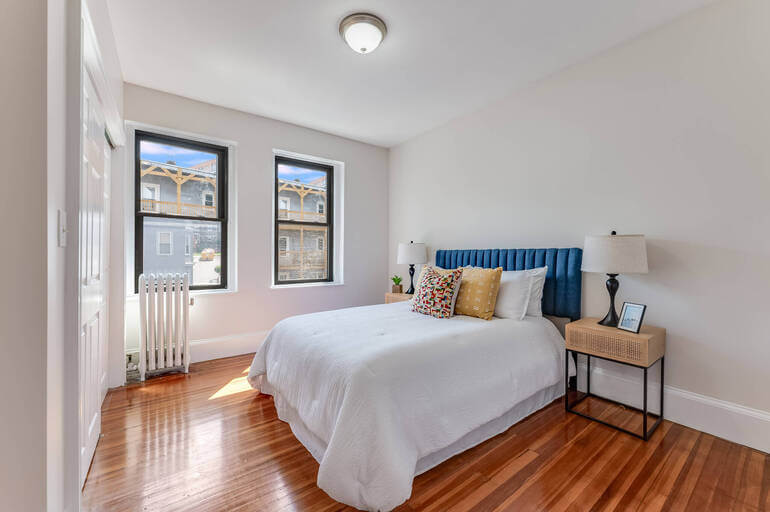
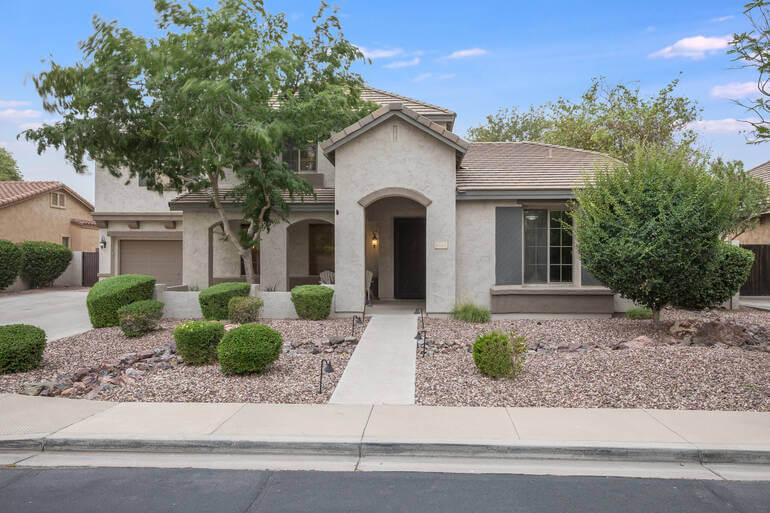
In the world of real estate, consistency isn’t just a nice-to-have—it’s a competitive advantage.
Whether you’re a real estate photographer or agent, developing a cohesive visual style builds brand trust, increases property appeal, and can even result in faster sales at higher prices.
In this article, we’ll dive into the importance of consistency in real estate photo editing and explore actionable tips, techniques, and tools you can use to ensure your photos look uniform, polished, and professional across all listings.
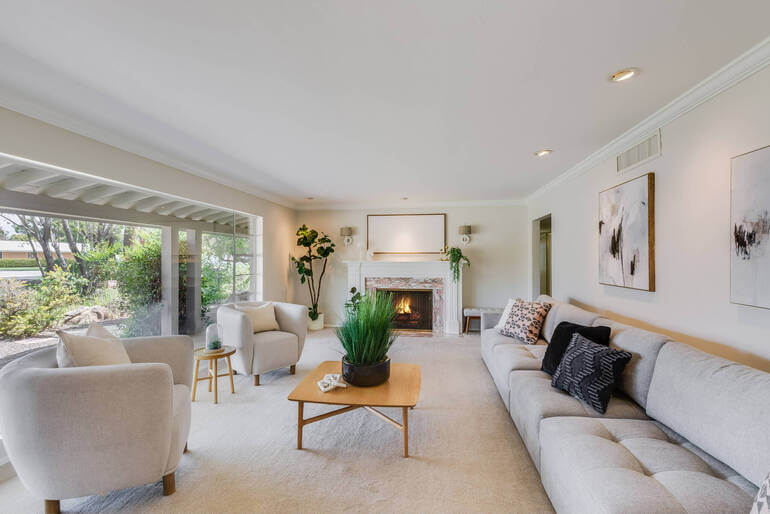
Why Consistency Matters in Real Estate Photo Editing
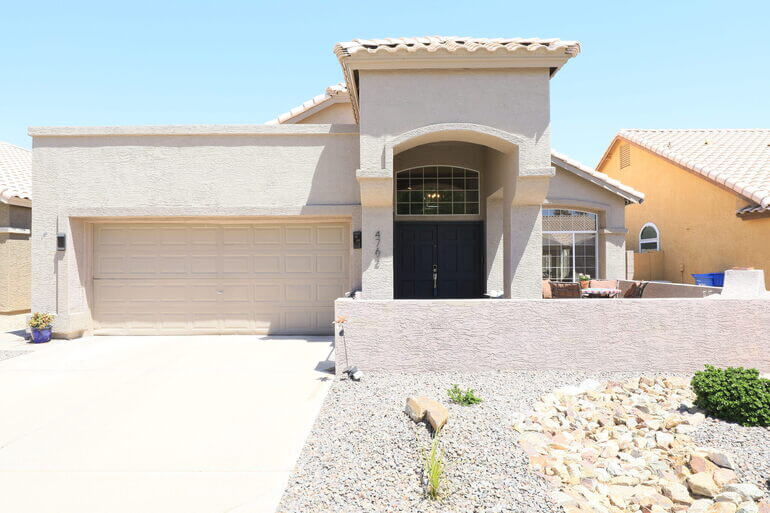
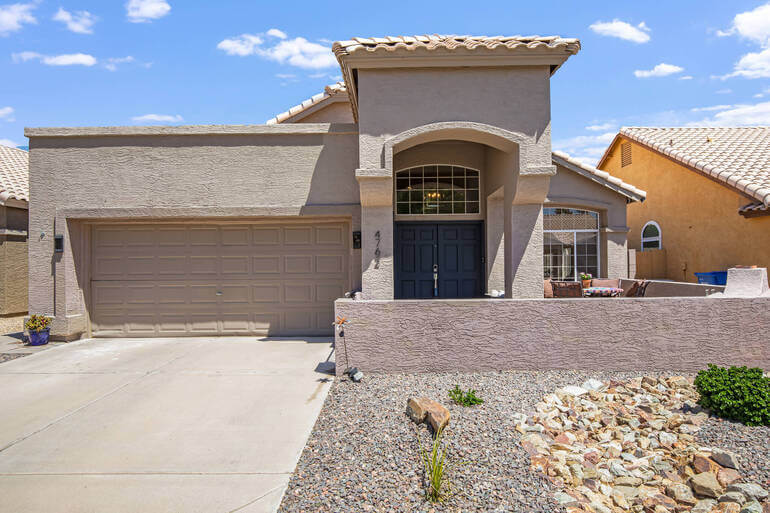
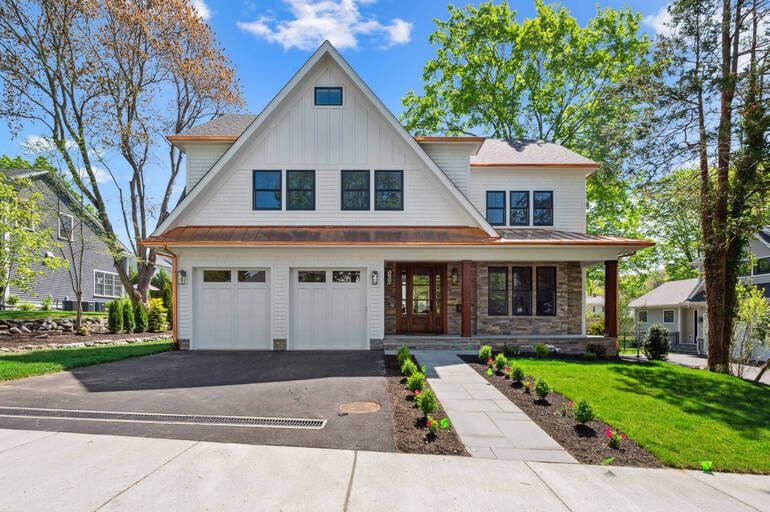
Homes with professional photography have an 84% higher chance of being sold within the listing period compared to homes with amateur photography.
And photo consistency plays a big part in creating professional real estate photos.
Before we jump into the how-to, it’s essential to understand why consistency is critical in real estate marketing:
| Enhances Professionalism: Uniform lighting, color tones, and editing styles create a polished, professional appearance that shows sellers and buyers that you take your listings seriously. |
| Builds Brand Recognition: Consistent photo styles help reinforce your personal or agency brand. When people recognize your photo style across listings, it boosts your reputation and helps you stand out. |
| Helps Buyers Focus: Consistency reduces visual distractions, allowing buyers to focus on the home’s features rather than jarring differences in brightness, tone, or quality. |
| Boosts Buyer Confidence: Buyers may view multiple properties from the same agent. When photo styles are consistent, it builds credibility and trust. |
With this in mind, let’s take a look at how to create a consistent look in real estate photo editing.
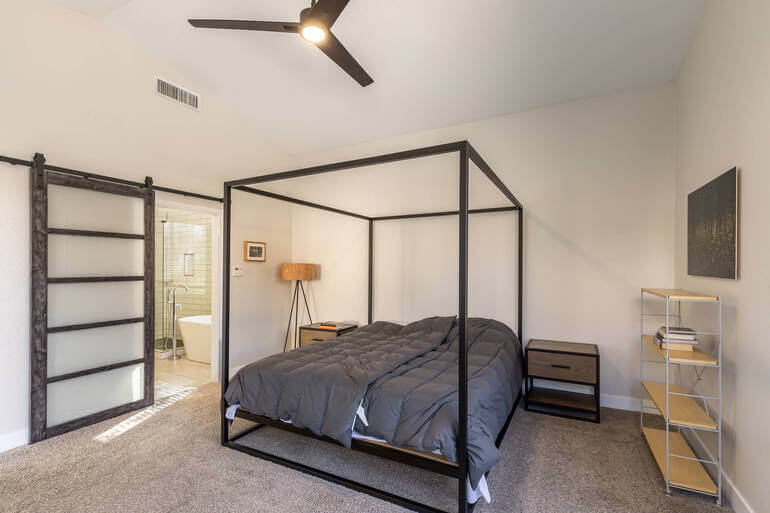
How to Create a Consistent Look in Real Estate Photo Editing
Creating a uniform aesthetic starts before the editing process, during the shoot itself, and continues through post-processing. Here’s how to do it:
1. Establish a Style Guide or Editing Preset
One of the most effective ways to maintain consistency is to create a style guide or set of Lightroom or Photoshop presets for your editing workflow.
Your style guide should define:
- Brightness levels
- Contrast and clarity
- White balance range
- Color grading (warm, neutral, or cool)
- Shadow and highlight preferences
- Sky and window treatments
- And perspective correction guidelines
Once defined, you can create presets or actions in your editing software to apply these settings across all photos in a batch, ensuring a uniform look.
For more information, check out our blog post on the best photo editing workflow for real estate photography.
2. Shoot With Consistency in Mind
Your real estate photo editing will be much easier if your images look consistent already from the actual photoshoot.
While on-site, keep your camera settings steady throughout the shoot unless lighting conditions demand a change. That includes:
- ISO, aperture, and shutter speed
- White balance (consider setting it manually)
- Focal length and lens choices
- Shooting angle and height
Use a tripod to keep height and composition consistent, room to room. If possible, shoot bracketed exposures for HDR blending, which helps normalize brightness between rooms with different lighting conditions.
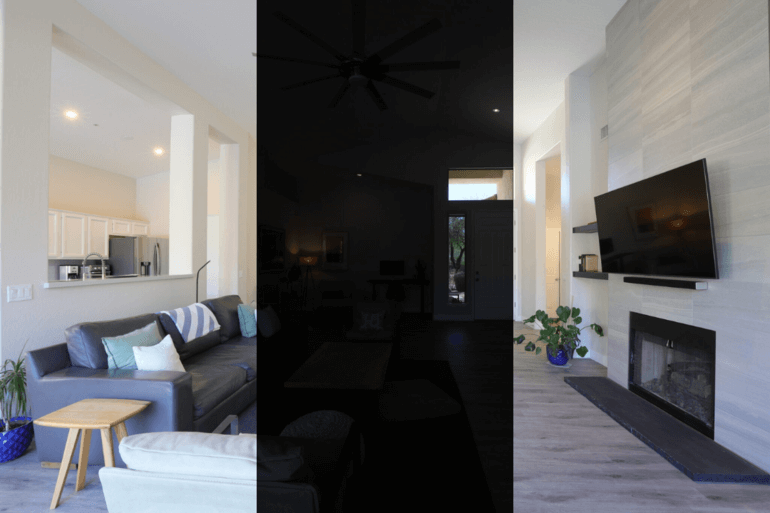
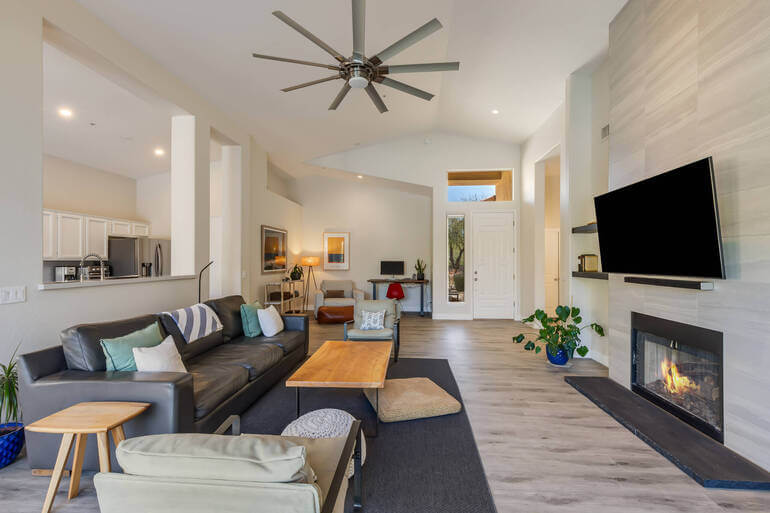
3. Use Batch Editing Techniques

Whether you’re editing in Lightroom, Photoshop, or another tool, batch editing lets you apply the same corrections across multiple photos. This is key to consistency.
In Lightroom, for example, you can:
- Edit the first image in a series
- Select all other photos in the set
- Click “Sync” and choose which settings to apply across the batch
This saves time and guarantees uniform exposure, color grading, and white balance.
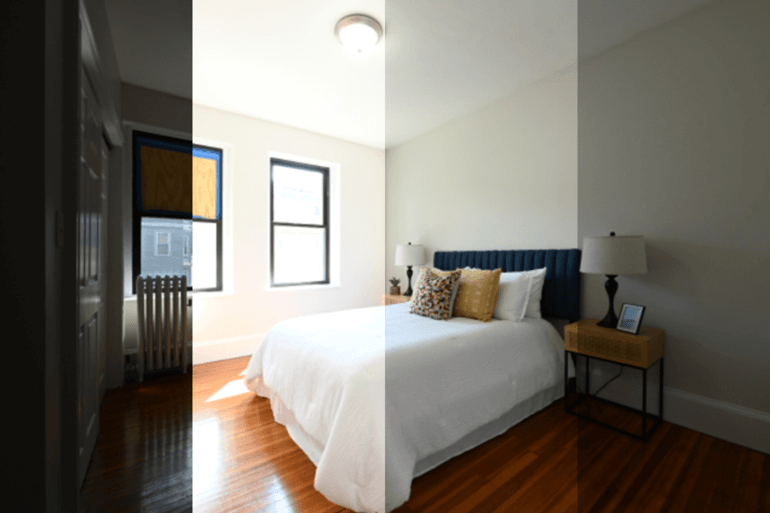
4. Correct Perspective and Vertical Lines

Inconsistent vertical lines can break the visual flow of a photo set. Straight verticals are crucial in real estate photo editing, especially in interiors with tall furniture, windows, or architectural details.
Use tools like:
- Photoshop’s Lens Correction Filter
- Lightroom’s Transform panel
- Or, third-party tools like PTLens
Correct all images in a set using similar angles and perspectives. Avoid extreme distortion corrections on just a few images, as it creates a visual mismatch.
To learn how to do this essential edit, check our tutorial on how to correct perspective in Photoshop.
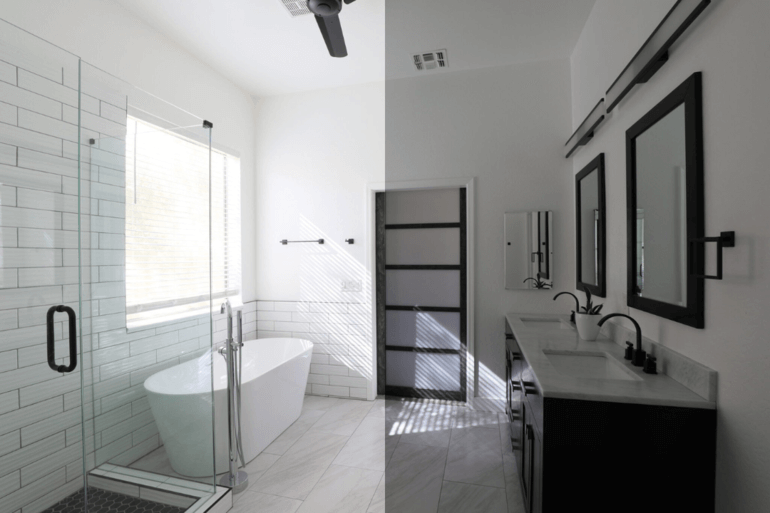
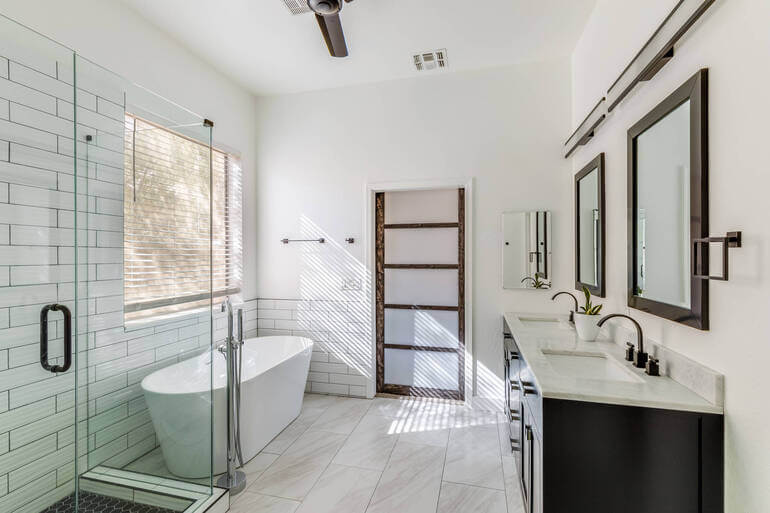
5. White Balance Consistency Is Key
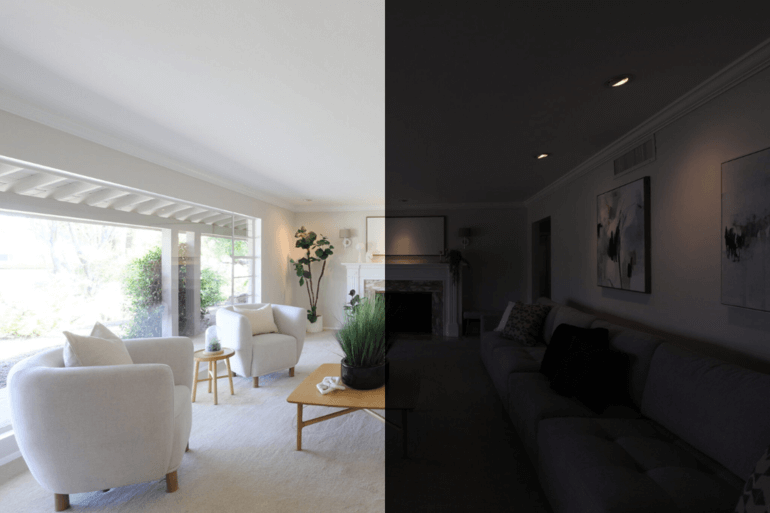
White balance dramatically affects how colors are perceived and should remain consistent throughout your image set.
Inconsistent white balance can make one room feel cold and another feel overly warm, which is visually disjointing.
Pro tip: Use a gray card during your shoot to capture accurate color references and maintain consistent white balance in post-processing.
In Lightroom, you can use the Eyedropper Tool to set the white balance in one image and sync it across others in the same lighting condition.
Additionally, here is a guide on how to adjust white balance in Photoshop for Photoshop users.
Have You Ever Thought To
Outsource Photo Editing?
Try it today with 5 free edits from three professional photo editors.

6. Keep Sky Replacements Cohesive
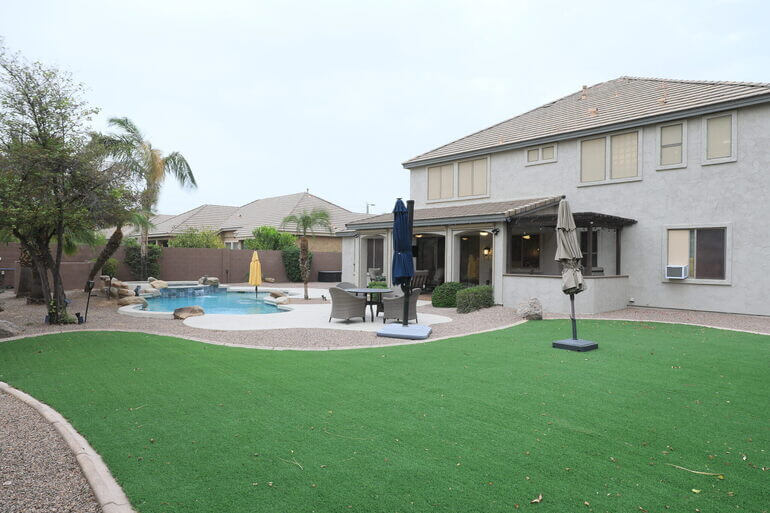
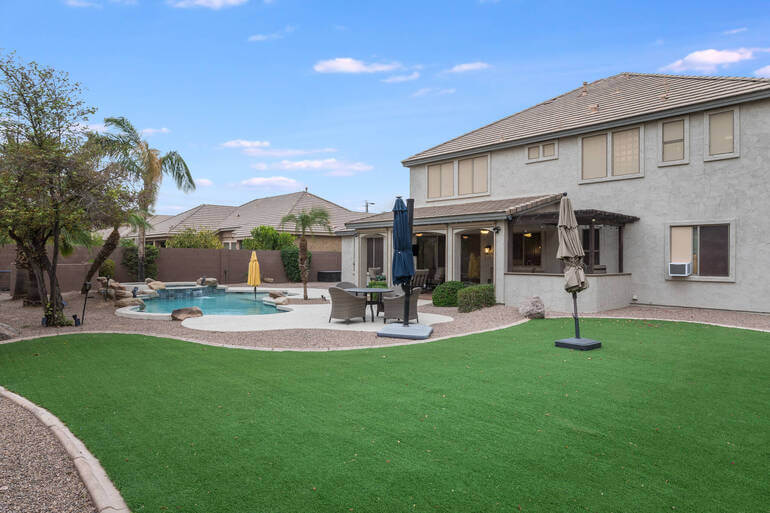
If you’re replacing skies—say, to make a cloudy day look sunny—make sure the type of sky and lighting direction match the rest of the scene.
Nothing looks more amateur than having a blue sky with sunlight coming from the opposite direction of the shadows on the house.
For consistency:
- Use a curated library of sky images with similar tone and light direction
- Maintain a consistent level of saturation and contrast
- Avoid mixing sunset skies with midday light photos
To learn how to perform consistent sky replacements, you can check out our tutorial on how to replace a summer sky in Photoshop.
7. Be Consistent With Window Masking
When showcasing interiors, it’s often necessary to mask windows and blend in properly exposed views from bracketed shots.
However, inconsistently bright or overly edited windows across photos can be distracting. Instead:
- Use the same masking technique across all rooms
- Keep outdoor views natural but clear
- Avoid extreme saturation or HDR effects that make views look fake
To learn this powerful edit, check out our guide on how to mask windows in Photoshop.
8. Use a Controlled Color Palette
Real estate photos should highlight the property, not overwhelm it with unnatural colors. Keep saturation in check and aim for a neutral but vibrant color profile.
When editing:
- Adjust vibrance rather than saturation
- Tone down overly saturated furniture or wall colors
- And avoid applying different color tints to each room
Use tools like HSL sliders in Lightroom to control specific color ranges without affecting others.
If you prefer editing in Photoshop, this guide walks you through how to color correct in Photoshop.
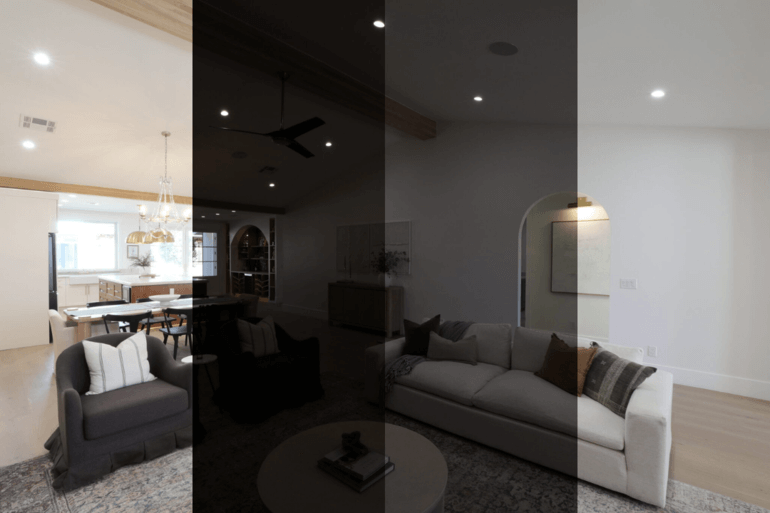
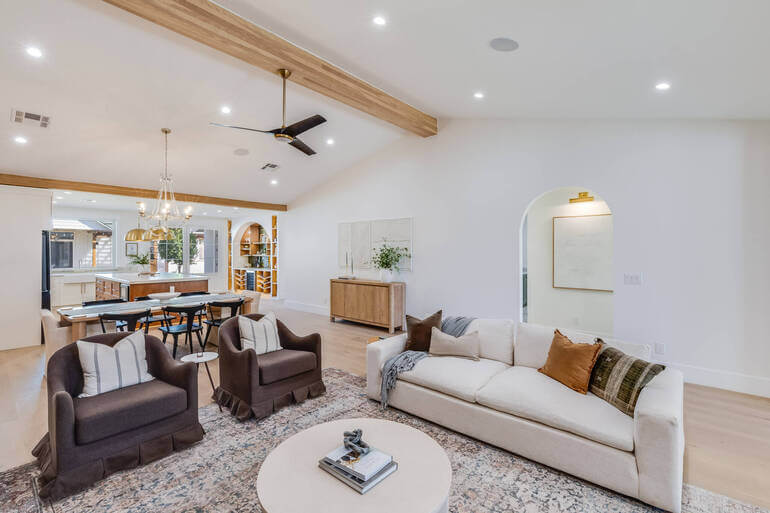
9. Avoid Overediting or Style Shifts
A frequent mistake is applying overly different styles between rooms, such as:
- One room with a warm, moody vibe and another with a bright, airy feel
- Excessive vignetting or sharpening on some images but not others
Choose a cohesive editing approach and apply it uniformly. This doesn’t mean every photo should be identical—some variation is natural—but the overall tone, lightness, and treatment should feel seamless.
10. Your Best Bet: Outsource to a Professional Real Estate Photo Editing Service
If you’re a busy real estate photographer handling dozens of shoots per week, maintaining editing consistency manually can be a challenge.
This is where outsourcing to a professional real estate photo editing service like PhotoUp can be a game changer.
Services like PhotoUp allow you to:
- Create a custom editing profile or style guide
- Work with the same Dedicated Editor or team of editors over time
- Maintain consistent quality, tone, and branding
- Turn around large batches in less than 24 hours
This not only saves you time and money but ensures that your portfolio maintains a professional and recognizable look across all listings.
But if you would rather do the editing yourself, let’s take a look at some tools that can help you maintain image consistency.
Bonus Tips: Tools That Help Maintain Consistency

Here are some tools that real estate photographers rely on to stay consistent:
- Adobe Lightroom – Excellent for batch processing and syncing edits
- Adobe Photoshop – Best for fine-tuned edits and object removal
- Luminar Neo – AI-enhanced editing for consistent sky replacement and lighting
- Presets and LUTs – Use for fast application of a specific style or look
By integrating these tools into your workflow, you can streamline your editing process and maintain a cohesive, professional look across every real estate listing.
Final Thoughts
Creating a consistent look in real estate photo editing isn’t just about aesthetics—it’s about building trust, maintaining brand identity, and delivering a seamless experience for potential buyers.
From how you shoot to how you edit, every step in your workflow should be geared toward visual harmony.
By following the tips in this article—developing presets, standardizing white balance, correcting perspective, and batch editing—you can achieve a polished, uniform style that elevates your listings.
And if your schedule doesn’t allow for manual editing, services like PhotoUp make it easy to scale with quality and consistency in mind. Let’s show you how!
Have You Ever Thought To
Outsource Photo Editing?
Try it today with 5 free edits from three professional photo editors.
Need Help Keeping Your Real Estate Photos Consistent?
One of the most effective ways to guarantee a consistent, high-quality look across all your real estate images is to outsource your photo editing to a professional service like PhotoUp.
Whether you’re a busy real estate photographer or an agent handling multiple listings, outsourcing can dramatically streamline your workflow and enhance your brand.
Why Outsource to PhotoUp?
Here’s how PhotoUp helps ensure editing consistency while saving you time and money:
✅ Custom Editing Profiles for Consistent Results
When you work with PhotoUp’s Dedicated Editors, you can create a custom editing profile that reflects your unique style preferences—whether that’s bright and airy, warm and welcoming, or clean and neutral.
Our editing team follows your style guide for every batch, so you get uniform results across all your listings, no matter how many properties you shoot.
Over time, this helps build your visual brand identity, setting your listings apart and creating a more professional portfolio.
Browse Top Dedicated
Real Estate Photo Editors
Ready-to-hire editors for real estate photo editing, and more.
⏱️ Faster Turnaround Time
Manually editing dozens of photos after every shoot is incredibly time-consuming.
Our expert editors deliver professionally edited images in 12-24 hours (48 hours for virtual staging), allowing you to get your listings online faster and keep your business moving without delays.
This quick turnaround also makes it easier to juggle multiple properties at once without sacrificing quality.
💰 Cost-Effective Editing From Just $1.50 Per Image
Hiring an in-house editor or spending your own time editing can be expensive.
PhotoUp offers professional editing services starting at just $1.50 per image for on-demand editing, making it an affordable solution for photographers and agents looking to scale their operations without breaking the bank.
Additionally, Dedicated Editing can go as low as $0.50 per image, depending on your style and editing batch.
Plus, with customizable packages and credit-based pricing, you only pay for the services you need—no unnecessary costs.
📸 Scalable for Growing Photography Businesses
As your real estate photography business grows, so do your editing needs.
PhotoUp’s platform is designed to scale with you, allowing you to upload, track, receive, and manage your photos and projects all in one place.
You can even assign team members, manage clients, and send feedback directly through the platform.
This means whether you’re editing 10 photos or 1,000, you’ll always receive consistent results, without the editing bottleneck.
And there’s more…
More Than Just Real Estate Photo Editing
PhotoUp is doing so much than just editing! We are a complete real estate marketing partner and also offer additional services such as:
We have everything you need to create impressive real estate photography that will impress clients and sell listings faster at higher rates!
Quick and Easy Ordering Process
Getting started using PhotoUp’s real estate photo editing service is super easy.
This is all you need to do:
Step 1. Sign up for a free PhotoUp account.
Step 2. Upload your photos to our easy-to-use software.
Step 3. Choose the level of editing that you need and provide instructions (optional).
Step 4. Wait for PhotoUp professional editors to edit and return the photos in less than 24 hours (48 hours for virtual staging).
Step 5. Download and start using your beautifully edited photos.
As simple as that!
In short, outsourcing to PhotoUp is a smart move for any real estate professional looking to boost efficiency, reduce workload, and maintain a consistent, polished look across all their marketing materials.
➡️ Sign up for a free PhotoUp account today and see how seamless real estate photo editing can be.
For a limited time, you even get 10 free credits you can use on any of our services when you sign up for an account.
We hope this blog post gave you an idea of how to best create a consistent look in real estate photo editing. Before you go, you may also want to check out the following resources:

