


Table of Contents
- 5 Steps to Prepare for Taking Interior Photos
- Interior Photo Editing (5 Basic Tips)
- Partner With the Best – PhotoUp’s Interior Photo Editing
Getting ready to sell your home or list one for sale? You can quickly enhance the inside of any home with professional interior photo editing.
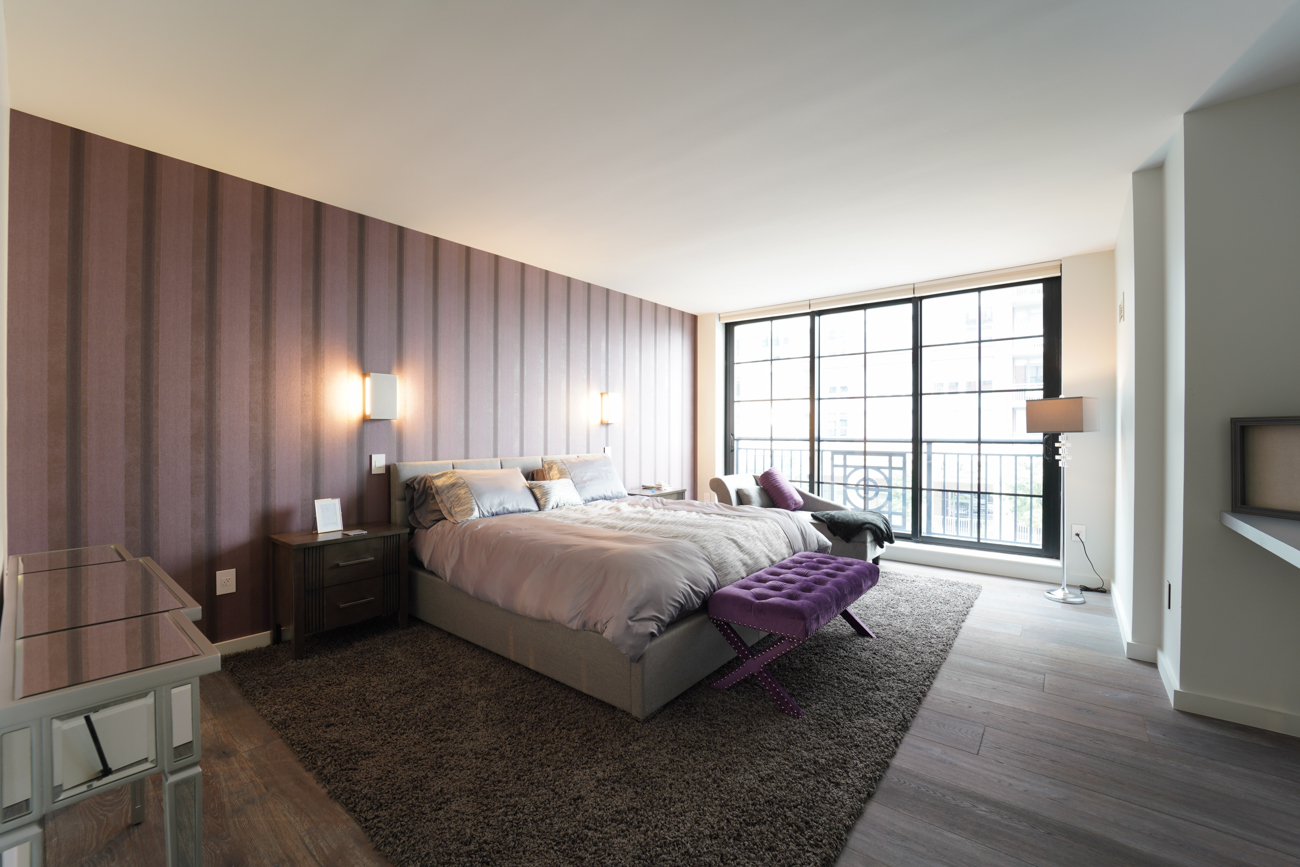
Professional photo editing can make any home’s interior look stunning and inviting — attracting more buyers and offers!
Over 90% of home buyers begin their search online. A positive online first impression makes a big difference.
In this post, we’ll learn how to best prepare for an interior photoshoot as well as photo editing techniques that will lead to outstanding interior photos.
But first, let’s talk about preparing a home for an interior photoshoot.
5 Steps to Prepare for Taking Interior Photos
The amazing interior photography you see in design magazines may seem impossible to achieve — but they’re not!
The key to achieving such images is proper planning and skilled editing. So, let’s dive in and walk through these 5 basic prep steps.
1. Prepare the Home for the Camera – Not for the Showings

For starters, don’t try to prepare the home for showings. Instead, think from the perspective of the camera when preparing for real estate photography.
Second, always prepare with the camera in mind, you can always make adjustments for actual showings later.
Consider these issues when preparing for the photography:
- Use the camera lens as your guide, aiming for balance, perspective, and flow as you see it in the viewer
- Get the angle right, perspective matters — from what location will the room look its best?
- Rely on your light meter to determine the best lighting levels and sources
What often looks impressive in person isn’t always that impressive in photos and vice versa.
2. Take Your Time Getting the Lighting Right

Your time spent getting the lighting just right will be time well spent. Effective lighting is essential for outstanding and compelling photos.
So keep in mind the following lighting advice when preparing for interior real estate photography:
- Rely on as much controlled light as possible
- Factor in the direction of the sun and weather conditions
- Pull open the blinds on all or some of the windows for natural illumination
- Avoid harsh shadows in a room — especially in the corners
Taking your time to get the right lighting will produce the best results and make the home look inviting and appealing.
3. Declutter & Depersonalize

When taking interior real estate photos – remember that less is more.
First, clear out the clutter from each room. Also, clean and open space makes rooms look larger and more appealing, so:
- Decluttering countertops helps make a home look clean and inviting
- Remove unneeded furnishings and accessories from rooms
- Set tables with simple place settings
- Straighten items on shelves and the inside closets
Additionally, you want to create generic, but pleasing rooms that a potential buyer will find attractive and appealing.
Removing personal items from the room is one solution:
- Put away family photos, vacation items, and anything with your client’s name on it
- Remove children’s schoolwork, art, and other papers on the refrigerator or walls
High-Quality & Consistent
Real Estate Photo Editing
Hire a dedicated editor with performance metrics from $7/hour.

4. Aim for a Simple Color Scheme

Too many competing and clashing colors will ruin your interior photos. Go room by room and see if you can simplify the color scheme in each one:
- Does the room contain clashing colors and tones?
- Neutral colors are popular with buyers
- Each room should have its own color theme
- Always check the colors through the lens and the viewer
Remember, neutral tones, while perhaps bland, allow the buyer to imagine the home with their preferred colors. And don’t let bold or competing colors be a distraction.
5. Focus on the Patterns and Rhythms in the Photos

Obviously, there is more to think about than just color. Every room has its own symmetry, patterns, and repetition of shapes.
All things considered, working with a room’s given patterns can be aesthetically pleasing.
As a result, consider these ideas when preparing for interior photography:
- Look for patterns in the furniture, artwork, decor, window, and even area rugs
- The repetition of colors and shapes can be pleasing
- Explore complementary rhythms found in fabrics, glass, metal, and so on
Explore ways to make a space look its best by employing these simple principles of interior design — it’ll make for better photos!
Interior Photo Editing (5 Tips)
Now that you have the home prepared, let’s talk about editing the resulting interior photos. Here are 5 basic editing tips for superb images.
1. Removing Lens Distortion

When editing interior photos, one of the first tasks is eliminating any distortion. Blurry and distorted photos can result from:
- Shooting with the wrong lens — usually one too wide for the space
- Not using a stable tripod — even the steadiest of hands move or shake slightly
As long as the distortion isn’t too severe, photo editing can correct the problem.
2. Removing Distracting Items
Even with proper preparation, distracting items sometimes still find their way into interior photos.
These might include:
- Unsightly cords and wires
- Marks, cracks, or small holes in walls
- Lint or dust on furniture or surfaces
The good news is that such items are easy to remove in photo editing or even virtual staging.
For more details, you can check out our video tutorial on how to remove cords in Photoshop:
3. Straightening Linear Lines
Many interior photos are ruined by distorted linear lines. These would be uneven or bent lines of:
- Ceiling and corners
- Cabinet edges
- Windows and their framing and treatments
- Larger furniture or decorative objects
- The fireplace
But fret not, well-done photo editing can straighten things after the shoot using cropping overlays and vertical/horizontal transform tools.
To learn more, watch our video tutorial on how to straighten verticals in Photoshop:
4. Correcting Exposure Levels


Relying on your light meter settings goes a long way to preventing exposure issues. Still, even the most carefully planned and taken photos can encounter such problems.
Improper exposure levels tend to result from:
- The glare of windows on a sunny day
- Fabrics and textures that absorb light
- Reflective surfaces and mirrors
- Unbalanced, mixed lighting
Again, such issues can be corrected by an experienced photo editor, thus rescuing your interior photos.
Have You Ever Thought To
Outsource Photo Editing?
Try it today with 5 free edits from three professional photo editors.
5. Sharpening the Image

You want your interior photos to be sharp, clean, and crisp. Typical problems of this kind tend to be the result of:
- Hazy lighting from windows
- The glare of interior lighting sources — particularly ceiling fixtures
A skilled photo editor can easily eliminate such issues, leaving you with sharp, clean images.
Partner With the Best – PhotoUp’s Interior Photo Editing
High-quality photos entice buyers to see your house in person. After all, spectacular photos make a powerful first impression.
If you’re looking for the best photo editing experience possible — work with PhotoUp.
PhotoUp has more than 10 years in the business and employs several hundred photo editors around the world — it’s hard to match PhotoUp’s quality, service, and pricing.
PhotoUp’s highly skilled editors can handle any photo editing job — big or small.
For example, our photo editors can resolve the following issues:
- Improper exposure levels
- Harsh shadows, lack of light, etc.
- Blurred or fuzzy images taken without a tripod
- Images that need cropping or other effects
Browse Top Dedicated
Real Estate Photo Editors
Ready-to-hire editors for real estate photo editing, and more.
PhotoUp offers affordable photo editing, with fast turn-around times. Our photo editing services also include:
- Image correction and enhancement
- Color and tone adjustments
- Window masking and glare reduction
- Clutter and object removal
- Line and angle corrections
- And much more!
Best yet, our pricing is affordable, with most photo editing services starting from only $1.50 per image.
Sign up for a free PhotoUp account, and let our expert real estate photo editors make every one of your interior photos look specular.
Also, learn how PhotoUp’s AI virtual staging can help create amazing interior photos of a home.
We hope this blog post helped you learn how to quickly enhance the inside of a home with interior photo editing.
If you enjoyed this post, make sure to check out the following photo editing resources as well:

