


Table of Contents
- When Should You Remove Objects in Interior Photos?
- When to NOT Remove Objects in Real Estate Photos
- How to Remove Objects in Photoshop (4 Techniques)
- Outsource Your Real Estate Photo Editing to PhotoUp!
83% of buyers said pictures are very important in helping them choose which homes they will visit. Still, half of over $1 million properties use poor-quality photographs.
To ensure not being included in this bracket, you need to learn how to remove unwanted objects in your real estate photography. This is one of many techniques that can help you boost image quality and create clean and professional-looking real estate photography.
In this post, we’ll share 4 editing techniques to help you remove objects in interior real estate photos. We’ll also cover when you should and should NOT remove objects in your images.
Let’s dive in!
When Should You Remove Objects in Interior Photos?
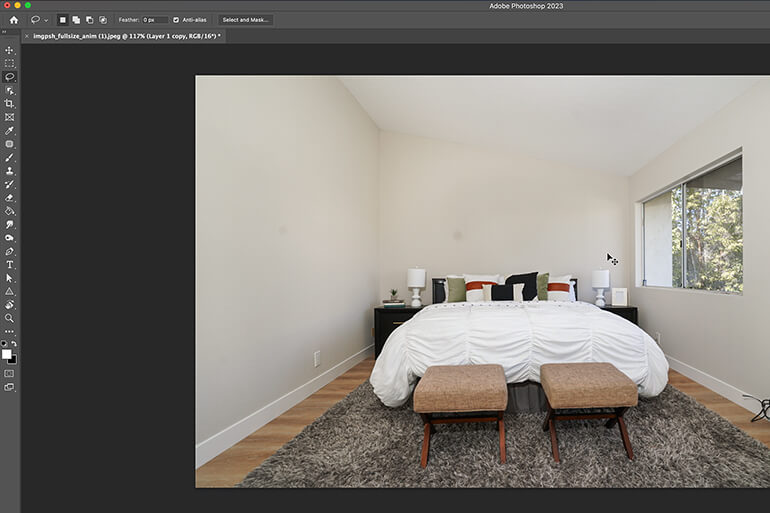
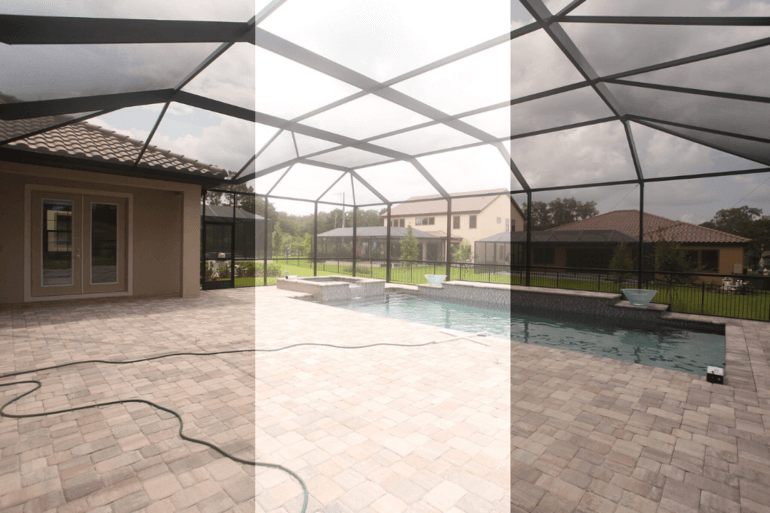
During a real estate photo shoot, everything may appear picture-perfect at first glance. You diligently capture every room, thinking you’ve got it covered.
But when you upload the photos, you start noticing imperfections and odd objects that make your images look bad.
And to make it worse, that perfectly curated and staged interior shot ends up looking unsightly on your workstation.
These are the moments when object removal and real estate photo editing become essential tasks for capturing stunning interior shots.
After all, your clients and potential buyers down the line crave alluring photos that are pleasing to the eye.
Object removal plays a critical role in the retouching and clean-up process, ensuring that unwanted items of any size are removed.
When to NOT Remove Objects in Real Estate Photos
It’s essential to grasp the delicate balance between removing objects to enhance the image and maintaining truthfulness.
Watch out for photo manipulation and removal of, for example, buildings, trees, and structures, which would be misleading to buyers and could lead to legal repercussions.
Picture this scenario: potential buyers arrive at the property with high hopes to experience that beautiful house they saw in the listing, only to see that the whole exterior (including the kitchen windows) is covered by a big tree blocking the view.
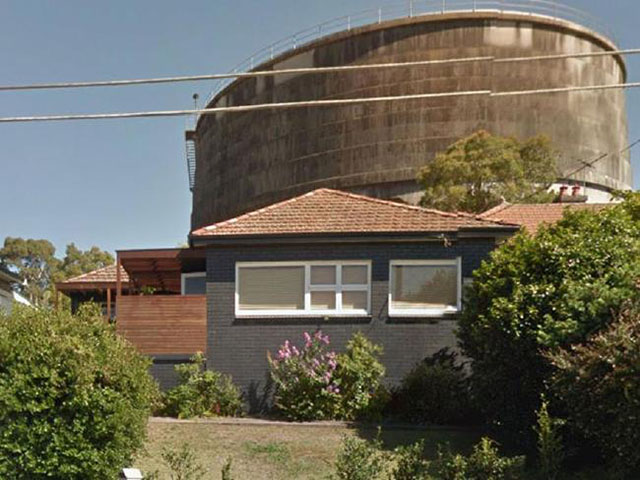
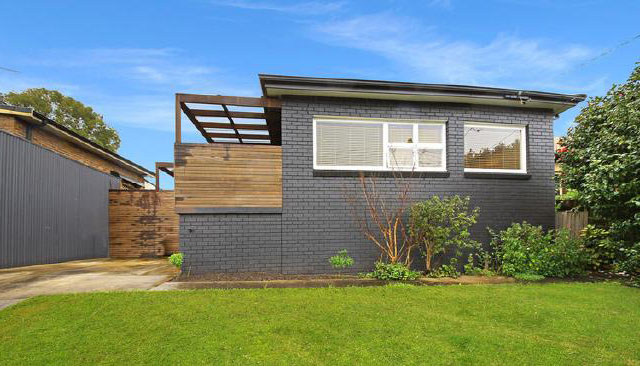
They will leave feeling let down and the seller will be left without any offers on the home.
As a result, the agent’s (and maybe even the real estate photographer’s) reputation takes a hit, and worst of all, the buyer might even label you as dishonest.
That’s why it’s crucial to always be truthful when removing objects in real estate photography. Nothing should be removed unless it’s planned to be physically taken out.
By understanding this balance, you can create impactful and genuinely authentic images.
How to Remove Objects in Photoshop (4 Techniques)
That said, let’s take a look at 4 techniques that real estate photographers often use to remove objects and edit interior images in Photoshop.
Each technique has its own set of steps and deserves recognition for accomplishing the task. Whether you want to master one or all four, it’s a great way to enhance your Photoshop skills.
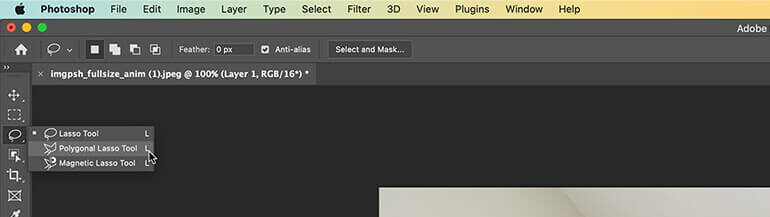
1. Object Removal Using the Lasso Tools
Have you ever tried using the Lasso tools in your real estate photo editing?
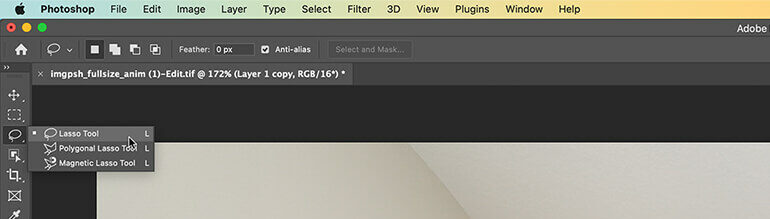
These awesome tools, including the polygonal, magnetic, and standard options, allow you to easily trace and remove any unwanted objects from your images.
They allow you to say goodbye to distractions and make your photos shine. Let’s start by taking a look at the Polygonal Lasso.
Polygonal Lasso
When it comes to real estate photo editing, the Polygonal Lasso tool is a game-changer for removing unwanted objects during image editing.
This tool works wonders when you’re dealing with regularly shaped objects that have straight edges and a defined number of corners.
Here’s how it works…
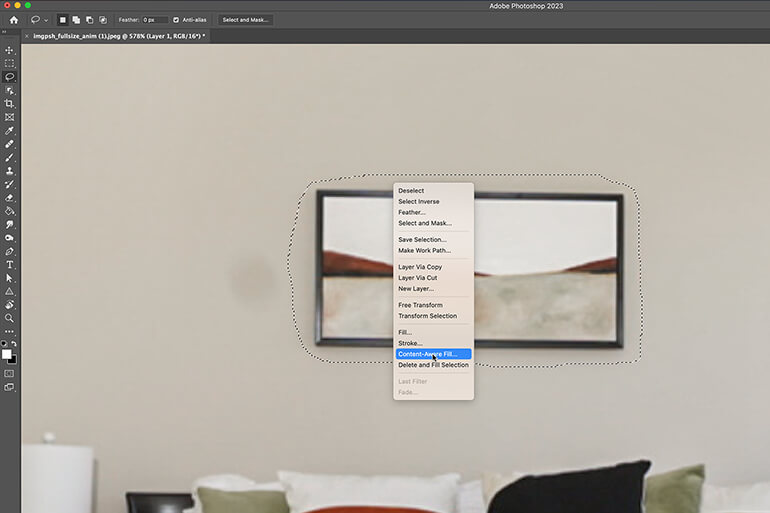
Simply grab the Polygonal Lasso tool and start outlining the edges and corners of the object by clicking to create anchor points.
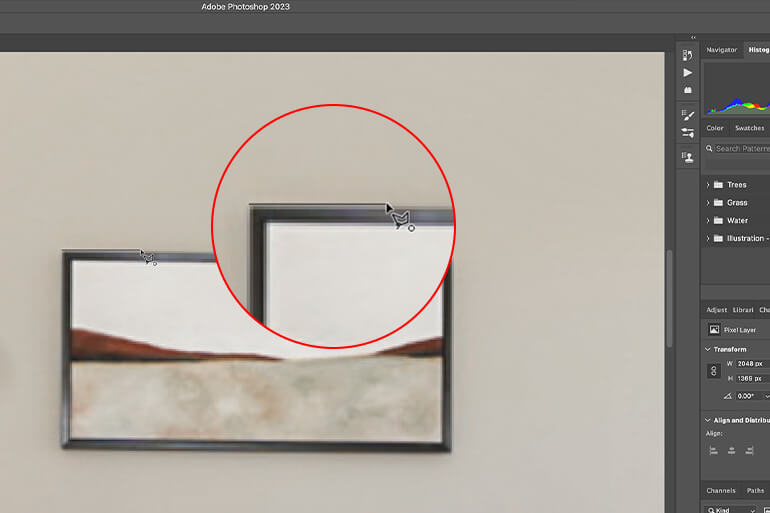

To close off the selection, just make sure the first and last points overlap.
Now, you can easily remove the selected area using the Cut or Delete tools. Just keep in mind that removing the object won’t reveal the background of the photo since it’s a two-dimensional image.
Magnetic Lasso
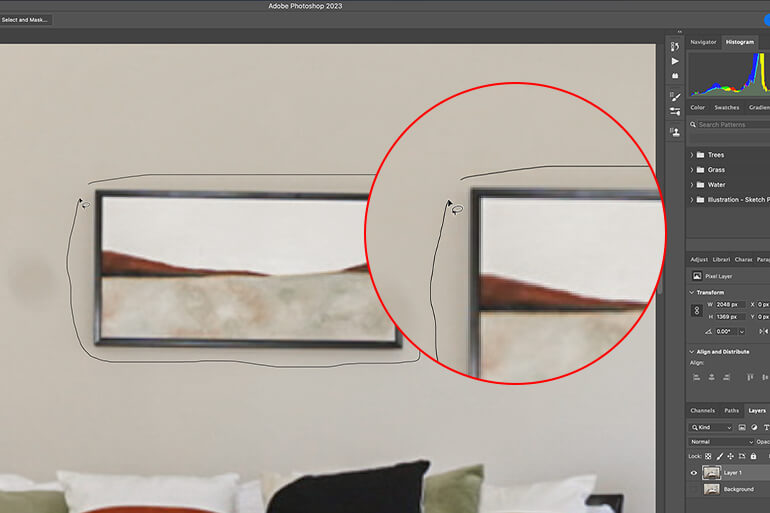
On the other hand, the Magnetic Lasso tool is the ultimate dream for photographers who want to effortlessly remove and edit objects.
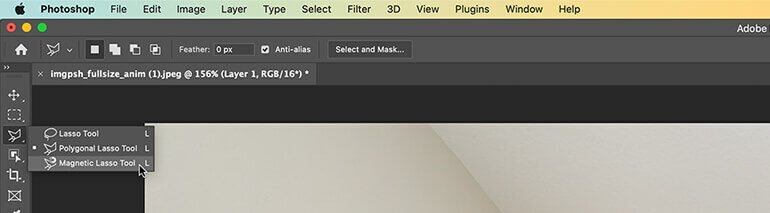
This tool is pretty smart – it can detect the shape of objects and automatically snap itself to the edges, even if your clicks aren’t perfectly aligned with the object’s irregular shape.
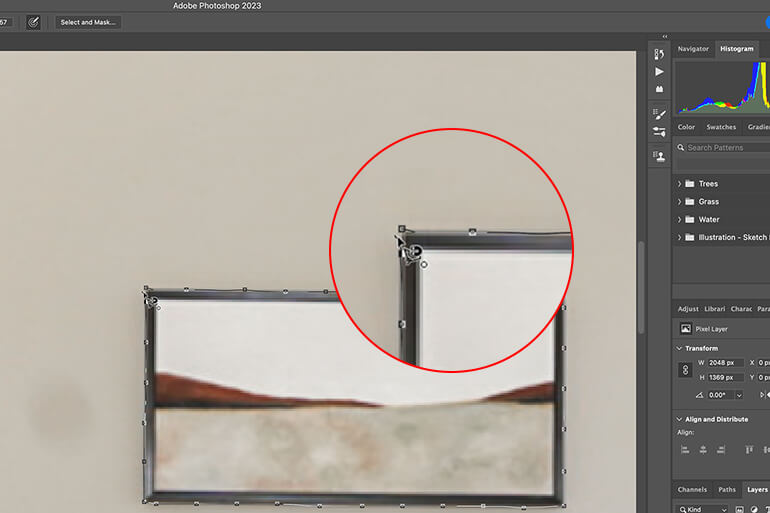
So, simply click and track the edges of your object until you’re back at the starting section to close off. Then, click Cut or Delete.
Have You Ever Thought To
Outsource Photo Editing?
Try it today with 5 free edits from three professional photo editors.

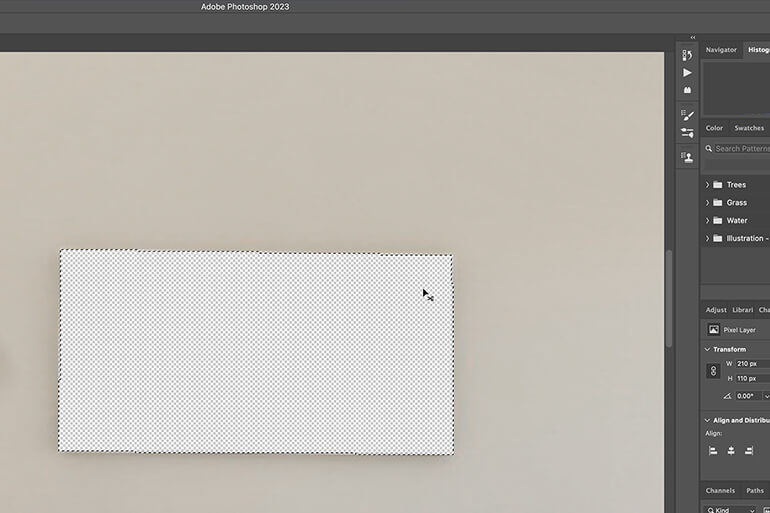
Standard Lasso
If you’re more of a freehand person, the Standard Lasso tool is your go-to. This tool is perfect for those who have a tablet or a touch-screen monitor, as you can use a stylus to create precise outlines.
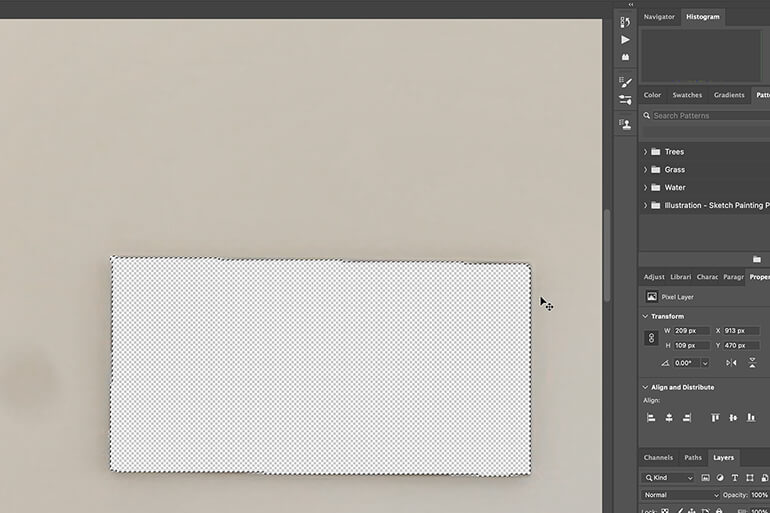
Just keep in mind, like the other two tools, the standard lasso tool will also create an empty space on your canvas. To tackle this issue, it’s crucial to have background-filling options, particularly in programs like Photoshop.
These options allow you to automatically fill the empty space that’s left behind after removing the desired object or objects.
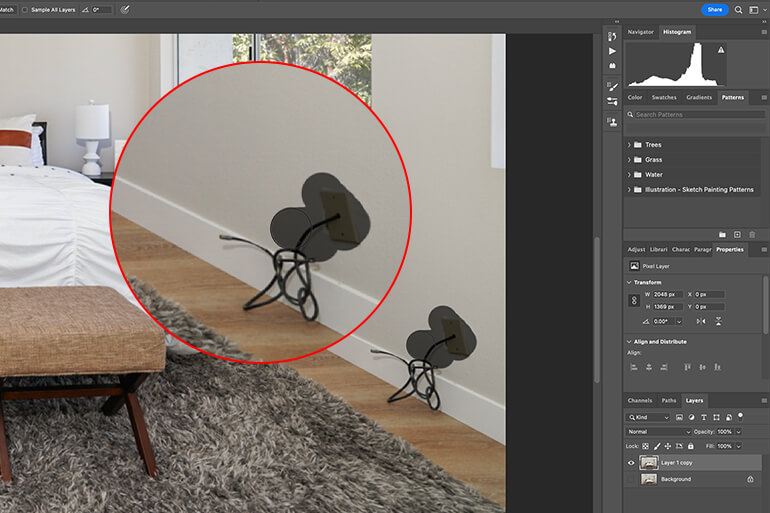
2. Object Removal Using the Clone Stamp
The Clone Stamp tool is a game-changer for real estate photographers. It’s like having a magic wand to make unwanted objects disappear from your interior shots.
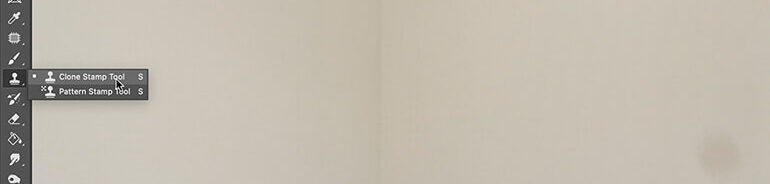
All you need to do is select an area, clone its pixels and colors, and poof!

The object vanishes, leaving behind a flawless background.
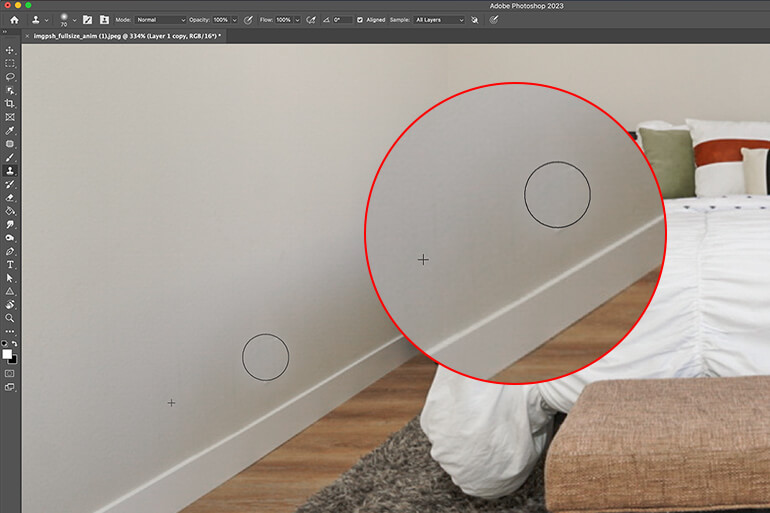
It’s an effortless way to create stunning real estate photos that capture the true essence of a property. No more distractions, just picture-perfect interiors.
3. Object Removal Using the Healing Brush
The Healing Brush in Photoshop is an amazing tool! It’s so smart that it can easily detect small anomalies like spots and blemishes.
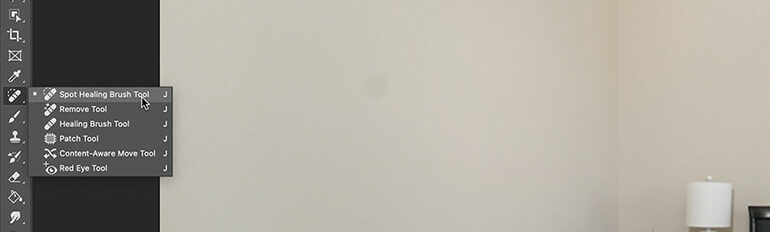
With just a simple click of a button, it can magically remove those imperfections.
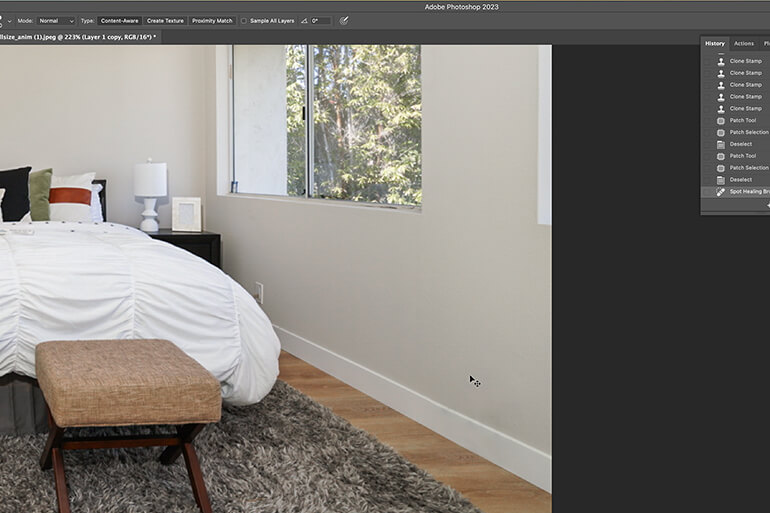
This is incredibly useful in retouching scenarios where you might encounter inevitable imperfections caused by light, reflections, or dirt.
4. Object Removal Using Cropping
Cropping is an incredibly handy tool when editing real estate photos. It’s simple yet effective, allowing you to easily remove any unwanted elements from the edges of a photo.
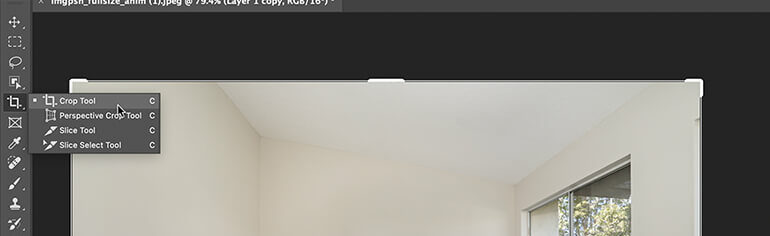
With just a few clicks, you can precisely crop an image to your desired specifications.
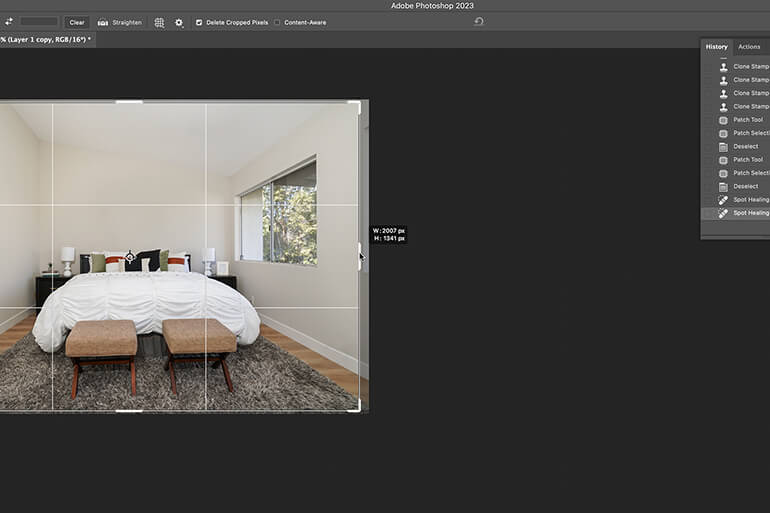
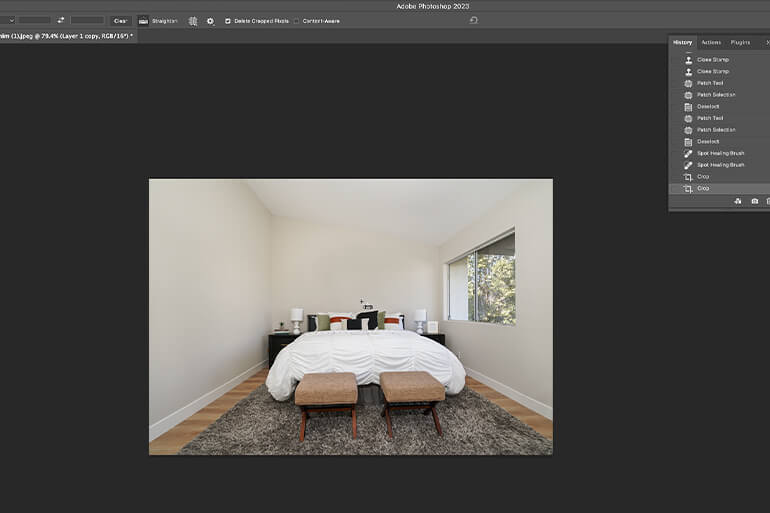
It’s smooth and seamless, working under your complete control to perform one of the easiest techniques in object removal.
Conclusion – How to Remove Objects in Photoshop


When it comes to removing objects from an image, it can be quite a challenge. It’s tempting to just remove them, but you have to think it through to not mislead potential buyers.
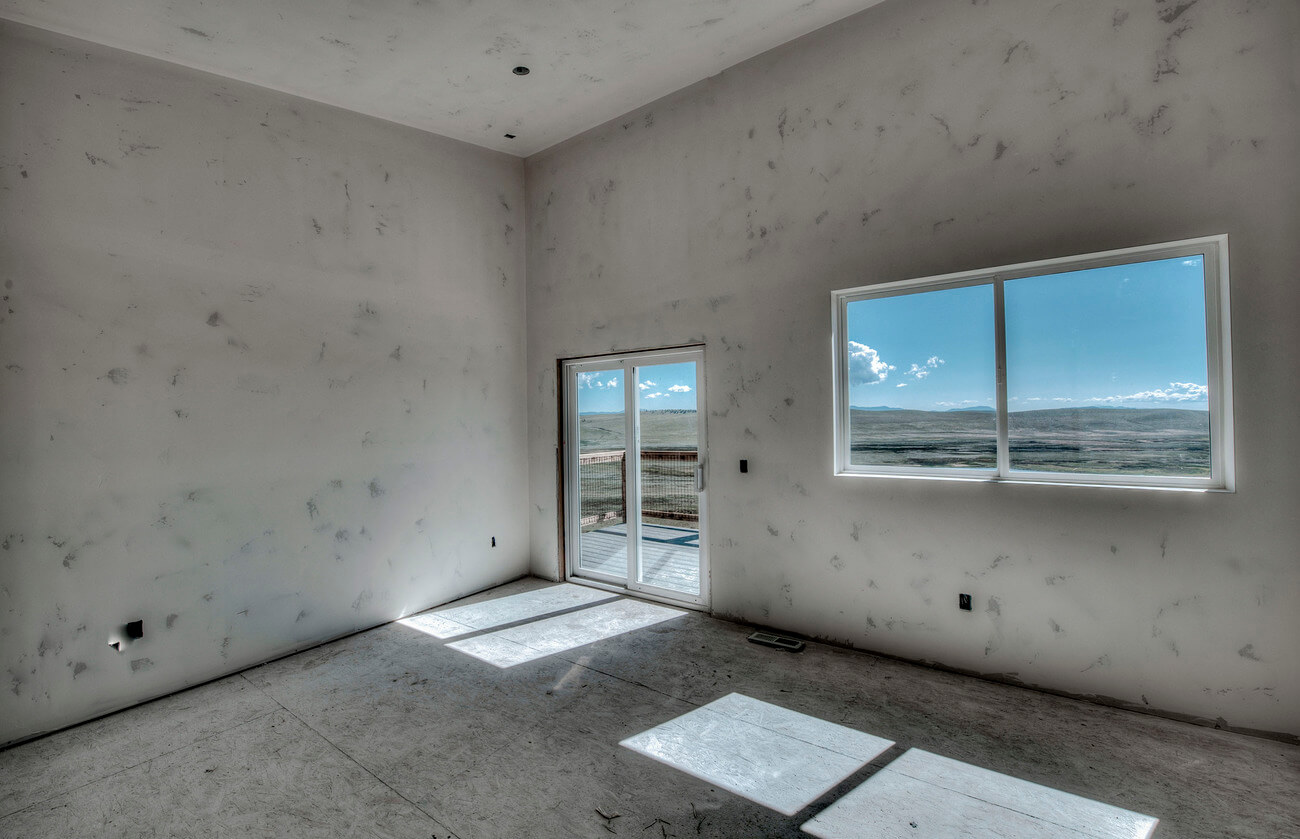
Thankfully, these techniques and tools above give you the flexibility you need for this task.
However, always keep in mind that interior images need to be clean, pristine, and presentable. They should draw in the viewer and create an exemplary experience.
So, take your time and make sure every detail is perfect!
Have You Ever Thought To
Outsource Photo Editing?
Try it today with 5 free edits from three professional photo editors.
Outsource Your Real Estate Photo Editing to PhotoUp!
Are you tired of spending your precious evenings removing unwanted objects from your photos or any type of real estate photo editing?

Well, worry no more! We’ve got the perfect solution for you.
At PhotoUp, we have a team of exceptionally skilled real estate photo editors who are excited to bring a professional touch to your images, starting at an affordable price of just $1.10 per image depending on your subscription.
Our skilled photo editors can help with the following issues:
- Advanced object removal
- Improper exposure levels
- Harsh shadows, lack of light, etc.
- Blurred images that were taken without a tripod
- Images that need cropping or other effects
- Lawn greening and sky replacements
- Twilight and day-to-dusk editing
- Decluttering
- Line and angle corrections
- And much more!
Browse Top Dedicated
Real Estate Photo Editors
Ready-to-hire editors for real estate photo editing, and more.
But it doesn’t stop there…

PhotoUp is a complete one-stop-shop for real estate marketing and also offers additional services such as:
On top of that, you’ll also get access to our user-friendly photo management system, so you can upload and receive photos, send instructions and feedback, track and manage team members and clients, store final images, and more!
PhotoUp Real Estate Photo Editing Uploader Demo
For more details, check out how easy it is to get started with PhotoUp’s software in this real estate photo editing uploader demo:
It’s really that easy to get beautifully edited photos in less than 24 hours!
So, what are you waiting for?
Sign up for a free PhotoUp account today, and let our expert editors edit your photos to perfection! And for a limited time, we even offer you 5 free edits when you sign up for an account!
We hope this blog post provided you with some simple editing techniques on how to remove objects in Photoshop. If you found this post useful, you may also want to check out the following resources:

