


Table of Contents
- Why Is a Green Lawn Important in Real Estate Photography?
- 10 Simple Steps to Create a Lawn in Photoshop
- Enhance Your Real Estate Photography With PhotoUp
Are you looking to develop your real estate photo editing skills and want to learn how to create a green and lush lawn in Photoshop?
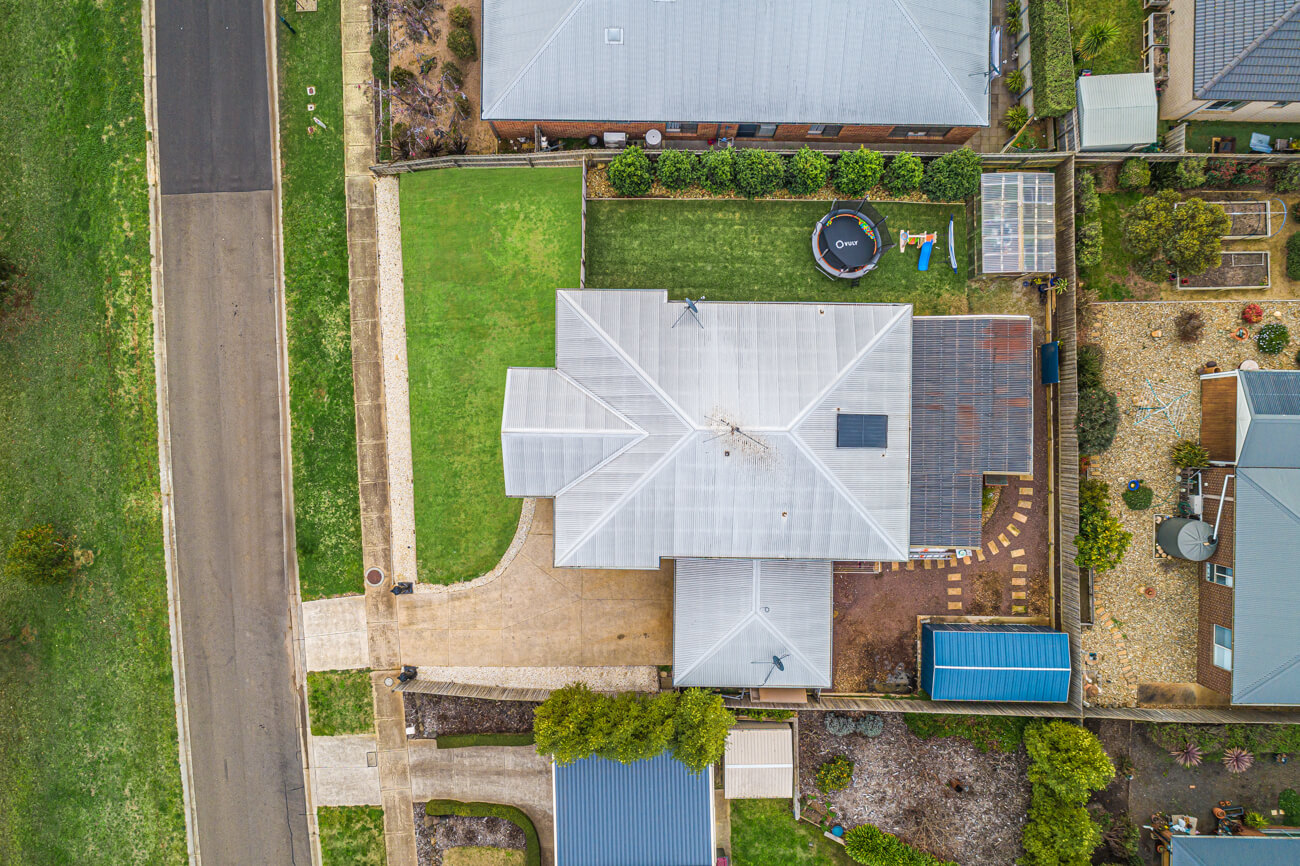
A healthy, lush, and well-manicured lawn adds to the curb appeal and will assist in showcasing a property in its best possible light.
Follow our step-by-step real estate photo editing tutorial on how to achieve a beautiful, green lawn for your listing.
But before we get into the nitty-gritty of our Photoshop tutorial , let’s take a look at why a green lawn is important for real estate photography.
Why Is a Green Lawn Important in Real Estate Photography?

There’s nothing more pleasing to the eye than a healthy, well-manicured lawn. A healthy, lush lawn can tell you about the owners of the property and:
- How well they look after it
- How much time and effort they put into their property
- And what state the rest of the house is likely to be in
Homes with well-cared-for exteriors are usually properties with well-cared-for interiors. That’s why it’s so important to project the image of a beautiful lawn when it comes to your real estate photography.
It also adds to the overall curb appeal that can attract buyers who are passing by on the street.
This combined, is where real estate photo editing can come in handy. So, let’s take a look at how to create a lawn in Photoshop next.
10 Simple Steps to Create a Lawn in Photoshop
Watch our real estate photo editing video tutorial on how to create a lawn in Photoshop using 10 simple steps.
If you don’t want to watch the video, you can continue reading the text below.
- Start by importing your real estate photos into Lightroom and doing the basic adjustment.
- Then, move them into Photoshop by right-clicking and selecting the prompt ‘Edit in Adobe Photoshop’.
- In Photoshop, duplicate the photo.
- Import a stock photo of the lawn you want to use for your listing. (Make sure that the kind of grass you’re using is similar to the original grass you’re replacing. It must feel natural).
- Resize and position the lawn in the imported photo to match up with your original.
- Now, hold down the ALT button and click the Masking button to achieve Inverted Masking.
- Using a Pen tool (P), or a Lasso tool (L), trace around the lawn you want to replace.
- Make sure to feather your selection (between 0.5% to 1.5%) so that the edges of your masking look smooth.
- Press the DELETE button.
- Your ugly lawn disappears and is replaced by the beautiful stock photo lawn.
Have You Ever Thought To
Outsource Photo Editing?
Try it today with 5 free edits from three professional photo editors.

2 Quick Ways to Make Adjustments to the Lawn
If you think the lawn needs a few more minor adjustments, you can unselect it from the rest of the photo by clicking the Chainlink icon to unlink the lawn. Then, you can move it around and adjust it in any number of ways, without disrupting the masking.
Here are 2 quick ways to make small adjustments to the lawn in your real estate photo:
- First, press CTL / SHIFT / A to adjust the color and brightness of the grass so that it matches the rest of the photo.
- Second, lessen the opacity of the grass to make it more natural and blend with the existing lawn.
When you are done, click ‘Save’ and the new adjusted photo will automatically go back to Lightroom.
And that’s it!
Enhance Your Real Estate Photography With PhotoUp
Try this technique for yourself next time you’re editing your real estate photos. But remember to follow your local MLS restrictions when it comes to altering images for marketing purposes.
If you are unhappy with your own editing, give PhotoUp’s real estate photo editing service a try. We have a team of professional photo editors waiting to take the burden of editing off of your plate.
Our teams of editors and designers have been doing real estate photo editing work for years. We know what works, what looks natural, and how to bring out the best in the exteriors of your images.
Browse Top Dedicated
Real Estate Photo Editors
Ready-to-hire editors for real estate photo editing, and more.
For example, our real estate editors can help you with:
- Image correction and enhancement
- Color and tone adjustments
- Window masking and glare reduction
- Clutter and object removal
- Line and angle corrections
- Improper exposure levels
- HDR editing
- Harsh shadows, lack of light, etc.
- AI Virtual staging
- And more.
Get started with PhotoUp and let us prove how we can help you transform your real estate photo marketing.
You can check out our real estate photo editing uploader tutorial to see how easy it is to get started:
So, what are you waiting for?
Get started with PhotoUp today, and get 5 free credits!
We hope this post helped you improve your real estate photo editing skills and create a green and lush lawn. If you found this post useful, you may also want to check out the following resources:
- How to Do a Sky Replacement in Photoshop
- How to Edit a Day to Dusk Image for Real Estate Photo Editing
- Real Estate Photo Editing Techniques to Improve Property Images
- Why Should Photographers Outsource their Real Estate Photo Editing?
- Ways Real Estate Photography Outsourcing Can Help Grow Your Business

