


Table of Contents
- What Is HDR Photography for Real Estate?
- 5 Most Powerful HDR Real Estate Photography Tips
- Edit Your HDR Real Estate Photography With PhotoUp
HDR photography tips are always much sought after by real estate photographers.
HDR photography allows you to capture even subtle details and a wider range of colors, making every property image look vibrant and captivating to potential buyers.
In this blog post, we will share the 5 most powerful HDR photography tips for real estate photographers that you can use immediately to please your clients.
Before we explore those tips in detail, let’s look at what HDR real estate photography is, the essential gear requirements, and the best camera settings.
What Is HDR Photography for Real Estate?
HDR, or High Dynamic Range photography, is a technique that lets you capture the full range of the lightest tones to the darkest tones within a photo.


Using this method of photography means that you’ll capture more details in the shadows that might otherwise appear black, and you’ll be able to see details in the highlights that might otherwise be washed out with white.
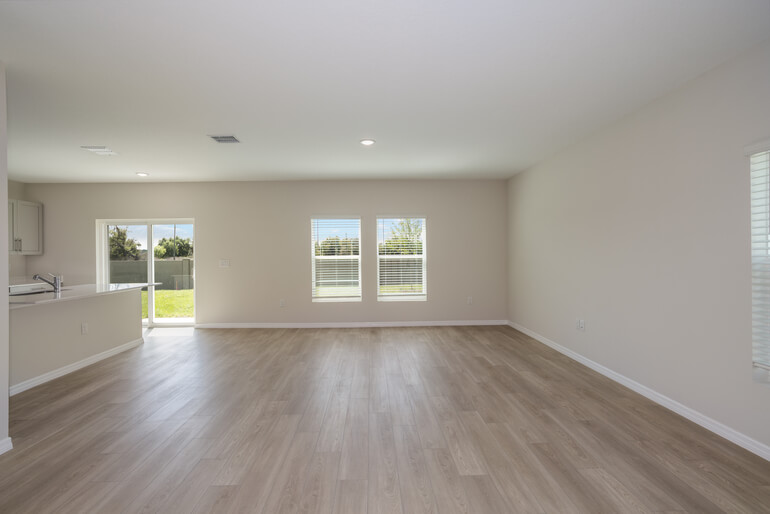
HDR photography is popular in real estate sales because it produces stunning, crisp, highly detailed images of rooms, spaces, and exteriors.
In other words, HDR photography makes a property look amazing.
To take HDR photography, you shoot a series of identical photos of the same subject at different shutter speeds and exposure levels. The photographs are then blended using editing software to produce an image with perfect exposure.
HDR Photography Equipment & Camera Settings
Here is an overview of the essential gear and camera settings you’ll need for this style of photography:
Basic Equipment
Camera – use the best DSLR digital camera you can find and afford. Unfortunately, your smartphone camera won’t do.
Flash – you’ll want a high-quality flash, too. A large, external flash is best. Many photographers recommend using a “fill flash” only. Therefore, you’ll want the flash set at the lowest levels possible.
Tripod – it’s absolutely necessary to use a tripod when shooting HDR/bracketed photography. A stable tripod ensures that all photos are free of noise caused by even the slightest movement.
Basic Camera Settings
Film Speed – aim for an ISO setting ISO of 100. This usually produces the sharpest and most precise results.
Lens – try not to shoot too wide using a DSLR and wide-angle lens. In terms of settings, rely on a cropped sensor of 12mm interiors and a full frame of 17mm for superior results.
Other Settings – set your aperture priority to F7.1-11, which is best for real estate photos, making your images the sharpest. If your camera doesn’t have this setting, it’s likely best to use “Auto/Program.”
5 Most Powerful HDR Real Estate Photography Tips
Now that you know what HDR real estate photography is and some basic gear requirements to capture the best results, let’s look at the 5 most powerful HDR real estate photography tips.
1. Shoot in RAW Format
Shooting in RAW format provides greater control over the ultimate image output.


Unlike JPEG files, RAW files are directly processed from the camera’s sensor without compression, ensuring a lossless and exceptionally high-quality outcome.
The lack of compression in RAW files means they retain a wealth of information and detail preserved within the images. This becomes especially advantageous when aiming for extremely sharp and vibrant HDR photos.
The decision to shoot in RAW affords you greater creative latitude and positions you to produce HDR photos that stand out with unparalleled clarity and vividness.
Our next HDR photography tip is about finding the right lighting for the shoot.
2. Pay Attention to the Lighting


Photographers understand the importance of proper lighting, especially in real estate photography.
First, pay attention to the weather; you’ll want a sunny day for the shoot. Second, note the best time of day to shoot your photos to avoid glare and drastic shadows.
Finally, experiment using artificial lighting to balance out color tones and avoid too many dark shadow areas from appearing in the images.
If you want to learn more about getting the best lighting for your shots, you can check our beginner guide to lighting choices for real estate photographers.
3. Bracket Your Shots
As we mentioned earlier, you’ll need to capture a series of shots at different exposures to generate an HDR image.
Typically, this entails taking at least three shots: one at the standard exposure, one intentionally overexposed, and another deliberately underexposed.
However, for optimal results, many real estate photographers recommend using five bracketed photos for a broader range of exposures, spanning from lighter to darker tones.


This approach provides a wider selection of shots during editing, resulting in greater flexibility and creative control.
High-Quality & Consistent
Real Estate Photo Editing
Hire a dedicated editor with performance metrics from $7/hour.

4. Keep It Simple & Natural


It’s tempting to get carried away with edits when working on HDR images, potentially creating a more dramatic effect.
However, it’s essential to stay focused on the ultimate goal: portraying the property accurately.
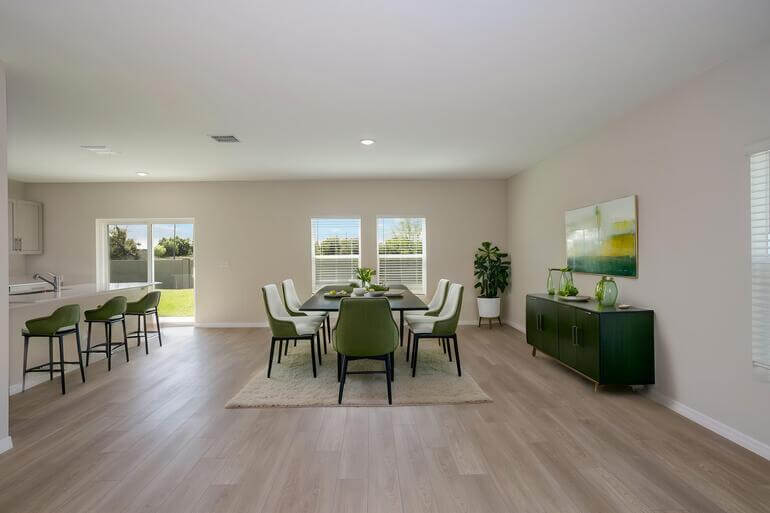
Strive for a balanced approach to editing, avoiding an overly unrealistic appearance. Always opt for natural enhancements that showcase the property’s features authentically.
Additionally, in real estate photography, simplicity and cleanliness take precedence. Steer clear of cluttered visuals, ensuring the property’s key features stand out.
This minimalist approach enhances visual appeal and helps potential buyers visualize themselves in the space, fostering a stronger connection with the property.
5. Use a Polarizing Lens Filter
Utilizing a polarizing filter is invaluable for minimizing glare and reflections in your real estate photography, especially when capturing exterior shots of the property.


When dealing with outdoor shots, natural light and reflective surfaces often pose challenges to obtaining clear and captivating images.
Therefore, using a polarizing filter improves the quality of your real estate photos and allows for more accurate images of the property’s exterior, making your visual narrative even more compelling for potential buyers or viewers.
Now, we have a bonus HDR photography tip for you – for the best HDR real estate images, use PhotoUp’s editing services.
Edit Your HDR Real Estate Photography With PhotoUp


If you want the best HDR image processing for your real estate photos, PhotoUp has a team of expert editors who you can trust to help you take your photography to the next level.
HDR Photography Editing
After you’ve applied all the HDR photography tips, our experienced team of real estate photo editors will provide the following services, including:
Image Brightness and Exposure Correction:
Fine-tuning brightness and exposure levels for optimal visual impact.
Color and Tone Adjustments:
Precision adjustments to enhance color vibrancy and achieve the desired tonal balance.
Window Masking and Glare Reduction:
Skillful techniques to mitigate glare and ensure clear visibility through windows.
Clutter and Advanced Object Removal:
Expert removal of unwanted elements and clutter to streamline visual appeal.
Line and Angle Corrections:
Ensuring straight lines and accurate angles for a polished and professional presentation.
Harsh Shadows and Lack of Light:
Addressing issues related to harsh shadows and insufficient lighting for a balanced composition.
Sky Replacements and Grass Greening:
Enhancing outdoor scenes by replacing skies and greening grass for a vibrant look and feel.
Twilight and Day-to-Dusk Editing:
Transforming daytime shots into captivating twilight scenes for added allure.
So, partner with us for the best HDR property images.
Working with us is easy. When signing up for a free PhotoUp account, you can quickly upload your photos to our user-friendly software.
Have You Ever Thought To
Outsource Photo Editing?
Try it today with 5 free edits from three professional photo editors.
PhotoUp Real Estate Photo Editing Uploader Demo
Take a look at this brief tutorial video to see how easy it is:
As simple as that!
Plus, we offer a quick turnaround time – the edited versions will be delivered within 12-24 hours.
Real Estate Marketing Solutions With PhotoUp
PhotoUp does more than HDR photo editing. We’re a one-stop-shop for real estate marketing solutions and powerful marketing tools such as:
- AI Virtual staging
- Virtual house tours
- Real estate walk-through videos
- Single property websites
- And Property flyers
We have everything you need to market real estate in one platform!
So, do yourself a favor. Sign up for a free PhotoUp account and elevate your real estate photography and marketing today!
We hope this blog post helped you learn the 5 most powerful HDR photography tips for real estate to boost image detail and create stunning photos. If you enjoyed reading this post, make sure also to check out the following resources:

