


Table of Contents
- Why Is Editing Your Real Estate Photography Important?
- How to Edit Real Estate Photos in Photoshop (5 Basic Tips)
- PhotoUp Is Here to Take the Editing Off Your Plate!
Learning how to edit real estate photos in Photoshop using some basic and simple techniques can give you a powerful edge as a photographer. With the right techniques and tools, you can quickly and easily make your images stand out from the competition and help agents sell more properties.
In this post, we’ll share 5 basic tips on how to easily edit real estate photos in Photoshop so that you can get maximum impact from your work and create stunning photos.
Let’s dive in!
Why Is Editing Your Real Estate Photography Important?
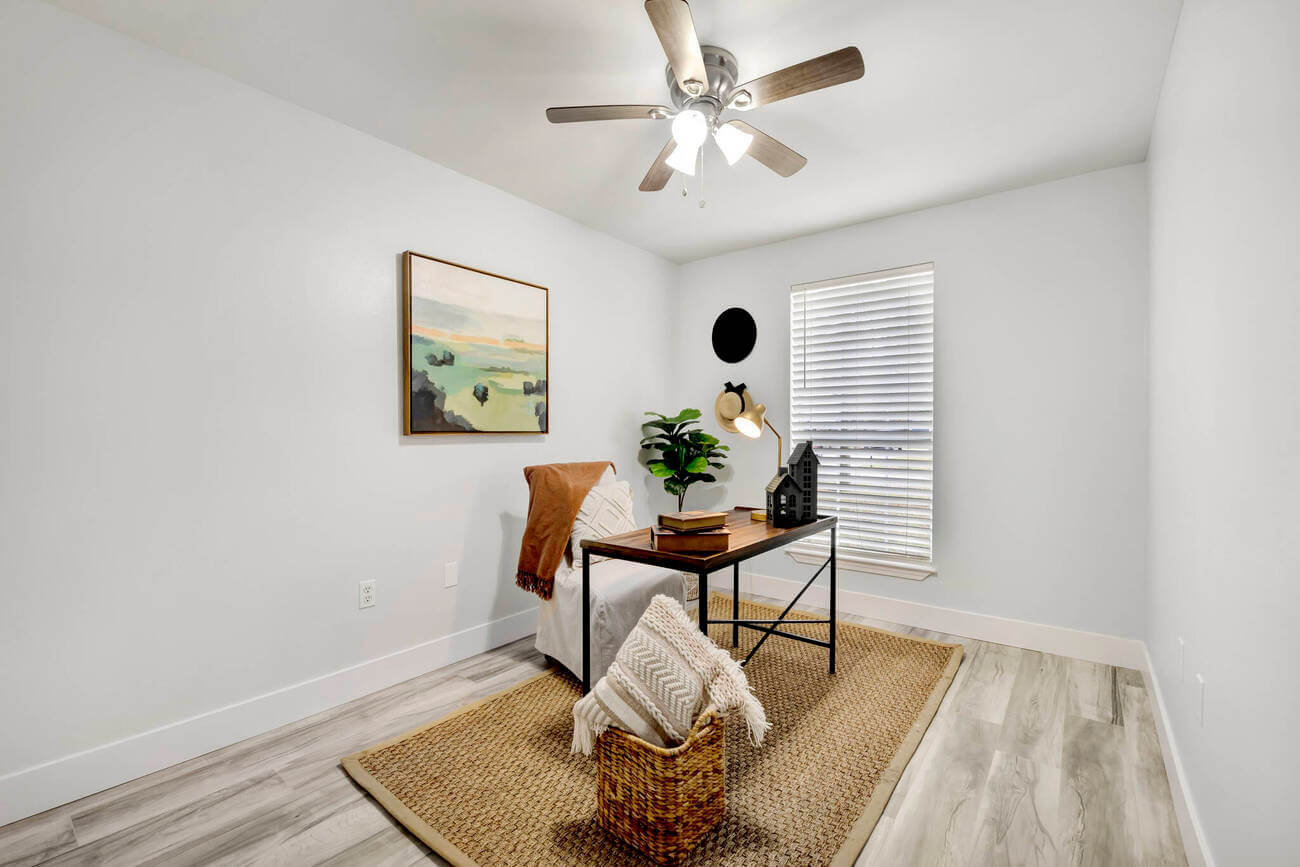
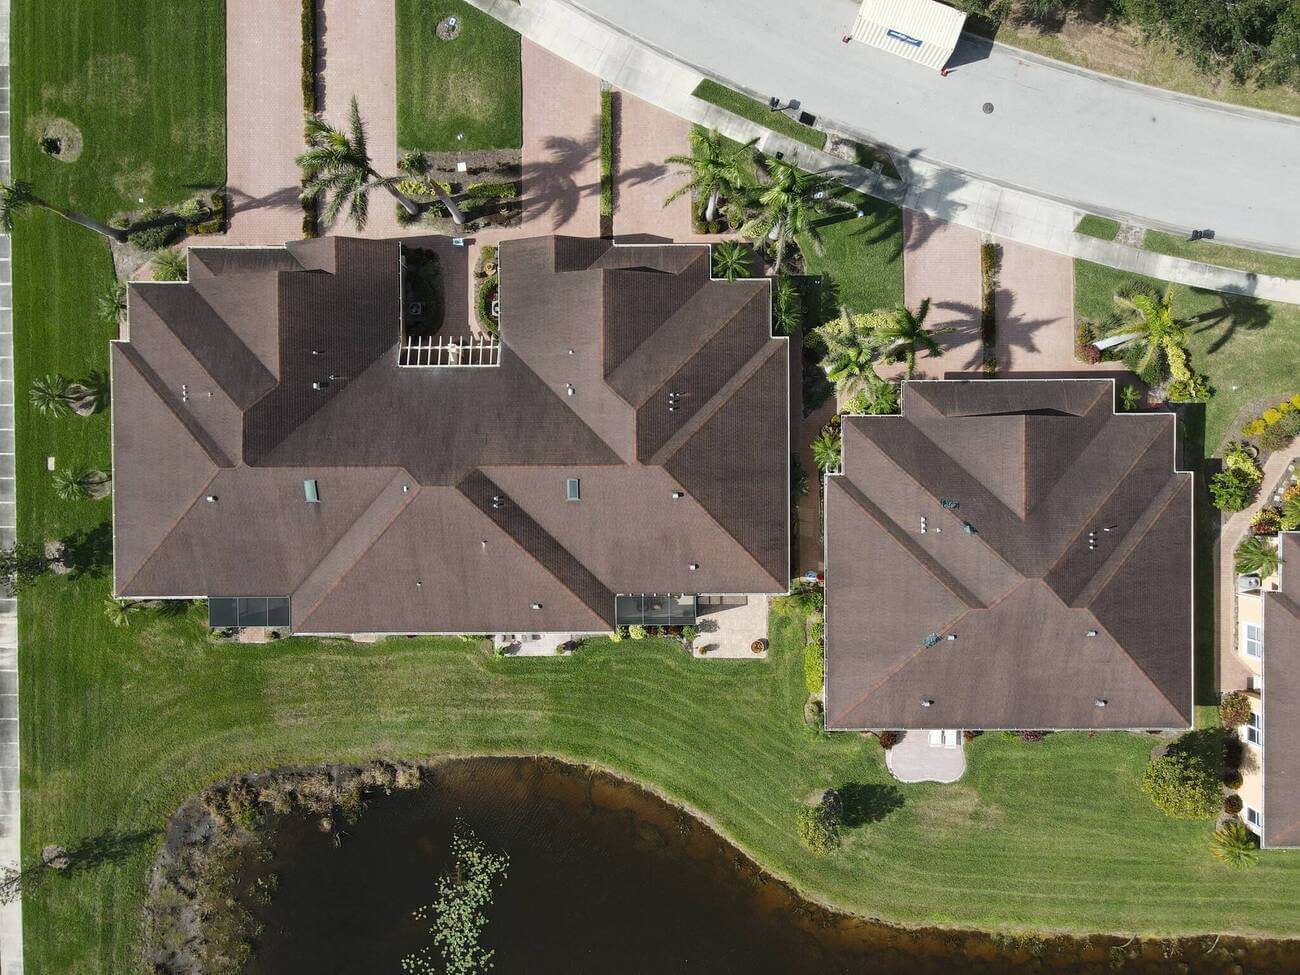
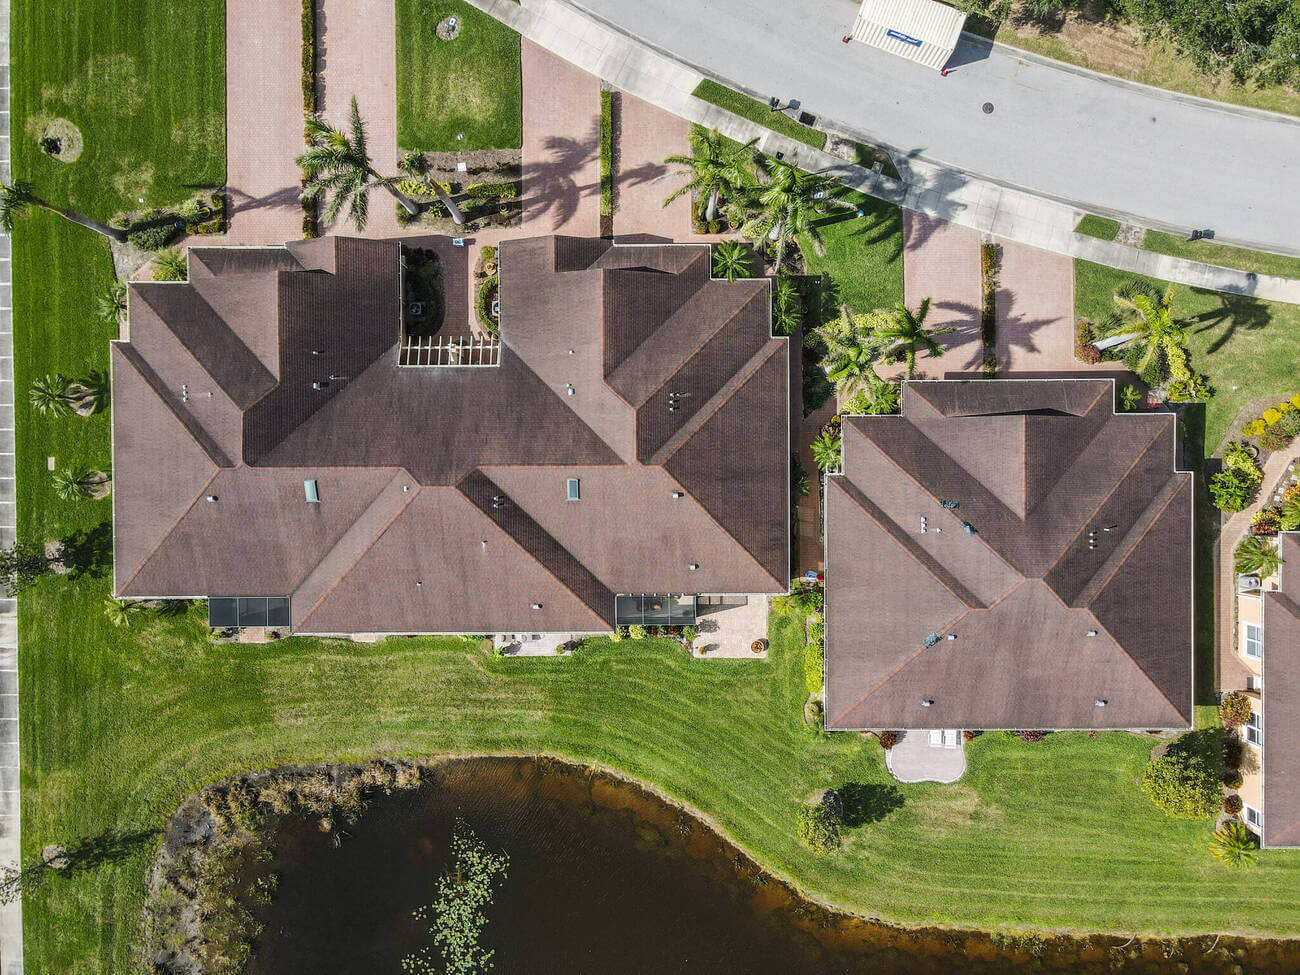
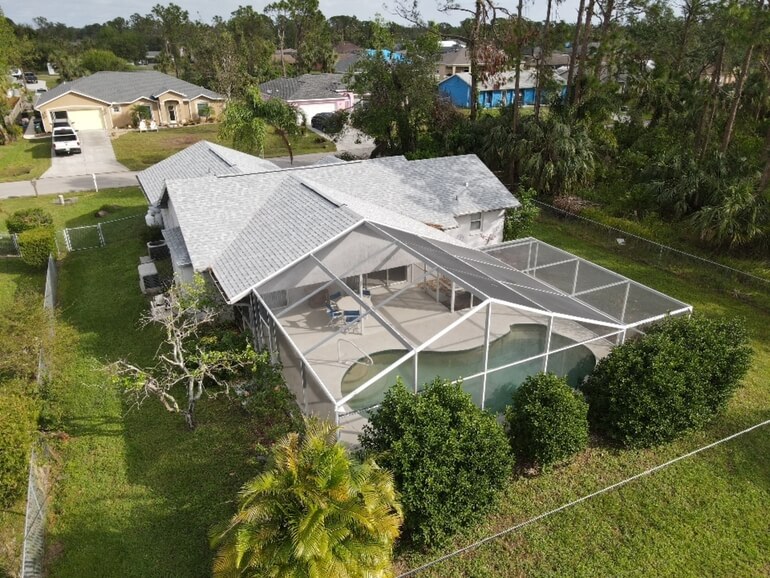
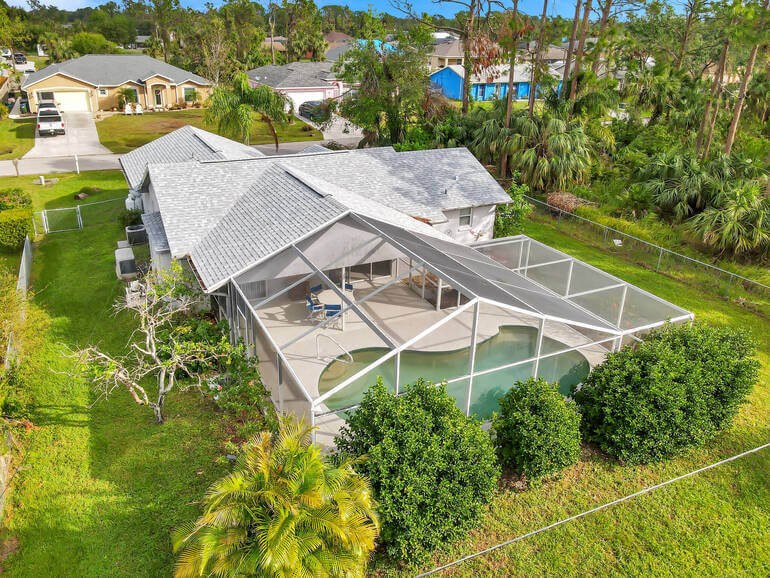
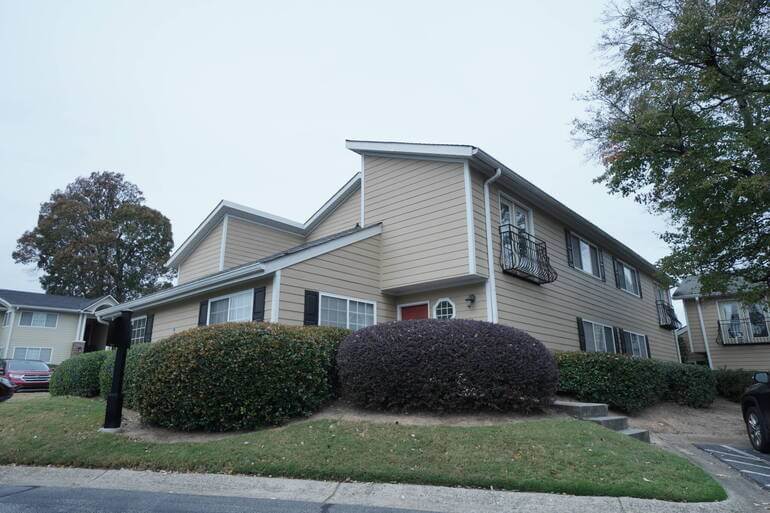
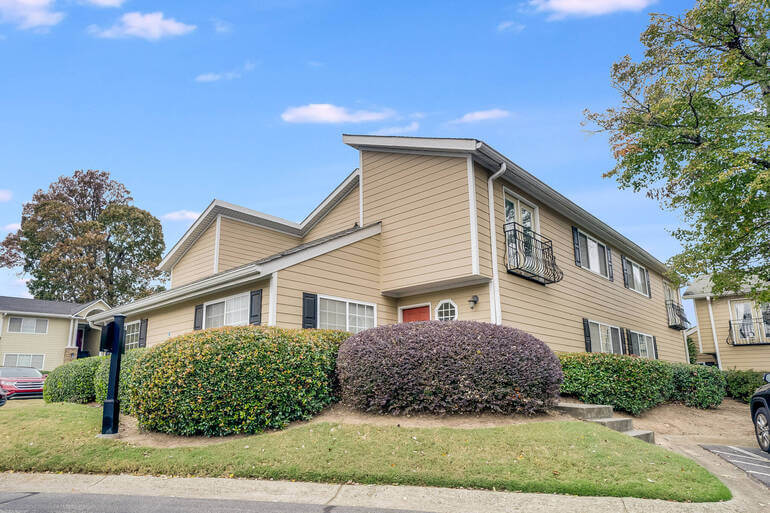
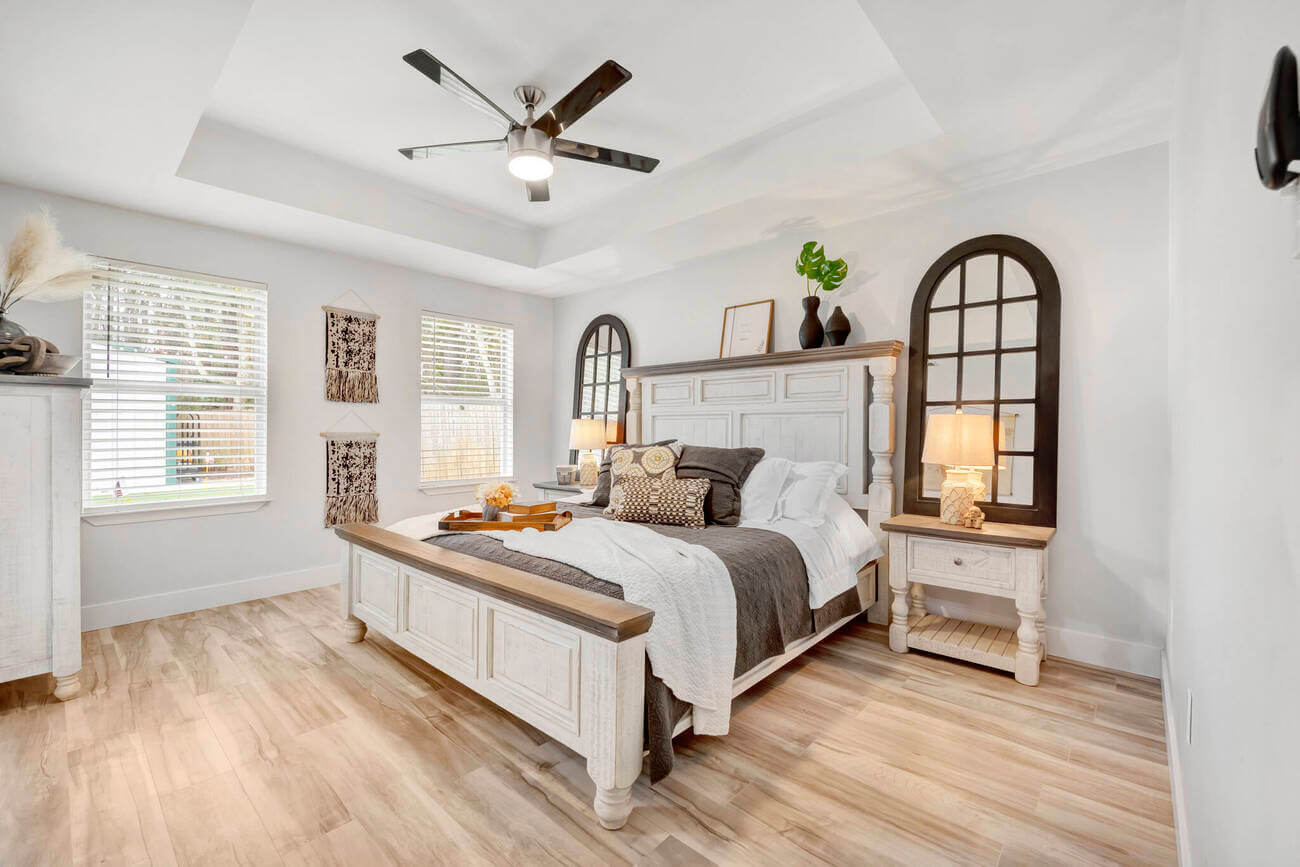
Real estate photography is one of the most important aspects of marketing a property.
Consider this…
68% of potential buyers say that great photos made them want to visit the home. This means that your real estate photos are what get home searchers through the door.
In other words, high-quality images can help to showcase a listing and make it look impressive to potential buyers and renters and make them want to see more.
Although images can capture the essence of a property, it takes some skill and experience to make your photos look their best and capture buyers’ attention.
After all, as a seller, your home is competing with thousands of listings, and it’s the photographer’s job to make your property stand out from the competition.
That’s where photo editing is a must to ensure top-notch image quality!
How to Edit Real Estate Photos in Photoshop (5 Basic Tips)
Editing photos can be tedious and time-consuming, but it is vital for achieving optimal results when selling real estate.
That said, let’s take a look at some basic techniques to enhance your real estate photos in Photoshop.
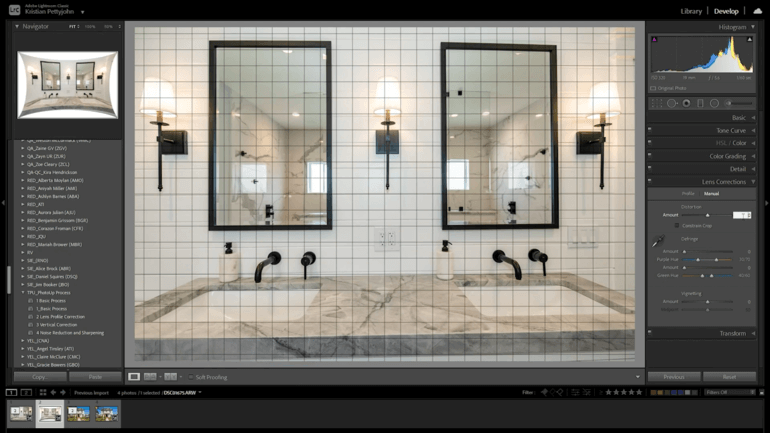
1. Adjust the Contrast and Brightness
To get started, open up your image in Photoshop. From here, you can begin making edits to enhance your image.
One of the most important things to do is adjust the contrast and brightness levels. This will help bring out all of the details in the photo and make sure that no parts of your image are too dark or washed out.
You can follow these simple steps to adjust the contrast and brightness of an image in Photoshop:
- Open the image in Photoshop.
- Select the Adjustments Tab in the top menu and choose Brightness/Contrast from the dropdown menu.
- In the Brightness/Contrast window, use the sliders to adjust the brightness and contrast of the image.
- Preview the changes in the image as you make adjustments to the brightness and contrast.
- When you are satisfied with the result, click OK to apply the changes and close the Brightness/Contrast window.
2. Make Color Corrections


Another basic real estate photo editing tip is to adjust the color and tones of the image.
The lighting within a property can vary significantly, so it’s important to adjust the tones in order to produce vivid images that accurately reflect the true colors of the property.
- To do this, start by selecting Adjustment after selecting Image in the drop-down menu.
- In the Adjustments panel, click the Tool Icon for the adjustment you want to make.
- For tonality and color, click Levels or Curves.
- For adjusting the color, click Color Balance or Hue/Saturation.
- And for converting a color image to black and white, click Black & White.
High-Quality & Consistent
Real Estate Photo Editing
Hire a dedicated editor with performance metrics from $7/hour.

3. Crop Your Images
Don’t forget about cropping—this is an essential step for composing a compelling image that draws viewers into the scene.
In other words, cropping lets you focus on certain parts of an image while eliminating distracting elements from the view or making them less noticeable.
- To crop an image in Photoshop, simply select the Crop Tool from the Tools Menu.
- Next, Drag the selection outline around your desired area.
- Then, press Enter or Double-Click inside the selection area to confirm crop action.
While cropping on its own won’t dramatically improve your photos, it does give you more control over what appears in your final product and how viewers perceive your listings overall.
4. Adjust Sharpening
Next, sharpening is necessary when editing real estate photography to make your images crisp and clear.
Sharpening enhances details within an image while providing better contrast between darker and lighter areas within a shot. As well as making edges more defined overall without losing quality or clarity.
This is how you can sharpen images in Photoshop:
- First, select Filter/Sharpen/Unsharp Mask.
- This will open a new dialogue window with three sliders:
– Amount—how strong an effect
– Radius—the size of the detail
– Threshold—how much difference must take place before the effect kicks in - Simply play around with these options until you’re satisfied with the results.
5. Straighten Verticals and Perspectives
When shooting real estate, it’s important that horizontal lines and perspectives are aligned because it helps to create a sense of balance and order in the photo, and can make the property look more appealing to potential buyers or renters.
When horizontal lines and perspectives are not aligned in a photo, it can create a sense of disarray and can be distracting to the viewer. It can also make the property look less attractive, as it may appear to be poorly maintained or uninviting.
Overall, aligning horizontal lines and perspectives in real estate images is important because it helps to create a cohesive and attractive visual representation of the property, which can be important in attracting potential buyers or renters.
To see how to align verticals, you can check out our video tutorial on how to straighten verticals in Photoshop:
Making these basic adjustments to your photos using Photoshop may seem daunting at first.
However, if done correctly, it’ll help to effectively market your real estate photography and get potential buyers to notice your listing. So go ahead—give it a try, it could take your photography business to new heights!
High-Quality & Consistent
Real Estate Photo Editing
Hire a dedicated editor with performance metrics from $7/hour.
PhotoUp Is Here to Take the Editing Off Your Plate!

These are some of the more basic real estate photo editing techniques that will help take your image enhancements a long way and create captivating photos.
But if this seems too time-consuming and you want to spend your time taking more property photos instead, you can always outsource your photo editing to PhotoUp.
PhotoUp has more than 10 years of experience in the real estate industry and employs several hundred photo editors around the world, making it hard to match PhotoUp’s quality, service, and pricing.
Starting at the low cost of $1.15 per image, PhotoUp has a team of highly talented real estate photo editors who are ready and eagerly waiting to take the editing off your plate.
For example, we can help with:
- Image brightness and exposure correction
- Color and tone adjustments
- Window masking and glare reduction
- Clutter and advanced object removal
- Line and angle corrections
- HDR editing and manual blending
- Harsh shadows and lack of light
- Sky replacements
- Twilight and day-to-dusk editing, etc.
Browse Top Dedicated
Real Estate Photo Editors
Ready-to-hire editors for real estate photo editing, and more.
On top of that, PhotoUp is a one-stop shop for all your real estate marketing needs and also offers additional services such as:
Best yet, you’ll also get access to our user-friendly software, so you can upload and receive photos, and send instructions and feedback. As well as track and manage team members and clients, store final images, and more!
PhotoUp Real Estate Photo Editing Uploader
Have a look at our real estate photo editing uploader video tutorial to see how easy it is to get started:
It’s really that easy to get beautifully edited images returned to you in less than 24 hours!
Did we say that you’ll get 5 free edits when you sign up for an account?
Why wait?!
Sign up for a PhotoUp account, and let our professional real estate photo editors take your photos to the next level!
We hope this blog post helped you learn some basic techniques on how to edit real estate photos in Photoshop. Before you go, you may also want to check out the following resources:

