


Table of Contents
- Why Editing Is Crucial for Real Estate Photography
- Skies in Real Estate Photos Matter More Than You Think
- 7 Key Techniques for Crafting Realistic Skies That Sell
- How to Easily Replace a Sky in Photoshop (Video Tutorial)
- Sky Editing FAQ
- How PhotoUp Helps You Create Skies That Sell
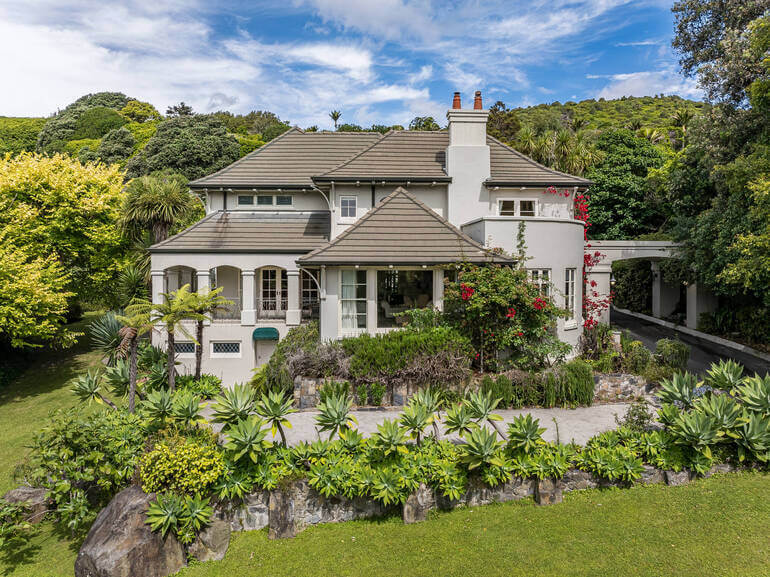
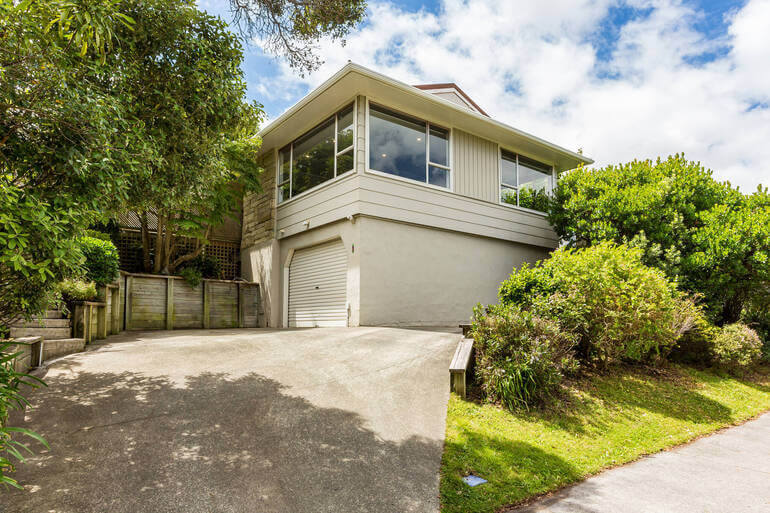
In real estate photography, skies do far more than fill the background—they shape first impressions, influence emotion, and quietly determine whether a buyer clicks, scrolls, or schedules a showing.
Even the most beautiful property can fall flat if the sky above it looks dull, blown out, or unnaturally edited. That’s where professional real estate photo editing comes in!
In this guide, we’ll cover why editing is essential for real estate photography, how to craft skies that look authentic and sell listings, and which techniques deliver consistent, professional results—without crossing into “over-edited” territory.
Why Editing Is Crucial for Real Estate Photography🏞️
Real estate photography isn’t about documenting reality—it’s about presenting a property at its best possible version of reality.
According to NAR, real estate listings with high-quality images receive up to 61% more views compared to those with amateur photos.
However, even high-end cameras struggle to capture scenes the way the human eye perceives them.
Harsh sunlight, overcast weather, washed-out highlights, and blown skies are common challenges photographers face on nearly every shoot. Left unedited, these issues can make listings look flat, gloomy, or uninviting.
Professional real estate photo editing helps:
- Balance exposure between the home and the sky
- Restore detail lost to harsh lighting conditions
- Enhance mood without misrepresentation
- And create visual consistency across a full photo set
Since exterior images are often the first photos buyers see, the sky plays a major role in shaping emotional response.
In short, editing isn’t optional in modern real estate marketing—it’s expected.
A clean, realistic sky signals care, quality, and professionalism—while a poorly edited one can instantly turn buyers off.
Let’s take a closer look at why skies matter more than you would think to sell homes.
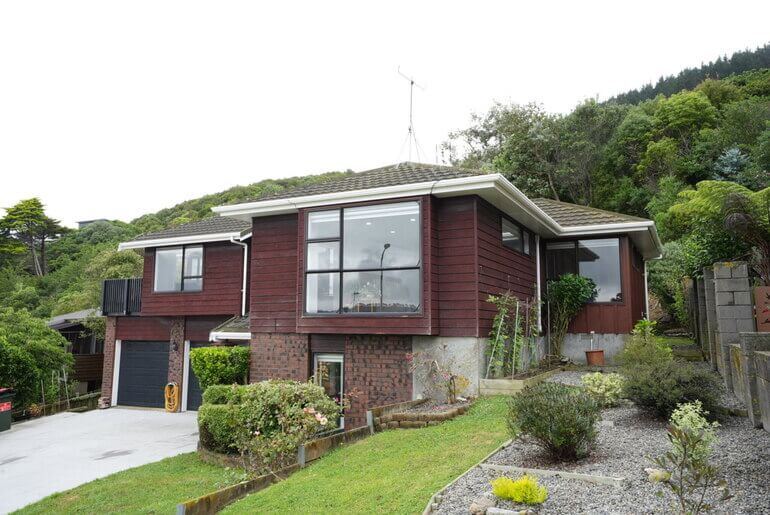
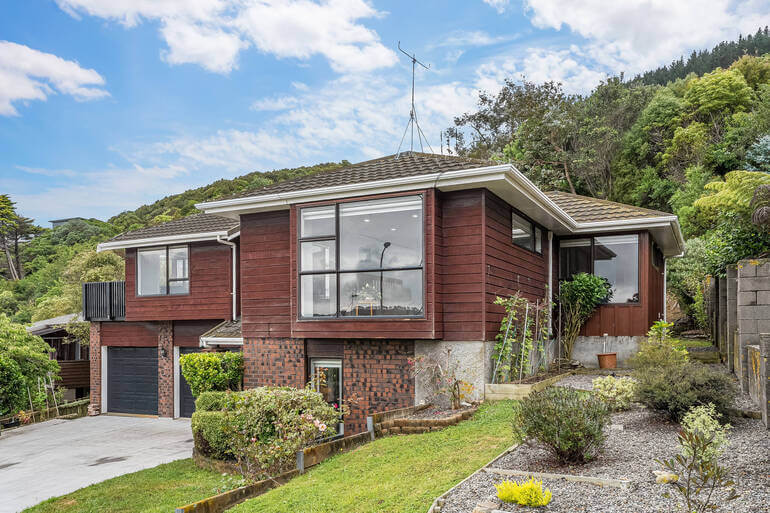
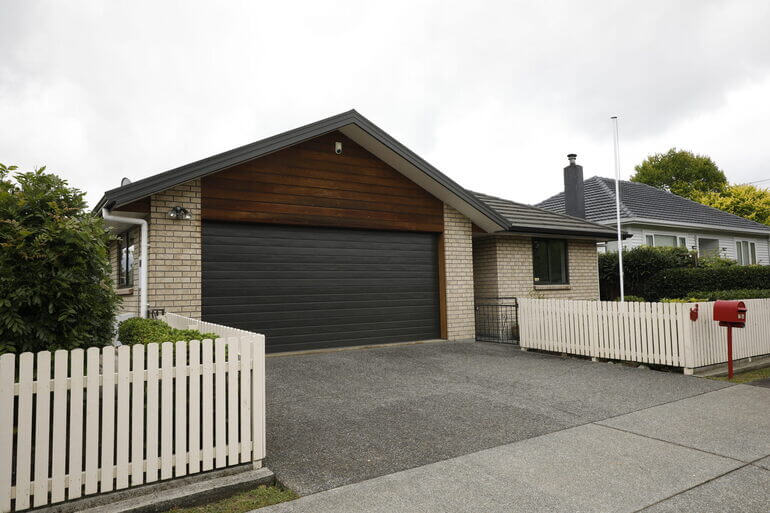
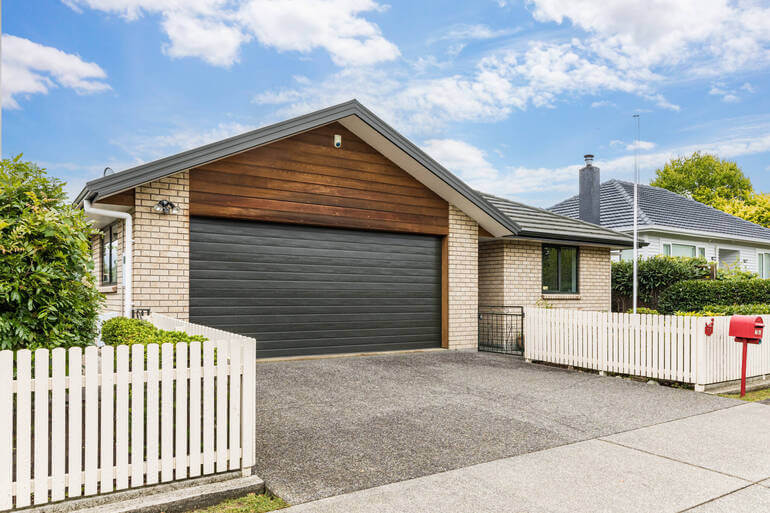
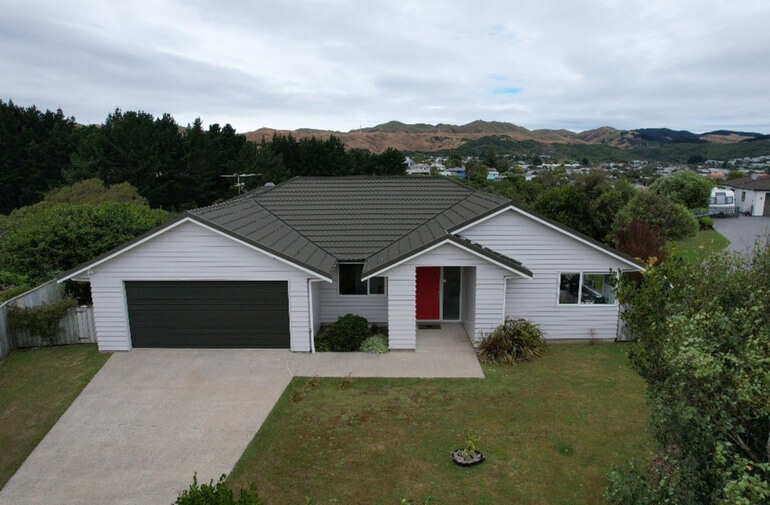
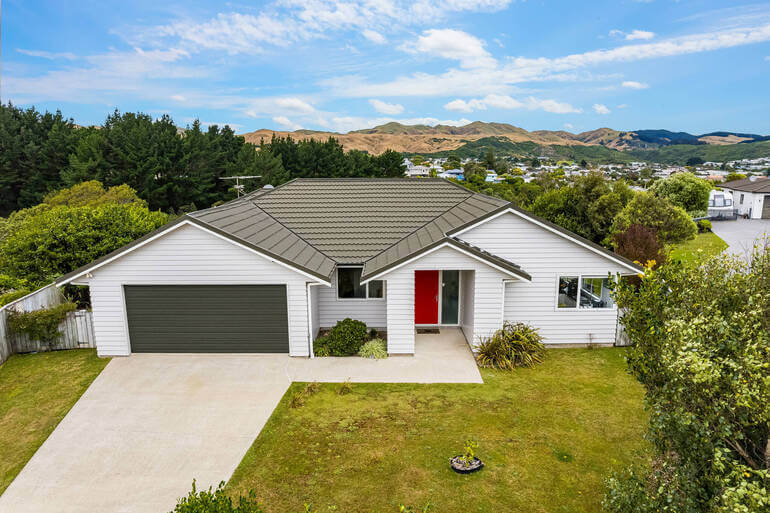
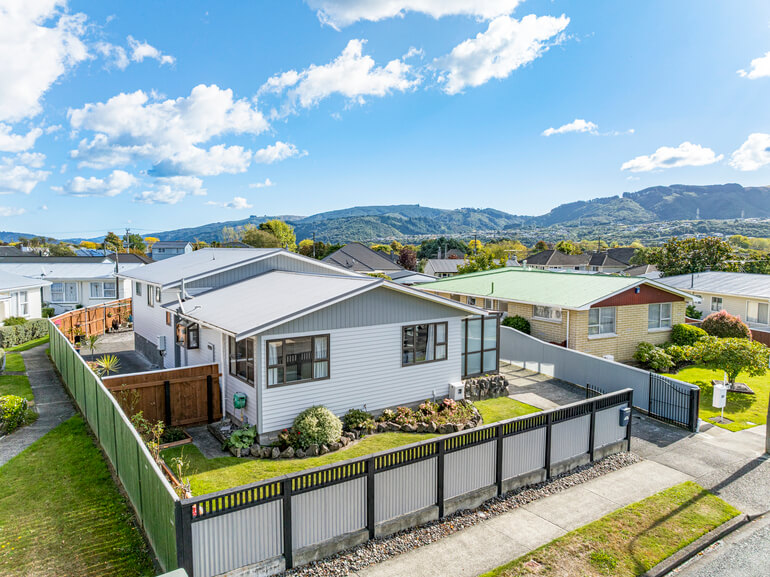
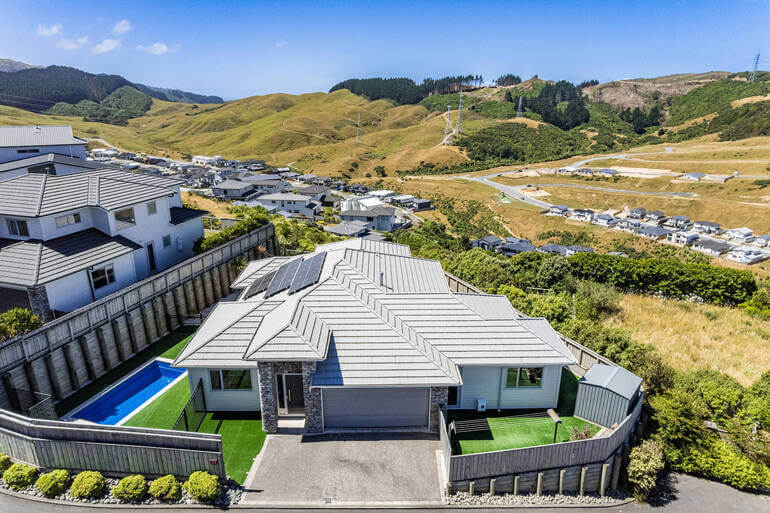
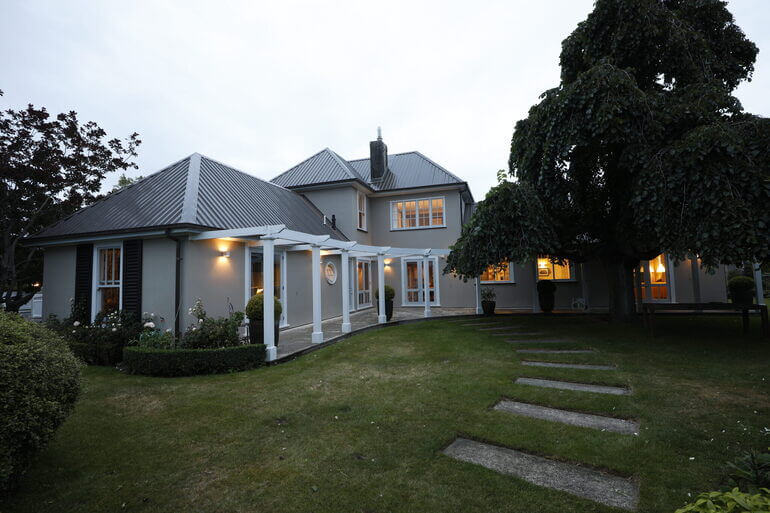
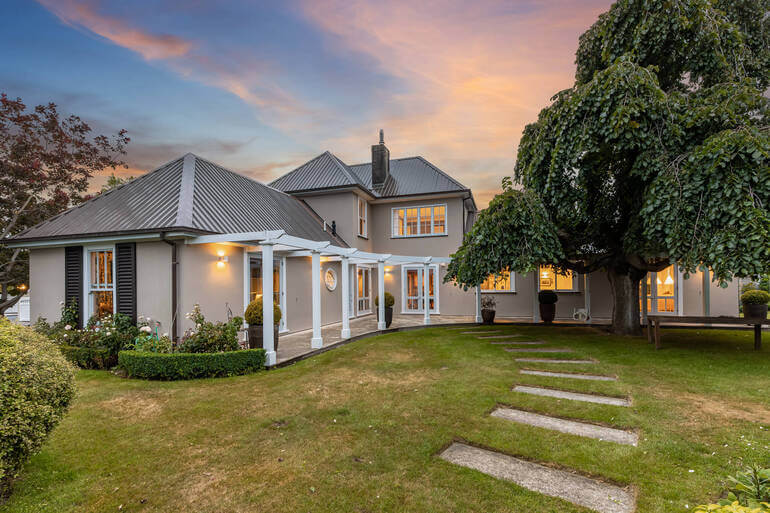
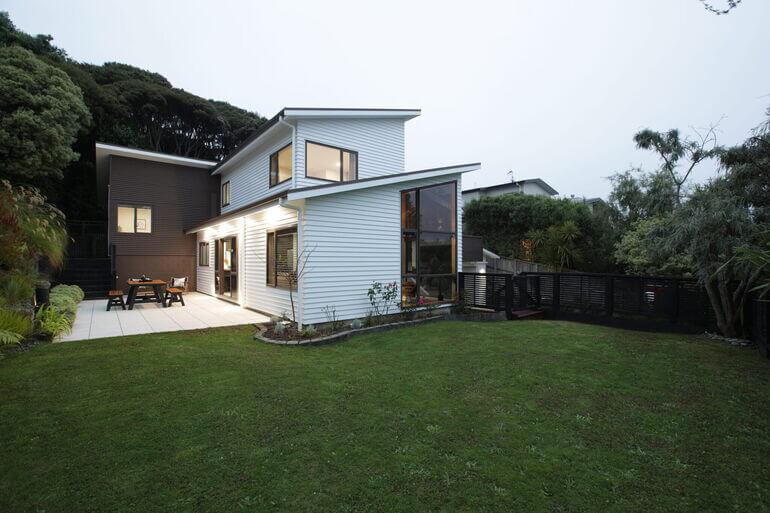
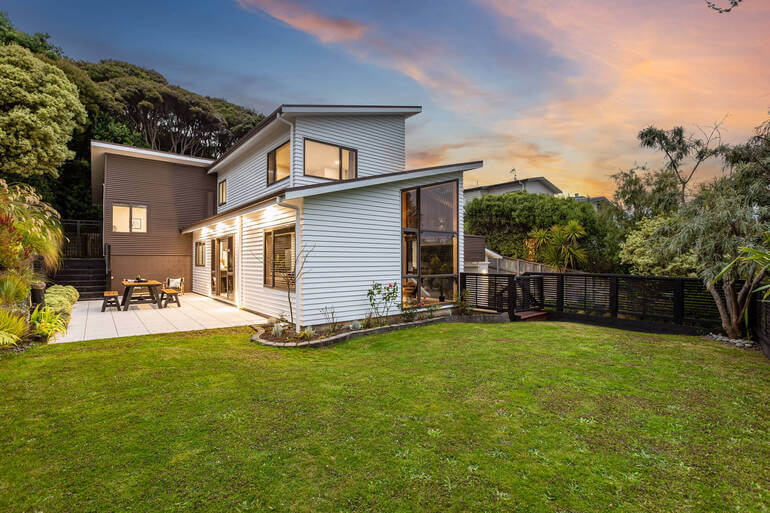
Skies in Real Estate Photos Matter More Than You Think☀️


Skies are powerful psychological cues. Bright, balanced skies evoke optimism, warmth, and possibility.
Dark, flat, or gray skies, on the other hand, subconsciously signal neglect, bad weather, or low energy—even if the home itself is stunning.
Well-edited skies:
- Make listings feel brighter and more welcoming
- Increase perceived property value
- Improve click-through rates on MLS and portals
- Support a consistent brand aesthetic for agents
But realism is key. Buyers are savvy—and nothing breaks trust faster than skies that look artificial, overly dramatic, or mismatched with lighting and shadows.
That’s why the goal isn’t perfection—it’s believability.
With this in mind, let’s take a look at 7 key real estate photo editing techniques to create captivating yet realistic skies.
Have You Ever Thought To
Outsource Photo Editing?
Try it today with 5 free edits from three professional photo editors.

7 Key Techniques for Crafting Realistic Skies That Sell
Creating realistic, inviting skies isn’t about exaggeration or dramatic effects—it’s about subtle enhancement that feels natural, believable, and emotionally compelling.
When done right, sky editing elevates curb appeal, improves listing performance, and helps properties stand out in competitive markets.
Here are 7 of the most effective sky-editing techniques used in professional real estate workflows:
🌤️ 1. Start With Exposure & Color Balance

Before any sky replacement or enhancement, the entire image needs proper balance. Adjusting exposure, highlights, and white balance ensures the sky aligns naturally with the rest of the scene.
A sky that’s too blue, too dark, or too warm compared to the house immediately feels fake.
Key adjustments include:
- Lowering blown highlights
- Recovering sky detail
- Matching sky color temperature to the scene
This foundational step sets the stage for everything that follows.
☁️ 2. Use Subtle Sky Replacement
Sky replacement should enhance—not overpower—the image. For the best replacements, you should consider:
- Matching the original lighting direction
- Reflecting the time of day and season
- Featuring soft clouds rather than dramatic storms
Avoid skies that look too cinematic or saturated. Real estate buyers want to imagine living there—not admire digital artwork.
Professional editors carefully mask rooftops, trees, and architectural details to ensure clean edges and seamless blending.
🌅 3. Match Light Direction & Shadows
One of the biggest giveaways of poor sky editing is mismatched lighting.
If the sun is behind the house but the replacement sky shows light coming from the opposite direction, the illusion collapses instantly.
To maintain realism, consider:
- Choosing skies with a similar sun position
- Adjusting brightness gradients
- And ensuring that shadows and highlights remain consistent
This attention to detail is what separates amateur edits from professional results.
🌈 4. Keep Saturation Under Control

Over-saturated skies may look impressive at first glance—but they often reduce trust and feel artificial.
Overall, realistic skies:
- Have gentle gradients
- Preserve natural blues and soft whites
- Avoid neon tones or extreme contrast
A slightly muted, balanced sky almost always performs better than a dramatic one.
🌳 5. Refine Edges Around Trees & Rooflines

Fine details matter—especially around trees, antennas, chimneys, and roof edges.
Professional masking techniques prevent:
- Haloing around trees
- Jagged or cut-out edges
- Or, artificial outlines
Overall, clean edges make the difference between “obviously edited” and “professionally polished.”
🌆 6. Maintain Consistency Across the Photo Set

Even the best sky edit can fail if it doesn’t match the rest of the listing photos.
Consistency means that you ensure:
- Similar sky tone across exterior images
- Unified brightness and color palette
- And a cohesive mood throughout the gallery
Listings with consistent visuals feel more premium—and encourage buyers to spend more time browsing.
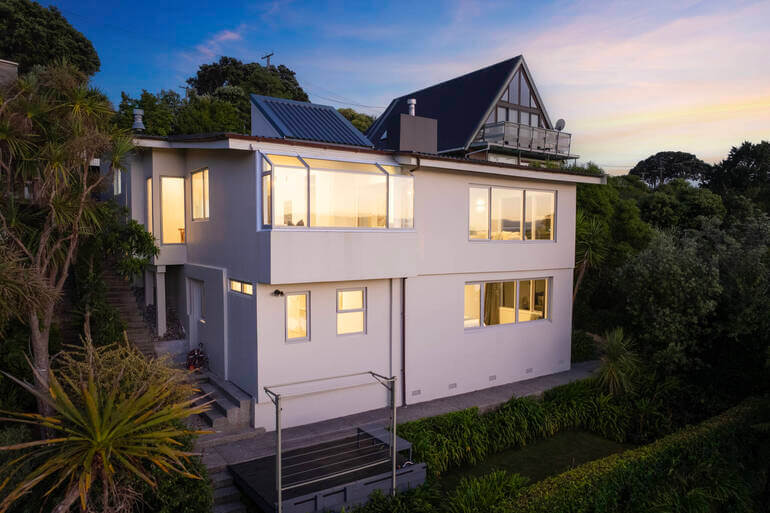
🌙 7. Know When Twilight Works
Twilight skies can be powerful. In fact, they can increase views by 76% according to ajcaruso.
However, they’re not right for every listing, so use twilight effects selectively for:
- Luxury homes
- High-end urban listings
- And properties with strong exterior lighting
For standard residential listings, clean daytime skies usually perform better and feel more relatable.
How to Easily Replace a Sky in Photoshop (Video Tutorial)🫧🌤️
To see how this is done firsthand, you can watch this step-by-step video tutorial or continue reading the text below:
Step 1. First, open your photo in Lightroom and add the necessary adjustments.
Step 2. When done, move your image to Photoshop, where we are going to replace the sky using the Channels.
Step 3. Next, Duplicate the Layer, and then go to the Channel Panel and Duplicate the Blue Channel. This will help us process the sky replacement.
Step 4. Then, adjust the levels by pressing CTRL +L on your keyboard. Simply move the slider to adjust its level.
Step 5. Once you’ve adjusted the levels, we’re going to use the Lasso Tool to select the other areas. Press Delete to paint them black.
Step 6. Now, we’ll use the Dodge Brush Tool to lighten the sky for easy selection. Click to load the Channel as Selection.
Step 7. Add Inverted Making by pressing the ALT Key and then click the Masking icon.
Step 8. A summer sky is a blue sky with fluffy clouds, so import the chosen sky and then place it under the Duplicate Layer. Position the sky then click OK.
Step 9. Lastly, we’ll add a White Gradient on the horizon. Add a new Blank Layer on top of the Sky Replacement Layer and then use a White Foreground to Transparent Gradient Tool. This will blend the sky in the house naturally.
And that’s it! You’ve now learned how to craft realistic yet inviting skies that attract views and sell listings faster.
Common Sky Editing Mistakes to Avoid⚠️
Even experienced photographers can fall into editing traps when enhancing skies in exterior property photos.
Here are some common sky editing mistakes to avoid:
- Over-dramatic clouds that distract from the home
- Mismatched sky color and scene lighting
- Visible halos or masking errors
- Inconsistent skies across images
- Editing skies when simple exposure correction would suffice
Remember that the best sky edits are the ones buyers don’t notice at all.
Sky Editing FAQ❓
Is sky replacement allowed in real estate listings?
Yes—when done responsibly. Most MLS platforms allow sky replacement as long as it doesn’t misrepresent permanent property features.
Should every exterior photo use sky replacement?
No. Many skies only need light enhancement or color correction. Replacement should be used selectively.
Do buyers notice edited skies?
Buyers notice when skies look bad or fake. Well-done photo edits feel natural and go unnoticed.
Can AI tools replace professional sky editing?
AI tools like AgentUp Editing AI can assist, but it often struggles with edge masking, light consistency, and realism. Human refinement still delivers the best results.
What’s the safest sky style for most listings?
Soft blue skies with light cloud texture—natural, balanced, and seasonally appropriate.
Need help with sky replacements? Outsource your editing to the experts at PhotoUp. Let’s show you how to easily get started with PhotoUp.
Have You Ever Thought To
Outsource Photo Editing?
Try it today with 5 free edits from three professional photo editors.
How PhotoUp Helps You Create Skies That Sell🌅🌤️
Crafting realistic skies takes time, precision, and experience—and it shouldn’t slow down your workflow.
PhotoUp specializes in professional real estate photo editing that enhances skies naturally while preserving realism and compliance.
Our expert real estate photo editors know exactly how to balance sky replacement, exposure, color, and detail—so your listings look polished, inviting, and trustworthy.
With fast turnaround times of 12-24 hours, consistent quality, and cost-effective pricing starting at $1.50 per image, PhotoUp helps photographers and agents:
- Save hours in post-production that you can use to shoot more properties
- Deliver MLS-ready images every time
- Elevate listing performance without over-editing
- Increase brand awareness
When your skies look right, everything else shines brighter—and PhotoUp makes sure every listing puts its best foot forward.
Browse Top Dedicated
Real Estate Photo Editors
Ready-to-hire editors for real estate photo editing, and more.
A Complete Real Estate Marketing Partner
Except for basic and advanced editing services, PhotoUp also offers a comprehensive range of real estate marketing services, including:
We have everything you need to enhance and market real estate photography in one user-friendly software.
Adding these services to your product offerings can also help you become more valuable to your clients and grow your business.
It’s a win-win!
How to Get Started
Getting started using PhotoUp’s photo editing service is super easy.
Here’s a step-by-step guide to using PhotoUp:
Step 1. Sign up for a free PhotoUp account.
Step 2. Upload your photos to our easy-to-use software.
Step 3. Choose the level of editing that you need and provide instructions (optional).
Step 4. Wait for PhotoUp professional editors to edit and return the photos in less than 24 hours.
Step 5. Download and start using your beautifully edited photos.
As simple as that!
Ready to attract more buyers and close deals faster?
Sign up for a free PhotoUp account today and let our expert editors help you create realistic and inviting skies that sell listings!
For a limited time, you even get 10 free credits you can use on any of our services when you sign up for an account.
We hope this blog post provided you with 7 key real estate photo editing techniques to help you craft realistic yet captivating skies. Before you go, check out the following resources for more interesting content:

