


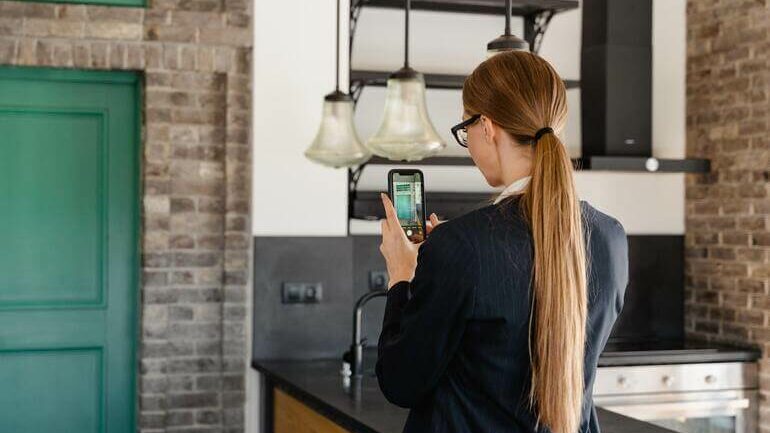
Do you want to learn how to take captivating real estate photos with your iPhone or smartphone?
Today’s smartphones are revolutionizing real estate photography. With their powerful cameras and cutting-edge technology, they provide a great alternative to traditional DSLR cameras for capturing vibrant interior and exterior shots.
iPhone cameras can now hold their own against the pricier DSLR and mirrorless systems. With high-end lenses, a quality sensor, and plenty of resolution to back it up, you can take amazing photos for your online listings with just a few extra tools.
In this post, we’ll share 6 tips on how to take real estate photos with your iPhone or smartphone, as well as a post-processing solution that will ensure your images are of top-notch quality.
6 Tips on How to Take Real Estate Photos With Your iPhone
Let’s dive straight into 6 basic tips that work for both iOS and Android users.
1. Stage the Home

Before you start taking pictures, you should stage the home to make it look decluttered and clean. This will allow for better-looking photos that will appeal to a broader audience.
Make sure any toys, personal photos and belongings, and other clutter are out of sight. Also, use furniture and décor to create an appealing, fresh, and inviting space.
You’d want potential buyers to be able to visualize themselves living in the home.
2. Leverage Natural Light
As photographers, natural light should be our best friend! Taking advantage of natural light helps to capture natural colors, depth, and clarity that can’t be replicated in artificial scenarios.
Look for strategically placed natural light sources such as natural window lighting. Also, take advantage of the golden hour when the sun is setting to create a romantic and mystic glow to your photos.
Don’t worry if you can’t fit this short time window of sunset into your schedule. You can always edit twilight photos in post-processing.
Overall, natural light allows real estate photographers to take the most beautiful photos with a creative edge all while avoiding the stress that arises from managing additional flashlights or triggers.
However, if you’re taking photos in low light, make sure your phone has great night mode or light adjustment options.
3. Hold Your iPhone Properly
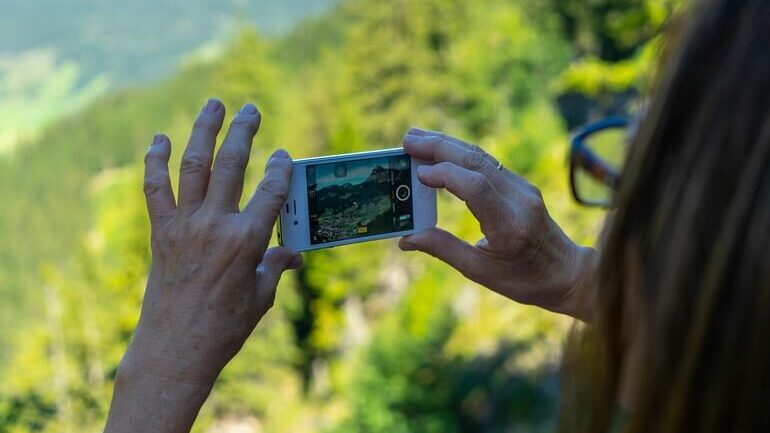
If you’re serious about capturing great photos with your smartphone, proper support is key.
Forget holding it out at arm’s length – this is the worst way to hold a smartphone if you want sharp images. Instead, bring elbows in to the chest and stabilize forearms and wrists for that sharp image.
Kneeling down on both knees will also act as a steady base when taking those all-important shots of interior or exterior spaces! And remember…don’t rely solely on the screen shutter button. There are other ways to trigger off beautiful pics too.
Get the shot you’re after by gripping your phone firmly with both hands and using the volume button to trigger the shutter and snap the perfect photo. This allows for better stability, giving you a sharper image in no time.
High-Quality & Consistent
Real Estate Photo Editing
Hire a dedicated editor with performance metrics from $7/hour.

4. Don’t Use the Zoom Feature

iPhone or smartphone “zooms” are actually just cropping photos, making them grainy and pixelated.
So, instead of relying on your phone’s settings for a sharp shot, make sure you get up close and personal to capture the perfect real estate photo.
5. Use a Tripod and the Self-Trigger Function

For those who want to take their real estate photography game up a notch, using a tripod is key.
Smartphone-sized tripods are ideal – they’re small and lightweight but also provide much-needed stability for sharp images every time.
With some models like the Sensyne 62″ Phone Tripod & Selfie Stick you can manipulate the legs, so you get the perfect angle in your shots.
Additionally, if you invest in a smartphone adapter for your tripod, you can pull off real estate photos with extra height and clarity.
This also allows you to switch between cameras – just attach either your DSLR or mirrorless camera to get even more creative with your real estate photography.
Plus, if you take advantage of your smartphone’s self-timer, you don’t have to worry about any motion blur caused by pressing down on the shutter button as well.
6. Take Advantage of Other iPhone Accessories
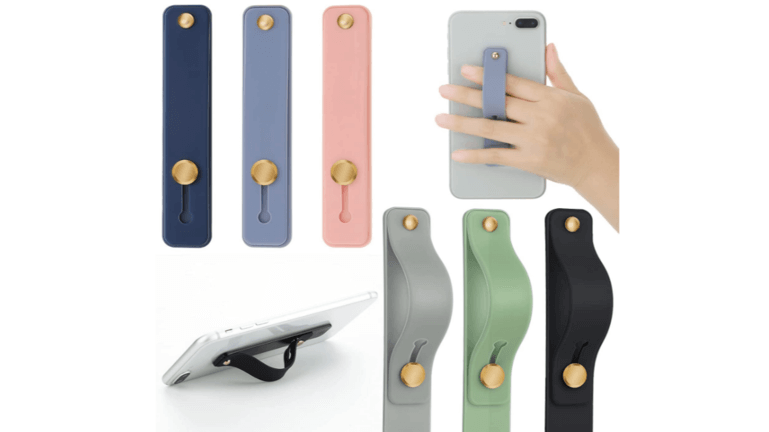
It can be beneficial to take advantage of other smartphone accessories like the Nimbus9 Finger Grip, which adheres to the phone case and helps to stabilize it, both in hand and as a stand.
In addition, make sure your screen stays clear as well with a screen cleaner.
Make use of these easy real estate photography tips and you’ll be creating polished, compelling shots in no time.
High-Quality & Consistent
Real Estate Photo Editing
Hire a dedicated editor with performance metrics from $7/hour.
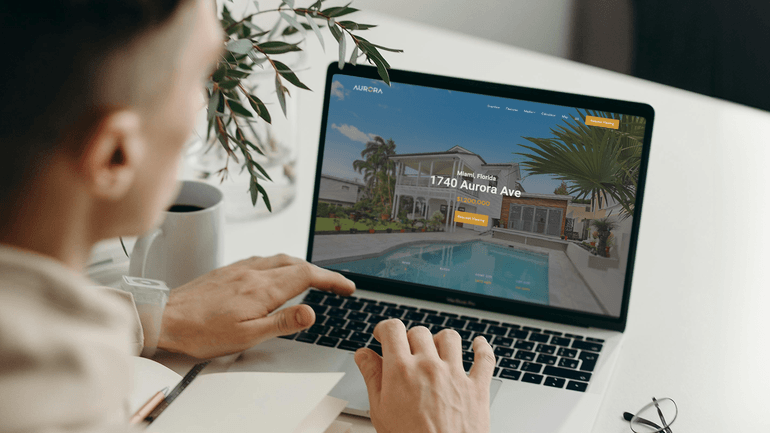
Let PhotoUp Take Care of Your Real Estate Photo Editing!


Whether you shoot real estate using a DSLR camera or a smartphone, your photos need to be professionally edited to be able to capture potential buyers’ attention.
Your property will compete with thousands of other listings online, so your photography has to be of top-notch quality to stand out from the competition!
PhotoUp has a team of highly talented real estate photo editors who are ready and eager to professionally edit your photos, starting at the low cost of $1.15 per image.
With an expert editing service up your sleeve, you can automate your workflow and save hours on editing. It allows you to spend your time shooting more properties instead of getting stuck in the post-processing.
Our skilled photo editors can help with the following issues:
- Improper exposure levels
- Harsh shadows, lack of light, etc.
- Blurred images that were taken without a tripod
- Images that need cropping or other effects
- Lawn greening and sky replacements
- Twilight and day-to-dusk editing
- Clutter and object removal
- Line and angle corrections
- And much more!
Browse Top Dedicated
Real Estate Photo Editors
Ready-to-hire editors for real estate photo editing, and more.
It doesn’t stop there…
PhotoUp is a complete one-stop-shop for real estate marketing and also offers additional services such as:
On top of that, you’ll also get access to our user-friendly photo management system, so you can upload and receive photos, send instructions and feedback, track and manage team members and clients, store final images, and more!
PhotoUp Real Estate Photo Editing Uploader Demo
For more details, check out how easy it is to get started with PhotoUp’s software in this real estate photo editing uploader demo:
It’s really that easy to get beautifully edited photos in less than 24 hours, no matter taken by an iPhone or DSLR camera!
So, what are you waiting for?
Sign up for a free PhotoUp account today, and let our expert editors edit your photos to perfection! And for a limited time, we even offer you 5 free edits when you sign up for an account!
We hope this blog post gave you some useful tips on how to take real estate photos with an iPhone. If you found this post useful, you may also want to check out the following resources:

