


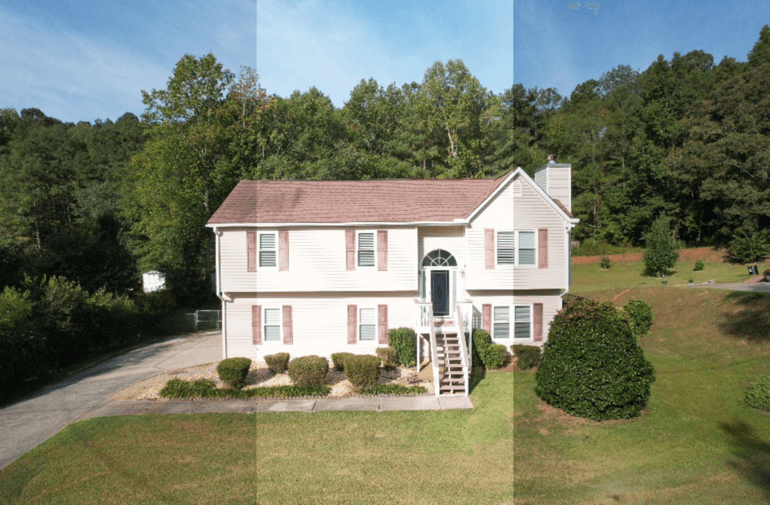
In the realm of real estate photo editing, there might be instances where you come across shots that require the removal and replacement of particular colors.
Mastering the art of removing a specific color in Photoshop empowers you to revolutionize the colors in an image and elevate its overall visual appeal.
In this guide, we’ll show you how to remove a specific color in Photoshop to help you enhance your images.
With no further delay, let’s get into the nitty-gritty!
How to Remove a Specific Color in Photoshop (3 Techniques)


In Photoshop, you have several powerful tools at your disposal to remove specific colors from an image.
With the Color Range tool, Magic Wand tool, Magic Eraser tool, and Replace Color options, you can effortlessly eliminate unwanted colors.
In this guide, we’ll explore three of these quick and effective techniques in Photoshop for removing any unwanted hues.
Technique 1: Color Range Tool
The Color Range Tool in Photoshop allows you to select and manipulate specific colors within an image.
Let’s show you how to effectively use this tool to remove a specific color in an image:
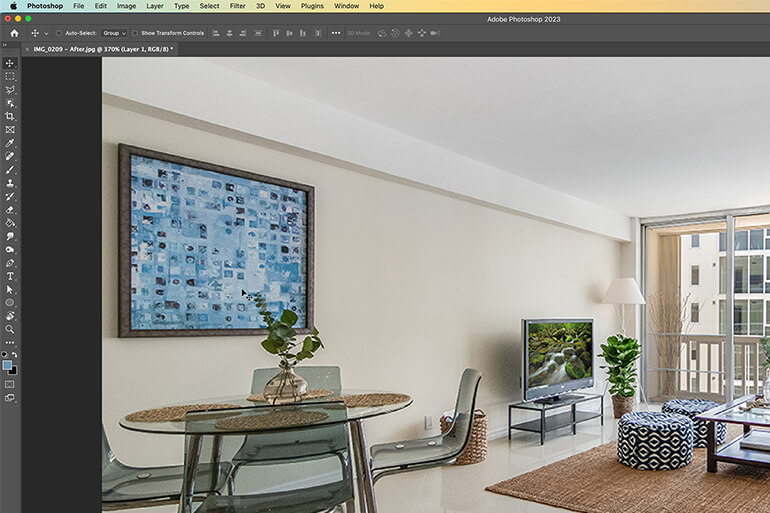
Step 1. Open your image in Photoshop. If the image has sharp edges, duplicating the layer will help you reverse any mistakes easily.
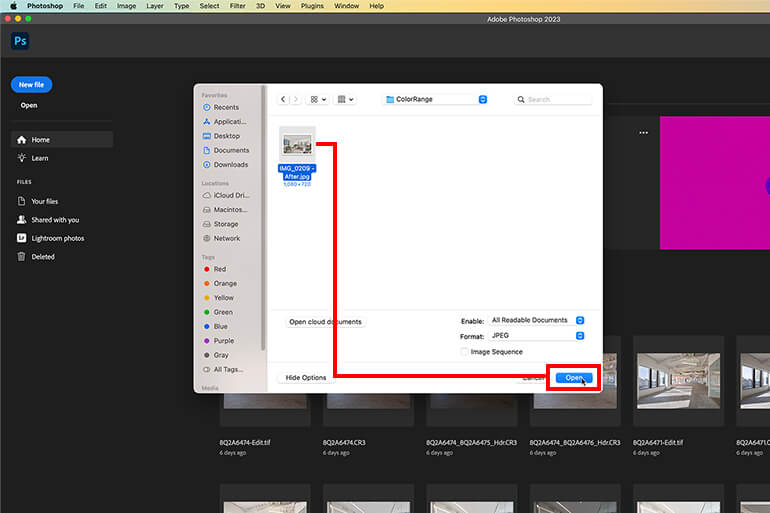
Also, zoom in on the specific parts of the image to make color selection easier.
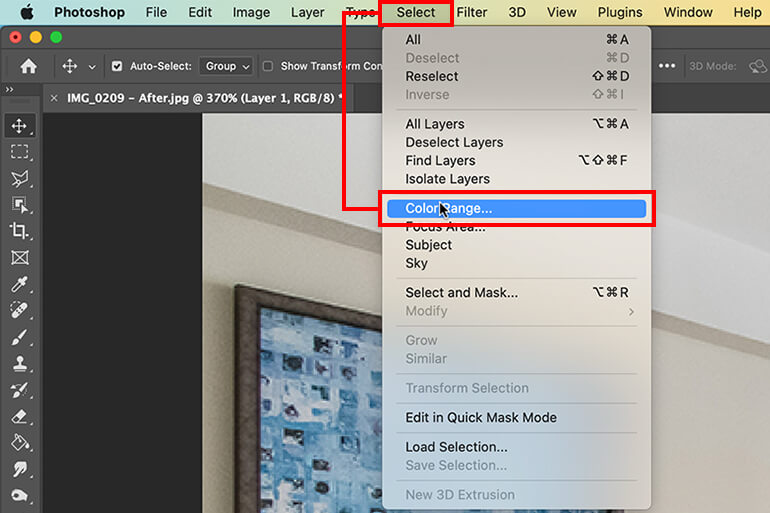
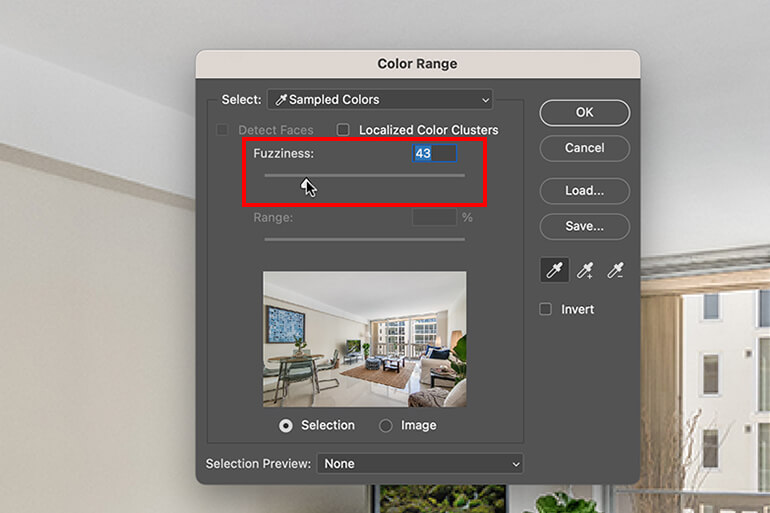
Step 2. Next, go to Select > Color Range. This will give you various options to tweak and remove specific colors effectively.
Step 3. Select the Eyedropper Tool and click on the color you want to remove. Adjust the Fuzziness to match the selection accuracy. This will change the color range and the number of pixels that will be removed.
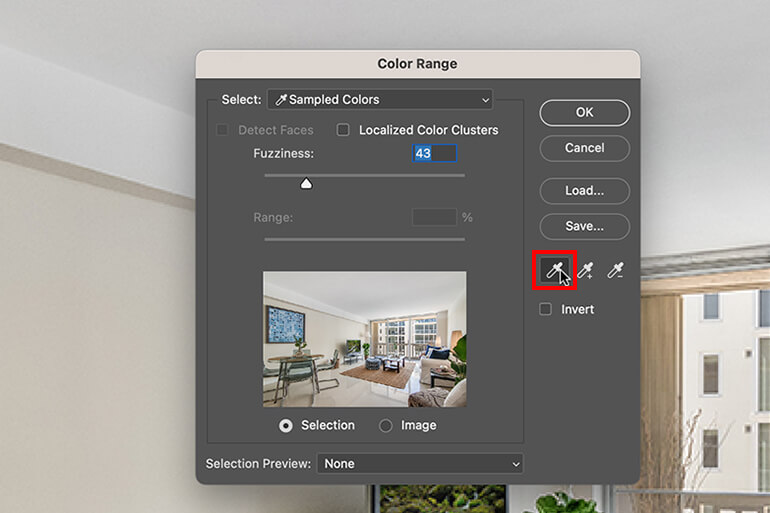
Feel free to experiment with different settings.
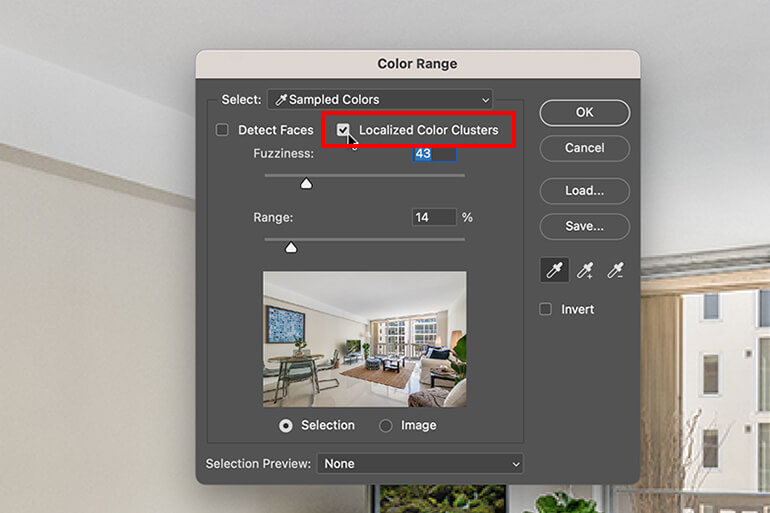
Step 4. Consider using the Localized Color Cluster option to manage the space between the sample point and the colors that will be removed. This is useful when dealing with multiple elements of similar colors.
Step 5. Once you have adjusted all the parameters, click Delete to remove all instances of that specific color.

And that’s it!
So, not only has the plain white color been removed, but also the gray areas and shadows when you zoom in closely.
The process remains the same, whether you want to remove a color from the foreground or the background.
By following these steps, you can effectively use the Color Range tool in Photoshop to manipulate colors in your image.
Let’s now take a look at removing a specific color in Photoshop with the help of the Magic Wand tool.
Have You Ever Thought To
Outsource Photo Editing?
Try it today with 5 free edits from three professional photo editors.

Technique 2: Magic Wand Tool
Just like the Color Rangle tool, you also have access to the powerful Magic Wand Tool in Photoshop.
These tools allow you to make selections of pixels based on sample colors, giving you precise control over your editing process.
Follow these steps to remove a specific color in Photoshop using the Magic Wand Tool:
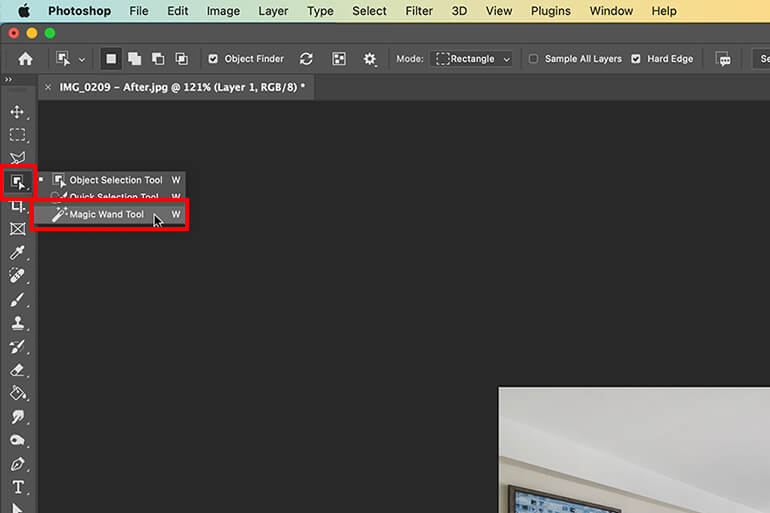
Step 1. Select an image and open it in Photoshop. Then, choose the Magic Wand Tool, which is located alongside the Quick Selection Tool. You can access it by right-clicking on the Quick Selection Tool or by pressing the keyboard shortcut W.
Step 2. To ensure that your selection includes variations in hue, you need to adjust the Tolerance values. Go to the Magic Wand settings bar at the top. Set the Tolerance between a color range of 10-35.
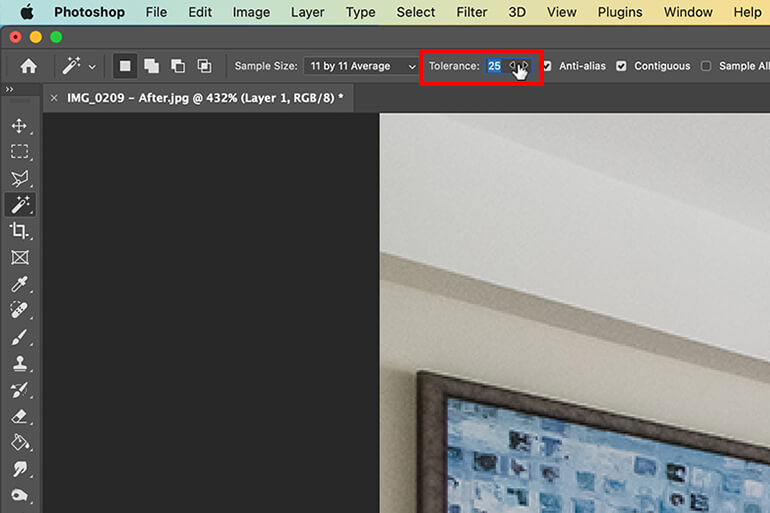
Check if this tolerance level gives you a comprehensive selection in your image. Increase or decrease the tolerance as needed until you’re satisfied.
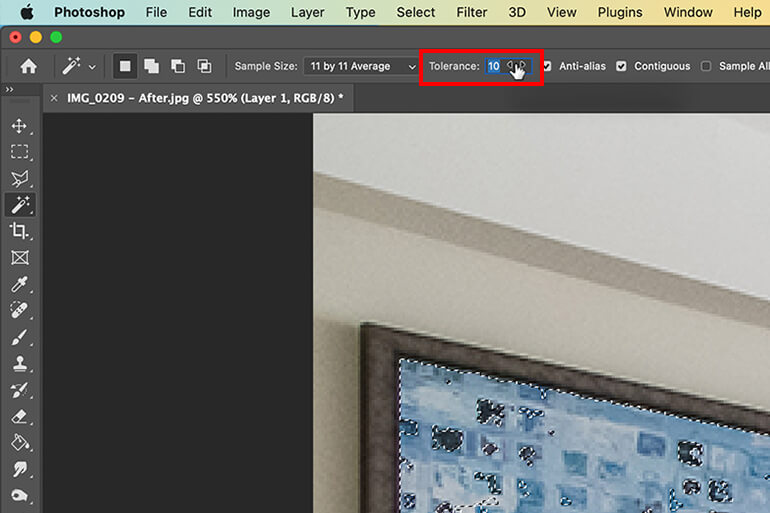
Step 3. Now, make a selection and click on the color you want to remove. The Magic Wand Tool will automatically select areas in your image with a similar color.

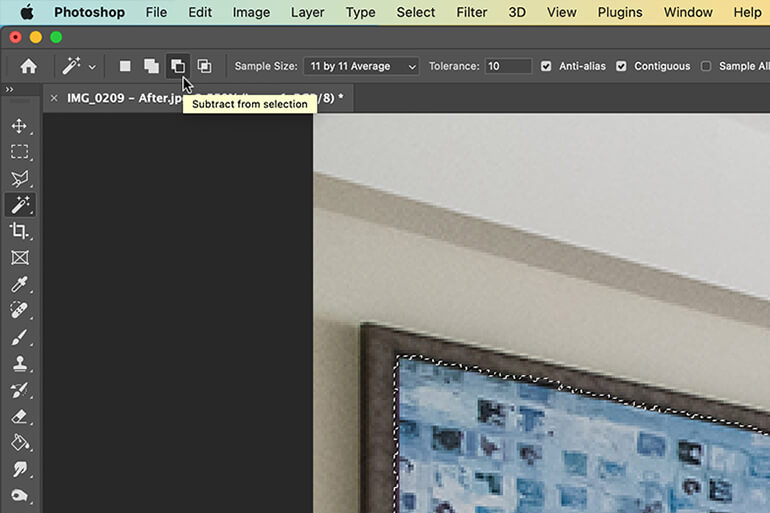
Step 4. Sometimes the Magic Wand Tool may leave out certain areas that you want to include.
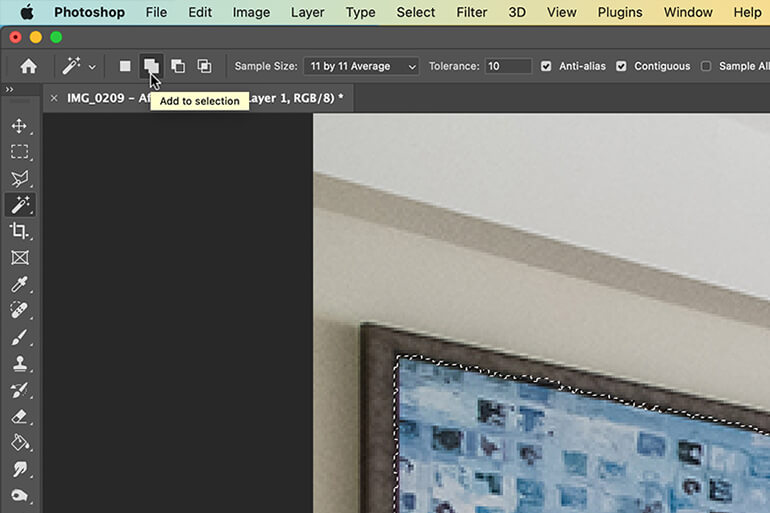
Here’s how you can refine your selection:
- To add more areas to the selection, press and hold the Shift key while clicking
- To subtract an area from the selection, press and hold the ALT/OPT key and click
- You can also use the icons in the Magic Wand Tool settings bar to add or subtract from the selection
Step 5. Once you’re satisfied with your selection, you can invert it to remove the color. Press SHIFT + CTRL + I (Windows) or CMD + SHIFT + I (Mac) to invert the selection.
Step 6. Finally, let’s show you how to remove the color permanently. To remove the selected color permanently, press the Delete key.
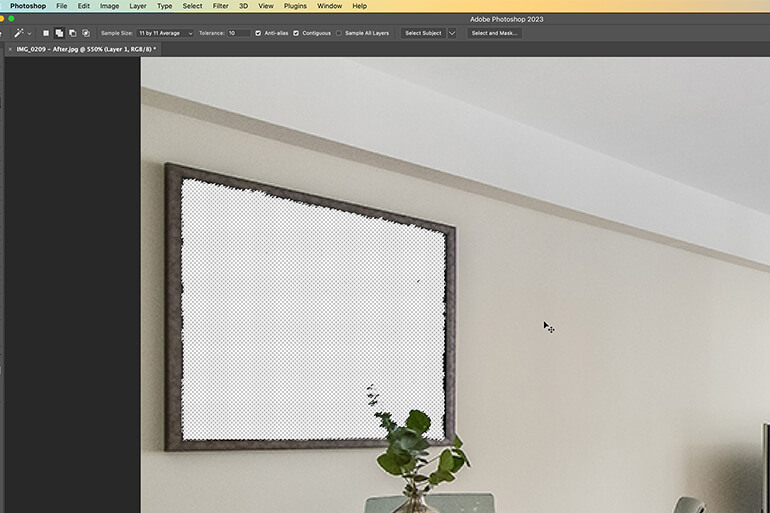
Keep in mind that this is a destructive method, and you won’t be able to make further adjustments.
For a non-destructive approach, add your inverted selection to an image layer mask. Click on the Create a New Mask icon at the bottom of the Layers Panel.
Congratulations!
You’ve successfully removed the selected color. The advantage of using a new layer mask is that you can easily adjust or refine your selection later on.
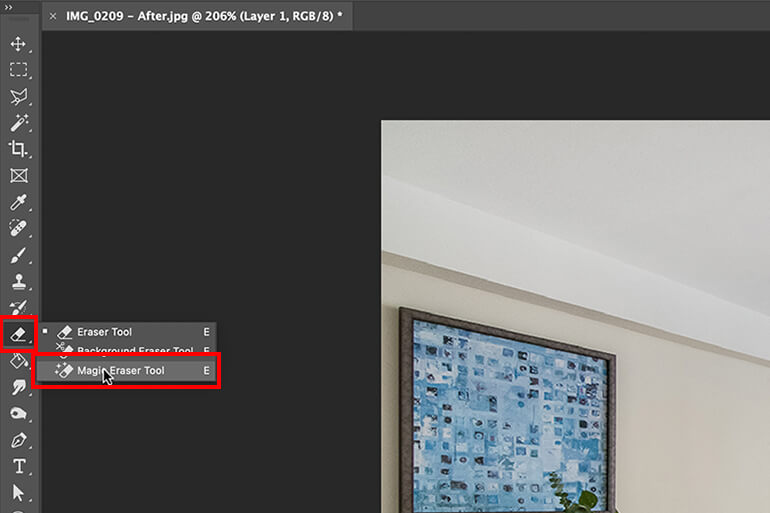
Technique 3: Magic Eraser Tool
Lastly, another great tool to eliminate a specific color range from your image is the Magic Eraser Tool. This tool works wonders for pictures that contain a well-defined colored area.
Let’s show you how to use this tool:
Step 1. To begin, open the image and select the Magic Eraser Tool from the toolbar.
Step 2. Adjust the Tolerance level to 30 in the tool settings located at the top.
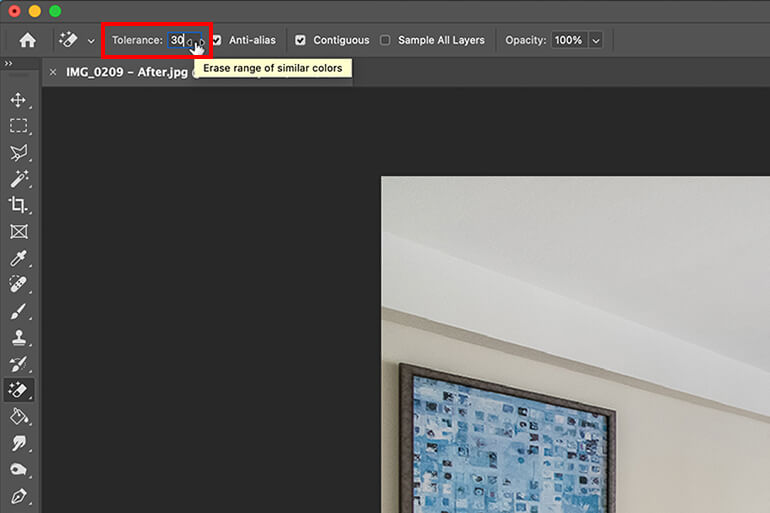
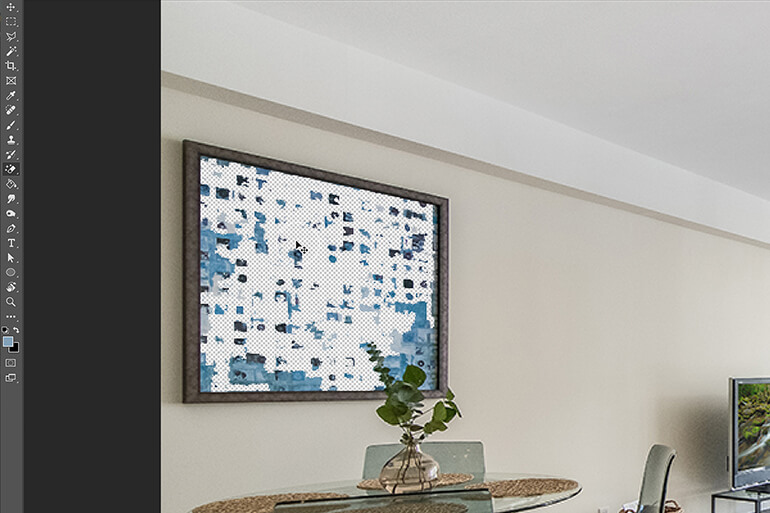
Step 3. On the right-hand side panel, choose the color that you wish to remove. Now, simply click on the areas of the image where the color is present.
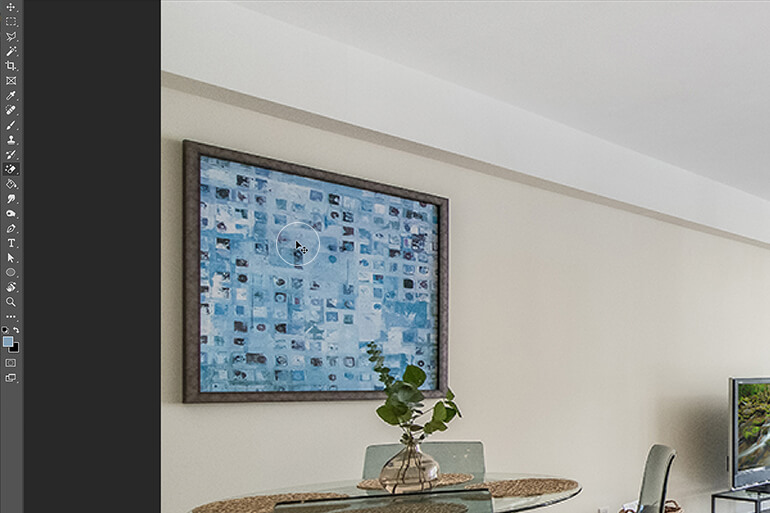
With these simple steps, you can effortlessly remove unwanted colors from your image using the powerful Magic Eraser Tool.
And there you have three quick and easy techniques to help you remove a specific color in Photoshop and enhance your images!
FAQ
What is the Color Range tool in Photoshop?
The Color Range Tool is a convenient selection tool for choosing specific parts of an image based on their color. With this tool, you can easily select a specific color and adjust its hue, saturation, and/or brightness.
What is the Magic Eraser tool in Photoshop?
The Magic Eraser Tool in Photoshop functions similarly to the reverse action of the Paint Bucket Tool. It allows the erasure of neighboring or ‘similar’ pixels, depending on the pixel color value at the selected location.
What is the Magic Wand tool in Photoshop?
The Magic Wand Tool utilizes machine learning to automatically select an object or area of your image. It discerns what you might be trying to select so that if you click on the sky, it selects the sky. Similarly, if you click on a person’s face, the entire face is selected in just seconds.
What is the Replace Color Option in Photoshop?
With Photoshop’s Replace Color adjustment, you can effortlessly swap one color for another in a quick and efficient manner.
How do I select a certain color in Photoshop?
To select a specific color in Photoshop, you can use the Magic Wand Tool. If your initial selection doesn’t capture your desired color, you can expand the range by increasing the Tolerance value.
How do I separate colors in an image in Photoshop?
To separate colors in an image using Photoshop, you have a variety of options. One method involves utilizing the Layer Mask Tool.
Simply select the desired colors and apply the Layer Mask icon. Subsequently, a mask will be generated, allowing only those chosen colors to remain visible.
High-Quality & Consistent
Real Estate Photo Editing
Hire a dedicated editor with performance metrics from $7/hour.
Let the Experts at PhotoUp Edit Your Real Estate Photos!

Are you tired of spending countless hours editing your photos? Being an expert in Photoshop and Lightroom takes a lot of practice.
Imagine if you could redirect your time and energy elsewhere, especially with a large portfolio to edit.
Introducing PhotoUp! We have a team of highly skilled professionals ready to handle your real estate photo editing needs.
With prices starting from only $1.10 per image, depending on your subscription, you can finally focus on what you do best – capturing stunning photographs.
Our skilled editors can help with editing services like:
- Image brightness and exposure correction
- Color and tone adjustments
- Window masking and glare reduction
- Clutter and advanced object removal
- Line and angle corrections
- HDR editing
- Harsh shadows and lack of light
- Sky replacements and grass greening
- Twilight and day-to-dusk editing
- Drone editing, etc.
Browse Top Dedicated
Real Estate Photo Editors
Ready-to-hire editors for real estate photo editing, and more.
Wait! There’s more…
Real Estate Marketing on Steriods


Apart from standard photo editing, PhotoUp also offers other real estate marketing services to help you market and sell your property at record speed:
To start using our photo editors or any of these powerful real estate marketing tools, all you have to do is sign up for a free PhotoUp account, and get to action!
PhotoUp Real Estate Photo Editing Uploader
Check out how easy it is to get started with PhotoUp in this real estate photo editing uploader demo:
As simple as that!
So why not give us a try?
Sign up for a free PhotoUp account today and let PhotoUp take care of your post-processing, so you can fully concentrate on growing your business, hassle-free.
Plus, for a limited time, you’ll even get 5 free edits when you sign up for an account!
We hope this blog post helped you learn how to remove a specific color in Photoshop. If you found this post useful, you may also want to check out the following resources:

