


Table of Contents
- What Is Exposure Blending?
- Why Exposure Blending Matters in Real Estate Photography
- How to Perform Exposure Blending in Photoshop
- Exposure Blending vs HDR: Which Is Better?
- Exposure Blending FAQ
- Save Time Without Sacrificing Quality
Real estate photo editing is all about showcasing properties in their best light—literally. One of the most essential techniques for achieving this is exposure blending.
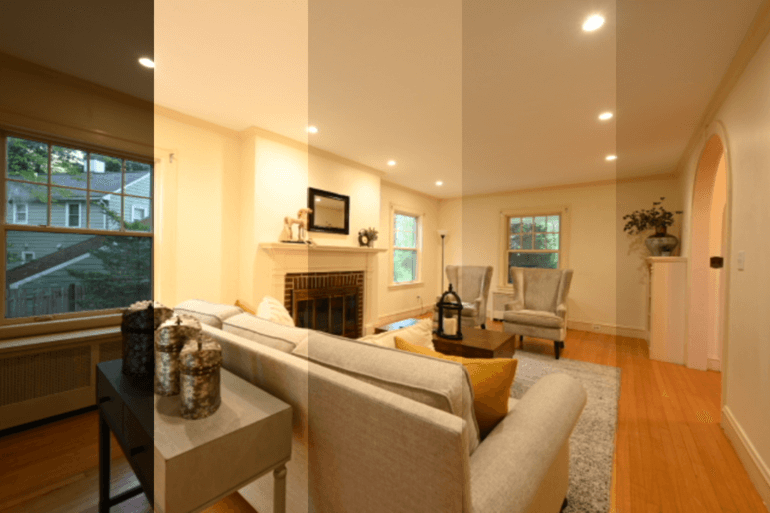
This process helps balance bright windows with darker interiors, ensuring that both areas are properly visible in the final image.
Whether you’re seasoned or new to real estate photo editing, this guide will walk you through everything you need to know to master exposure blending in Photoshop.
Let’s begin by explaining what exposure blending is about.
🌤️ What Is Exposure Blending?
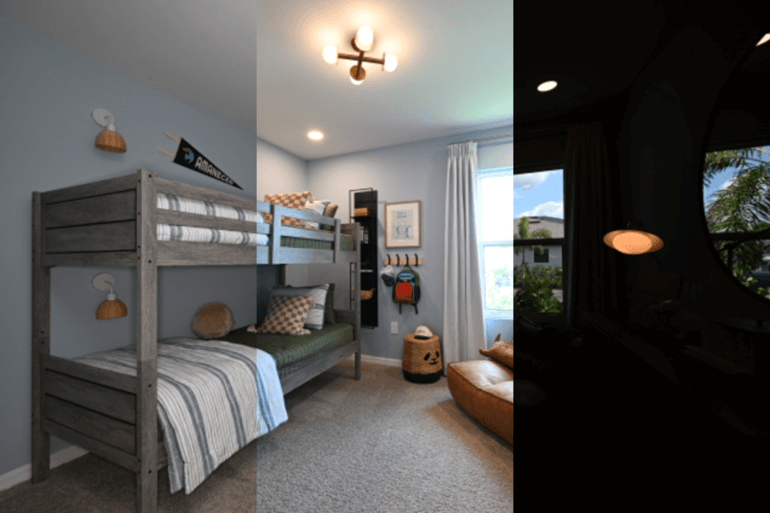
Exposure blending is a real estate photo editing technique where multiple photos of the same scene—each taken at different exposure levels—are combined to create a single, well-balanced image.
Instead of relying on a single HDR (High Dynamic Range) image generated automatically by your camera or software, exposure blending in Photoshop gives you manual control over how highlights, midtones, and shadows are presented.
This is particularly useful in real estate, where lighting conditions vary drastically between interior and exterior areas.
Let’s take a closer look at why this matters when marketing real estate.
Why Exposure Blending Matters in Real Estate Photography
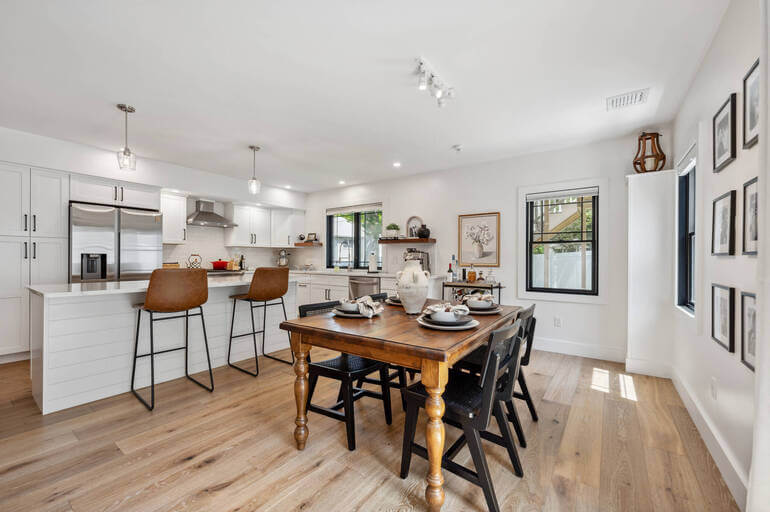
Real estate photography often faces challenging lighting situations💡that can make property photos look amateurish or dull.
And we all know that professional listing photos are crucial to capture viewers’ attention and sell homes faster at higher prices. In fact, listings with high-quality photos get 118% more views online and see a price increase of up to 47% per square foot.
Here are other powerful real estate photography statistics on the impact of professionally edited listing photos for home sales:
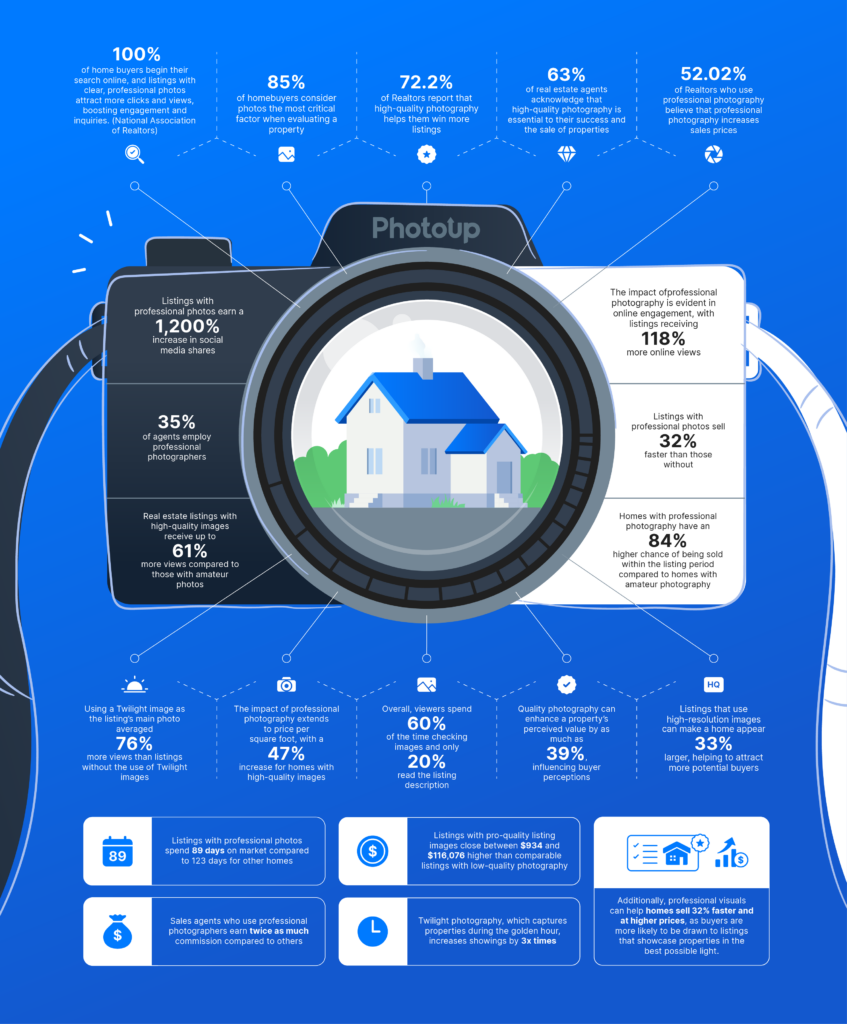
As you can see, post-processing is crucial to capture potential buyers’ attention and boost sales prices.
Back to exposure blending… Taxing lighting situations real estate photographers face include:
- Bright daylight pouring through windows
- Dimly lit corners of a room
- Reflections and glares from surfaces
- And uneven artificial lighting
Luckily, this is a rather easy fix in post-processing. Exposure blending techniques allow you to:
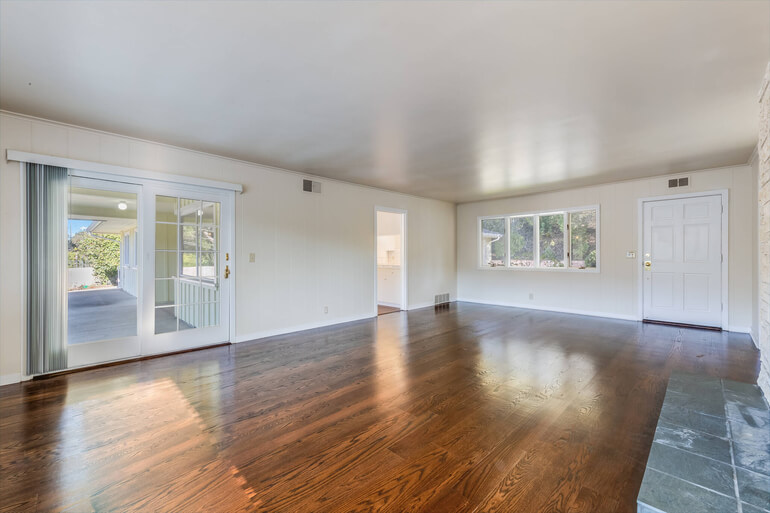
- Retain detail in bright windows without blowing out highlights
- Reveal texture in shadowed interiors
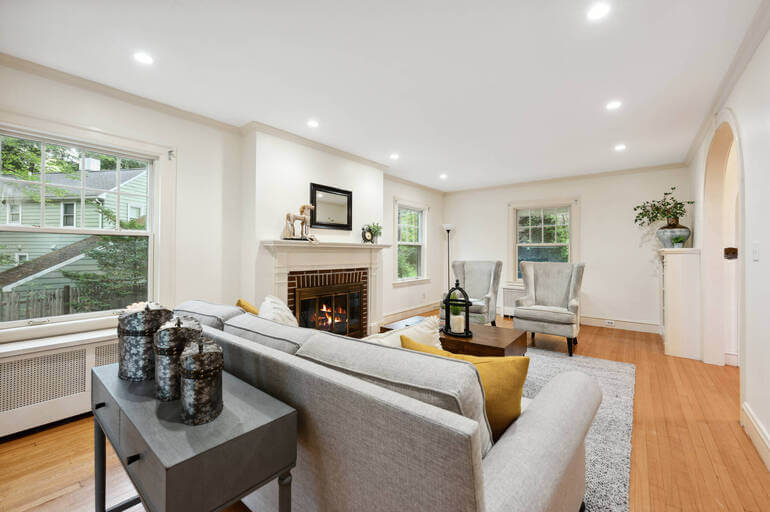
- Create a realistic, balanced image that mimics how the human eye sees
- Avoid the unnatural look of poorly merged HDR photos
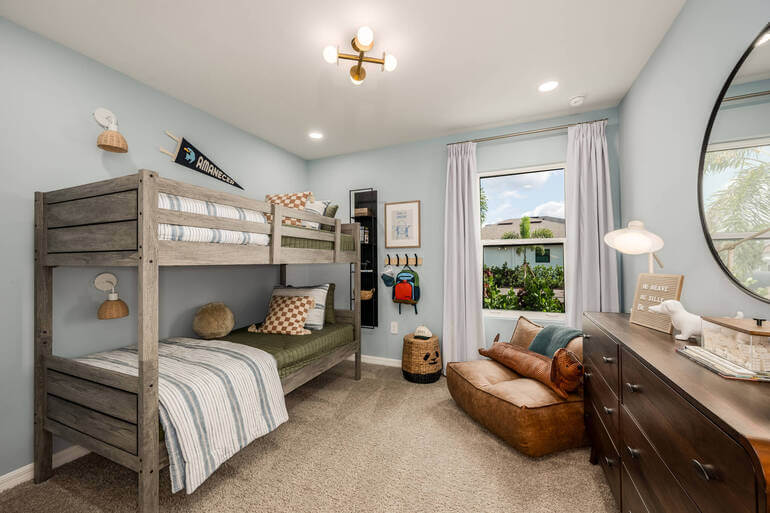
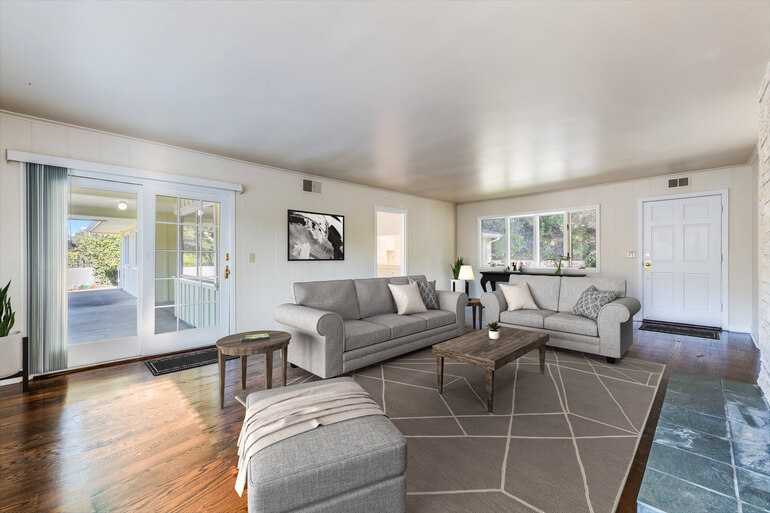
In short, it makes your real estate photos look more professional, natural, and inviting, leading to better marketing results.
Now, let’s take a look at what type of gear you’ll need to get started.
📸 What Gear Do You Need to Get Started?

Before jumping into editing, you’ll need the following:
Gear:
- A DSLR or mirrorless camera to capture professional photos
- And a tripod to ensure all exposures align perfectly
Software:
You’ll need to import the different exposures as layers in Photoshop. Each exposure will form the basis for different parts of the final image.
You can also use Adobe Lightroom for initial RAW adjustments.
Photos:
You need to begin by capturing a sequence of bracketed images at varying exposure levels. A set of bracketed exposures (usually 3 to 5), taken at:
- One correctly exposed for interiors
- One underexposed for window details
- One overexposed for shadow recovery
🛠️ How to Perform Exposure Blending in Photoshop
Now that you know what equipment you need to get started, let’s take a look at a step-by-step tutorial on how to manually blend multiple exposures in Photoshop.
You can either watch the video tutorial or continue reading the text below:
Import Your Images in Lightroom & Move Them to Photoshop
Step 1. Start by importing your images in Lightroom. In our example, we have seven images containing four ambients and three flashes and we are going to move them to Photoshop, where we will do the manual blending.
Step 2. Select the seven images. Right-click and select Edit In, and then Select Open as Layers in Photoshop.
Step 3. Next, separate the flash and ambient photos, and group them accordingly. Use the ambient group as the main photo, and choose your middle exposure as a base to work from.
Recover the Blown-Out/Overexposed Areas
Step 4. Then, add Inverted Masking to each image except the base photo. Press ALT and click the Masking Button to mask all except your base photo. Start by recovering the blown-out/overexposed areas of your base photo.
Step 5. Now, click on the Brush tool, then set Opacity and Flow to 30% for easy control, then start brushing over the overexposed areas and tone them down.
Recover the Dark/Underexposed Areas
Step 6. Once you’re done recovering the blown-out areas, the next thing to recover is the dark/underexposed areas on the base photo. Select the brightest ambient image from your layers and start brushing slowly.
Step 7. Next, we’ll move on to the flash exposure. Unhide the folder and make the images visible. Same as what we did on the ambient, we will add Inverted Masking – press ALT and click the Masking Button.
Step 8. The darkest flash exposure will be used as the window view. Start masking it by selecting the window with the Lasso tool (L). The surrounding area of the window is a bit overexposed, so we are going to recover some of it, especially the curtains.
Recover the Lights
Step 19. The next thing to do is to recover the lights. We used the second exposure to recover it. In the example, we also recovered some on the ceiling, floor, and window area.
Just keep blending till everything is well blended.
Note: Just remember when doing manual blending to always make your brush opacity a minimal amount of 10 – 30%. This is to avoid a heavy brush stroke while blending.
Step 11. When you are done, click Save and admire your perfectly blended image.
And that’s it! You’ve now learned how to do exposure blending in Photoshop.
But why not just use HDR, you may think? Let’s take a look at a comparison between exposure blending and HDR.
Have You Ever Thought To
Outsource Photo Editing?
Try it today with 5 free edits from three professional photo editors.

✅ Exposure Blending vs HDR: Which Is Better?
| Feature | Exposure Blending | HDR Auto Merge |
| Control | Full manual control | Limited control |
| Realism | High | Often overprocessed |
| File Flexibility | Layered editing | Flattened image |
| Professional Preference | ✔️ Preferred | Used for quick edits |
While HDR is quicker, exposure blending offers better quality and a more professional finish, especially important in competitive real estate markets.
Exposure Blending FAQ
What’s the best number of exposures to shoot for blending?
Most real estate photographers use 3 to 5 exposures:
- One base (normal)
- One underexposed (for windows)
- One overexposed (for shadows)
Can I take real estate photos without a tripod?
It’s possible, but not recommended. A tripod ensures perfect alignment, reducing editing time and avoiding ghosting artifacts.
Is there an easier way to blend exposures automatically?
Yes! Photoshop’s “Auto-Blend Layers” can help, but the results often need manual refinement. Alternatively, Lightroom’s HDR Merge can be used, though it lacks the precision of manual Photoshop blending.
Is exposure blending suitable for exterior real estate shots?
It can be, but it’s most beneficial indoors, where light variation is extreme. For exteriors, a single well-exposed image or sky replacement may suffice.
Can I outsource exposure blending?
Yes! Many real estate photographers outsource editing to services like PhotoUp, which offer professional exposure blending and HDR editing at affordable rates with fast turnarounds.
Final Thoughts on Exposure Blending
Exposure blending is a game-changing technique in real estate photography. It empowers you to produce images that are not only visually stunning but also honest and accurate representations of a property.
Mastering it takes a bit of practice, but the results are well worth it—whether you’re shooting million-dollar listings or cozy rentals.
If editing isn’t your thing, don’t hesitate to outsource your blending work to professionals and focus on shooting.
Let’s take a look at an excellent solution for outsourcing your post-processing.
Have You Ever Thought To
Outsource Photo Editing?
Try it today with 5 free edits from three professional photo editors.
⏱️ Save Time Without Sacrificing Quality
Manual exposure blending can greatly enhance real estate photos, but it’s often time-consuming, especially for busy photographers with tight schedules.
That’s where PhotoUp makes a difference!
With a team of highly skilled editors, PhotoUp provides professional real estate photo editing services, including expert manual exposure blending, as well as:
- Convert daytime shots into stunning twilight masterpieces
- Image correction and enhancement
- Color and tone adjustments
- Window masking and glare reduction
- Clutter and object removal
- Line and angle corrections
- Improper exposure levels
- HDR editing
- Harsh shadows, lack of light, etc.
- And much more!
With a fast turnaround time of 12 to 24 hours and affordable pricing, our expert editors can help you with any type of editing – small, large, or complex.
Browse Top Dedicated
Real Estate Photo Editors
Ready-to-hire editors for real estate photo editing, and more.
Let PhotoUp Help You Scale Your Real Estate Photography Business
By outsourcing labor-intensive tasks like exposure blending, you can boost productivity and maintain a high standard of quality for your clients.
Whether you’re just starting out or looking to grow, PhotoUp simplifies your workflow so you can focus on shooting more and editing less.
We also offer other powerful real estate marketing services, allowing you to expand your product offerings and become more valuable to your clients.
Here are some of our marketing tools:
With PhotoUp, you have everything you need to create eye-catching visuals, streamline your editing workflow, grow your business, and deliver high-quality content that sells.
How to Get Started
Getting started using PhotoUp’s photo editing service is super easy.
This is all you need to do:
Step 1. Sign up for a free PhotoUp account.
Step 2. Upload your photos to our easy-to-use software.
Step 3. Choose the level of editing that you need and provide instructions (optional).
Step 4. Wait for PhotoUp professional editors to edit and return the photos in less than 24 hours (48 hours for virtual staging).
Step 5. Download and start using your beautifully edited photos.
It’s as simple as 1-2-3 to outsource your editing needs to the experts at PhotoUp!
👉 So, sign up for a free PhotoUp account today and get 10 free credits to experience the difference for yourself!
We hope this blog post helped you master exposure blending in Photoshop. Before you go, you may also want to check out the following resources:

