Table of Contents
- Why Living Room Photos Carry So Much Weight in a Listing
- What to Get Right Before You Touch AI Tools
- The AI Editing Process
- Putting It Together: A Simple AI + Human Workflow for Living Rooms
- How PhotoUp Enhances Living Room Photos With AI
A living room photo can undersell a listing fast. Mixed lighting turns the walls yellow, the window blows out into a white blob, and a space that should feel open just looks flat and dim on a phone screen.
That’s an editing problem, not a shooting problem. AI clears up nearly all of it in seconds.
Here’s how to enhance a photo with AI for real estate living rooms, step by step, plus where a human editor still needs to step in.
Why Living Room Photos Carry So Much Weight in a Listing
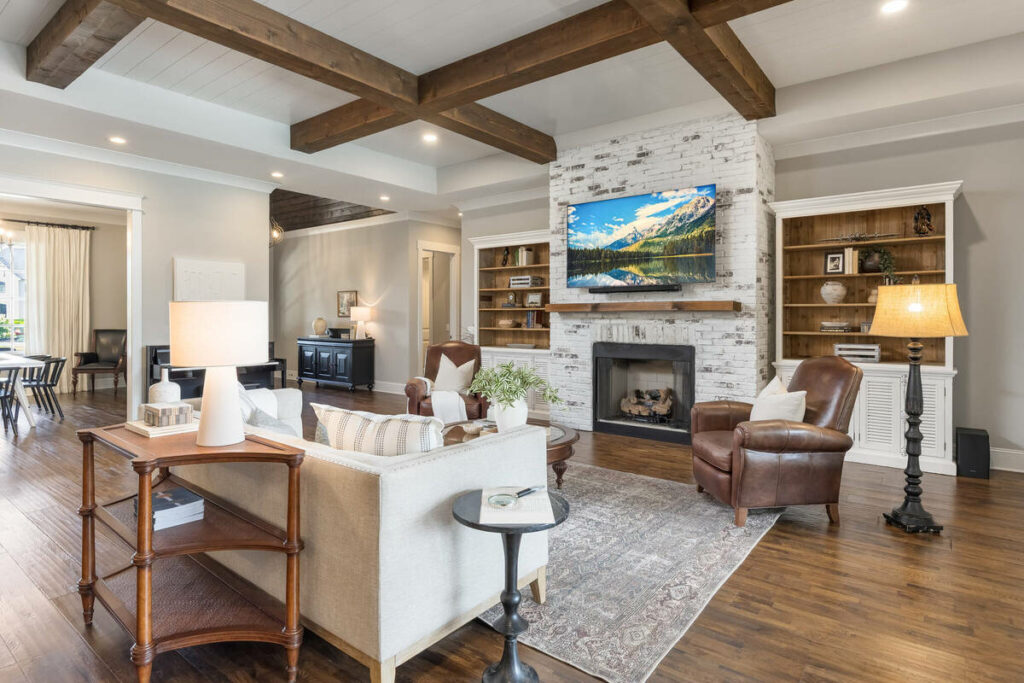
The living room is usually the first or second image in the gallery, and it sets the tone for every photo that follows. If it looks dim, cluttered, or off-color, buyers form a negative impression before they even reach the kitchen.
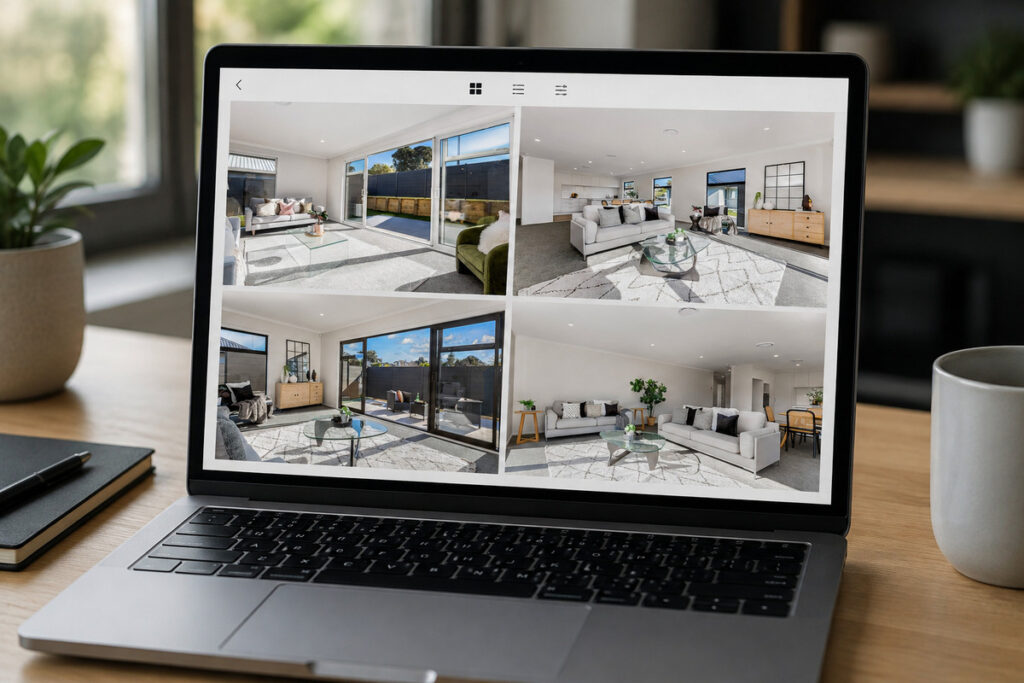
In NAR’s 2025 Profile of Home Buyers and Sellers, photos were the single most valuable feature on a listing site, rated “very useful” by 83% of buyers, ahead of detailed property information, floor plans, and virtual tours.1
Buyers are scrolling, not studying. A living room that reads as bright, balanced, and true to life is what gets them to keep clicking through the gallery instead of moving to the next listing.
What to Get Right Before You Touch AI Tools
AI enhances a good shoot. It doesn’t rescue a bad one. A few things at capture time make every edit that follows faster and cleaner:
- Bracket the exposure: shoot at least three frames (underexposed, correct, overexposed) so the AI has enough data to blend
- Turn on interior lights: lamps and overheads warm up the space and reduce how much the AI has to compensate later
- Keep the angle wide but level: avoid tilting the camera up or down, which makes lens correction harder
- Clear obvious clutter first: remotes, cords, and laundry are faster to move by hand than to edit out
Getting these basics right in-camera gives AI a cleaner starting point and produces better results with less editing.
AI + Human Review
Fast Edits. Trusted Results.
AI handles the workload. Humans handle the quality check.

The AI Editing Process
Here’s how to enhance a photo with AI for real estate living rooms once the shoot is done.
Step 1: Balance Exposure Across the Bracket Set
AI handles bracket blending well. Feed it the underexposed, correct, and overexposed frames, and it merges them into a single image with detail in both the shadows and the window. No manual masking required.
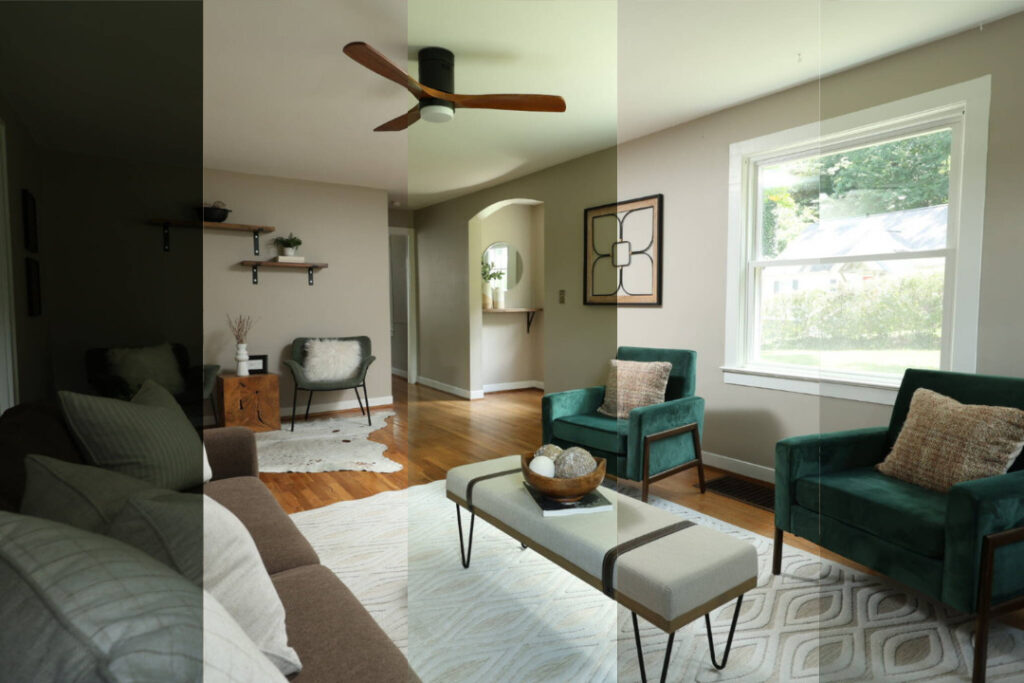
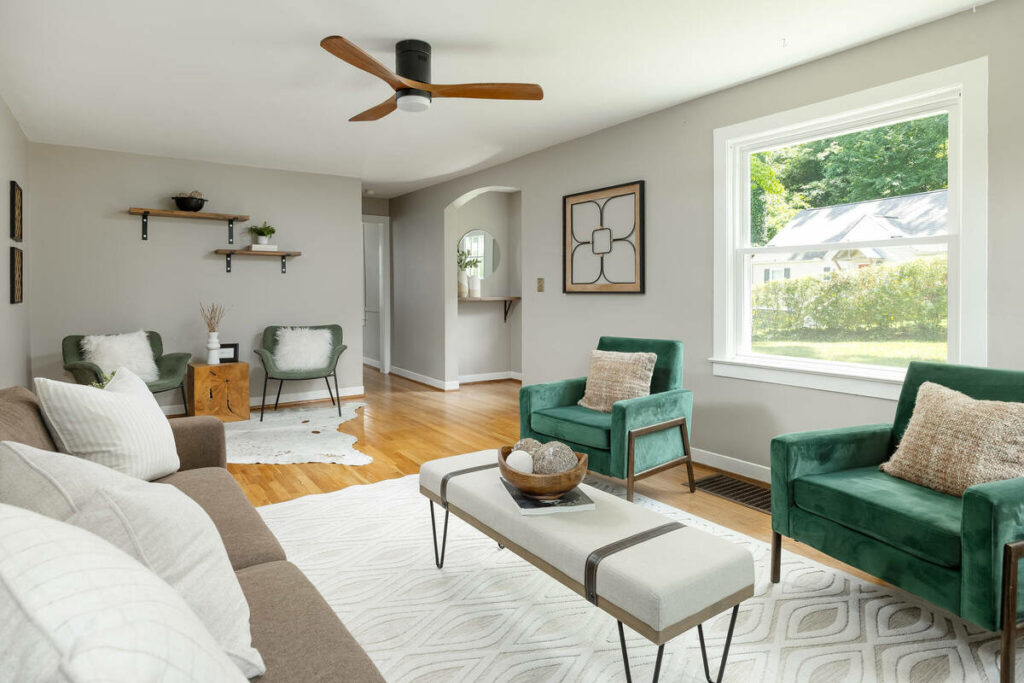
This is the step that used to eat the most time in manual editing. Automating it is what turns a 15-minute edit into something closer to 90 seconds per image.
Step 2: Correct White Balance for Mixed Lighting
Living rooms rarely have one light source. Daylight through the window, warm lamps, and cool overhead fixtures all land in the same frame, and each one pulls the color in a different direction.
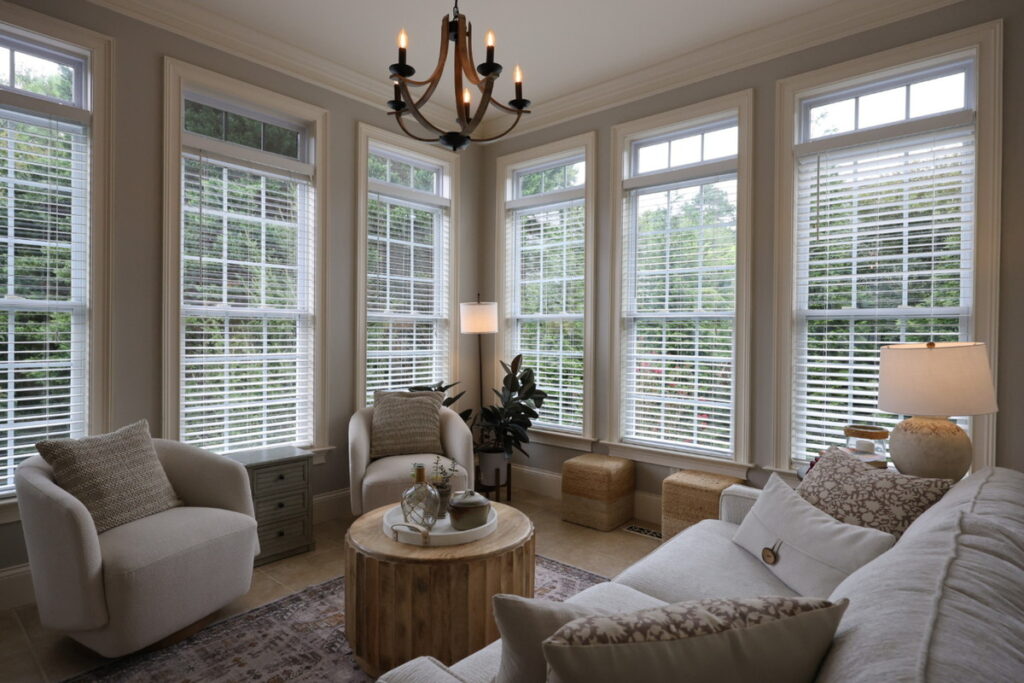
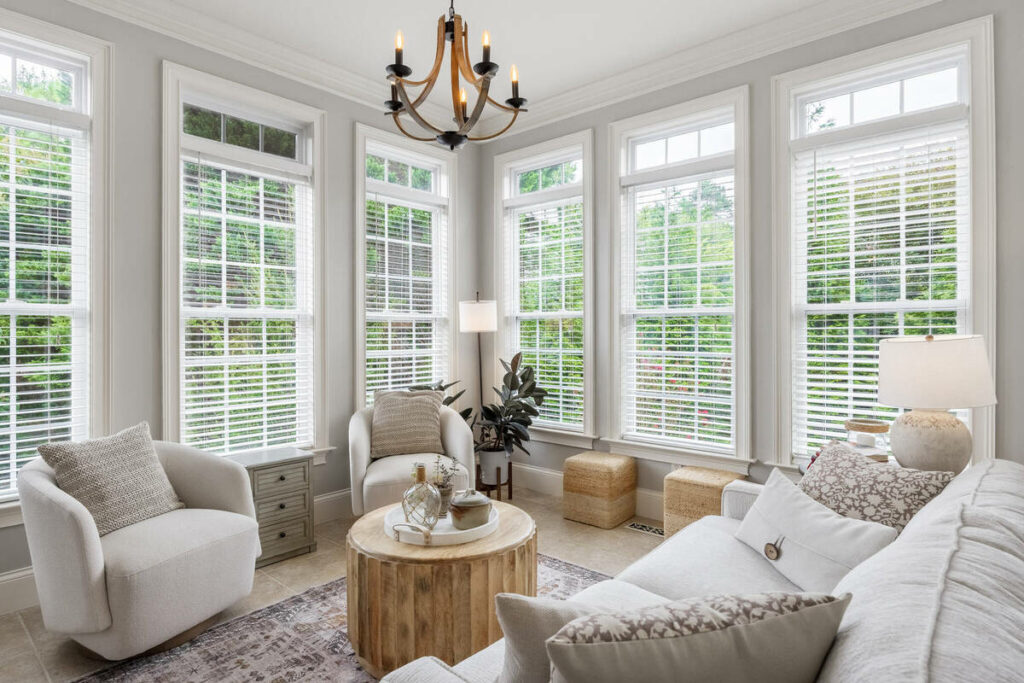
AI corrects white balance reliably on standard daytime interiors with even, predictable lighting. When the mix gets more complex, say a dim lamp-lit corner next to a bright window wall, it may need a manual nudge to get the color temperature consistent across the whole room.
Step 3: Balance Window Light So the View Doesn’t Blow Out
A window that blows out to solid white flattens the whole image and hides whatever view is outside. AI pulls detail back into the window area during the blend, so the yard, street, or skyline stays visible instead of disappearing into glare.
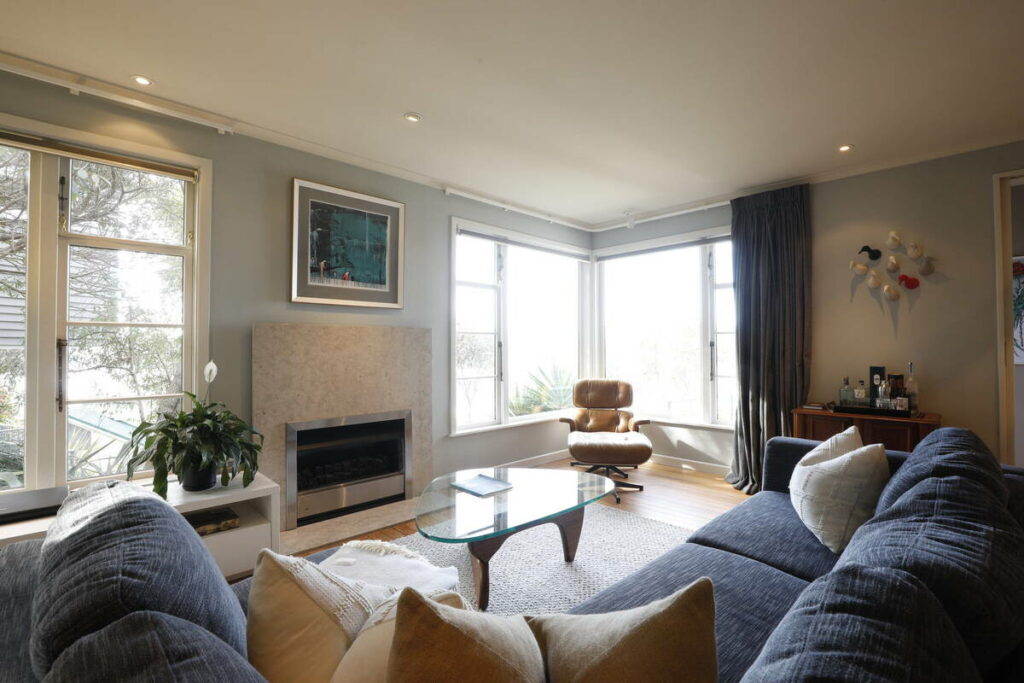
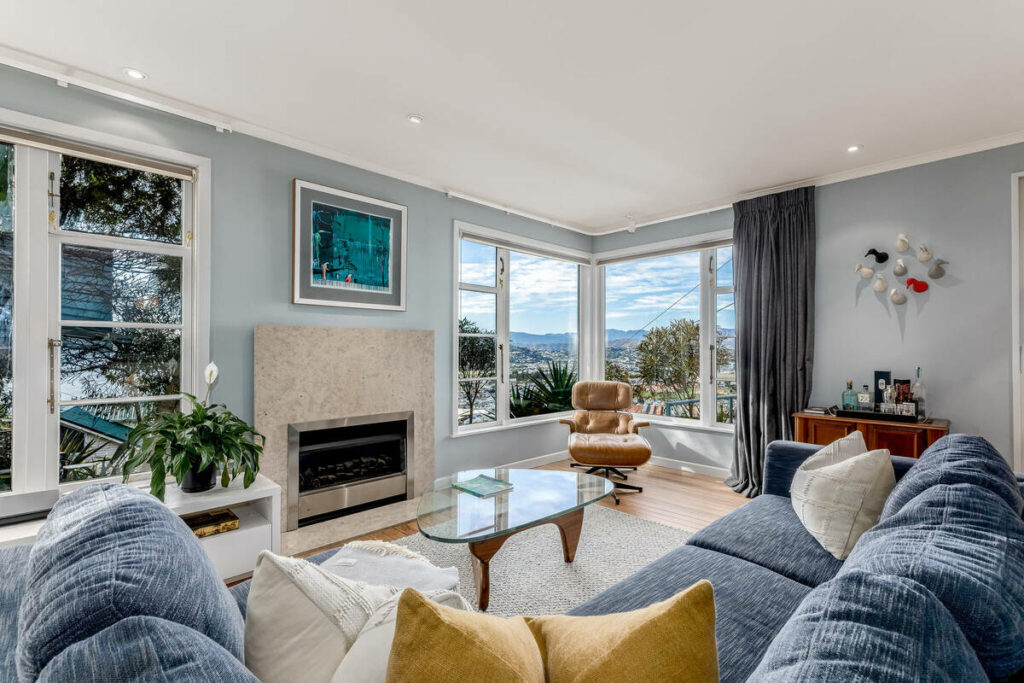
This step matters more in living rooms than almost any other room, since living rooms tend to have the largest windows in the house.
Step 4: Straighten Vertical and Fix Lens Distortion
Wide-angle lenses bow walls and tilt door frames, especially near the edges of the frame. AI perspective correction straightens those lines automatically, which keeps the room looking proportional instead of subtly warped.
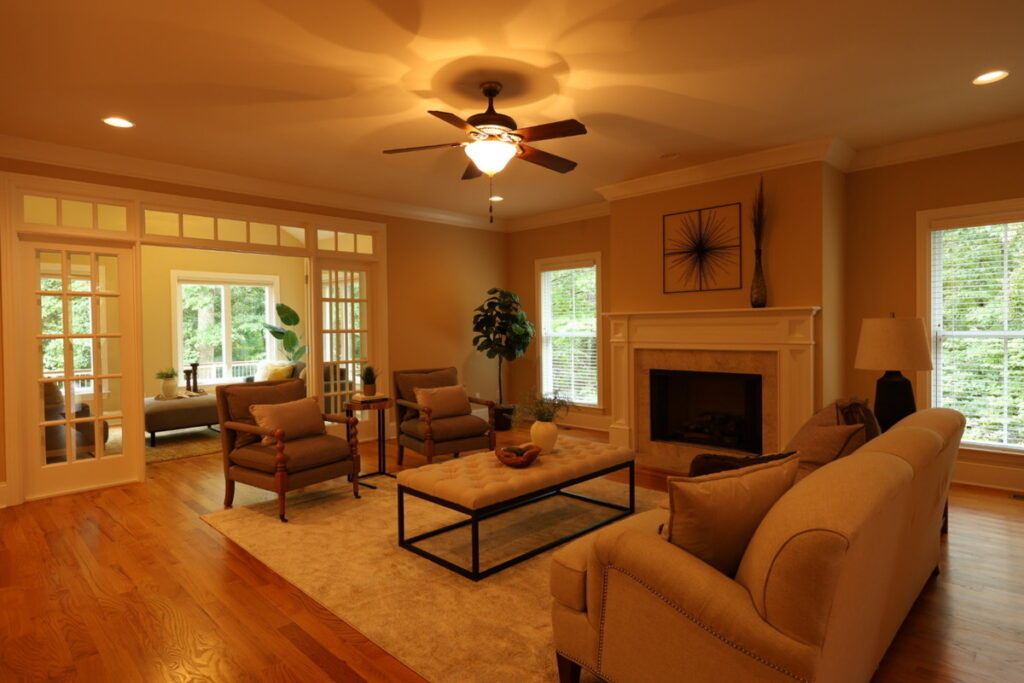
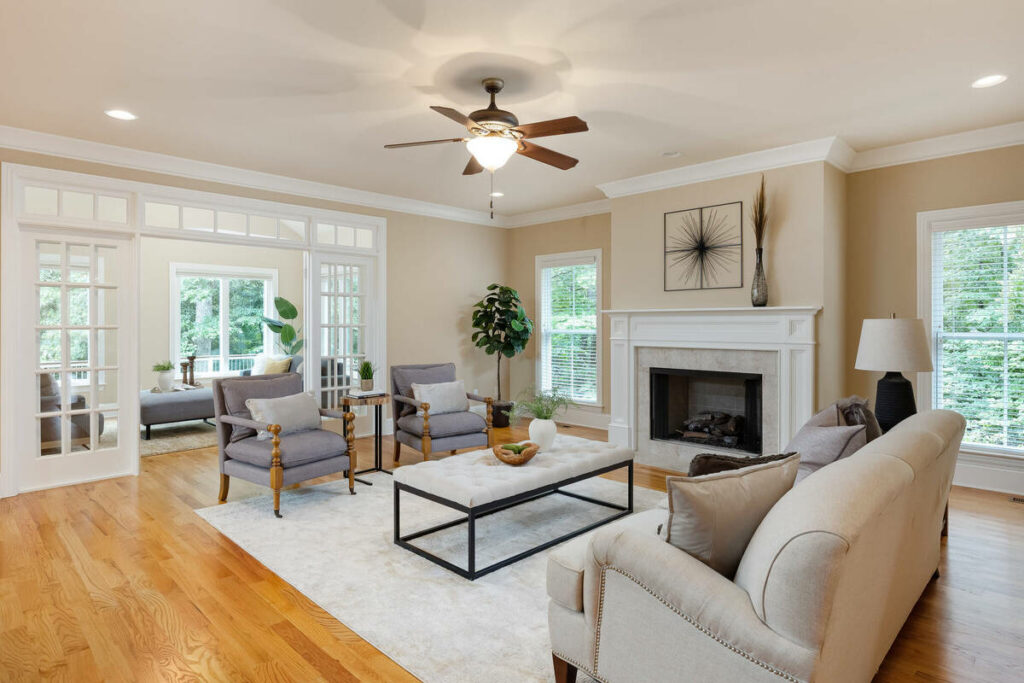
It’s a small fix, but it’s the kind of detail that makes a photo look professional-grade without the viewer being able to say exactly why.
Step 5: Clean Up Small Distractions in the Room
Cords, remotes, pet bowls, and stray toys pull attention away from the space itself. AI object removal handles small, isolated items cleanly and quickly.
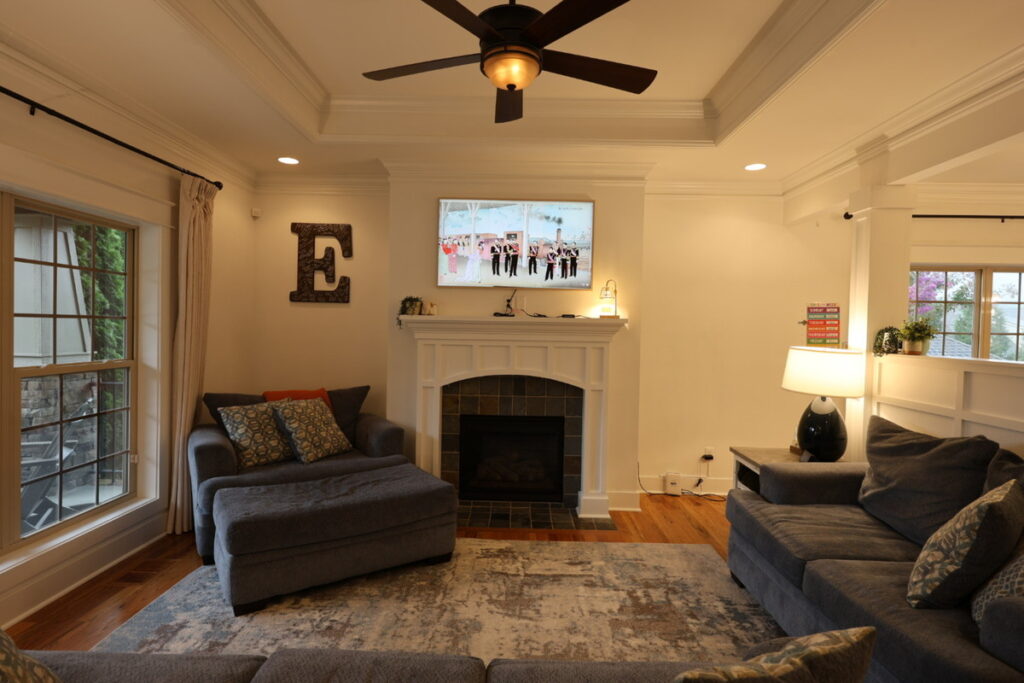
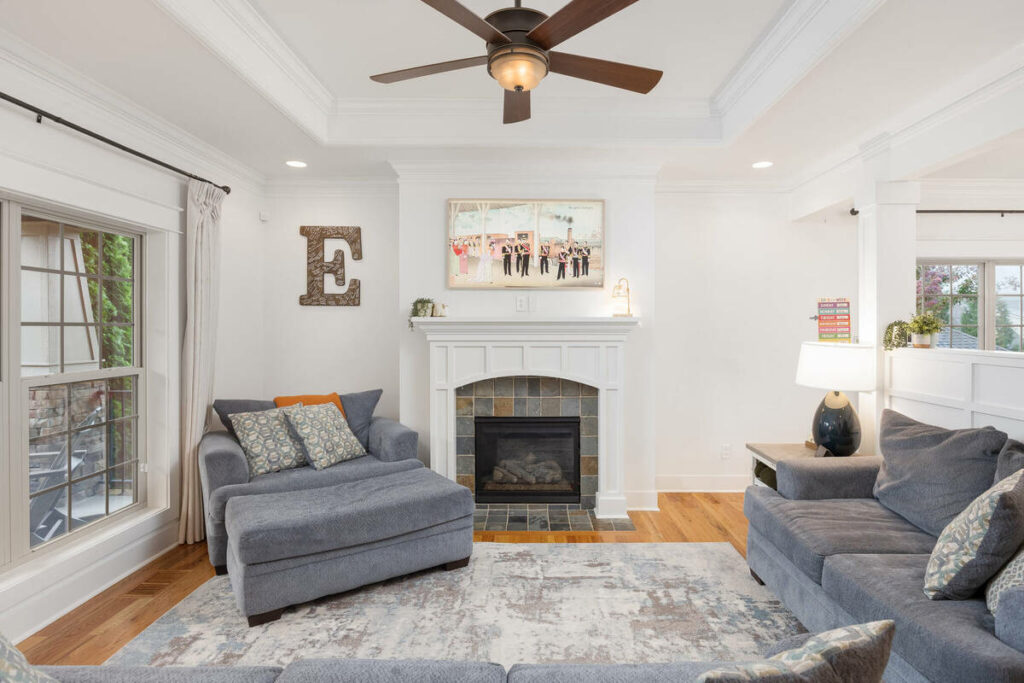
When learning how to enhance a photo with AI, it’s important to know its limits. Larger clutter, like laundry, packed bookshelves, or furniture that needs to be moved, is still faster to fix on-site or flag for an editor. AI handles small distractions well, but it isn’t a substitute for staging the room before the shutter clicks.
Step 6: Enhance Color and Vibrance Without Losing the Natural Look
Once exposure and white balance are locked in, a light color and vibrance pass makes the room feel warm and inviting instead of just technically correct. The goal is natural-looking, not saturated. Buyers can tell when a photo has been pushed too far, and it reads as untrustworthy.
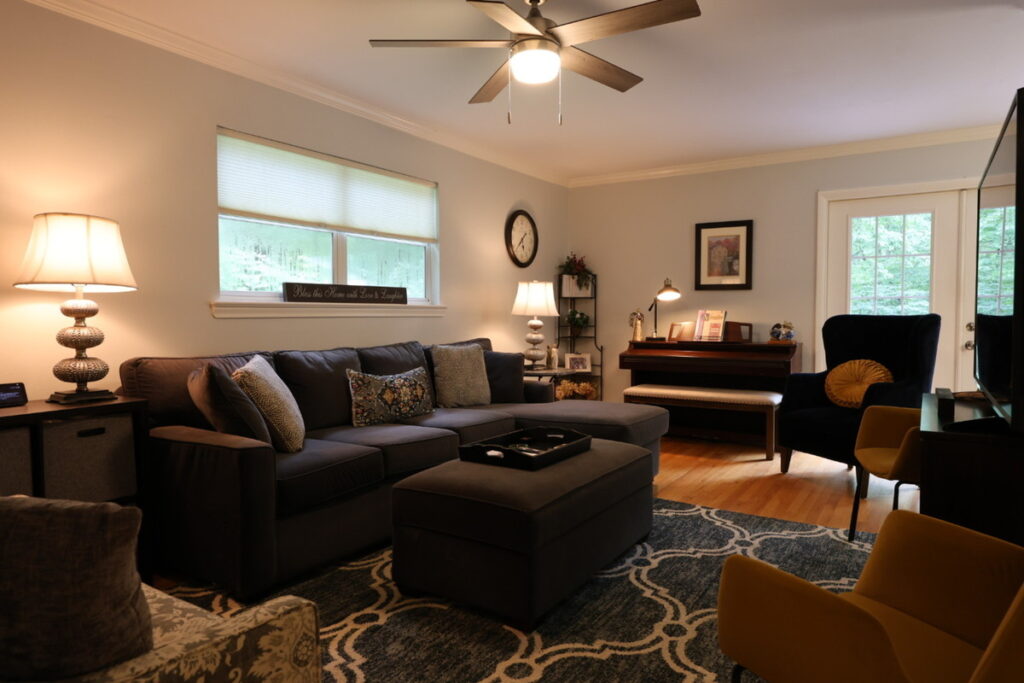
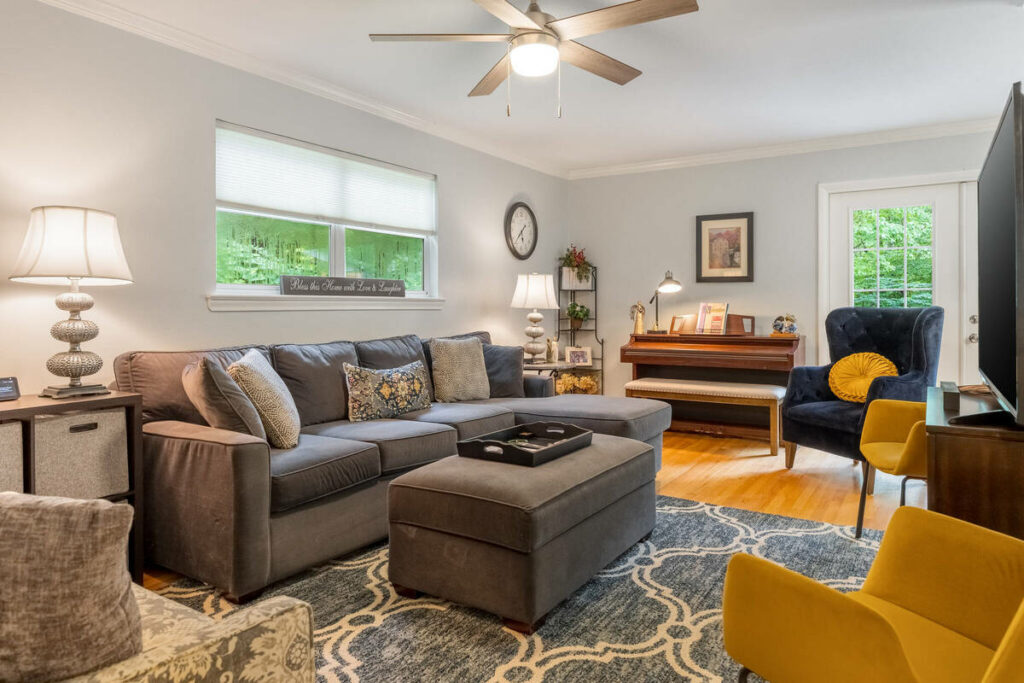
AI keeps this consistent across an entire shoot, which matters when a listing has 25 or 30 images that all need to look like they came from the same camera, same day, same light.
Step 7: Know When to Bring In a Human Editor
AI handles the corrections that repeat across nearly every listing: exposure balancing, standard white balance, HDR blending, small object removal, lens correction. That’s a large share of what a living room photo needs.
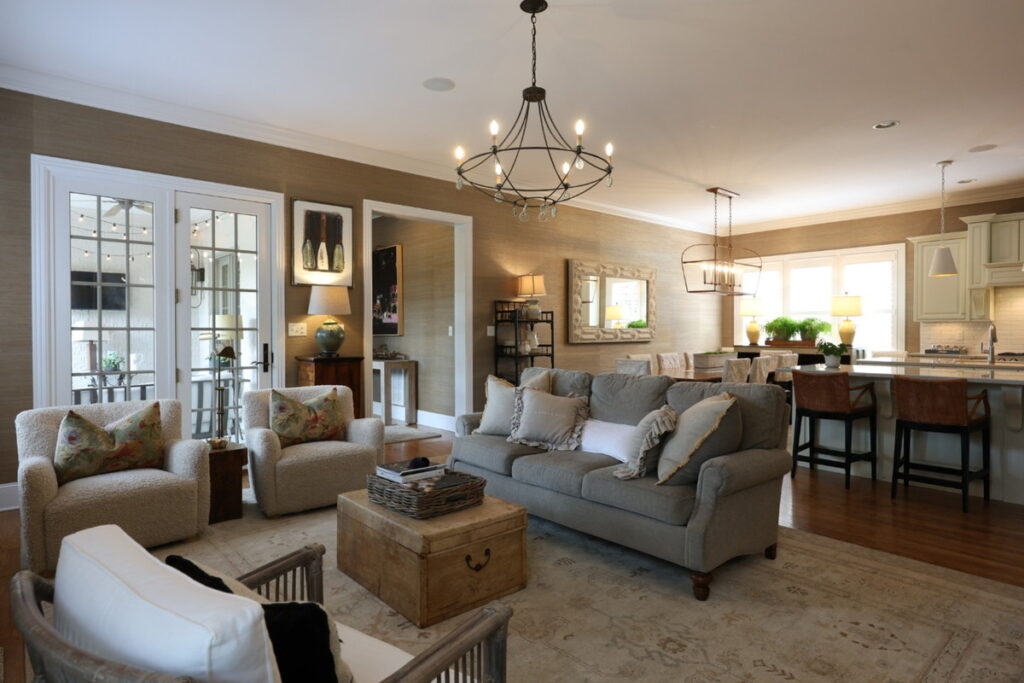
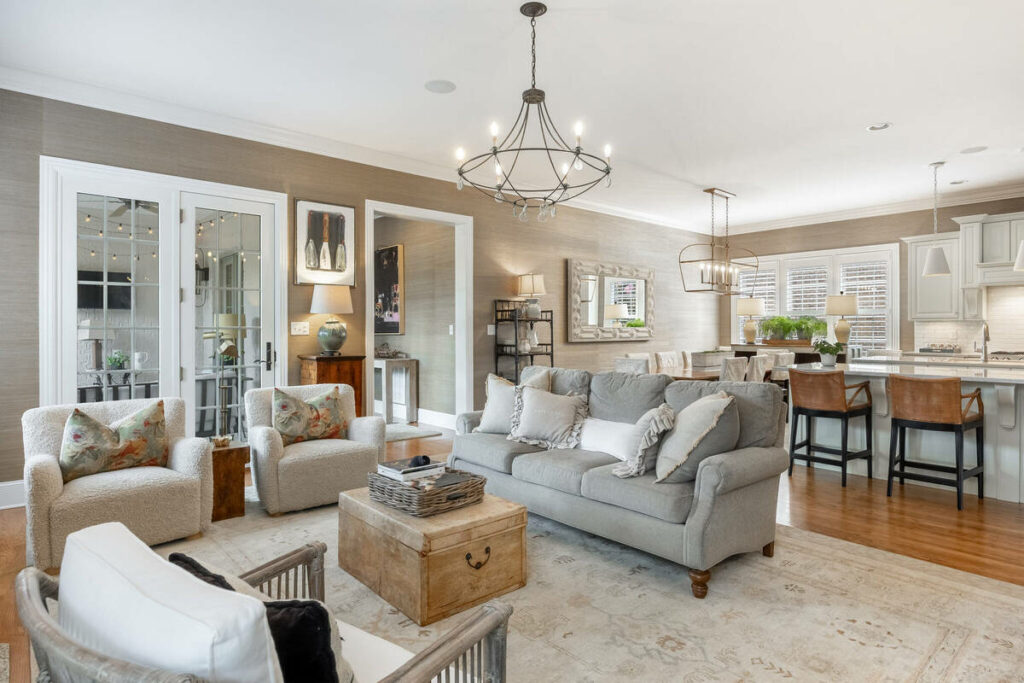
It still needs support in a few specific situations:
- Luxury listings, where subtlety is the standard and client expectations are exacting
- Mixed-light interiors that need local adjustments rather than a single global correction
- Recurring clients with a defined, non-standard quality bar
- Complex staging where objects need to be moved, not just cleaned up
The honest way to frame it: AI handles the 80%, the foundational corrections that are consistent across listings. A human editor catches the 20% that requires judgment, context, or a client-specific standard.
Browse Top Dedicated
Real Estate Photo Editors
Ready-to-hire editors for real estate photo editing, and more.
Putting It Together: A Simple AI + Human Workflow for Living Rooms
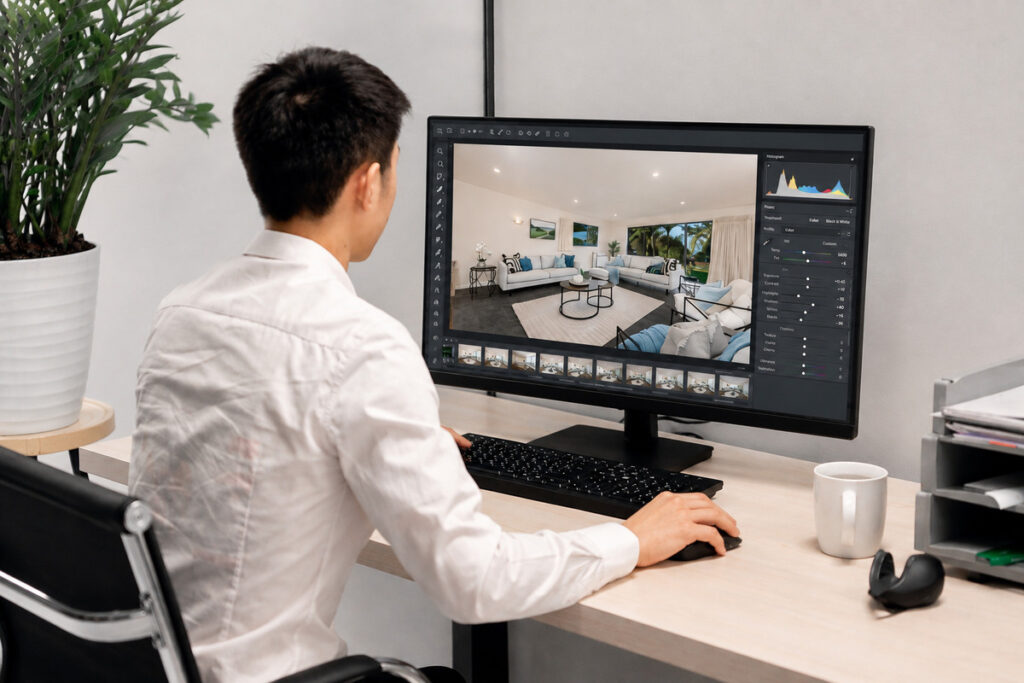
Run the AI pass first. Let it handle exposure blending, white balance, lens correction, and small cleanup across the whole batch. That’s the fastest way to get a full shoot from RAW files to client-ready.
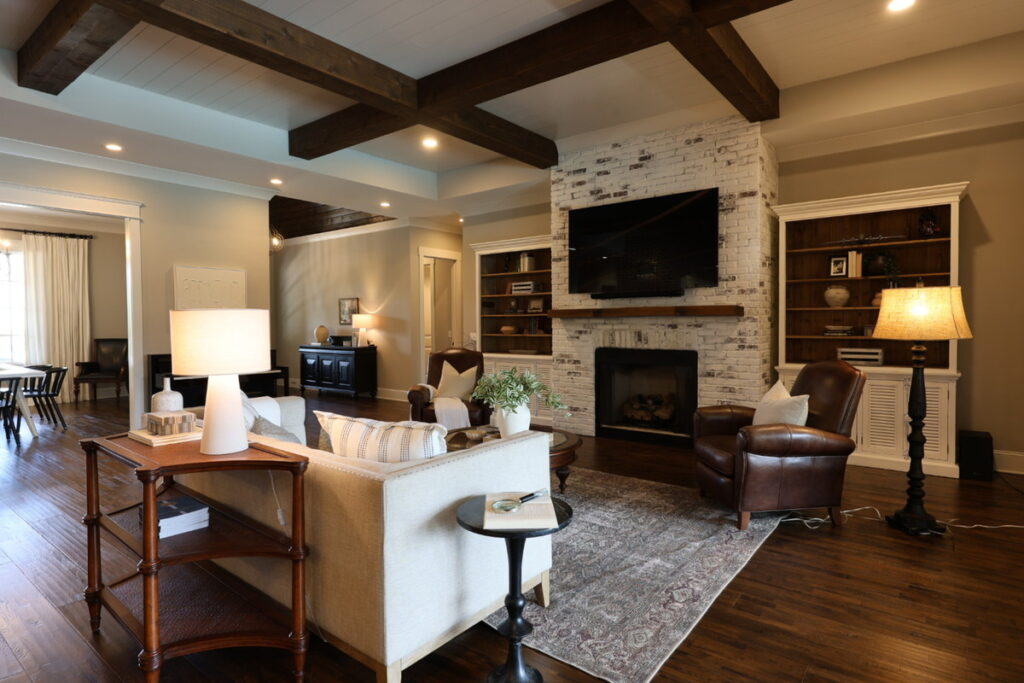
Then review. Knowing how to enhance a photo with AI also means knowing when an image needs extra attention. Flag anything with mixed lighting, a luxury finish, or a client history of picky feedback for a quick human pass. AI handles volume, while a professional editor handles the judgment calls that keep quality consistent.
How PhotoUp Enhances Living Room Photos With AI
That’s where PhotoUp comes in. PhotoUp’s editing workflow runs every image through AI-assisted exposure blending, white balance correction, and cleanup, then routes anything that needs a closer look to a professional editor.
What’s included:
- AI exposure blending and HDR merge
- White balance correction across mixed lighting
- Lens and perspective correction
- Small object removal
- Human review on flagged images
Why Choose PhotoUp?
- Consistent results across large batches, even at 200+ images a week
- A human review gate on anything outside standard conditions
- Turnaround built for listing deadlines, not batch queues
AI + Human Review
Fast Edits. Trusted Results.
AI handles the workload. Humans handle the quality check.
How to Get Started:
- Create a free PhotoUp account
- Upload your bracketed living room shots
- Choose AI editing, human editing, or both
- Review your delivered images
- Download and upload straight to the MLS
Try a test order at no cost. Upload one living room shot, get it back edited, and compare AI and human editing side by side on your own image.
Related Articles:
- Edit Hundreds of Real Estate Photos Faster with the Right AI
- How AI Enhances Kitchen Photos for Real Estate Listings
- How Far Can AI Photo Editing for Real Estate Go?
- Can AI Real Estate Photo Editing Services Match the Eye of a Professional Editor?
- Real Estate Photo Editing AI in 2026: Trends, Tips, and Best Practices
References: