


Table of Contents
- Why Window Views Are Crucial in Real Estate Photos
- Transforming a Listing With Window View Editing
- How to Create Stunning Window Views (5 Methods)
- How PhotoUp Can Help You Create Captivating Views
When it comes to selling a home, first impressions matter. One of the most powerful yet often overlooked elements in real estate photography is the view through the windows. Real estate photo editing can play a crucial role in enhancing these views.
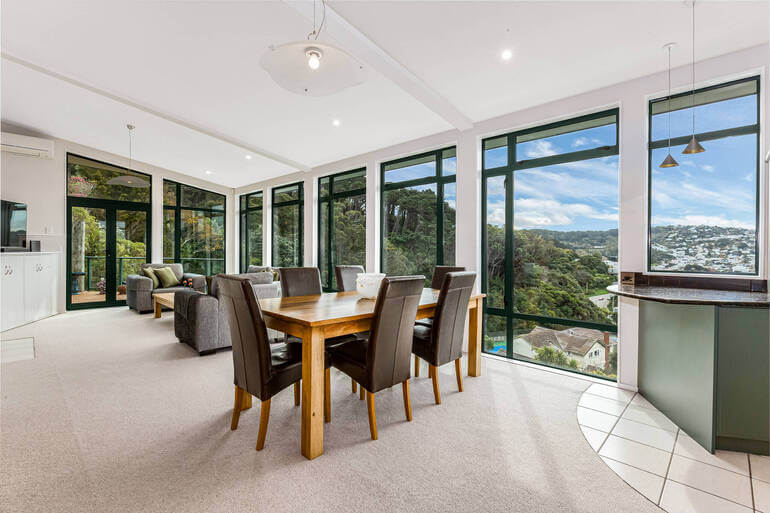
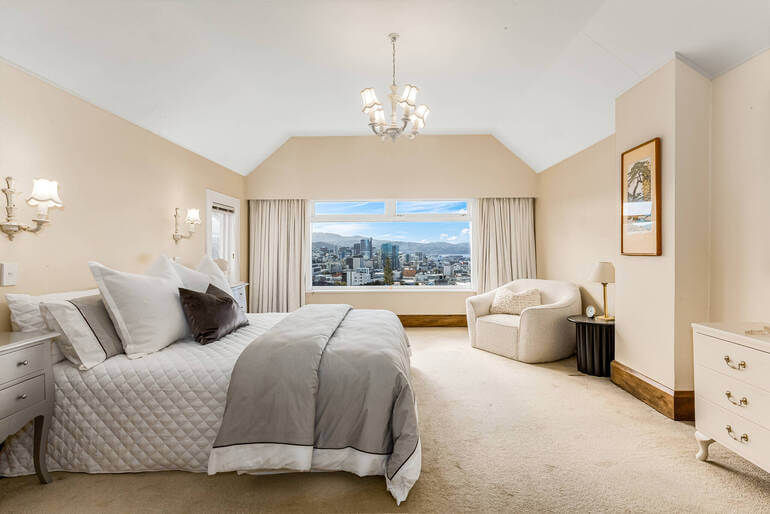
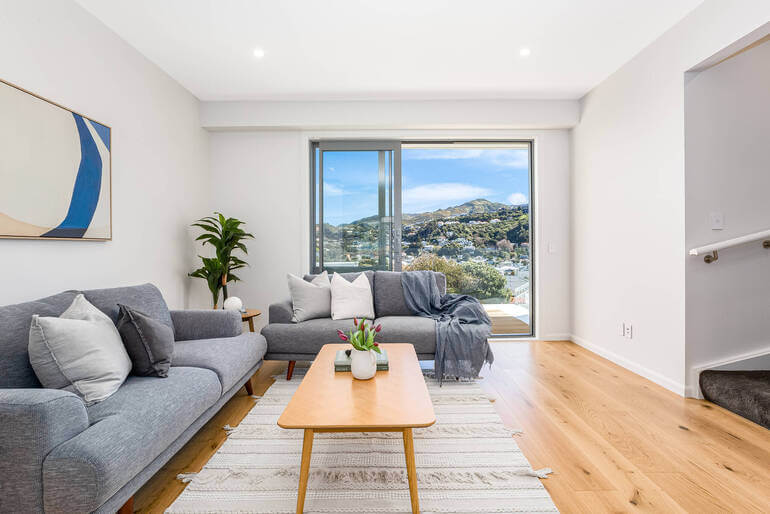
A breathtaking window view can transform a space from ordinary to extraordinary, making potential buyers imagine themselves living there. Whether it’s a sweeping city skyline, a tranquil lake, or a lush garden, a clear and vibrant view adds value and emotional appeal to a listing.
In this guide, we’ll cover why window views are vital for real estate sales and how to create them using some powerful real estate photo editing techniques.
Why Window Views Are Crucial in Real Estate Photos🌄
According to the National Association of Realtors, listings with professional photos get 61% more views and sell 32% faster. And clear, beautiful window views matter when creating impressive listing photos!
Window views do more than just show what’s outside—they tell a story about lifestyle and location.
Buyers aren’t just purchasing four walls and a roof; they’re buying the experience of living there.
Here’s why window views matter:
- Highlighting Location Value: A mountain view or oceanfront scenery signals exclusivity and justifies a higher listing price
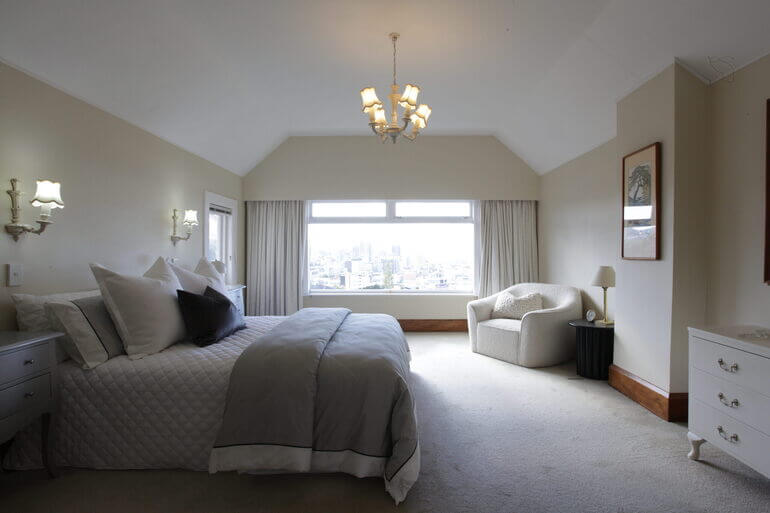
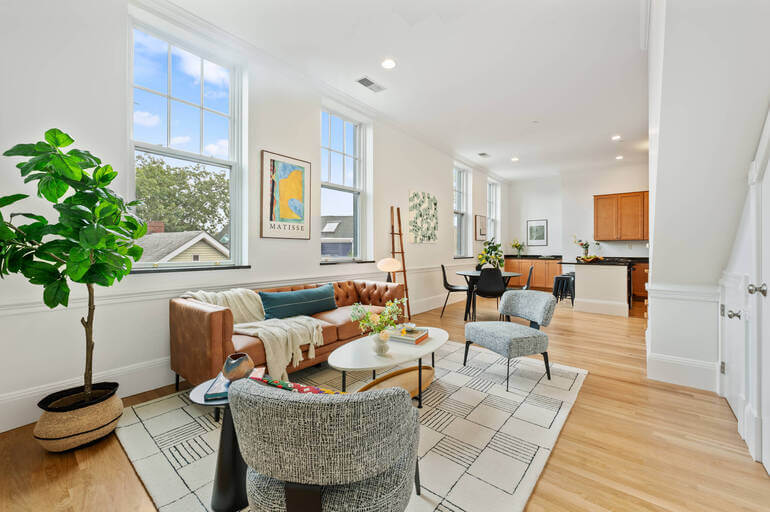
- Enhancing Natural Light Appeal: Clear window views complement well-lit interiors, making rooms look larger and more inviting
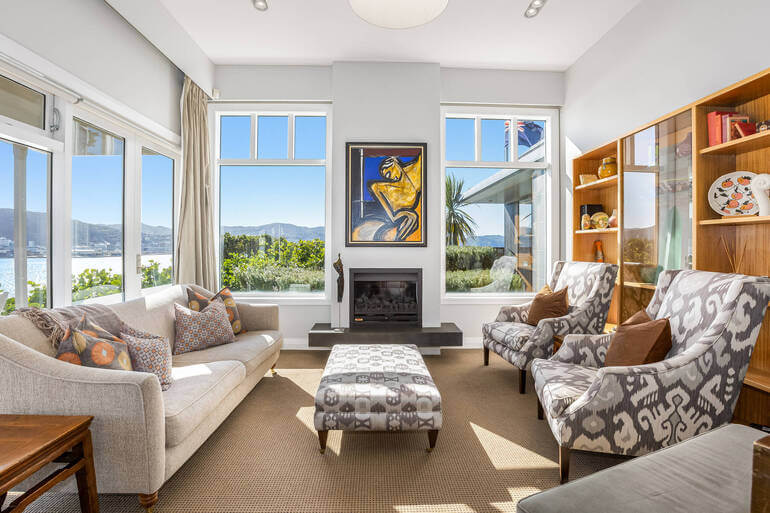
- Boosting Emotional Connection: Buyers often make decisions based on how a property makes them feel. A stunning sunset through the living room window can seal the deal
- Standing Out in Online Listings: With most buyers browsing homes online, captivating images are crucial to catching attention amidst thousands of listings
However, window views are one of the most challenging elements to capture perfectly in-camera, making editing essential.
The Challenge of Capturing Perfect Window Views + The Solution
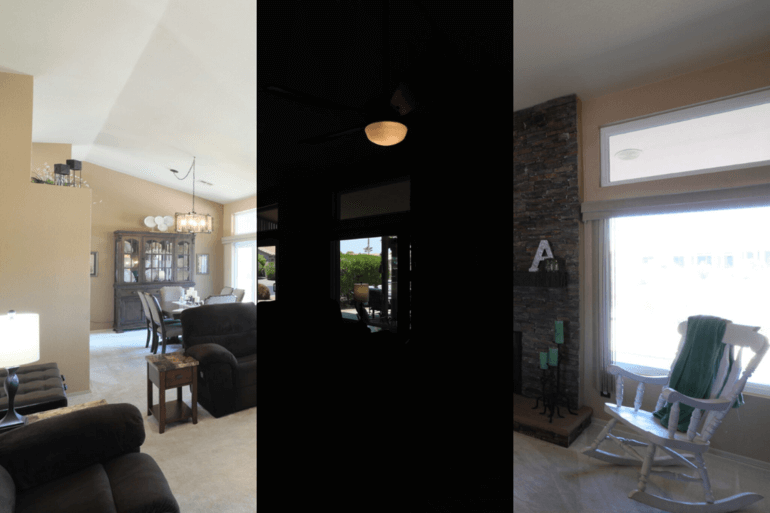
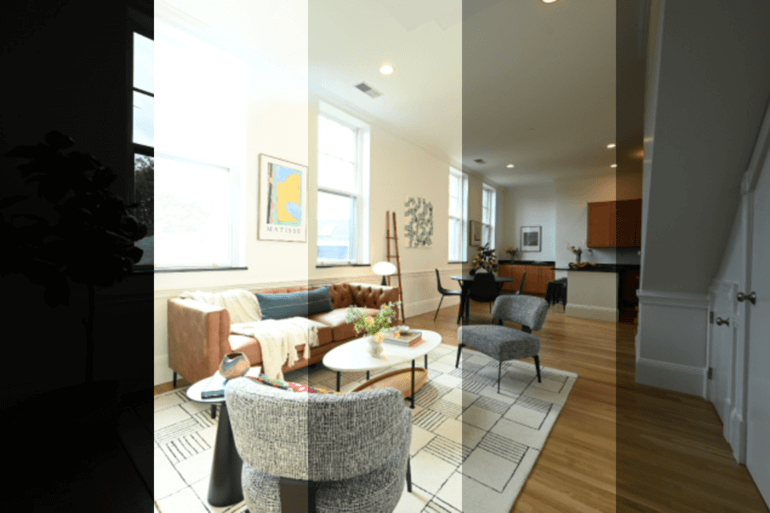
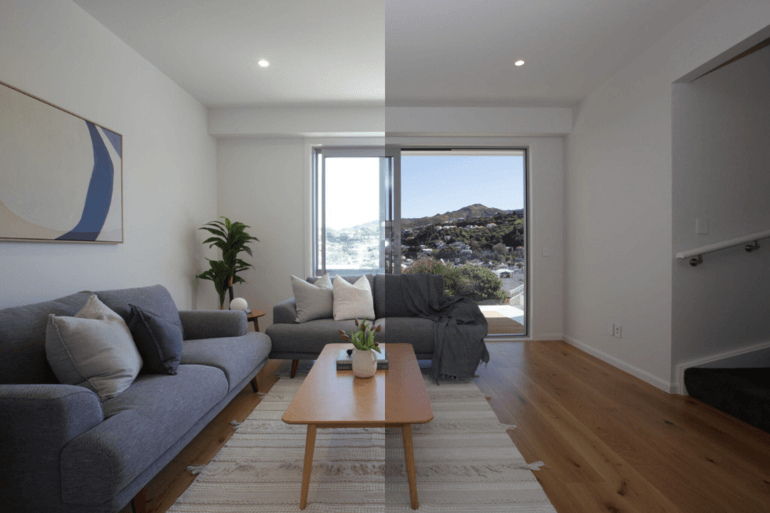
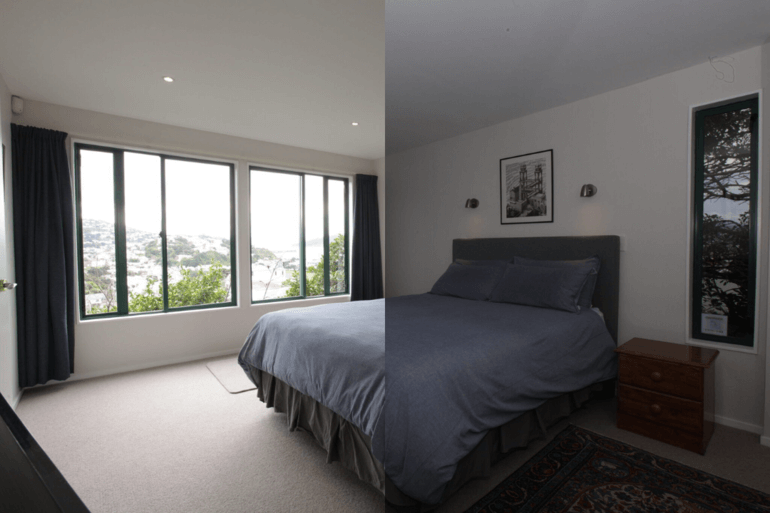
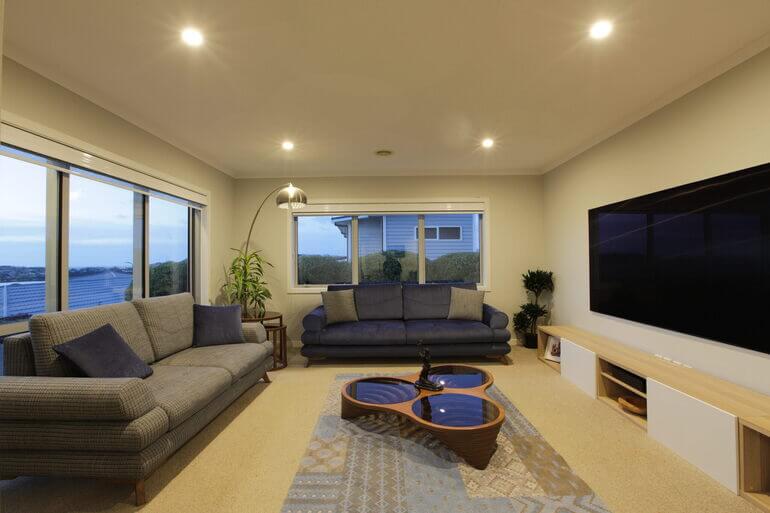
Unfortunately, capturing the perfect window view is challenging. Overexposed light, reflections, or poor weather conditions can turn a stunning outdoor scene into a washed-out blur.
This is where real estate photo editing comes in!
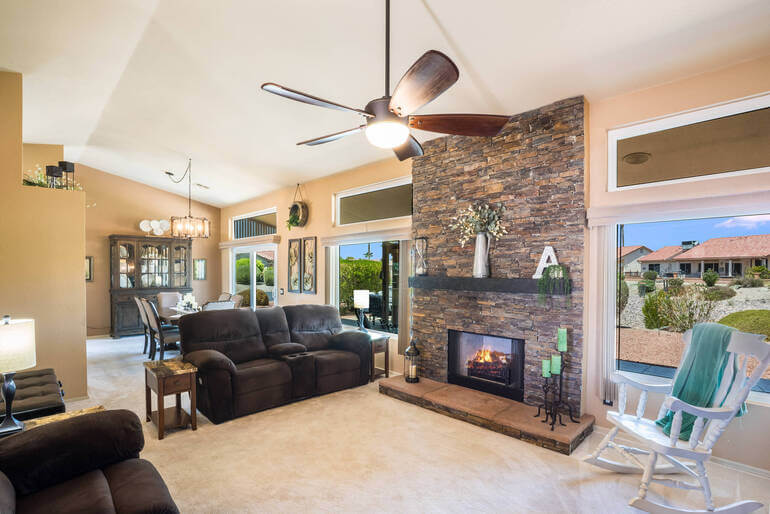
With the right editing techniques, photographers and agents can showcase crisp, beautiful window views that draw buyers in and help homes sell faster and for higher prices.
With this in mind, let’s take a look at a real-life example showcasing the effects of enhancing window views when marketing a listing for sale.
Transforming a Listing With Window View Editing🏙️
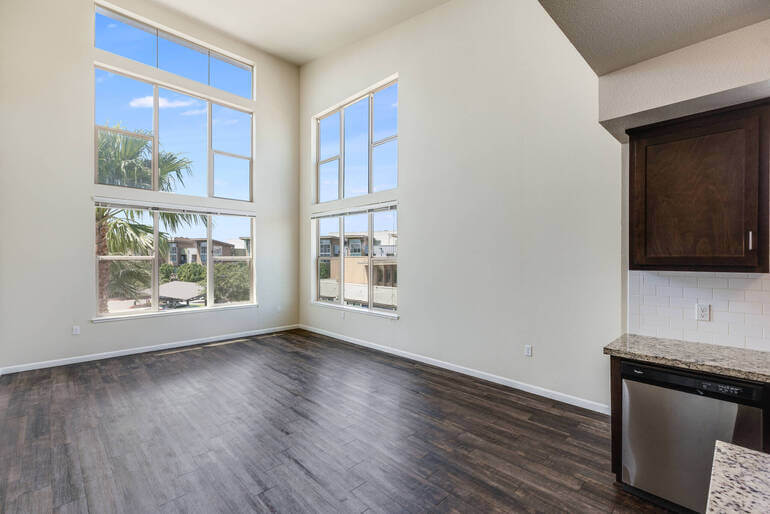
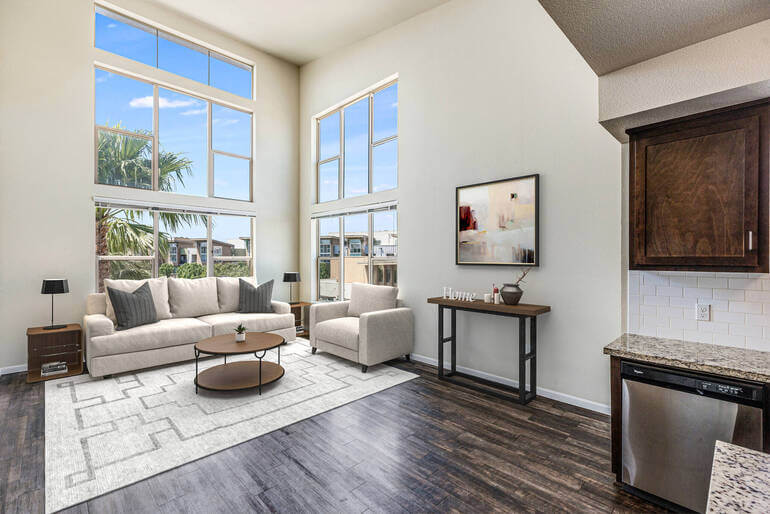
A luxury condo in Miami was struggling to attract offers despite its prime location.
The problem? Photos showed beautiful interiors, but the windows were overexposed, hiding the stunning ocean view.
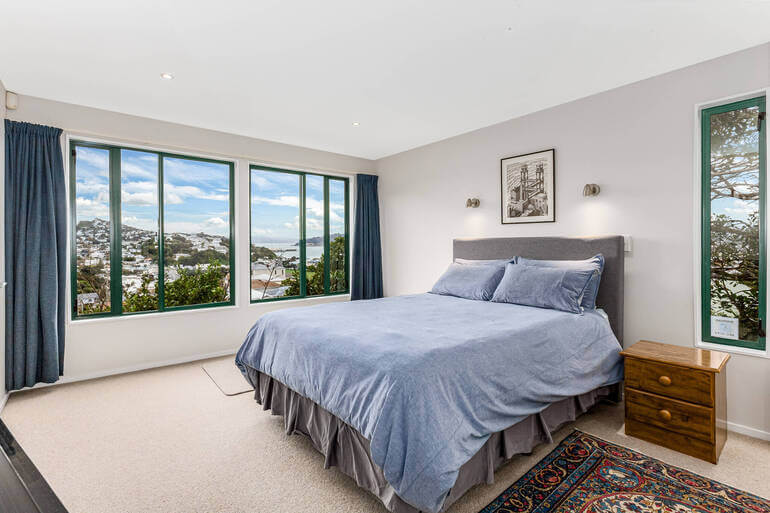
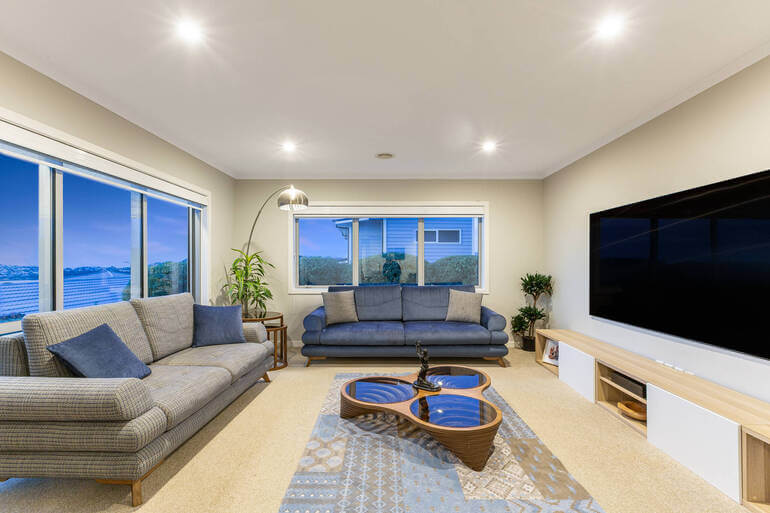
Professional real estate photo editors applied HDR blending, window masking, and sky replacement to reveal a vibrant turquoise ocean and clear blue sky.
The revised photos instantly elevated the listing’s appeal. The property received a surge of inquiries and sold within three weeks—$50,000 above the asking price.
This example shows how investing in professional real estate photo editing can dramatically improve marketing results.
Now, let’s move on to the purpose of this article – to show you how to create breathtaking window views with the help of some effective real estate photo editing techniques.
Have You Ever Thought To
Outsource Photo Editing?
Try it today with 5 free edits from three professional photo editors.

How to Create Stunning Window Views🌠(5 Methods)
Creating breathtaking window views requires a blend of technical skill and artistic vision.
Here are 5 proven real estate photo editing techniques that professionals use:
1. HDR Blending for Balanced Lighting
One of the biggest challenges with window views is balancing indoor and outdoor light.
The interior is often darker, while the outside is overly bright, leading to blown-out highlights.
HDR (High Dynamic Range) blending tips:
- Take multiple bracketed shots at different exposures.
- Merge them in editing software to create a balanced image where both the room and the view look natural
This technique brings out detail without making the image look fake or over-processed.
To learn how to do HDR blending, you can check out our tutorial on how to easily edit HDR real estate photos.
Pro tip: Avoid overdoing the HDR effect—natural-looking photos resonate best with buyers.
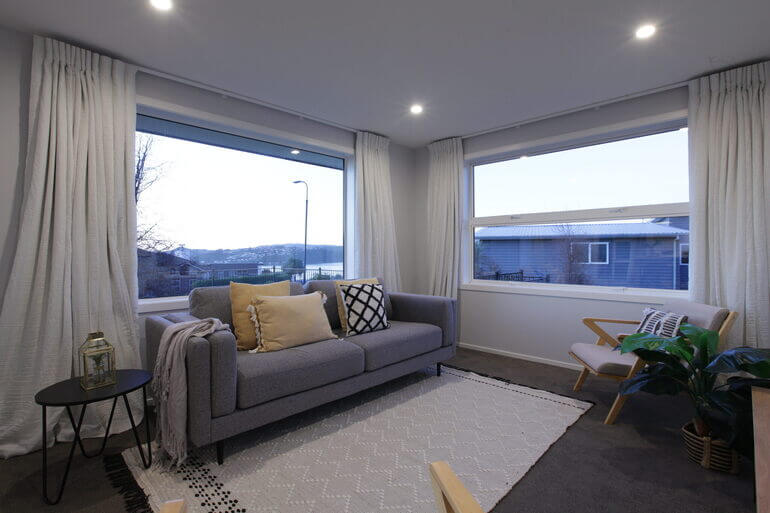
2. Sky Replacement for Weather Issues
Imagine photographing a property on a rainy, gloomy day. Even if the interior looks great, gray skies can make the window view uninspiring.
Sky replacement editing tips:
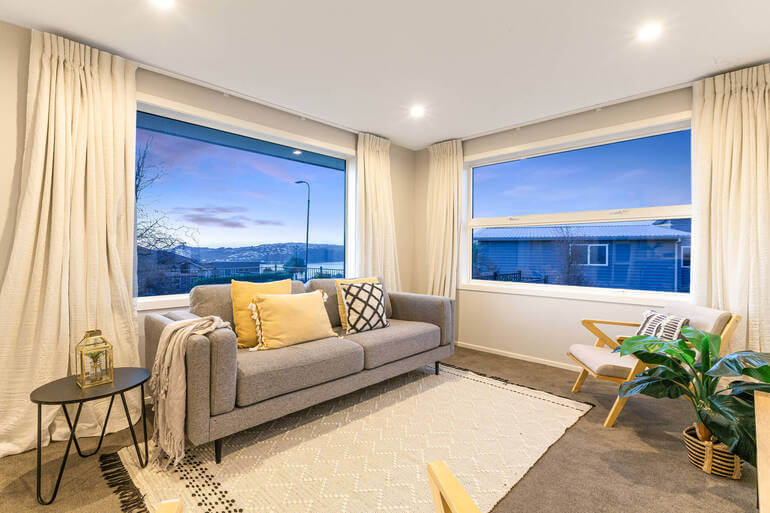
- Replace dull or overcast skies with vibrant blue skies, sunsets, or starry night views
- Match the lighting inside the room to the new sky for realism
Additionally, tools like Photoshop or Lightroom have advanced AI features that make this process quick and seamless.
Or, do it manually for more precision. Check out our guide on how to replace a summer sky in Photoshop to learn how to do this inviting editing technique.
Pro tip: Choose a sky that fits the time of day in the photo to keep it authentic.
3. Window Masking for Clean, Precise Views
Window masking is a specialized editing technique that ensures window views are sharp and perfectly framed without affecting other parts of the image.
This technique entails:
- Creating a precise mask around the window frame using advanced selection tools
- Blending the perfectly exposed outdoor view seamlessly into the masked area
- Preserving natural reflections and subtle shadows for a realistic effect
This method is ideal for complex window shapes or when there are intricate details like blinds or curtains around the frame.
Check out our guide on a quick & easy way to mask windows in Photoshop to learn how to perform this powerful editing technique.
Pro tip: Use a soft-edged brush to ensure a smooth transition between the interior and exterior for a natural look.
4. Perspective Correction
Sometimes, window frames look distorted due to wide-angle lenses, especially in small rooms like condos or apartments. This can make the view seem unnatural.
Perspective correction editing tips:
- Straighten window frames and lines
- Adjust angles to make the view appear symmetrical and professional
This technique is especially vital for high-end listings where perfection is expected.
To learn how this is done, you can visit our tutorial on how to correct perspective in Photoshop.
5. Color Correction and Enhancements
Even if the window view is visible, it might not pop due to dull colors or hazy conditions.
Color correction editing tips:
- Adjust contrast, saturation, and clarity
- Enhance blues and greens for landscapes
- Add subtle sharpening to make details like tree leaves or city lights stand out
Check out our guide on how to color correct in Photoshop to learn how to perfect your real estate photos.
Pro tip: Keep colors realistic—oversaturation can make photos look fake and reduce buyer trust.
And that’s it! By implementing these real estate photo editing techniques, you can create clear and breathtaking window views in your real estate photos that will captivate buyers’ attention.
Window View Editing for Real Estate FAQ📖
Why can’t I just capture the window view perfectly with my camera?
Cameras struggle to capture extreme differences in light between indoors and outdoors. Wide-angle lenses can also distort perspectives.
Editing allows you to balance exposure, correct perspectives, and achieve a professional, polished result.
Are edited window views misleading to buyers?
When done ethically, window view editing enhances reality rather than fabricates it. PhotoUp follows strict guidelines to ensure accuracy while making the property look its best.
What if my listing has a bad view?
Editors can virtually stage a scenic view for promotional materials, but it should be disclosed to potential buyers to maintain trust.
Final Thoughts
A breathtaking window view can be the difference between a buyer scrolling past your listing or scheduling a showing.
With the right editing techniques—from HDR blending to sky replacement and window masking—you can showcase properties in their best light.
Additionally, partnering with experts like PhotoUp ensures your real estate photos stand out in a competitive market.
By investing in professional editing, you’re not just enhancing photos; you’re boosting sales potential and delivering a premium experience to buyers.
Let’s take a closer look at PhotoUp and how to easily outsource your editing needs.
Have You Ever Thought To
Outsource Photo Editing?
Try it today with 5 free edits from three professional photo editors.
How PhotoUp Can Help You Create Captivating Views🌄
PhotoUp specializes in professional real estate photo editing, helping photographers and agents create images that sell.


With a team of experienced editors and a streamlined process, we can transform ordinary shots into extraordinary marketing assets.
Why Choose PhotoUp?
Here are some compelling reasons to choose PhotoUp’s editing services:
- Expert HDR blending and sky replacement
- Precision window masking for natural, sharp window views
- Fast turnaround times of 12-24 hours to keep listings moving
- Affordable pricing, starting at $1.50 per image for agents and photographers
- Dedicated Editors to maximize image consistency and productivity
- US-based support 24/6 to ensure client satisfaction
- We can help with any real estate photo editing issues
Whether you’re a solo photographer or a large real estate firm, PhotoUp offers scalable solutions to fit your needs.
Browse Top Dedicated
Real Estate Photo Editors
Ready-to-hire editors for real estate photo editing, and more.
More Than Just Real Estate Photo Editing
PhotoUp offers so much more than just editing! We are a complete real estate marketing partner and also offer other powerful services like:
We have everything you need to enhance and market real estate photography in one user-friendly software!
How to Get Started
Getting started using PhotoUp’s real estate photo editing service is super easy.
This is all you need to do:
Step 1. Sign up for a free PhotoUp account.
Step 2. Upload your photos to our easy-to-use software.
Step 3. Choose the level of editing that you need and provide instructions (optional).
Step 4. Wait for PhotoUp professional editors to edit and return the photos in less than 24 hours (48 hours for virtual staging).
Step 5. Download and start using your beautifully edited photos.
PhotoUp Real Estate Photo Editing Uploader Tutorial
Have a look at the real estate photo editing uploader tutorial to see how easy it is to get started with PhotoUp:
As simple as that!
Sign up for a free PhotoUp account today and let our expert editors help you create stunning window views while also saving you time and money.
For a limited time, you’ll receive a bonus of 10 free credits you can use on any of our services when signing up for an account.
We hope this guide helped you learn how to create breathtaking window views in your real estate photos. Before you go, you may also want to check out the following resources:
- Real Estate Editing on a Budget: Top Services Under $2 Per Image
- 9 Proven Exterior Real Estate Photo Editing Techniques
- The #1 Edit to Create Stunning Real Estate Photos
- How to Replicate Professional Real Estate Photo Editing (10 Expert Tips)
- Why Real Estate Photo Editing Matters in a Competitive Market

