


Table of Contents
- What Is a RAW Edit Layer in Photoshop?
- When to Use a RAW Edit Layer?
- Advantages of Using a RAW Edit Layer in Post-Processing
- How to Create a RAW Edit Layer in Photoshop
- Save Time on Real Estate Photo Editing With PhotoUp!
For professional photographers, especially those in real estate, maintaining the highest image quality is crucial. One of the most powerful tools to achieve this is working with RAW files.
Photoshop allows you to create a RAW Edit Layer, providing flexibility and non-destructive editing.
This tutorial will guide you through the process of how to create a RAW Edit Layer in Photoshop and explain why it’s particularly beneficial for real estate photo editing.
Let’s get started!
What Is a RAW Edit Layer in Photoshop?
A RAW Edit Layer in Photoshop enables you to apply adjustments typically made in Adobe Camera Raw (ACR) directly to a layer. It’s an invaluable tool for real estate photo editing.
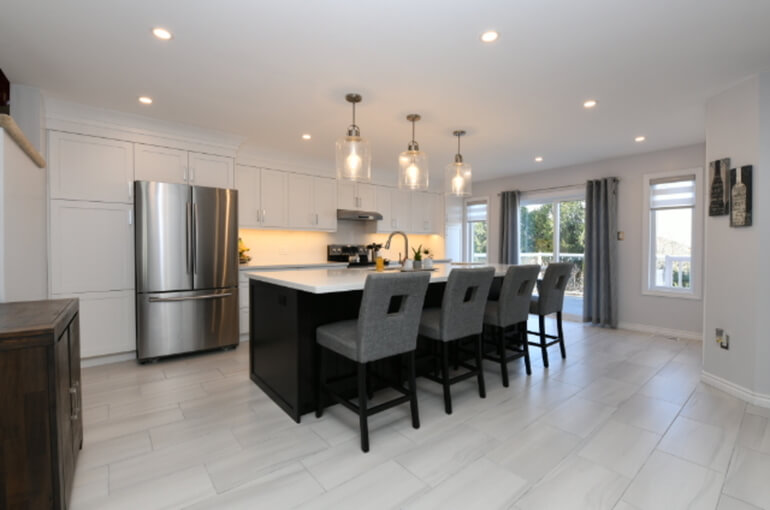
Creating a RAW Edit Layer in Photoshop ensures high-quality, non-destructive edits, allowing photographers to present properties in their best light.
Whether correcting exposure, enhancing colors, or performing complex edits like day-to-dusk conversions, this technique offers the flexibility and precision needed to create outstanding real estate photos.
When to Use a RAW Edit Layer?
Here are some scenarios when using a RAW Edit Layer in Photoshop is beneficial for editing real estate photos:
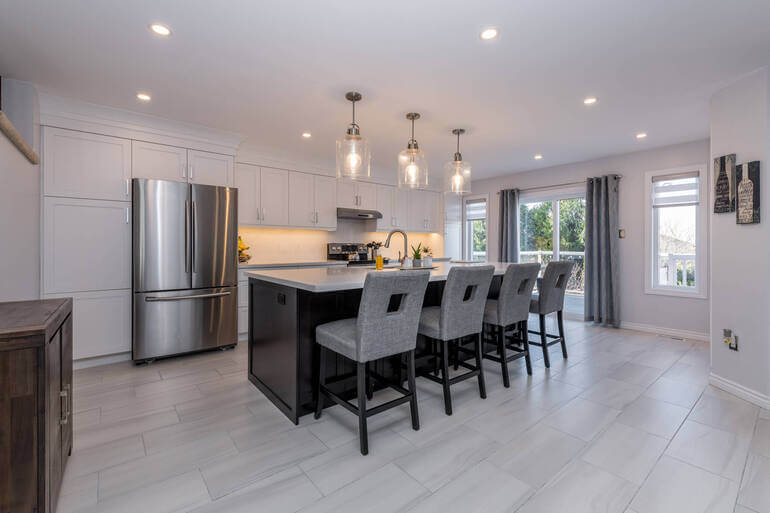
| High-Quality Adjustments: Real estate photos often require precise adjustments to highlight architectural details. A RAW Edit Layer allows you to enhance shadows and highlights and fine-tune color temperature to match indoor and outdoor lighting. |
| Day-to-Dusk Conversions: When converting a daytime photo to a twilight scene, the additional data in RAW files ensures smoother transitions and realistic color grading. |
| Correcting Exposure Issues: If a photo is underexposed or overexposed, working with a RAW layer gives you greater latitude to recover details in both shadows and highlights. |
| Consistency Across Multiple Images: For property listings with multiple images, you can save and apply Camera RAW presets to maintain a consistent look and feel across all photos |
Using the RAW Edit Layer feature ensures your real estate photos are not only visually appealing but also professionally polished to meet industry standards.
Best of all, your edits are applied non-destructively, meaning you can always go back and modify the RAW adjustments later without affecting the original image data.
Advantages of Using a RAW Edit Layer in Post-Processing
As mentioned earlier, there are many benefits of editing your real estate photography using a RAW Edit Layer, including:
- Non-Destructive Workflow: You can adjust edits multiple times without degrading the image quality
- Better Color Management: Achieve accurate and vibrant colors that make interiors and exteriors pop
- Enhanced Dynamic Range: Recover details from challenging lighting scenarios, such as bright windows or dimly lit rooms
With these benefits, a RAW Edit Layer is a game-changer for producing professional-grade real estate photos that capture attention and drive results.
The Ultimate All-in-One
Real Estate Photographer Business Platform
Grow a successful real estate photography business with PhotoUp.

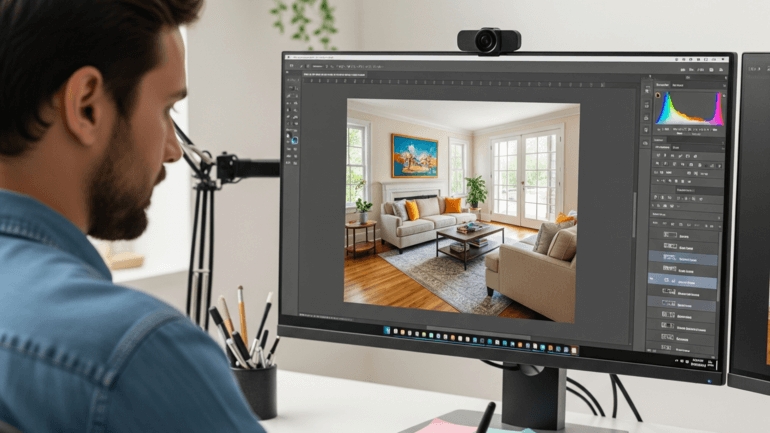
How to Create a RAW Edit Layer in Photoshop
With this in mind, here are the steps to create a RAW Edit Layer in Photoshop for non-destructive editing.
You can either watch the video tutorial or continue reading the text below:
Step 1. First, open your RAW image in Photoshop. Go to File > Open.
Step 2. Next, select your RAW image, and it will automatically open in Adobe Camera Raw. From here, you can make your usual adjustments like exposure, contrast, color temperature, and more.
Step 3. Now, instead of just clicking “Open,” hold down the Shift key, and the “Open” button will change to Open Object.
Step 4. Click Open Object, and this opens your image in Photoshop as a Smart Object – meaning you can re-edit the Camera Raw settings at any time. Just double-click the Layer Thumbnail, and Photoshop will reopen Camera Raw.
Step 5. Make your changes, and then click OK to return to Photoshop.
Step 6. If you’re working with a non-RAW image, but still want Camera Raw control, right-click on the Layer and choose Convert to Smart Object.
Step 7. Then, go to Filter > Camera Raw Filter. This lets you apply Camera Raw edits just like you would on a RAW file.
Step 8. Lastly, click OK.
And just like that, you’ve learned how to create a RAW Edit Layer in Photoshop for non-destructive editing.
You’ve got a flexible, RAW-editable layer inside your layered Photoshop file. It’s treated as a filter, and you can go back and tweak it anytime.
Embrace this workflow to elevate your real estate photography and impress potential buyers and clients alike.
Have You Ever Thought To
Outsource Photo Editing?
Try it today with 5 free edits from three professional photo editors.
Save Time on Real Estate Photo Editing With PhotoUp!
Feeling overwhelmed by your workload? A professional real estate photo editing service might be just what you need to lighten the load and stay focused on growing your business.
By outsourcing your editing tasks, you can reclaim precious time to dedicate to strategic, high-value activities. And as the old adage goes, “time is money,” so this approach can also lead to significant cost savings.
PhotoUp, a trusted name in real estate photo editing, boasts over a decade of experience and a highly skilled team of editors based in both the Philippines and the US.
Our experts can enhance your real estate photos with services such as:
- Brightness and color adjustments
- Vertical line corrections
- Advanced object removal
- Day-to-dusk transformations and twilight edits
- Lawn enhancements and sky replacements
- HDR processing
- Manual image blending
- Flambient editing
- And so much more!
Whether you have a small batch of images or a large-scale project, we offer affordable solutions tailored to meet your needs.
Browse Top Dedicated
Real Estate Photo Editors
Ready-to-hire editors for real estate photo editing, and more.
A Complete One-Stop Shop for Real Estate Marketing
PhotoUp offers so much more than just editing. We are a complete one-stop shop for real estate marketing services and also provide powerful tools such as:
As you can see, you can find everything you need to enhance and market real estate photography in one user-friendly software.
How to Get Started
PhotoUp’s user-friendly photo management system makes it easy to upload, receive, and store images, manage feedback, and collaborate with team members—all in one place.
This is all you need to do to get started:
Step 1. Sign up for a free PhotoUp account.
Step 2. Upload your photos to our easy-to-use software.
Step 3. Choose the level of editing that you need and provide instructions (optional).
Step 4. Wait for PhotoUp professional editors to edit and return the photos in less than 24 hours (48 hours for virtual staging).
Step 5. Download and start using your beautifully edited photos.
It’s really that easy to get professionally edited images returned to you in less than 24 hours!
So what are you waiting for?
Sign up for a free PhotoUp account today and let PhotoUp’s professional real estate photo editors take your editing off your plate!
Best of all, when you sign up for an account, you’ll receive a bonus of 10 free credits to use however you please.
We hope this guide helped you learn how to create a RAW Edit Layer in Photoshop. Before you go, you may also want to check out the following resources:

