Table of Contents
- What an AI Photo Editing Workflow Actually Includes
- Putting the Full Photo Editing Workflow Together
- Common Mistakes to Avoid
- How PhotoUp Helps You Build and Run This Workflow
- Get Started With This Workflow
An AI editing tool runs its batch, and that becomes the whole workflow by default. Nothing around it is actually defined: no consistent intake, no QA checkpoint, no standard for what happens before an image reaches a client.
That’s not a workflow. That’s a tool with no process around it.
Here’s how to actually build an AI photo editing workflow for real estate photography, stage by stage, from intake to delivery.
What an AI Photo Editing Workflow Actually Includes
A real photo editing workflow has five distinct stages: intake, culling, the AI editing pass, a human QA checkpoint, and export and delivery. Skip a stage, and the whole workflow leans on whichever step is left to catch everything else.

This matters more than it might seem. A survey of 423 photographers, reported by PetaPixel, found that 50.4% experience mental exhaustion after a long editing session, and 61.7% already use AI for some part of their editing.1 AI adoption is already common. A defined process is what determines whether that adoption actually saves time or just adds a new tool to an undefined process.
Each stage below has a specific job. None of them work well if they’re skipped or handled inconsistently from job to job.
Stage 1: Intake and File Organization
Before any editing happens, every shoot needs a consistent naming and folder structure. That means the listing address or job number, the shoot date, and a clear separation between raw files and edited output.

This sounds basic, and it is, but it’s also where a lot of these setups break down first. An AI tool that expects a specific file structure or naming convention will fail quietly if intake isn’t consistent, and the fix ends up being manual renaming, which defeats the purpose of automating the stages that come after it.

Picture three listings moving through editing on the same Friday afternoon. Without a naming convention, sorting which raw files belong to which address becomes a manual task before editing even starts. With one, the same sorting happens automatically, and the AI editing stage can run without anyone double-checking which folder is which.
Stage 2: Culling Before You Edit
Culling, selecting which images from a shoot actually move forward, should happen before AI editing starts, not after. Running every frame from a bracketed set through an AI tool wastes processing time on images that were never going to make the final gallery.

Some newer platforms are starting to combine culling and editing into one pass. That’s worth watching, but for most setups today, a clean culling step first keeps the AI editing stage focused on the images that actually matter.
Stage 3: Running the AI Editing Pass
This is the stage most photographers already have in place, and for good reason. AI handles a specific set of corrections well: exposure balancing across a bracketed set, white balance correction on standard daytime interiors, perspective and lens correction, and HDR blending on a clean, standard shot.
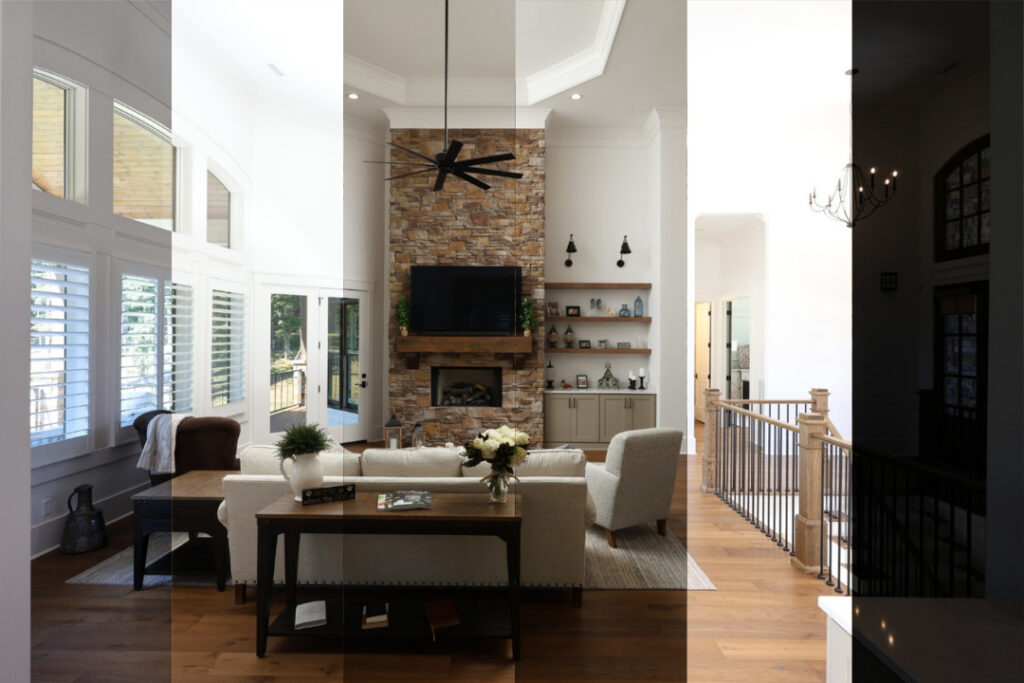
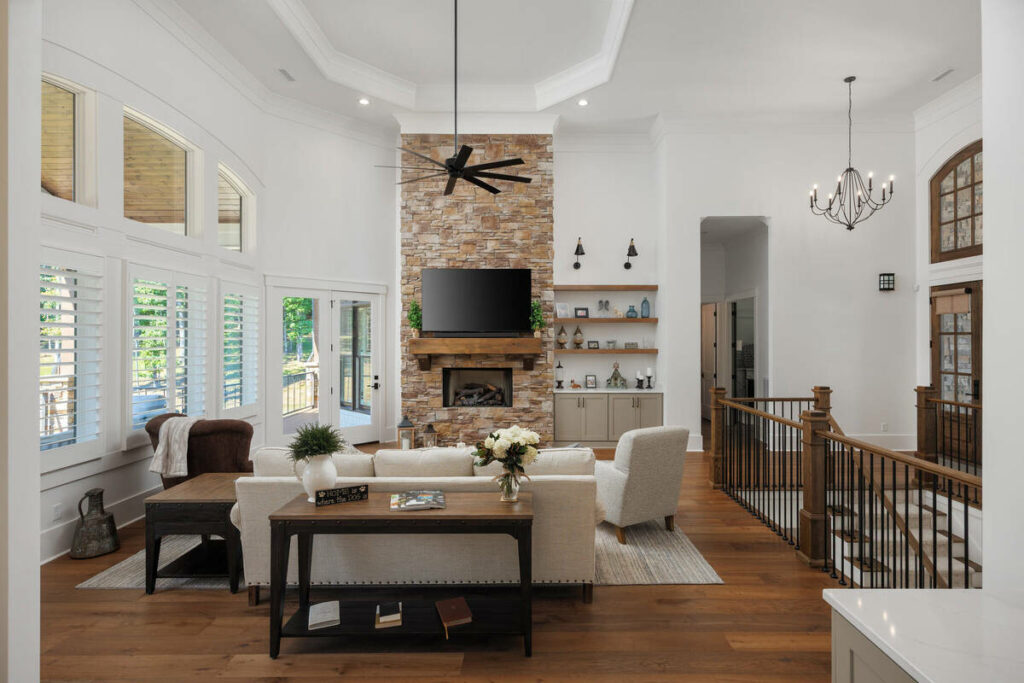
Batch color consistency deserves its own mention. Running 30 to 80 images from the same shoot through an AI tool and getting matching color and tone across all of them is one of the clearest time savings in a photo editing workflow, and it’s something AI does reliably.
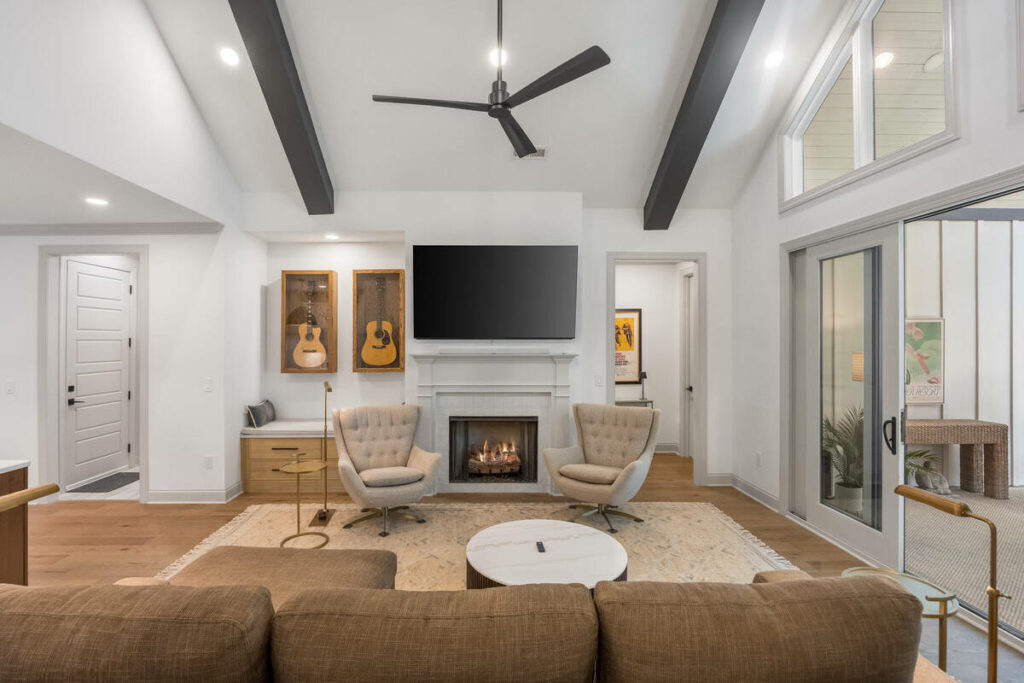

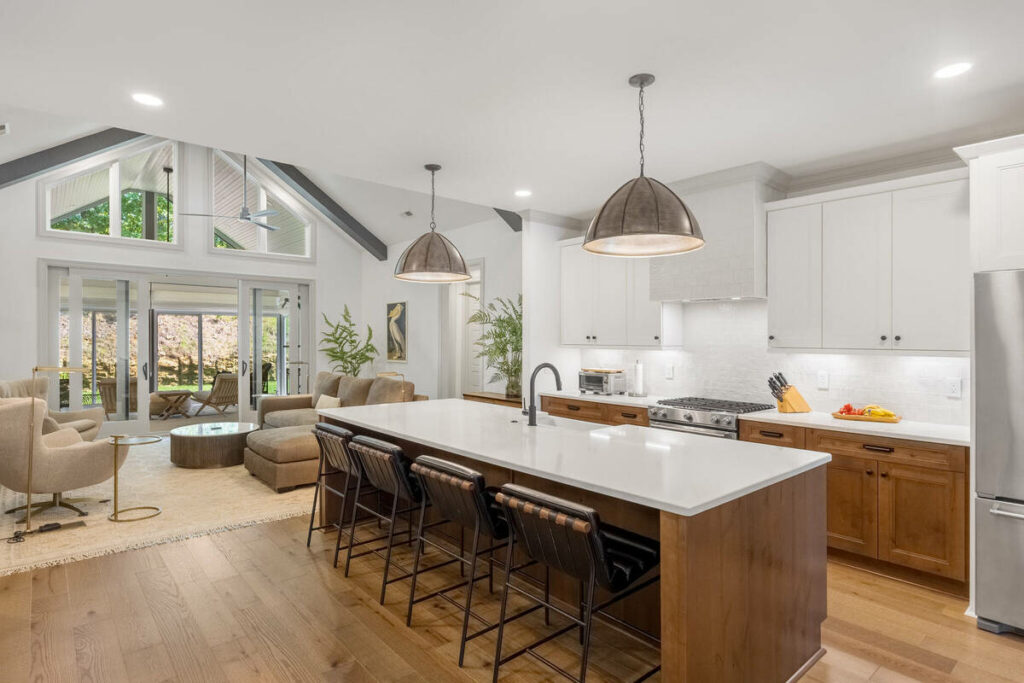
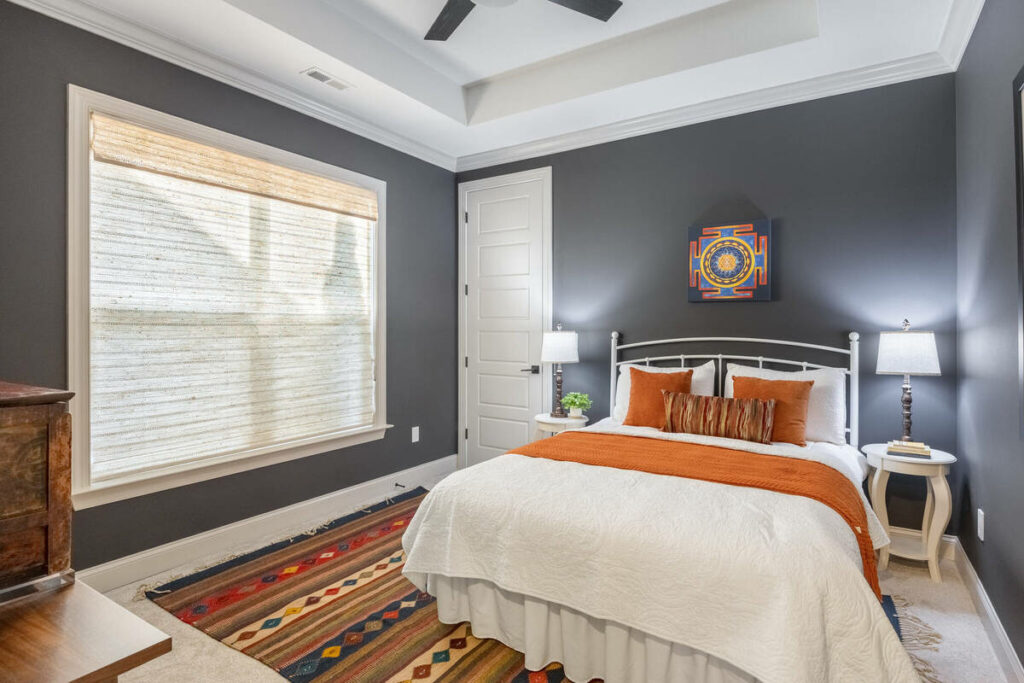
Basic object removal, a stray cord, a small distraction, rounds out what this stage handles well. None of this requires much oversight in the moment. It’s the stage after this one where oversight actually matters.

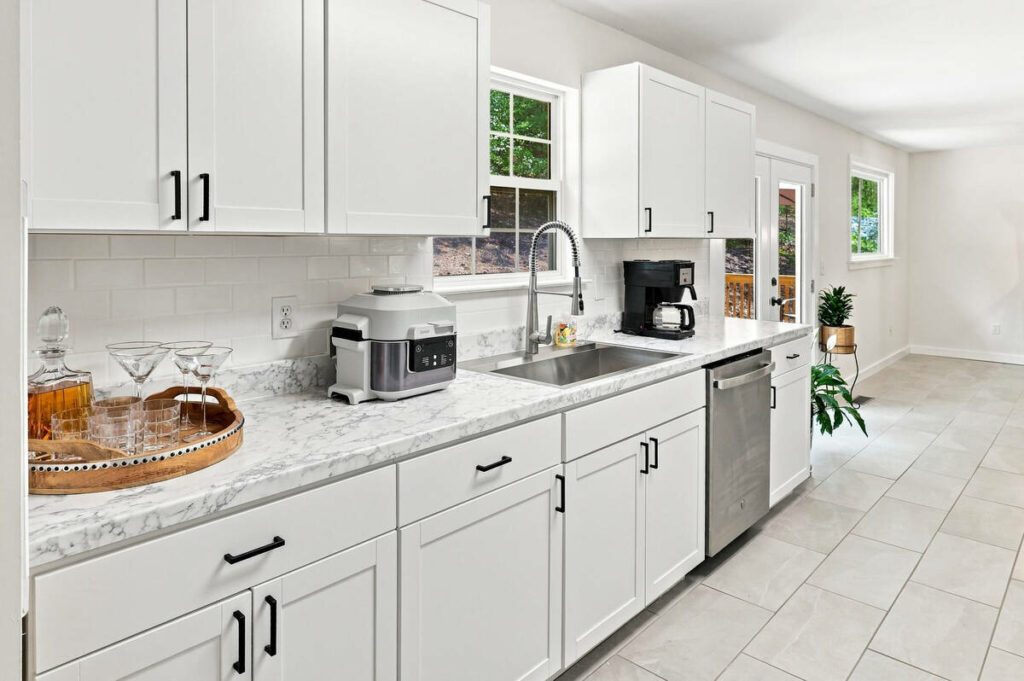
It’s worth batching by lighting condition rather than running an entire shoot through identical settings. A bright exterior and a dim interior corner don’t need the same correction, and grouping images by lighting before the AI pass tends to produce more consistent results than treating every frame from a shoot the same way.
Stage 4: Building In a Human QA Checkpoint
Every photo editing workflow that skips this stage eventually ships something it shouldn’t have. A QA checkpoint isn’t a full re-review of every image. It’s a focused check on the categories AI is known to get wrong: sky replacement on complex rooflines, twilight conversions, virtual staging, and anything a specific client expects handled a certain way.
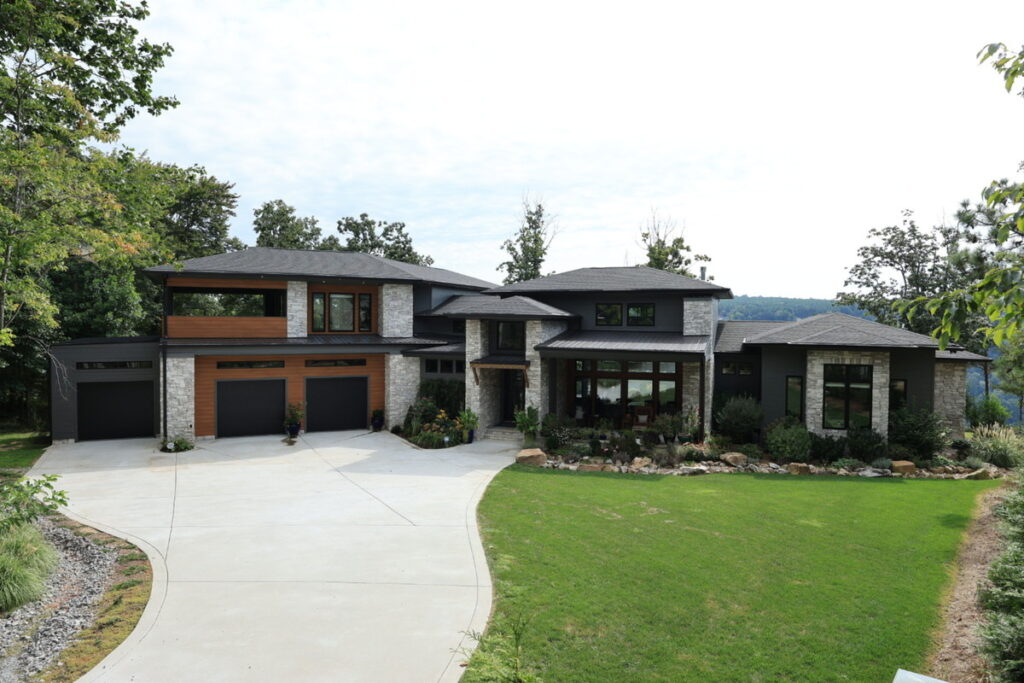
This stage deserves more detail than fits here. A dedicated breakdown of what a human QA checkpoint actually catches covers the exact criteria a reviewer should check before anything moves to delivery.

One decision worth making explicitly: does every image get checked, or just the categories most likely to need it? Reviewing every single frame isn’t necessary, since AI handles the standard corrections reliably. Focusing the QA stage on twilight shots, complex skies, and staged rooms catches most of what actually needs catching without turning the checkpoint into a second full edit pass.
Stage 5: Export, Delivery, and Consistency Standards
The last stage is where a lot of the time savings from the earlier stages can quietly disappear. Inconsistent export settings, resolution, format, color space, between AI-edited and manually touched-up images create mismatches once a gallery goes out.

Connecting output directly to a delivery platform, instead of exporting and uploading separately, removes a manual step that otherwise adds itself back into every single job. Integrating individual AI tools into the rest of this process is worth a closer look if this stage is where things currently fall apart.
A defined export standard also matters when more than one person touches a job. If an AI-edited exterior and a manually retouched interior from the same listing use different resolution or color space settings, the mismatch is obvious the moment a gallery goes live. Locking that standard in at the export stage, once, means it doesn’t need to be re-decided on every job.
Focus on Photography
We'll Handle the Rest
Save time with a dedicated PhotoUp Coordinator.

Putting the Full Photo Editing Workflow Together
In sequence, the complete process looks like this: standardize intake, cull before editing, run the AI pass on what’s left, check the results against a specific QA list, then export and deliver with consistent settings.
Most of this only needs to be built once. After that, it runs the same way whether it’s a quiet Tuesday or a twelve-listing weekend, which is the actual point of building one in the first place.
| Factor | No Defined Workflow | Structured Workflow |
|---|---|---|
| Consistency | Varies by job, by mood, by how busy the week is | Same five stages, every time |
| Error catching | Whatever gets noticed before delivery | A specific QA checklist, applied on purpose |
| Turnaround under volume | Slows down or skips steps when busy | Holds steady, since each stage is defined |
| Onboarding a new tool | Trial and error, folded into an already full week | Slots into the existing stage it belongs to |
The gap between these two columns is rarely about which AI tool someone uses. It’s almost always about whether a defined process exists around that tool in the first place.
Common Mistakes to Avoid
A few mistakes show up more than others when photographers put one together for the first time:
| ✖️ Culling after editing instead of before, which wastes AI processing time on images that won’t be used |
| ✖️ No defined QA criteria, so review happens inconsistently or gets skipped when things are busy |
| ✖️ Inconsistent export settings across AI-edited and manually edited images |
| ✖️ Treating the AI tool as the whole workflow, instead of one stage inside a larger process |
| ✖️ Never revisiting the setup as tools update or shoot volume changes |
Any one of these is fixable. Left unaddressed, they compound, and the photo editing workflow ends up costing more time to manage than it saves.
None of these mistakes show up as a single bad day. They show up gradually, as a slightly longer turnaround here, a client-flagged error there, until the workflow that was supposed to save time is quietly costing more of it than the AI tool alone ever did.
How PhotoUp Helps You Build and Run This Workflow
That’s where PhotoUp comes in. A PhotoUp Coordinator builds the full photo editing workflow around whichever AI tools you’re using: intake standards, culling, the QA checkpoint, and consistent export and delivery settings.
Browse Top Dedicated
Real Estate Photo Editors
Ready-to-hire editors for real estate photo editing, and more.
This isn’t about replacing the AI tool doing the editing. It’s about the structure around it, the part most photographers never get around to formalizing because they’re busy shooting and booking, not building process documentation.
You don’t have to design this from scratch or remember to apply it consistently every week. The Coordinator sets it up once and keeps it running as your tools or volume change.
Get Started With This Workflow
A PhotoUp Coordinator builds and runs the full workflow for you:
- Reviews your current process and identifies which stages are missing or inconsistent
- Standardizes intake, file naming, and export settings across every job
- Sets up a human QA checkpoint on the categories AI is known to miss
- Keeps the workflow consistent as your tools or volume change
Focus on Photography
We'll Handle the Rest
Save time with a dedicated PhotoUp Coordinator.
Why work with PhotoUp: a dedicated Coordinator who builds the process once and maintains it, not a generic checklist you’re left to implement and troubleshoot alone, backed by real estate photo editing experience since 2011.
How To Get Started:
- Talk to a PhotoUp Coordinator about your current photo editing workflow, or lack of one
- Get a walkthrough of how intake, QA, and delivery would connect for your typical shoots
- Run a batch through the new setup before rolling it out across your full volume
See where AI fits, and where it doesn’t, in your editing process.
Related Articles:
- Auto Enhance vs Auto HDR vs Photello vs Imagen: Which AI Real Estate Photo Editing Tool Fits Your Workflow
- Why Photographers Need a Production Coordinator for AI Photo Editing Workflows
- AI-Powered Real Estate Photo Editing Services for Photographers
- How Human QA Catches What AI Photo Editing Misses in Real Estate Photos
- How to Integrate AI Photo Editing Tools Into Your Real Estate Business
References: