


Table of Contents
- When Is It Useful to Remove Objects in Images
- Different Ways to Remove Objects in Lightroom
- How to Remove Objects in Lightroom (3 Easy Techniques)
- Outsource Your Real Estate Photo Editing to PhotoUp
Do you want to learn how to remove objects in Lightroom?
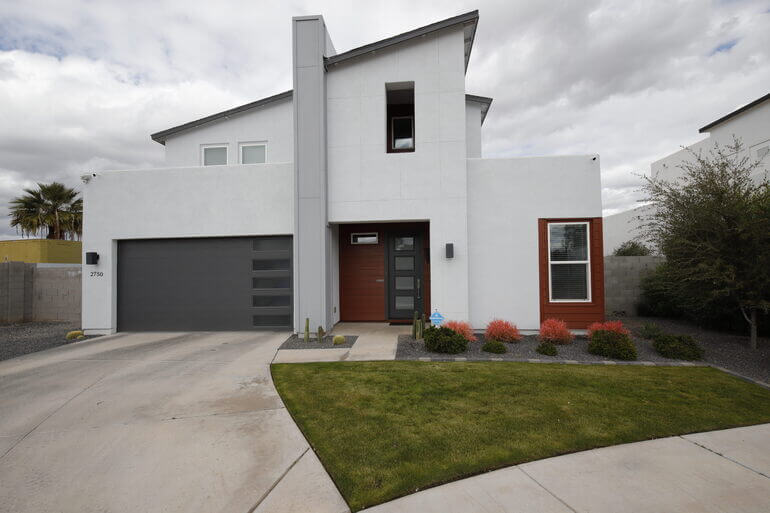
As a real estate photographer, one of the biggest challenges you face is making sure that the photographs you take look appealing enough to capture potential buyers’ attention.
Unfortunately, sometimes those pesky objects get in the way of your shot. A random coffee cup on the kitchen counter or a pile of cords and wires behind the TV can quickly ruin a seemingly perfect photo.
But don’t worry! In this blog post, we’ll show you how you can remove objects in Lightroom to create stunning photos that will help you market and sell more properties.
Let’s start by taking a look at when it’s useful to remove objects from your photos.
When Is It Useful to Remove Objects in Images
As a real estate photographer or any photographer, you’ll encounter various situations in which you might need to remove objects from your images.
For instance, it could be a pesky blemish during a portrait shoot, dealing with unwanted trash cans, or a car parked in the driveway in an otherwise beautiful property photo.


Trashcans, water bottles, powerlines, blemishes, and dust particles are some common objects we often find ourselves removing to eliminate distractions in backlit photos.
And occasionally, we’ll even handle obnoxious lens flares or those pesky flyaways.
It’s, therefore, essential to perfect your skills in removing objects to enhance the overall impact of your images.
Different Ways to Remove Objects in Lightroom
So, you’ve captured the perfect shot and tried your best to minimize any distractions. But sometimes, you still need to remove certain objects.

Luckily, Lightroom has some amazing tools for that!
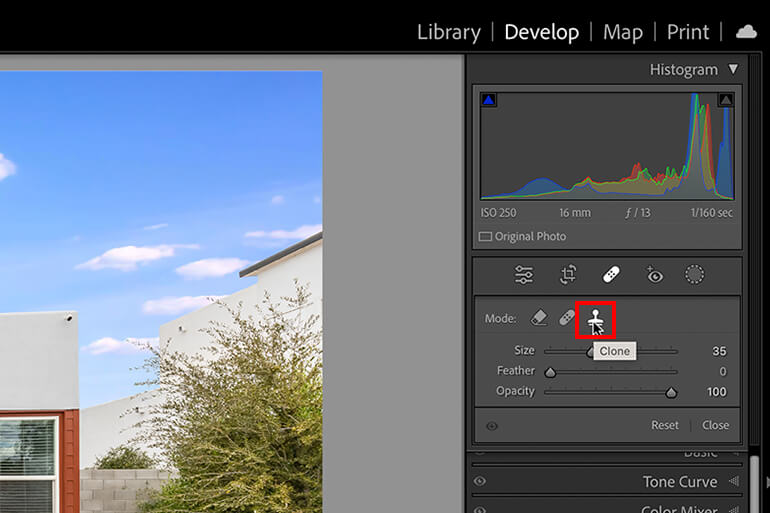
Under the “Healing Tool” section, located right above the “Basic Panel” in the “Develop Module,” you’ll find the following options:
- Clone: This tool allows you to directly copy another area of the image without any effort to blend it with the surroundings. It’s a quick and easy way to get rid of unwanted elements
- Heal: With this tool, you can select a source area to heal the target area. It does a fantastic job of matching and blending, leaving no trace of the object you want to remove
- Content-Aware Remove: This powerful tool uses AI to intelligently fill the selected area with replacement pixels, seamlessly removing any unwanted objects or areas.
It’s like magic!
With the awesome clone, heal, and content-aware remove tools in Lightroom, you can now easily eliminate any distracting elements in your post-production process.
No more hassle of switching to Photoshop for detailed object removal – Lightroom has got you covered!
How to Remove Objects in Lightroom (3 Easy Techniques)
That said, let’s now take a look at how to use these 3 tools to remove objects in Lightroom. You can either watch the video tutorial or continue reading the text below:
Select Your Object With the Spot Removal Tool
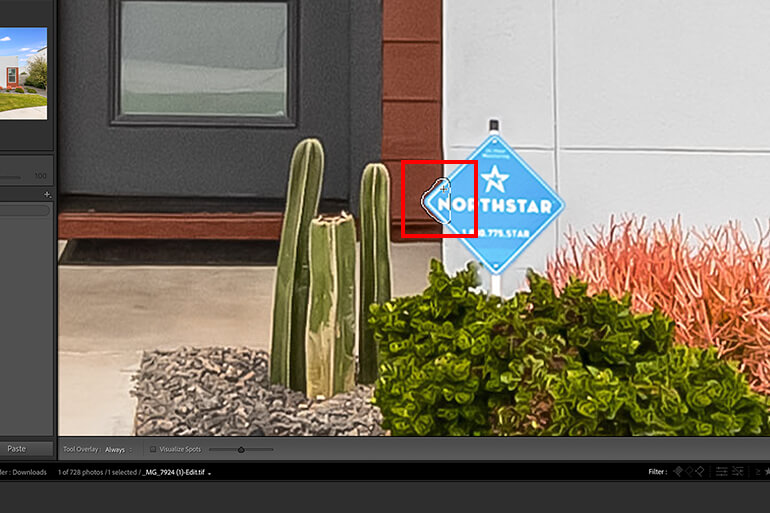
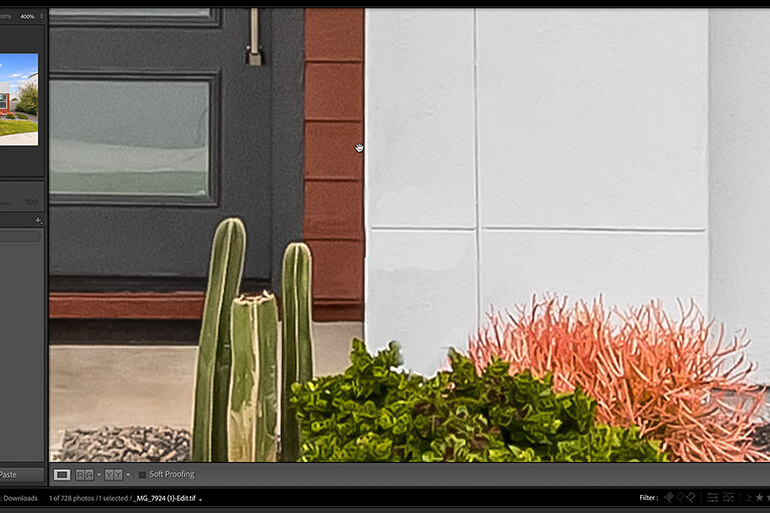
Once you’ve uploaded your image onto Lightroom, take a closer look to figure out what objects need to be removed. For instance, you might identify a potted plant that seems to detract attention from a living room’s set of sofas.
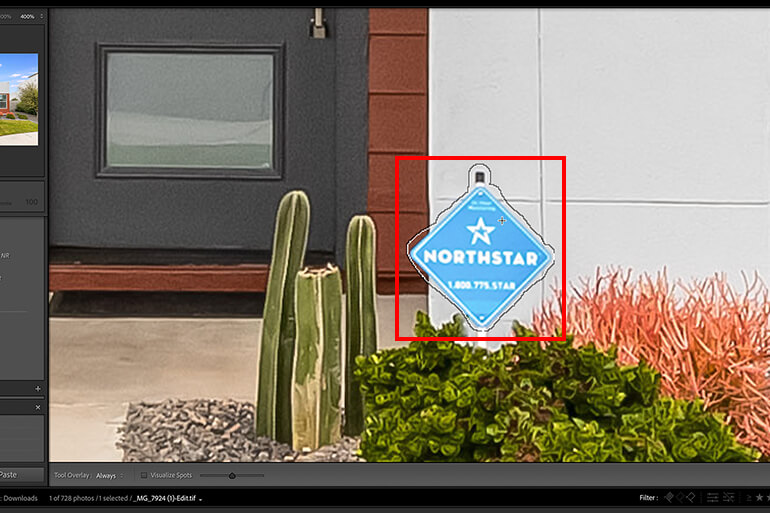
Once you’ve identified the object, use the tools available to select or isolate it. One of the easiest ways to do this is to use the Spot Removal Tool, which you can access by pressing Q on your keyboard.
It’s also possible to zoom in on the specific object’s area with the Magnifying Glass or Zoom Tool.
1. Using the Clone Tool
Step 1. After isolating the object, click on the Clone Tool, which sits right above the Spot Removal Tool in the Develop Module.
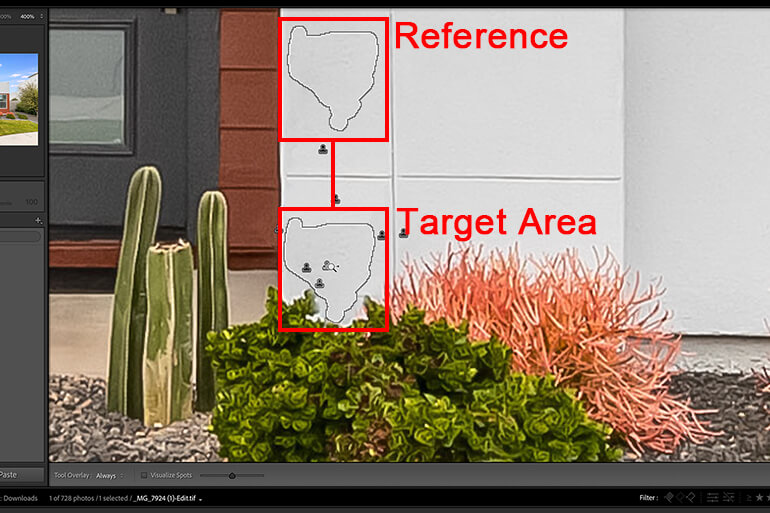
Step 2. Hold down the Alt button (Windows) or the Option key (Mac) to find a clean area similar to the spot you’re trying to remove. Then, click on this area, and the Clone Tool will now use this clean area as a reference to replace the object.

2. Using the Healing Brush
The Healing Brush Tool is another excellent tool that functions similarly to the Clone Tool.
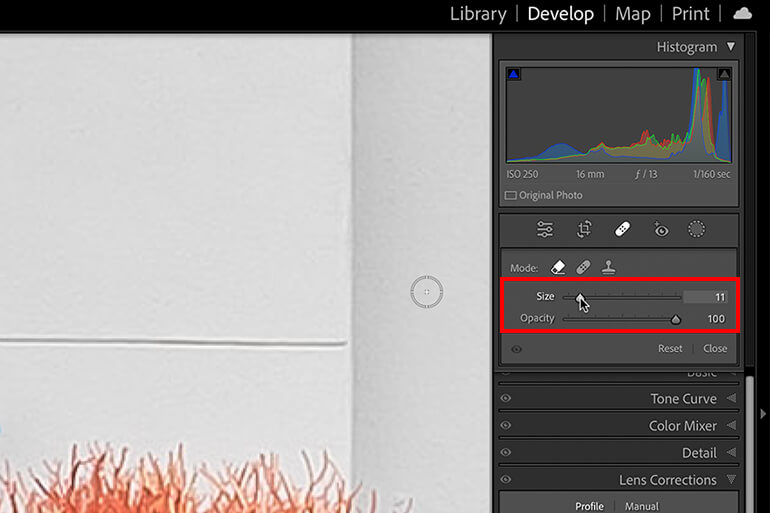
Step 1. Start by selecting the Spot Removal Tool and choosing the Healing Brush from the drop-down menu.
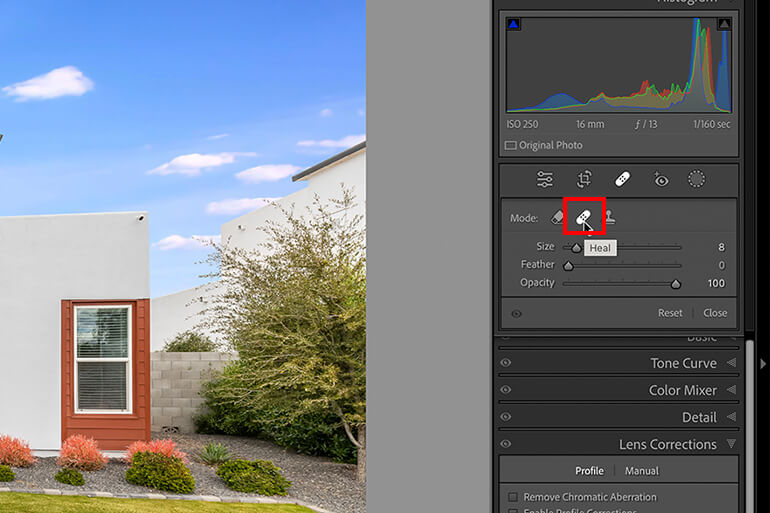
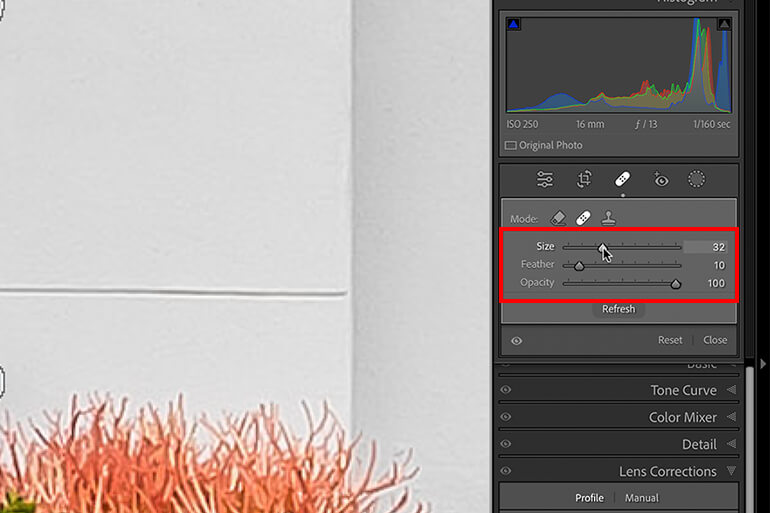
Step 2. Next, adjust the Brush Size, Feather, and Density to remove the object safely without adding any strange blur or pixelation to the area.
High-Quality & Consistent
Real Estate Photo Editing
Hire a dedicated editor with performance metrics from $7/hour.

3. The Content-Aware Remove Tool
The Content-Aware Remove Tool is one of Lightroom’s most useful features. It’s the new kid on the block in the Healing PaneI.
It allows you to remove the object and replace it with a new image that doesn’t affect the photo’s perspective or depth.
Step 1. To do this, select the object you want to remove with the Spot Removal Tool.
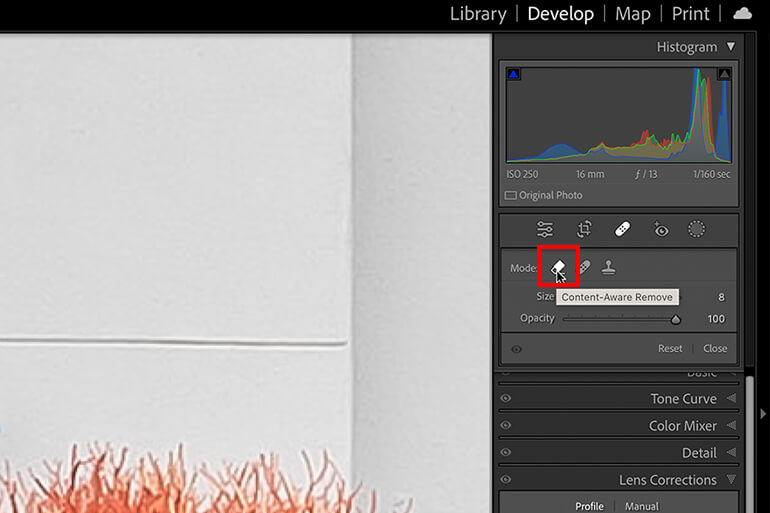
Step 2. Once the object is isolated, Lightroom will replace the object with a clean image that mimics the surrounding areas, making it as if the object was never there.
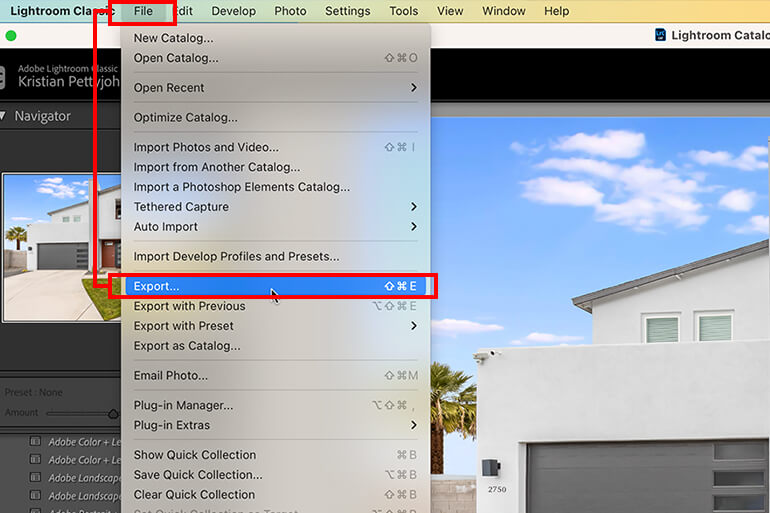
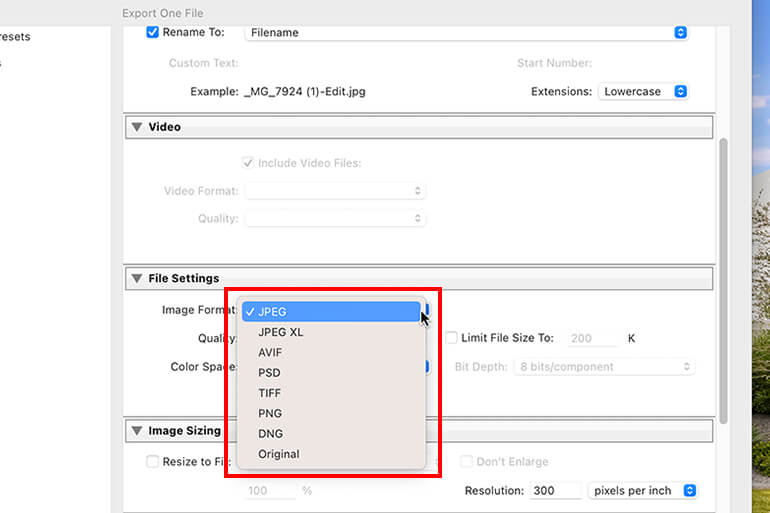
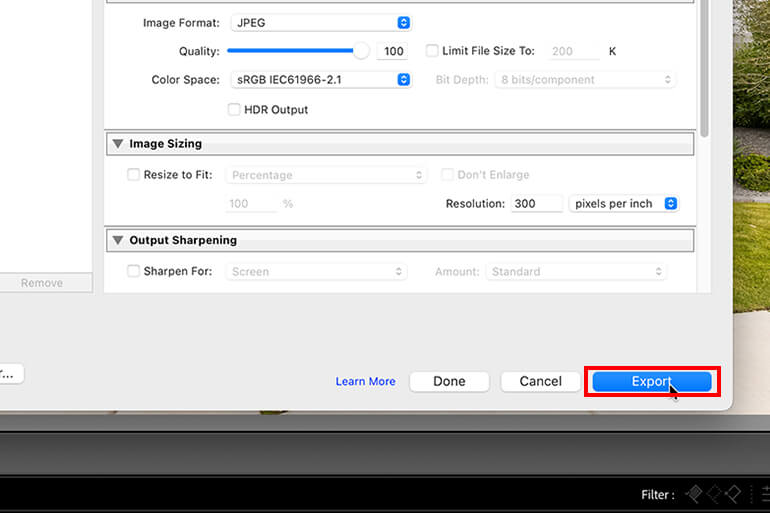
Once you’re satisfied with the newly edited photograph, it’s time to export it. Select “File,” then “Export,” give it a new filename, and choose your preferred file format and resolution.
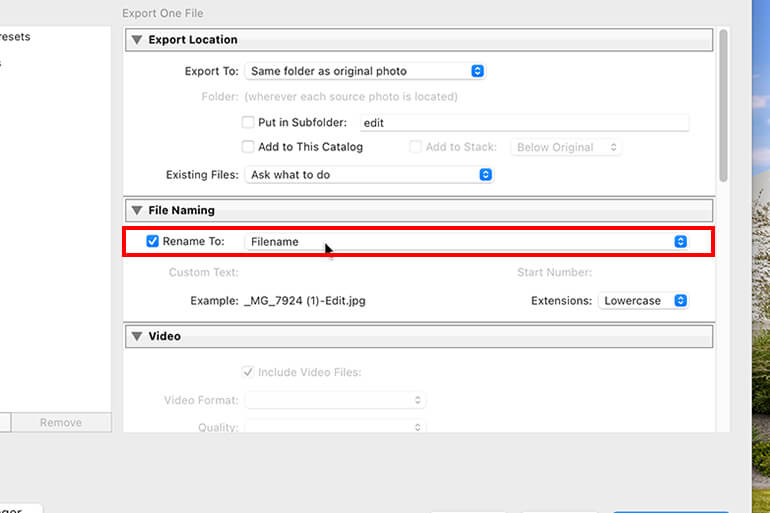
For a smaller file size, choose JPEG, and for a higher-quality image, choose TIFF.
And that’s it! You have now learned how to remove objects in Lightroom.
If you’re a Photoshop user, feel free to check out our blog post on how to remove unwanted objects using Photoshop instead.
High-Quality & Consistent
Real Estate Photo Editing
Hire a dedicated editor with performance metrics from $7/hour.
Outsource Your Real Estate Photo Editing to PhotoUp


As a real estate photographer, the more you can stand out by delivering exceptional results, the more clients you’ll get, and the more successful you’ll be in your business.
With that, you can either keep practicing and experimenting until you find the perfect technique that works best for you or you can outsource your editing to PhotoUp!
PhotoUp has a team of highly talented dedicated real estate photo editors who are ready and waiting to edit your photos. Our skilled photo editors can help with the following issues:
- Improper exposure levels
- Harsh shadows, lack of light, etc.
- Blurred images that were taken without a tripod
- Images that need cropping or other effects
- Lawn greening and sky replacements
- Twilight editing
- Clutter and object removal
- Line and angle corrections
- And much more!
Browse Top Dedicated
Real Estate Photo Editors
Ready-to-hire editors for real estate photo editing, and more.
How to Get Started
Getting started is super simple.
All you need to do is sign up for a free PhotoUp account, upload your images, provide us with your instructions, choose your export settings and turnaround time, and lastly, download your beautifully edited images!
Best yet, our real estate photo editing service is affordable, starting at the low cost of $1.10 per image depending on your subscription and complexity level.
PhotoUp Real Estate Photo Editing Uploader
To see how easy it is to get started with PhotoUp, check out our real estate photo editing uploader demo:
It’s really that easy to get beautifully edited images returned to you in less than 24 hours!
A One-Stop-Shop for Real Estate Marketing
Furthermore, we offer so much more than just real estate photo editing…
PhotoUp is a complete one-stop-shop for real estate marketing and also offers additional services such as:
We have everything you need to edit and market real estate photography under one roof!
So, what are you waiting for?
Sign up for a free PhotoUp account today, and let us help you edit your real estate photography to perfection!
Plus, for a limited time, we even offer you 5 free edits when signing up for an account.
We hope this blog post helped you learn how to remove objects in Lightroom and create stunning property shots. If you found this tutorial useful, you may also want to check out the following resources:

