


Table of Contents
- What Is Noise in Images?
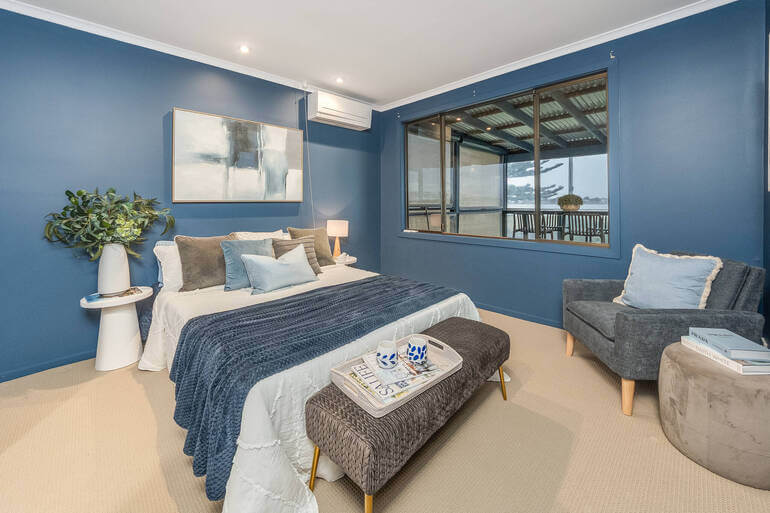
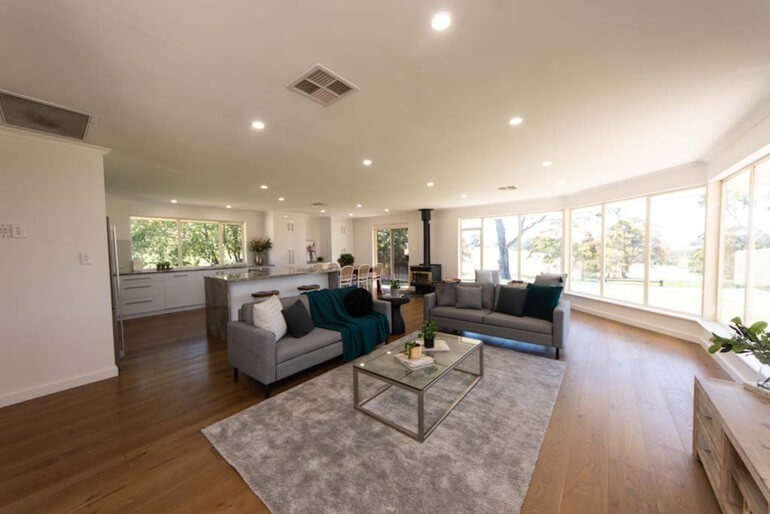
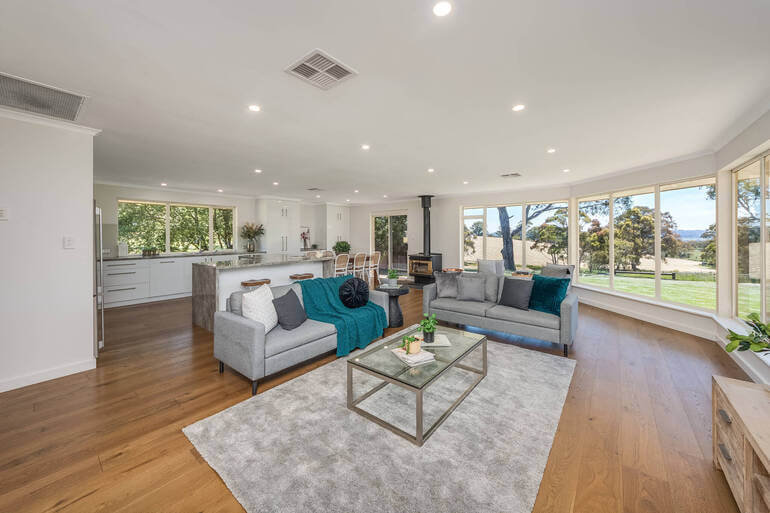
- Why Noise Is a Problem in Real Estate Photography
- Best Ways to Reduce Noise While Shooting
- How to Easily Reduce Noise in Lightroom
- How to Effectively Reduce Noise in Photoshop
- Noise Reduction FAQ
- Leave All the Noise to PhotoUp!
Are you a real estate photographer or agent struggling with that distracting grainy texture creeping into your photos? You’re definitely not alone. Even seasoned photographers occasionally battle noise—especially in dim interiors, twilight exteriors, or rooms with mixed lighting.
The good news? With the right shooting habits and smart post-processing in Lightroom or Photoshop, you can dramatically reduce noise and elevate your images to a professional standard.
In this guide, we’ll show you how to reduce noise in your real estate photos using some shooting tips and post-processing, helping you create clear and crisp listing images.
Let’s begin with an explanation of what noise in images is and why noise reduction is crucial for real estate photography.
What Is Noise in Images?📸
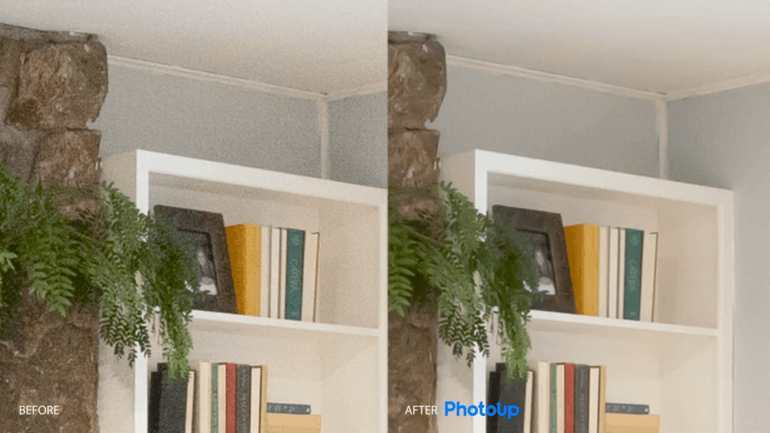
Before jumping into the editing techniques, it’s important to understand what noise actually is.
Image noise appears as random speckles, grain, or discoloration throughout a photo. It’s usually caused by:
- Low-light shooting conditions
- High ISO settings
- Sensor limitations
- Long exposures
- Electronic interference
- Or, image processing algorithms
Even film photography isn’t immune—grain is simply another form of noise.
Understanding the origin of noise makes it easier to prevent it during shooting and remove it effectively during editing.
Why Noise Is a Problem in Real Estate Photography🏡
Now that we know what noise is, let’s look at why it matters so much in real estate imagery.


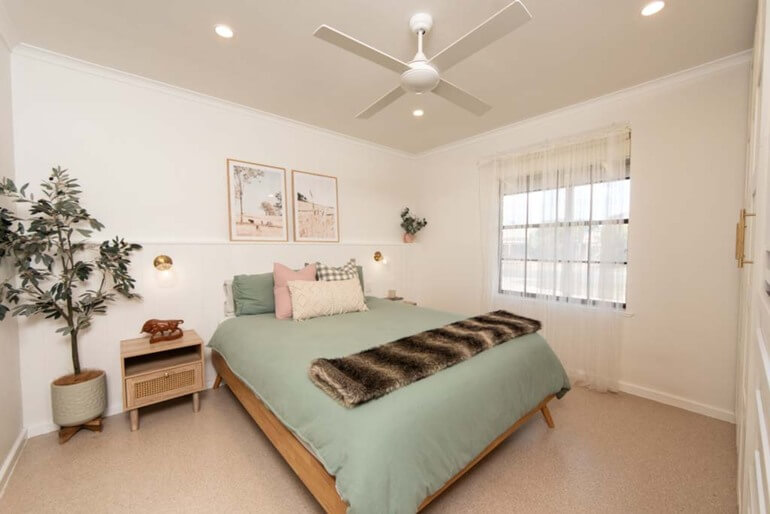
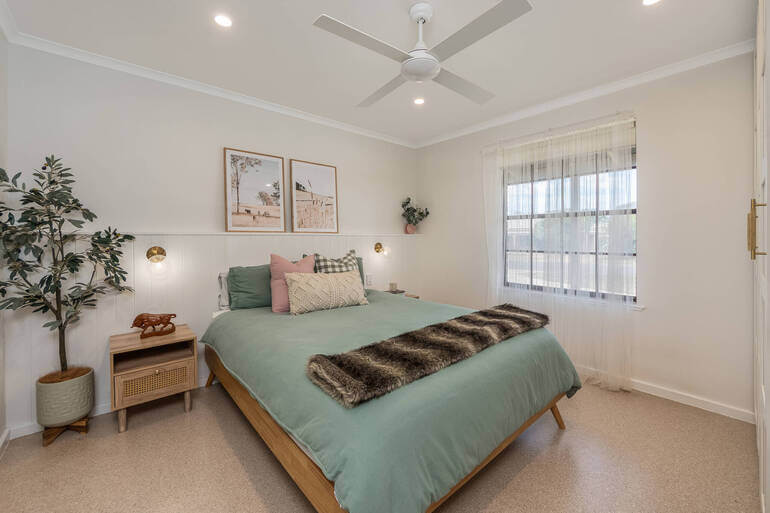
With 100% of property searches starting online, real estate photos must be clear, crisp, and trustworthy. Grainy images look amateurish and won’t attract views and sales.
Additionally, noise in your real estate photos can:
- Dull textures and reduce their sharpness
- Make photos appear unprofessional
- Distract the viewer’s eye
- Obscure architectural details
- And lower perceived listing quality
Online home shoppers rely heavily on visuals to form impressions. In fact, 85% consider photos the most important factor when evaluating what homes to visit.
If your images look murky or degraded, potential buyers may quickly lose interest. This is why noise reduction isn’t optional—it’s a key component of effective real estate photography.
To avoid these issues as much as possible, let’s explore what you can do during the photoshoot itself.
Best Ways to Reduce Noise While Shooting🎯
Instead of relying entirely on editing software, it’s always more effective to reduce noise at the source.
A few simple shooting adjustments can make a big difference:
| 1. Use the Lowest ISO Possible: High ISO amplifies the sensor signal but also amplifies noise. Try to stay between ISO 100–400. |
| 2. Use a Tripod: A tripod stabilizes your camera, allowing longer exposures without blur and keeping ISO low in darker spaces. |
| 3. Brighten the Scene: Open blinds, turn on lights, or bring supplemental lighting to improve exposure. |
| 4. Shoot Bracketed HDR: HDR merging blends multiple exposures and reduces noise naturally, especially in shadows. |
| 5. Avoid Underexposing: Lifting shadows in post can significantly worsen noise. |
Once your images are captured with these preventative steps, it’s time to polish them in Lightroom or Photoshop. Let’s take a look at how to do that next.
Have You Ever Thought To
Outsource Photo Editing?
Try it today with 5 free edits from three professional photo editors.

How to Easily Reduce Noise in Lightroom🖥️
Lightroom offers powerful yet user-friendly tools for reducing noise—perfect for real estate photographers who often batch-edit multiple images.
In this tutorial, we’ll show you how to reduce noise in both Lightroom and Photoshop.
We’ll start with Lightroom, so if you want to see how to do it in Photoshop, you can just skip ahead to the 1:08 mark in the video.
That said, you can either watch the video tutorial or continue reading the text below:
Step 1. To get started, we have a photo with a fair amount of noise, as you can see in the video. Next, go to Detail under Manual Noise Reduction and set the Luminance to around 50.
As you can see, the noise has already been reduced.
You can now play with the Luminance slider to see what works for your photo. Make sure you don’t overdo it and lose a lot of detail. You don’t want to end up with a photo that looks too smooth.
Step 2. The Detail slider below the Luminance slider allows you to bring back some detail in your image. These are really the only two sliders you need to perform noise reduction.
Step 3. And if you have some color noise in your photo, you can also adjust the Color slider.
Step 4. Additionally, Lightroom has a new feature where you can let AI do the noise reduction for you. To do that, simply click the Denoise button and voila!
Overall, Lightroom’s balanced approach makes it ideal for batch processing and maintaining consistency across entire property shoots.
How to Effectively Reduce Noise in Photoshop
Now, let’s move on to how to reduce noise in Photoshop. Photoshop provides even more advanced control, allowing you to target noise precisely and selectively.
Step 1. To begin, import the RAW photo into Photoshop. It will open with Camera Raw. Let’s now zoom in so we can see the noise.
Step 2. Next, go to Detail and Manual Noise Reduction. You will see the same sliders as in Lightroom. Bring Luminance to around 50 and see how it affects the photo.
Then, move it around to find the right amount for your photo. Click the drop-down menu for even more options and bring back some detail if necessary.
Step 3. Again, if you have color noise in your photo, you can reduce that using the Color slider.
Just like Lightroom, Photoshop also has a new feature where you can let AI do the noise reduction for you. Simply, click the Denoise button, and the noise will be reduced.
And that’s how you can quickly and easily perform noise reduction in Lightroom and Photoshop!
With your editing techniques in place, let’s address some frequently asked questions.
Noise Reduction FAQ❓
What does noise reduction do?
Noise reduction smooths pixel inconsistencies—removing grain while trying to retain detail.
Does noise affect image quality?
Absolutely. It reduces sharpness, clarity, and the professional appearance of a photo.
What causes image noise?
Common culprits include high ISO, low light, sensor heat, long exposures, and electronic interference.
Can noise be completely prevented?
Not entirely, but it can be greatly minimized with proper shooting techniques.
What’s the downside of too much noise reduction?
Too much noise reduction could lead to over-processing, which can create soft, unrealistic, plastic-looking images.
How does resolution relate to noise?
Higher resolution sensors capture more detail but can also reveal more visible noise. Excessive noise reduces contrast resolution and clarity.
What is the relationship between image noise and resolution?
The ratio measurement directly impacts the amount of noise in the image. When there’s noise in a cross-sectional image, it ultimately diminishes the overall picture quality while also impeding the contrast resolution.
Cleaner Images Create Stronger Listings
Reducing noise in your real estate photos is one of the simplest ways to elevate the quality of your work.
By combining smart shooting techniques with Lightroom and Photoshop’s powerful noise reduction tools, you can produce clean, crisp, and professional images that help listings shine online.
Whether you prefer handling the editing yourself or want expert support, clear and noise-free images give buyers confidence, boost listing engagement, and reflect your professionalism as a photographer.
If you ever need a hand, PhotoUp’s Dedicated Editors are here to help you deliver stunning results—every time. Let’s show you how!
Have You Ever Thought To
Outsource Photo Editing?
Try it today with 5 free edits from three professional photo editors.
Leave All the Noise to PhotoUp!
If post-processing isn’t your strong suit—or you’re simply too busy to edit every detail—PhotoUp has you covered.
Our expert real estate photo editors can quickly transform noisy, uneven, or poorly lit images into crisp, polished, high-quality photos ready for MLS, Airbnb, or luxury listings.
For example, we can help with:
- Noise and grain removal
- Exposure and lighting correction
- Color balancing
- Perspective corrections
- Object and clutter removal
- Lawn greening and sky replacements
- Twilight and day-to-dusk edits
- Manual blending and panorama stitching
- And much more!
Fast (in less than 24 hours), affordable (from $1.50 per image for on-demand editing), and consistent (with access to Dedicated Editing)—PhotoUp helps elevate your photos so you can focus on shooting, not editing.
Browse Top Dedicated
Real Estate Photo Editors
Ready-to-hire editors for real estate photo editing, and more.
More Than Just Real Estate Photo Editing!
In addition to editing, PhotoUp is a complete one-stop shop for real estate marketing and also offers additional services such as:
We have everything you need to create impressive real estate photography that will impress clients and sell listings faster at higher rates!
Adding more product offerings to your toolkit will also make you more valuable to your clients and can help grow your real estate photography business.
It’s a win-win solution!
How to Get Started
Our user-friendly platform lets you upload, review, and approve edits seamlessly, giving you more control over the final product while saving time and money.
Getting started is super easy – this is what to do:
Step 1. Sign up for a free PhotoUp account.
Step 2. Upload your photos to our easy-to-use software.
Step 3. Choose the level of editing that you need and provide instructions (optional).
Step 4. Wait for PhotoUp professional editors to edit and return the photos in less than 24 hours (48 hours for virtual staging).
Step 5. Download and start using your beautifully edited photos.
It’s a simple as that to get your professionally edited photos returned to you in less than 24 hours!
So, don’t let your real estate photography look amateurish…
👉 Sign up for a free PhotoUp account today and start growing your business with the help of our professional editors!
For a limited time, you’ll receive a bonus of 10 free credits you can use on any of our services when signing up for an account.
We hope this blog post helped you learn how to reduce noise in your listing images. Before you go, you may also want to check out the following resources:
- Mastering Interior Photo Editing: 10 Powerful Techniques
- Quickly Enhance the Inside of Your Home With Interior Photo Editing
- The #1 Edit to Create Stunning Real Estate Photos
- The Power of Visual Appeal to Skyrocket Real Estate Sales
- 8 Secret Real Estate Photo Editing Tricks for Breathtaking Listings

