


Table of Contents
- What Are Layers in Photoshop?
- Why Should You Name Layers in Photoshop?
- How to Rename Layers in Photoshop (4 Simple Steps)
- Tired of Editing? Let the Experts at PhotoUp Help You!
If you’re familiar with Adobe Photoshop, you know that working with layers is a part of the editing workflow. It’s, therefore, a good idea to rename the layers you create to simplify the interface and workflow.
In this mini tutorial, we’ll show you how to rename layers in Photoshop in 4 super simple steps. We’ll also cover what layers are and why you should use them to organize and streamline your workflow.
Let’s get started!
What Are Layers in Photoshop?
Layers in Photoshop are akin to transparent sheets stacked on top of each other.
Each layer is made up of different elements, like images and text, that are all editable independently of each other, allowing you to easily make tweaks and adjustments to specific elements while keeping everything else intact.
Why Should You Name Layers in Photoshop?
Naming layers in Photoshop can be extremely helpful when trying to keep track of which elements are in your image.
If you’re only working with one or two layers you may not need to rename them, but as soon as you work with three or more layers at a time, it’s wise to start organizing them by giving each layer a name that describes what it is.
This can help make it easier to organize and find the element you’re looking for, instead of having to scroll endlessly to find it. Needless to say, it’ll help you save a lot of time and streamline the editing process.
Naming layers also helps to keep your project files organized so that other people who need to work with them can easily understand the structure and content.
Overall, an organized layers panel with distinguishable layers will lessen any frustration a photographer or graphic designer may experience as a result of an excessive amount of labor.
Don't Try One, Try Three
Freelance Photo Editors
Try editing from 3 professional photo editors. Screened and ready-to-hire.

How to Rename Layers in Photoshop (4 Simple Steps)
Now that you know what layers in Photoshop are and why you should use them to organize the elements in your image, let’s take a look at how to rename layers in Photoshop.
You can either watch the video or continue reading the text below.
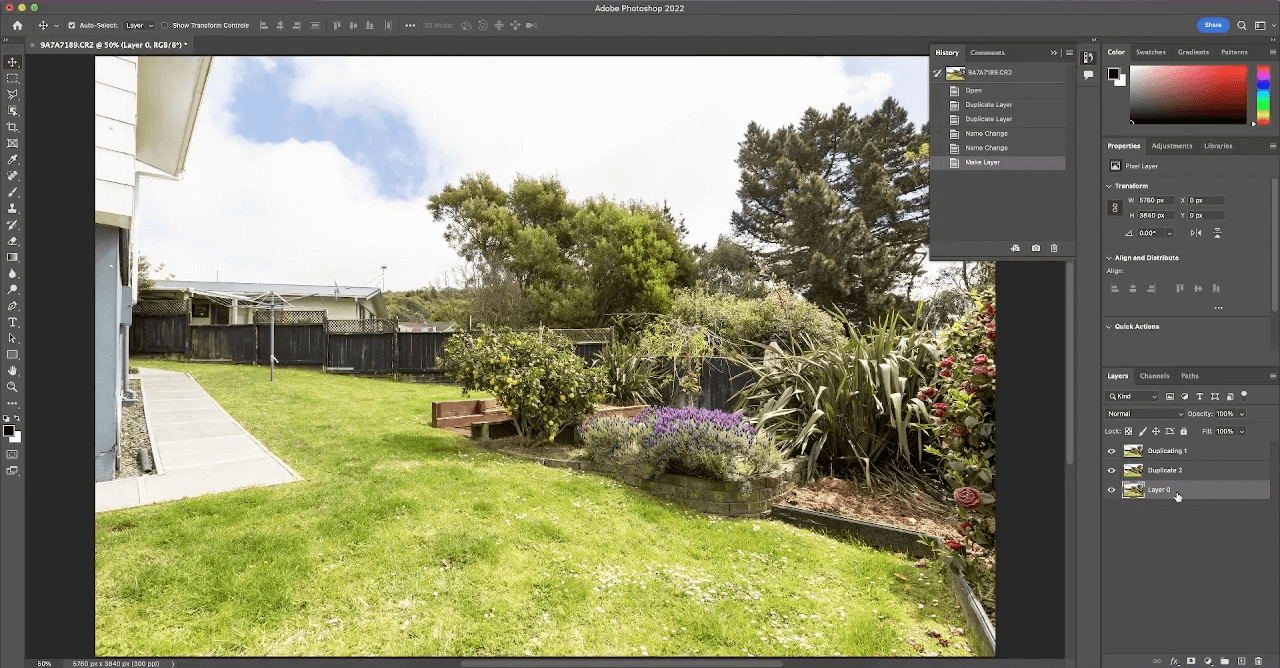
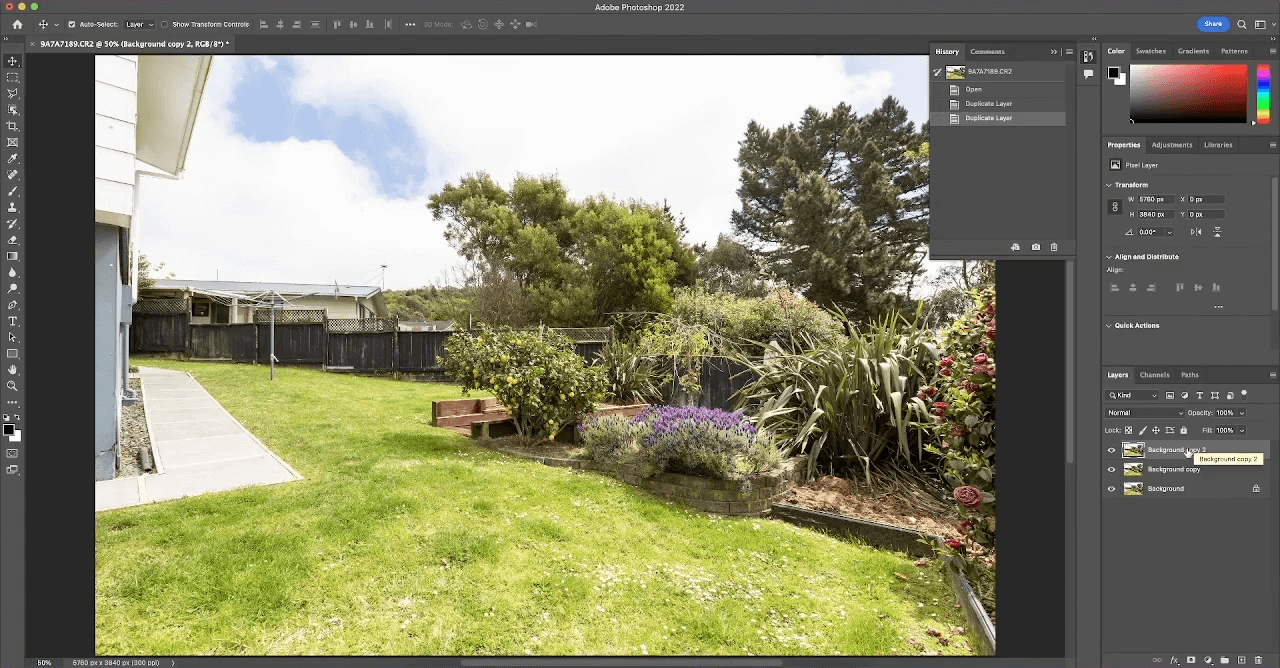
Step 1. To rename layers in Photoshop, let’s start by first Duplicating the Original Layer.
Step 2. Now, to Rename this layer, just Double Click on it and name it Duplicate 1.
Step 3. Then, do the same thing to the Second Layer and name it Duplicate 2 or anything else you’d like.
Step 4. And to rename this Background Layer, simply click on the Lock Icon to the right of the layer. You can now rename your background layer by doing the same thing we did with the other two layers.
And that’s how you rename layers in Photoshop!
Have You Ever Thought To
Outsource Photo Editing?
Try it today with 5 free edits from three professional photo editors.
Tired of Editing? Let the Experts at PhotoUp Help You!
Editing your real estate photography can be a tedious and time-consuming task. Imagine if you could spend all that extra time with your loved ones and family instead or participate in a hobby that you love…
Luckily, you can!
Starting at the low cost of $1.15 per image, you can have PhotoUp’s professional real estate photo editors edit your images.
With over a decade in the industry and hundreds of editors in the Phillippines, we can help you create stunning real estate photography!
But if you’re worried it would ruin your unique style, we even offer dedicated photo editing where you work with an editor assigned to you who learns your photography and editing style.
Browse Top Dedicated
Real Estate Photo Editors
Ready-to-hire editors for real estate photo editing, and more.
With a 98.6% success rate, this will help you streamline your workflow and create superior results for your real estate photography business.
For example, our skilled photo editors can help with the following issues:
- Improper exposure levels
- Harsh shadows, lack of light, etc.
- Blurred images that were taken without a tripod
- Images that need cropping or other effects
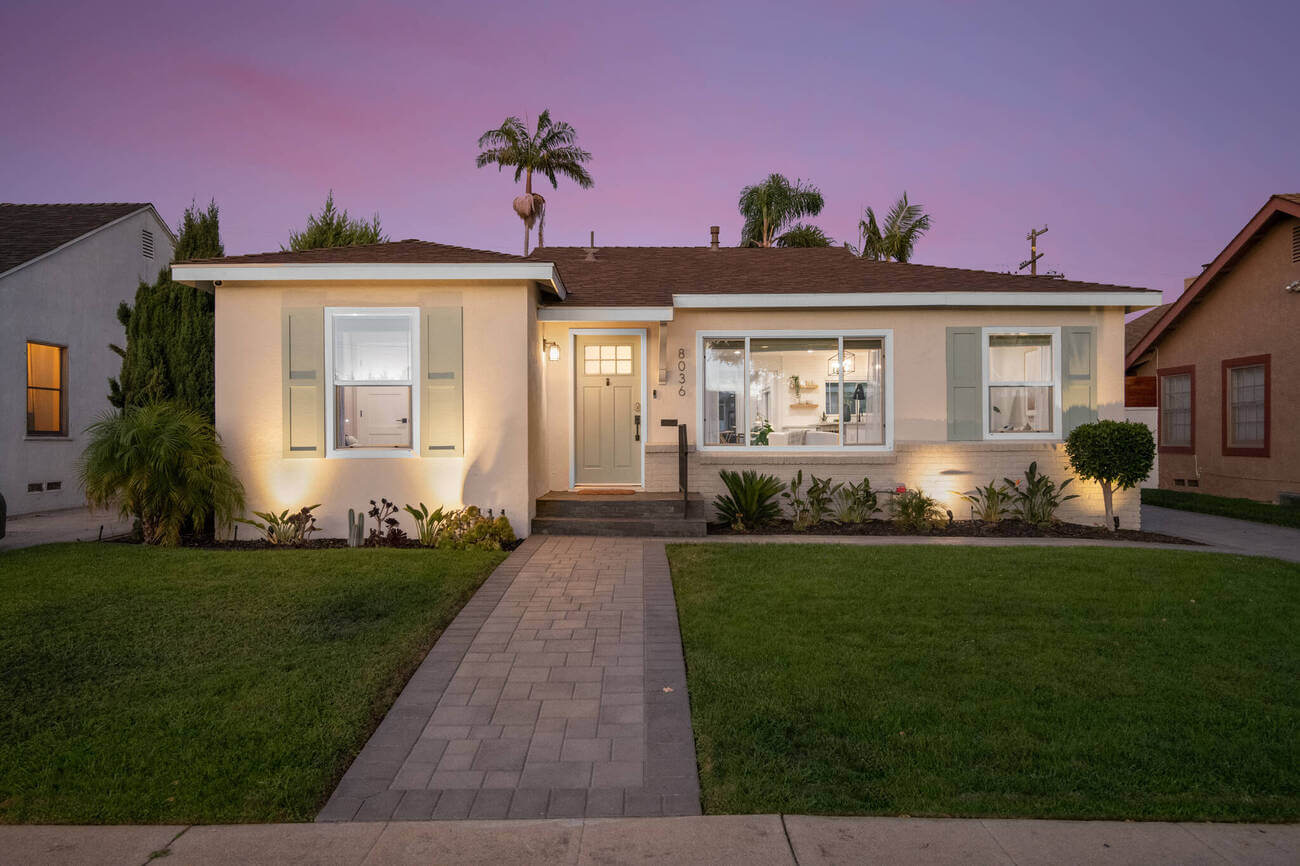
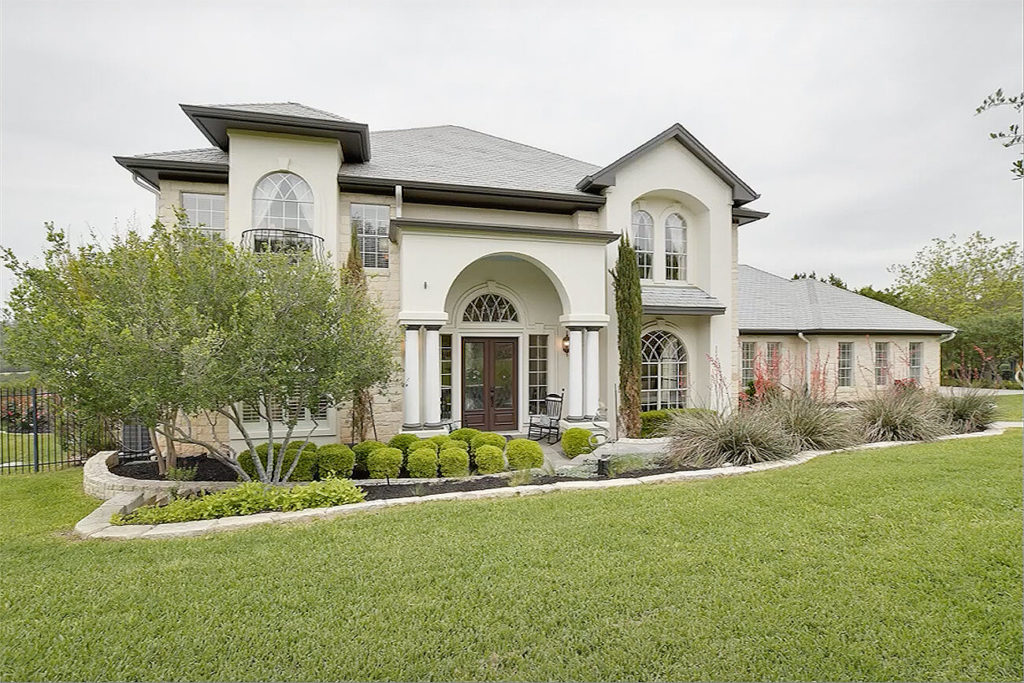
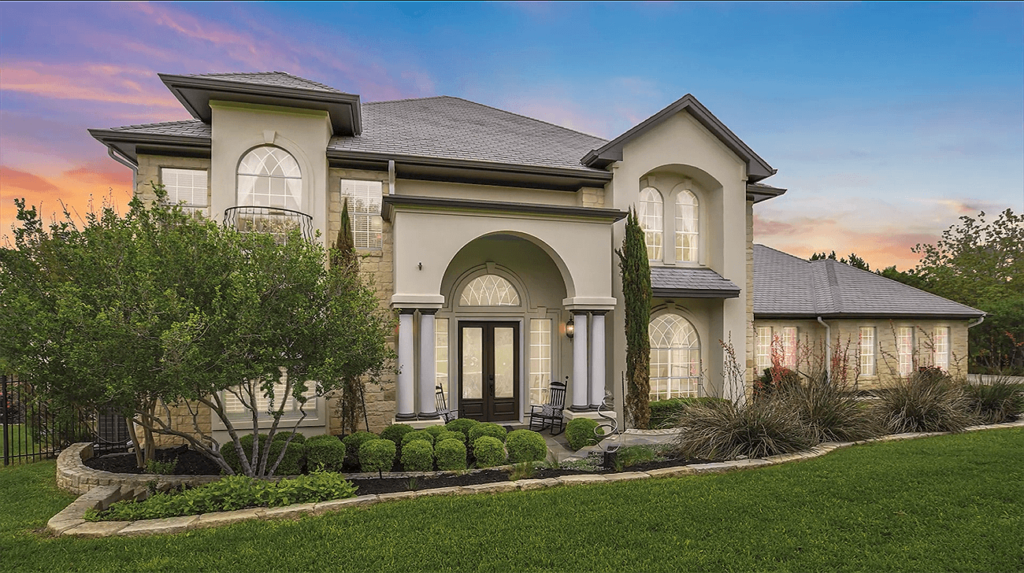
- Lawn greening and sky replacements
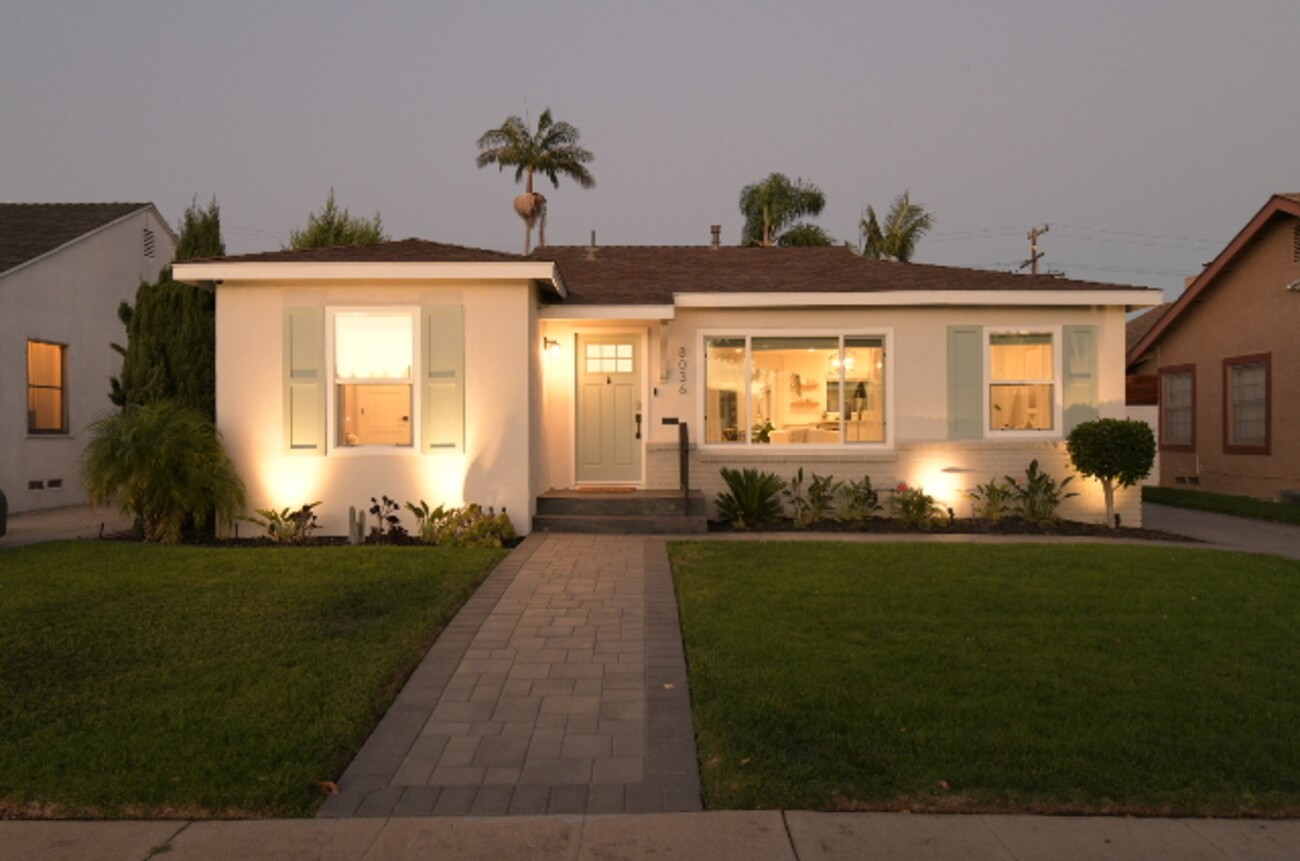
- Twilight and day-to-dusk editing
- Clutter and object removal
- Line and angle corrections
- And much more!
But that’s not all!
PhotoUp is a complete one-stop-shop for real estate marketing and also offers services such as:
You’ll also get access to our user-friendly photo management system, so you can upload and receive photos, send instructions and feedback, track and manage team members and clients, store final images, and more!
PhotoUp Real Estate Photo Editing Uploader
Check out how easy it is to get started with PhotoUp in our real estate photo editing uploader demo:
It’s really that easy! So what are you waiting for?
Sign up for an account today, and let PhotoUp edit your real estate photos to perfection with a short turnaround time of 24 hours or less.
For a limited time, we even offer you 5 free edits!
We hope this blog post helped you learn how to rename layers in Photoshop. If you found this post useful, you may also want to check out the following resources:

