


Table of Contents
- Why Blur the Background in Your Photos?
- The Use of Soft and Dramatic Blur Effects
- How to Blur the Background in Lightroom (The Easiest Way)
- Outsource Your Photo Editing
Do you want to learn how to easily blur the background in Lightroom to create a dreamlike background in your photos?
Blurring the background can make your photos stand out and give extra focus to the subject of the image.
In this post, we’ll show you how to blur the background in Lightroom (the easiest way) to create a heightened sense of atmosphere in the photo and make it pop.
But first, let’s discuss why you may want to blur the background in your images.
Why Blur the Background in Your Photos?
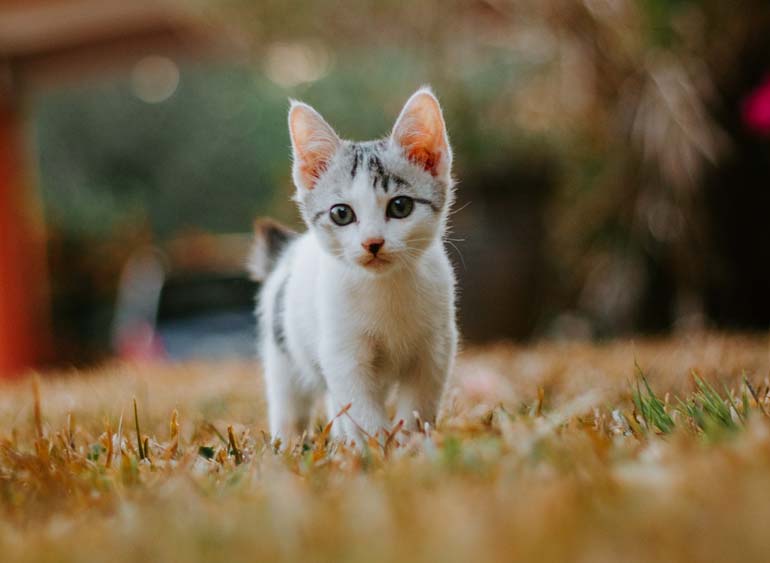
Aside from the overall aesthetics of a pleasingly blurred background, there are a number of reasons why you’d like to blur the background in your photos.
For example, you may want to:
- Bring extra focus to the subject
- Cover up surrounding areas
- Add a timeless and dreamlike, fairy-tale style
- Create a heightened sense of atmosphere in the photo
- Avoid distractions and mask flaws in the image
- Or, simply create a cool look!
Even though you can get the blur effect directly by using the camera settings, you might not have thought of that at the time of the photoshoot. Or, maybe your client requested the blurry effect afterward.
Luckily, you can quite easily create a background blur in Lightroom.
High-Quality & Consistent
Real Estate Photo Editing
Hire a dedicated editor with performance metrics from $7/hour.

The Use of Soft and Dramatic Blur Effects
Furthermore, you can create different states of your images by either using a soft blur or a more dramatic blur effect.
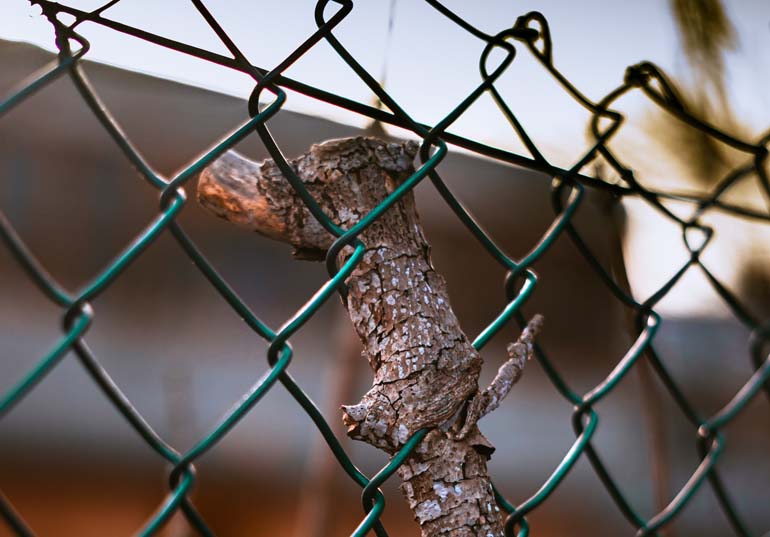
A soft blur can be the ideal solution for removing the harsh features of old buildings, unattractive fences, and the alike in the background.
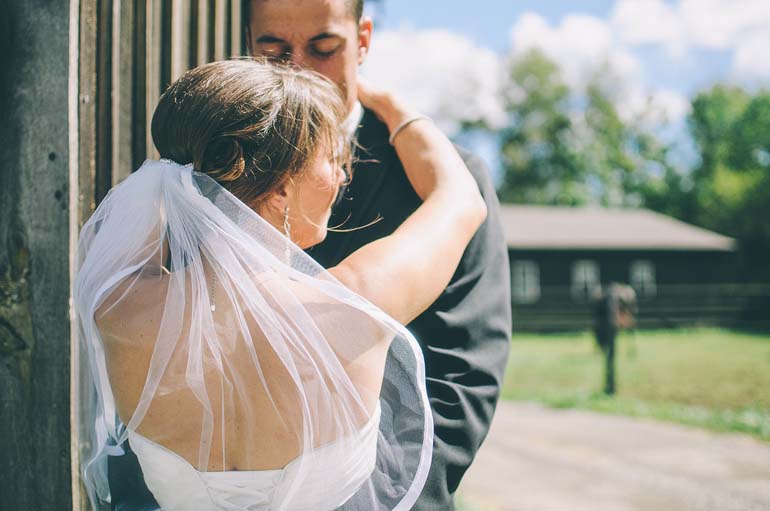
On the other hand, a more dramatic blur can create the fairy-tale style that’s often desired in wedding photos. This also adds extra focus to the newlyweds in the picture.
More importantly, when using the blur effect, you need to know the proper levels of blur and precisely how to apply it to keep things from looking amateurish.
With that said, let’s now show you how to blur the background in Lightroom.
How to Blur the Background in Lightroom (The Easiest Way)
The Lightroom Brush Tool is an incredibly versatile and powerful tool. It allows you to easily paint on the blur wherever you want it and apply additional brush layers to specific parts of the image.
To get started, you can either watch the video or continue reading the text below:
Burring the Background Using the Brush Tool
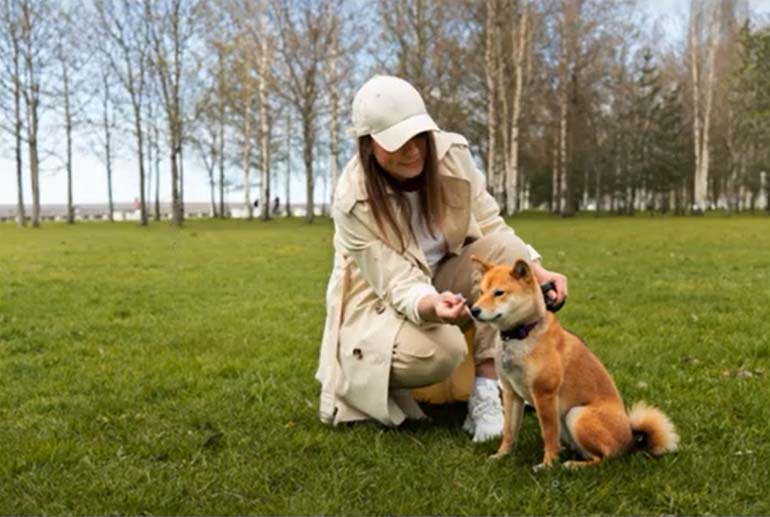
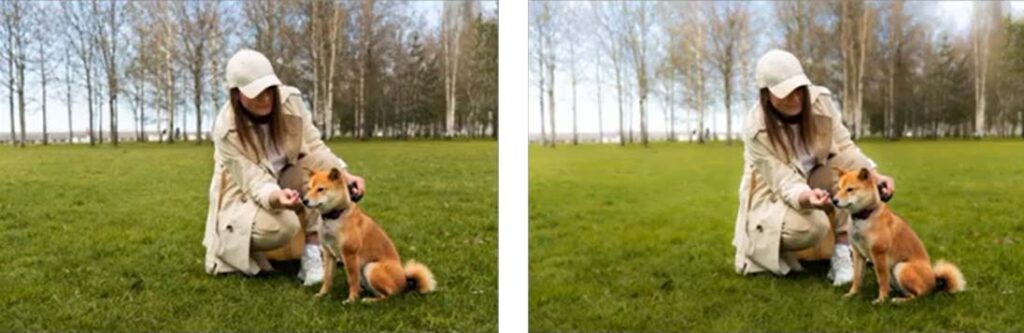
In this image, we are going to blur the background or the surrounding of our subject, which is the girl and her dog.
Step 1. To get started, select the Brush Tool.
Step 2. Next, make sure to check Show Selected Mask/Overlay.
Step 3. Now, adjust the Brush Size using the slider or you can use [and] on your keyboard. Additionally, you can also adjust the Feather through the slider as well.
Step 4. Once everything is set, start brushing the background and make sure to avoid the actual subject.
Step 5. To erase the excess brush effect on the subject, Zoom in directly to the area and hold the Alt key on your keyboard and the Brush Tool will automatically change to the Erase Tool. You can also change the feather of the erase tool while holding the Alt key.
Keep holding the Alt key and continue to erase all the excess brush effects. If you erase the area where your background is by mistake, just release the alt key and brush the erased area again.
Continue erasing the brush effect to other areas as well by holding the Alt key again.
Step 6. When done, you simply uncheck the Mask Overlay.
Step 7. Once you’ve unchecked the Mask Overlay, you can start applying adjustments by bringing Clarity and Sharpness down. You can also add other adjustments like bringing the Highlights down or up.
Step 8. If you want to create a more blurry effect, you can adjust the Contrast. Further, you can also tweak some of your adjustments to get the desired blur effect.
Step 9. Lastly, duplicate the Brush if you want to add even more blur effect and adjust the 2nd Brush Base to your preference.
When done, view the before and after images so you can see the difference, and that’s it!
Have You Ever Thought To
Outsource Photo Editing?
Try it today with 5 free edits from three professional photo editors.
Any photographer will benefit from knowing how to blur backgrounds in post-processing, especially wedding photographers.
Although the process’s fundamental steps are straightforward, choosing the appropriate brush settings and making the ideal background mask can be difficult and take a lot of time.
Outsource Your Photo Editing
Instead of spending valuable time on post-processing yourself, you may want to consider outsourcing your photo editing needs to a professional service like PhotoUp.
We have a team of highly talented photo editors who are ready to professionally edit your real estate photos, starting at the low cost of $1.50 per image.
Our expert team can handle any photo editing job — big or small, complex, or simple.
Browse Top Dedicated
Real Estate Photo Editors
Ready-to-hire editors for real estate photo editing, and more.
Photo Editing Services Offered by PhotoUp
Here are some of PhotoUp’s photo editing services:
We also offer additional services such as:
- Virtual house tours
- AI Virtual staging
- Single property websites
- Photographer websites
- Property flyers
- And more.
As you can see, PhotoUp offers all the tools you need to make your post-processing and marketing efforts easier.
Why don’t you try us out for yourself?!
Sign up for a free PhotoUp account, and get 5 free edits!
We hope this blog post helped you learn how to blur the background in Lightroom to create photos that stand out. If you enjoyed this post, you should also check out these, related, resources:

