


Table of Contents
- Why HDR Blending Is a Game-Changer in Real Estate
- What Causes Ghosting in HDR Images?
- How to Create Ghost-Free HDR Real Estate Images
- How to Remove Ghosting in Trees in HDR Editing
- Ghost-Free HDR Real Estate Photos FAQ
- How PhotoUp Can Help You Master Ghost-Free HDR
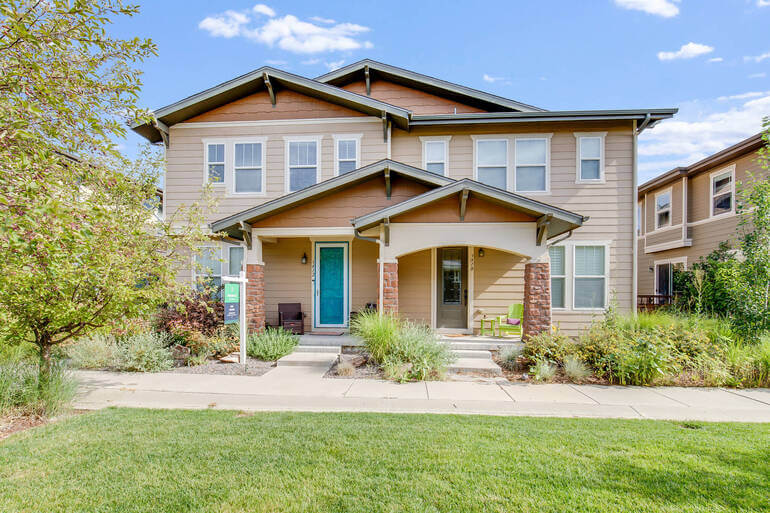
In real estate photography, light is everything. A property’s visual appeal depends on how well you can balance bright windows, shaded corners, and natural lighting. That’s where exposure bracketing, so-called HDR blending (High Dynamic Range) shines—literally and figuratively.
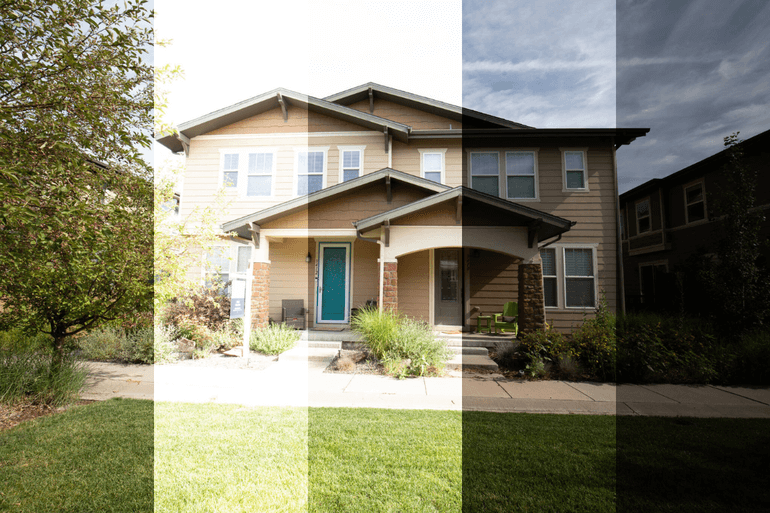
HDR blending combines multiple exposures of the same shot into a single, well-balanced image. It captures every detail—bright exteriors, neutral interiors, and natural shadows—creating a polished, professional result that attracts more buyers.
But what happens when your perfect bracketed shots are ruined by movement—like people walking, curtains swaying, or pets wandering into the frame?
That’s where ghost-free HDR editing becomes essential. Let’s take a look at how to remove ghosting in HDR real estate photography and perfect exposure bracketing.
Why HDR Blending Is a Game-Changer in Real Estate🌅
According to studies, HDR photography, which enhances the lighting and color in images, can boost buyer interest and help sell a property 50% faster and increase views by 118%.

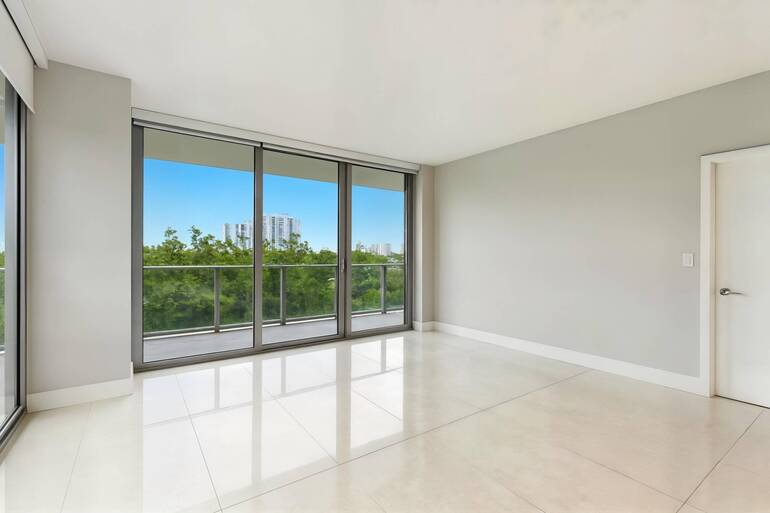
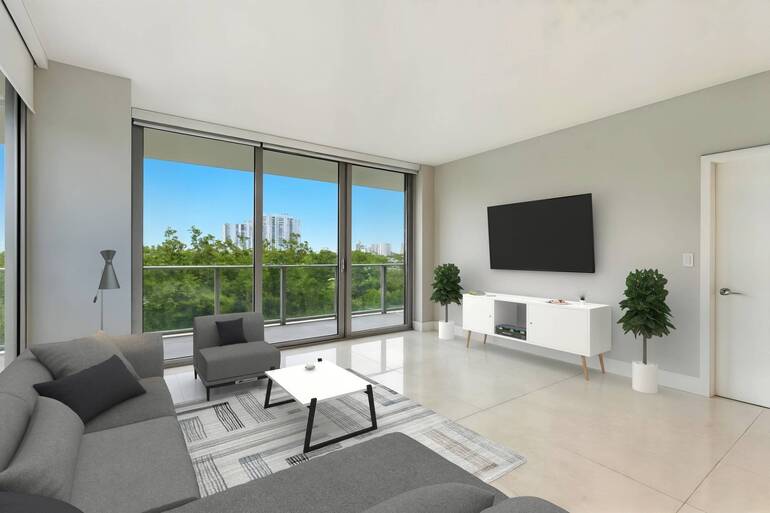
In standard photography, one exposure often can’t handle extreme lighting differences. If you expose for the interior, the windows blow out; if you expose for the exterior, the interior turns dark.
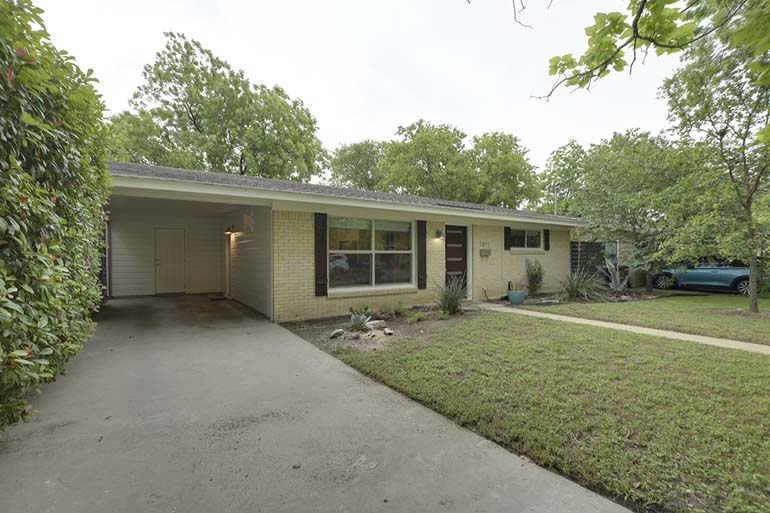
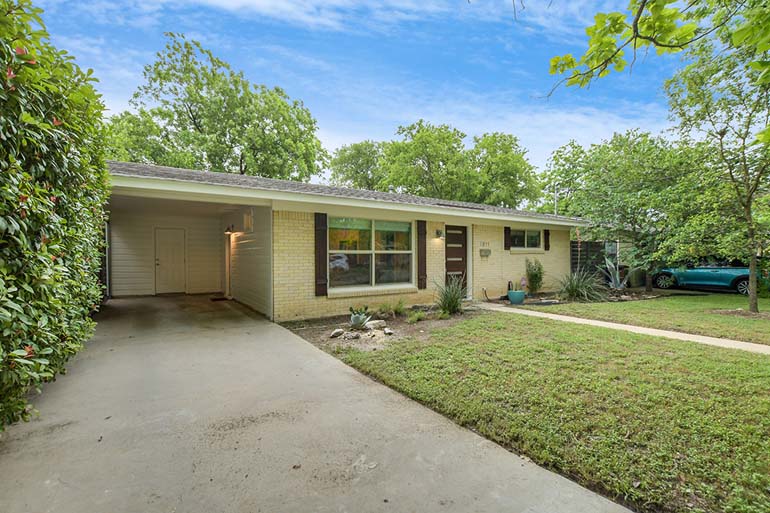
HDR blending solves this by merging several bracketed shots (usually three to seven exposures) taken at different brightness levels. The result:
- Natural light balance between the interior and exterior
- Enhanced detail in shadows and highlights
- Realistic colors that accurately represent the property
- And Professional consistency across listing photos
For real estate photographers, this means faster workflows, less reliance on artificial lighting, and images that stand out in crowded online listings.
But sometimes a situation called ghosting happens when shooting bracketed photos. Let’s take a look at what causes ghosting in HDR images.
What Causes Ghosting in HDR Photography?👻
Let’s bust the myth right away – ghosting in photography has nothing to do with the supernatural!
Ghosting often occurs when capturing multiple bracketed shots for HDR photography.
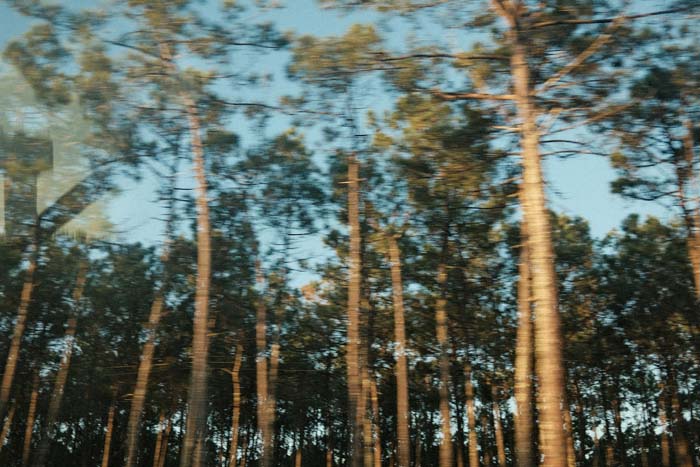
It happens when elements in the scene move between exposures, causing certain objects to appear in slightly different positions from one frame to another.
This motion creates a blurred or double-exposed effect, reducing the overall sharpness and clarity of the final image.
For example, imagine taking a series of HDR brackets of a home and sending them to a professional real estate photo editing service.
When they review the images, they might notice ghosting in the trees outside—caused by the wind gently shifting the leaves during the sequence.
These subtle movements between shots result in distorted or unclear objects once the images are blended together.
What Influences Ghosting?
Except for movement, there are other factors that can influence ghosting, such as:
- Elements inside the lens
- Coating on the lens
- Lens aperture change can cause ghosting
Trying different lenses can be a good way to avoid ghosting.
In summary, understanding the concept of ghosting in real estate photography can help photographers and editing services ensure they capture and deliver crisp and captivating images.
Now, let’s move on to how to create ghost-free HDR images.
Have You Ever Thought To
Outsource Photo Editing?
Try it today with 5 free edits from three professional photo editors.

How to Create Ghost-Free HDR Real Estate Images🪄
Eliminating ghosting requires both camera technique and smart post-processing. Here are 6 tips on how to perfect ghost-free HDR blending:
1. Use a Tripod and Remote Shutter
A stable camera ensures perfect alignment between bracketed shots. Even slight movement can cause misalignment that amplifies ghosting.
Use a good tripod and remote shutter to avoid camera shakes.
2. Shoot in Burst Mode
Capture your bracketed exposures quickly. The shorter the time between shots, the less likely objects are to move significantly between frames.
3. Use HDR Software With Ghost Removal
Programs like Lightroom, Photomatix, or Aurora HDR offer automatic ghost removal.
These tools detect movement between exposures and use the most consistent frame to fill in the gaps.
4. Manual Masking for Precision
For professional results, use manual layer masking in Photoshop.
Blend static areas from multiple exposures while replacing ghosted regions with a single clean frame.
To learn how to work with layers, you can check out our guide on how to use a layer mask in Photoshop.
This is especially useful when people or pets move through multiple exposures.
5. Keep Lighting Consistent
Avoid changing lighting conditions between shots—don’t turn lights on or off mid-sequence, and try to shoot when natural light is stable.
6. Use AI-Assisted HDR Editing Services
AI-based HDR editing tools or professional real estate photo editing services, like PhotoUp, can automatically remove ghosting while maintaining natural tones and brightness levels.
How to Remove Ghosting in Trees in HDR Editing
If you want to learn how to remove ghosting manually, you can watch our video tutorial on how to remove ghosting in trees in HDR editing.
You can either watch the video or continue reading the instructions below:
Step 1. Start by opening up your image in Lightroom, and make sure that there are no lens corrections being applied to the image that are giving the ghosting effect.
Step 2. Then, go to the File Menu > Plug-in Extras > Blend Exposure using L/R Enfuse. In the custom pop-up box, select the Auto-Align tab, and check so the ‘Auto-align images before blending them’ checkbox is selected.
Step 3. Lastly, click Enfuse Images on the bottom right of the box. If that sorts out the problem, you’re done! And you can click on the Save button and move on.
Do This If the Ghosting Still Persists
If the ghosting effect still persists, you need to fix this in Photoshop. Let’s take a look at how to remove persistent ghosting in your images.
Step 1. Process the infused photo. Pick the middle exposure and then process it in the same way as the infused one. Don’t make any adjustments to the lens correction.
Step 2. Next, select the two photos and Edit them as Layers in Photoshop.
Step 3. Now, it’s time to mask the trees. Hold down the Options key and click the Add Layer Mask button in the Layers Panel. Set the infused photo as the base layer, and then add Inverted Masking to the top layer.
Step 4. After adding the inverted masking, you’re ready to start brushing the areas where the trees have the ghosting effect until you are satisfied with the result. Once you’re happy with the results, you click Save.
And that’s it! You’ve now learned how to create ghost-free HDR real estate photos.
Ghost-Free HDR Real Estate Photos FAQ❓
What’s the ideal number of exposures for HDR real estate photos?
Typically, 3 to 7 exposures spaced 1–2 stops apart. More exposures help capture broader dynamic ranges, but too many can increase editing time.
Should I always remove all ghosts?
Not necessarily. If movement adds life (like trees swaying gently outside), leaving a slight motion blur can make images feel more natural. The goal is balance—not perfection.
Can I fix ghosting in Lightroom alone?
Lightroom’s HDR Merge includes basic ghost removal, but for heavy ghosting, manual correction in Photoshop or outsourcing to a professional editing service is more effective.
Is HDR better than flash photography for interiors?
HDR and flash each have strengths. HDR creates a natural, soft-lit look, while flash offers sharper control in dark rooms. Many pros blend both for the best results.
With this in mind, let’s take a look at how you can get help from the expert editors at PhotoUp with ghosting and HDR blending and save time and money.
Have You Ever Thought To
Outsource Photo Editing?
Try it today with 5 free edits from three professional photo editors.
How PhotoUp Can Help You Master Ghost-Free HDR🚀
Editing HDR photos can be time-consuming—especially when removing ghosting from active home shoots. PhotoUp makes this process effortless.
Our professional real estate photo editors specialize in HDR blending and ghost removal, ensuring every photo looks naturally balanced and ghost-free.
With PhotoUp, you can:
- Upload your bracketed exposures and receive stunning, blended images
- Save hours of manual editing time
- Get consistent, professional-quality results for every property
- And enjoy affordable pricing with fast turnaround times of 12-24 hours
Capture the True Essence of Every Property🏡
Ghost-free HDR blending allows you to deliver vibrant, natural, and flawless real estate images—even in active homes.
When you let experts handle the editing, you can focus on what you do best—capturing the perfect shot.
With PhotoUp, your photos get the polish they need to capture buyers’ attention and showcase properties at their very best at the low cost of $1.50 per image for on-demand editing.
Additionally, Dedicated Editing can go as low as $0.50 per image, depending on your editing style and batch.
Browse Top Dedicated
Real Estate Photo Editors
Ready-to-hire editors for real estate photo editing, and more.
Your Real Estate Marketing Service
On top of that, PhotoUp is a complete one-stop shop for real estate marketing and also offers a complete ecosystem of powerful marketing tools, such as:
We have everything you need to market real estate in one platform!
Plus, adding these product offerings to your toolkit will make you more valuable to your clients and ultimately help grow your business.
How to Get Started
Getting started using PhotoUp’s real estate photo editing service is super easy!
This is all you need to do:
Step 1. Sign up for a free PhotoUp account.
Step 2. Upload your photos to our easy-to-use software.
Step 3. Choose the level of editing that you need and provide instructions (optional).
Step 4. Wait for PhotoUp professional editors to edit and return the photos in less than 24 hours (48 hours for virtual staging).
Step 5. Download and start using your beautifully edited photos.
As simple as that! So why wait?
Sign up for a free PhotoUp account and start elevating your real estate photography to the next level.
For a limited time, we even offer 10 free credits you can use to try any of our services.
We hope this blog post helped you learn how to create ghost-free HDR images by perfecting exposure bracketing. If you found this guide useful, you may also want to check out the following resources:

