Table of Contents
- Why the Editing Process Matters More Than Photographers Think
- How Long Does Wedding Photo Editing Actually Take?
- What This Means If You’re Doing It All Yourself
- See the Process for Yourself
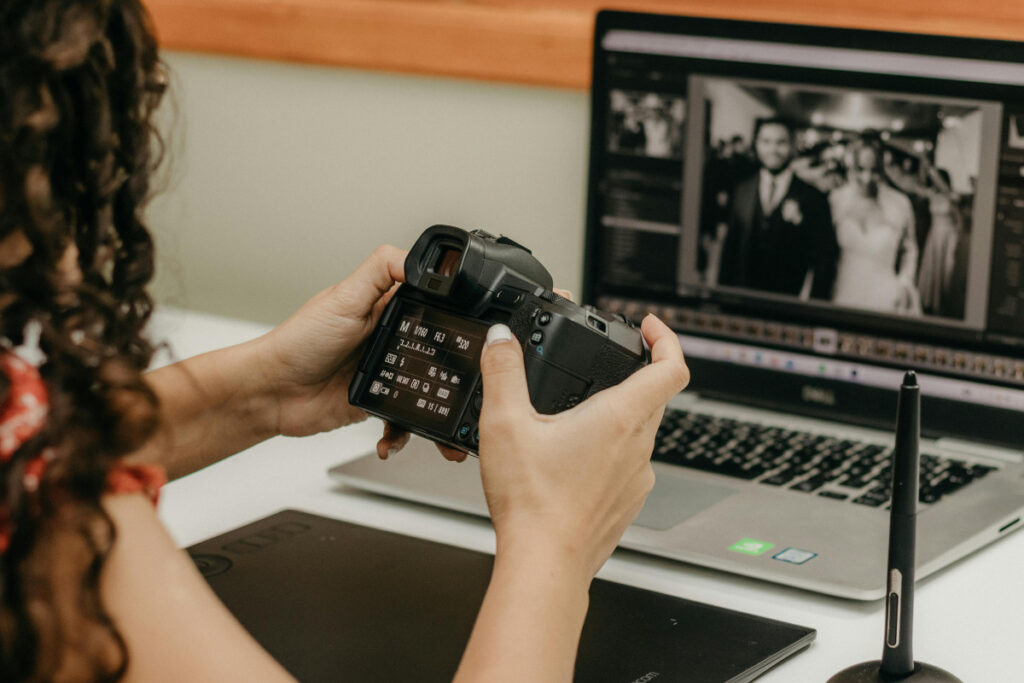
Wedding photo editing begins as soon as the shoot ends. You hand off the memory cards and move on, but every gallery still goes through several editing stages before it’s ready for the couple.
That gap between “shoot” and “delivered” is where the real work happens.
Here’s what happens to a wedding gallery after the shoot, stage by stage, so you can see where your workflow runs smoothly and where it might be costing you hours.
Why the Editing Process Matters More Than Photographers Think
It’s easy to think of wedding photo editing as cleanup: fix the exposure, adjust the color, and deliver. But editing decisions shape the final gallery just as much as what happens behind the camera. Poor culling can bury the best shots, inconsistent colors can make one wedding look like it happened on different days, and missed retouching can hurt the final experience.
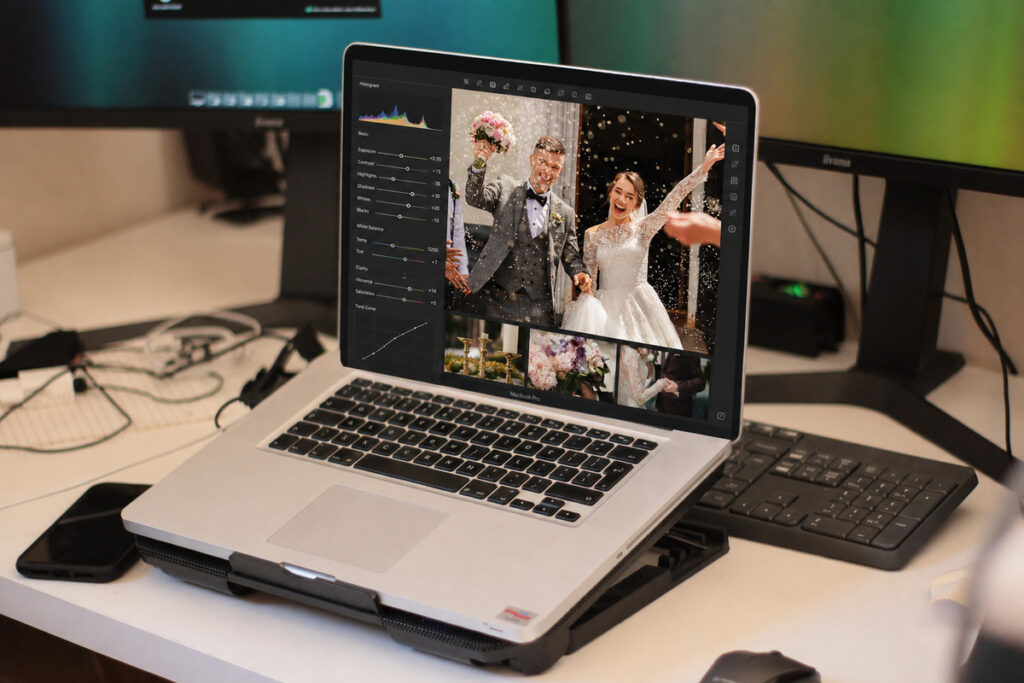
A survey of 1,850 wedding photographers by Shotkit found that most deliver 500 to 800 final images per wedding, with the average turnaround taking 2 to 4 weeks.1 Eleven percent take longer than 8 weeks.
Two photographers can shoot the same venue under the same conditions and still deliver completely different experiences. One gallery arrives in three weeks, polished and consistent. Another takes seven weeks and feels uneven. The difference often comes down to what happens during the editing process.
Step 1: Backup and File Organization Before Anything Else
Before editing begins, the raw files need to be safely stored. That means importing them to at least two separate drives and organizing them with a folder structure that’s easy to navigate later.
It’s easy to rush this step because it doesn’t feel like editing. But a corrupted card, failed drive, or misplaced folder can become a much bigger problem. A consistent naming system and reliable backup routine are worth the extra few minutes.
Step 2: Culling Cuts Thousands of Frames Down to a Gallery
A typical wedding can produce 2,000 to 4,000 raw photos, while the final gallery may contain just 500 to 800. Culling narrows those thousands of frames by removing duplicates, closed eyes, blurry shots, and redundant angles.
Done manually, this can take hours. An experienced editor can work through the technical first pass while keeping the photographer’s style and storytelling priorities in mind.
| Culling stage | What happens |
|---|---|
| Technical pass | Remove blur, closed eyes, duplicates, and focus misses |
| Moment pass | Choose the strongest expressions, emotions, and compositions |
| Final selection | Build a balanced gallery that tells the full wedding story |
Technical quality is only part of the decision. A slightly blurry candid of a grandmother crying during the vows might still become one of the couple’s favorite photos.
That’s why good culling requires more than removing imperfect frames. An experienced editor knows what to remove while understanding which moments are worth keeping.
Step 3: Color Correction Makes Every Frame Match
Color correction fixes white balance, exposure, and contrast so images taken under different lighting still feel consistent. Ceremony photos, outdoor portraits, and reception shots may all need different adjustments to keep skin tones and colors looking natural.
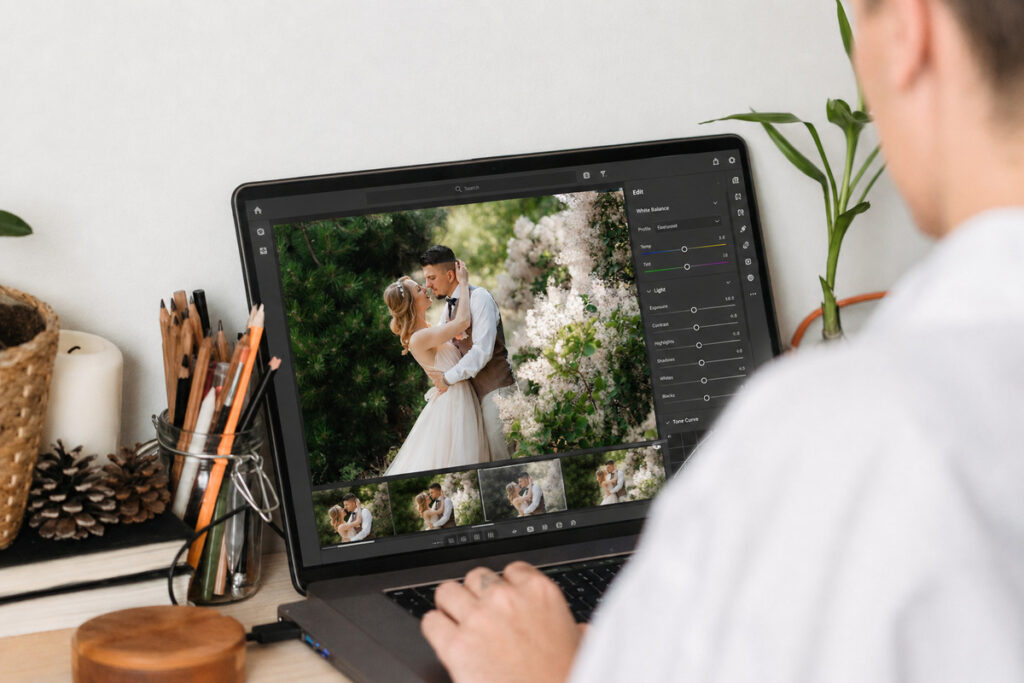
Unlike creative editing, color correction is about accuracy and consistency, not mood. The goal is a gallery that looks cohesive from start to finish.
Step 4: Color Grading Gives the Gallery Its Look
Once the images are technically corrected, color grading adds the photographer’s signature style, whether warm and filmic, bright and airy, or moody and desaturated.
Consistency is key. If the ceremony feels warm but the reception suddenly looks cool, the gallery can feel disconnected. Good color grading gives the entire wedding a cohesive look from start to finish.
Professional Photo Editing
More Time Behind the Camera
Get consistent, polished photos without the editing workload.

Step 5: Retouching Is Where an Editor’s Judgment Matters
Retouching handles the details that basic corrections miss, from stray hairs and skin blemishes to wrinkled fabric, exit signs, and distracting background objects. Some fixes are straightforward, but others require an editor to decide what should actually be changed.
A bride may want to keep her freckles, while something that looks like background clutter could have sentimental value. A trained wedding photo editor knows the goal isn’t to make every image perfect. It’s knowing what to fix, what to preserve, and when to stop.
Browse Top Dedicated
Real Estate Photo Editors
Ready-to-hire editors for real estate photo editing, and more.
Step 6: Quality Control and Final Review
Before delivery, the entire gallery needs one final review. This catches issues that are easy to miss when editing individual photos, such as color shifts, duplicate images, inconsistent retouching, or awkward transitions.
A good QC pass checks that the gallery flows naturally, every image meets the same standard, and nothing slipped through earlier stages. A fresh review can catch inconsistencies that are easy to miss after working through hundreds of images.
How Long Does Wedding Photo Editing Actually Take?
Across all six stages, editing a single wedding can take anywhere from a full workday to several days, depending on gallery size, editing style, and the level of retouching required.
That helps explain why the Shotkit survey found an average delivery time of 2 to 4 weeks. During peak wedding season, multiple shoots can quickly create an editing backlog, making an efficient workflow even more important.
What This Means If You’re Doing It All Yourself
None of these six stages of wedding photo editing is optional, and none of them is fast. Doing all of it solo rarely comes down to whether you can produce good work. It comes down to whether the math holds up once you count every wedding on your calendar for the season, not just this one.
Some photographers find their bottleneck isn’t the editing stages above at all. It’s everything wrapped around them: booking calls, delivery emails, revision requests, gallery follow-ups. If that’s the part eating your week, that’s a staffing problem more than an editing one, and it’s a different kind of support than what this piece covers.
For the editing itself, the honest comparison is between your own hours and what a wedding photo editing service actually includes at each price tier, since the answer changes a lot depending on how much of your season is booked.
See the Process for Yourself
Reading about a six-stage wedding photo editing process is one thing. Having an experienced editor take those hours off your plate is another.
PhotoUp helps handle the editing-intensive stages of this process, with a trained editing team focused on consistency, quality, and attention to detail. Turnaround can be as fast as 12 hours, helping you deliver polished galleries without adding more editing hours to your workload.
Professional Photo Editing
More Time Behind the Camera
Get consistent, polished photos without the editing workload.
Why photographers use PhotoUp for wedding editing:
- Consistent color correction and grading across the full gallery, not just the hero shots
- Retouching handled by editors trained on wedding-specific judgment calls, not generic presets
- Turnaround built around wedding season volume, not a single-order pace
How To Get Started:
- Upload a gallery from a recent wedding
- Get it back edited
- Compare the result against your current workflow before committing to anything
Try a test order, free, and see where your own six steps could use the extra set of hands.
Related Articles:
- Scale Your Wedding Photography Business With Professional Photo Editing Services
- How Wedding Photo Editing Helps You Deliver Stunning Galleries
- When Should Photographers Outsource Photo Editing?
- What’s Included in Wedding Photo Editing Services?
- What Can a Photography Coordinator Take Off Your Plate?
References: