


Table of Contents
- Smartphone vs DSLR for Real Estate Photography
- How to Optimize Real Estate Photos for Smartphones
- Edit Like a Pro With the AgentUp Editing iOS App
Do you really need a bulky DSLR camera to capture professional-looking shots? The answer is: No. Learn how to optimize real estate photos for Smartphones.
With modern smartphones offering advanced camera technology, many real estate agents and homeowners are wondering: Can you shoot listing photos using just your phone? You sure can—if you know how to optimize them properly.
This article breaks down when to use a smartphone vs a regular DSLR camera, how to take better photos using just your phone, and how to edit them on the go using the AgentUp Editing AI.
Let’s dive in!
Smartphone vs DSLR for Real Estate Photography

When it comes to capturing stunning real estate photos, choosing between a DSLR camera and a smartphone can significantly impact the quality, efficiency, and flexibility of your shoot.
Let’s take a look at the key pros and cons of each camera, starting with the regular workhorse – the DSLR camera.
📸 DSLR Cameras: The Professional Standard
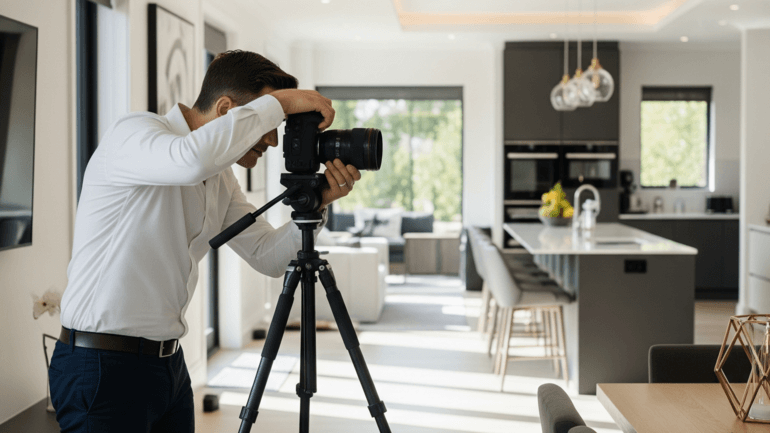
DSLRs (Digital Single-Lens Reflex cameras) have long been the gold standard in professional real estate photography.
Their ability to capture high-resolution images, handle varying light conditions, and support interchangeable lenses gives photographers complete control.
Here are some advantages of using a DSLR:
- Superior image quality with higher resolution and clarity
- Wide-angle lens options are ideal for capturing entire rooms
- Manual controls allow for precise adjustments to exposure, shutter speed, and aperture
- Better low-light performance without noise or grain
However, DSLR cameras also come with potential drawbacks such as:
- Expensive initial investment and upkeep
- Requires photography knowledge or hiring a professional
- Bulky and less convenient to carry or use spontaneously
With the pros and cons of using a DSLR camera in mind, let’s take a look at using smartphones to shoot real estate photos.
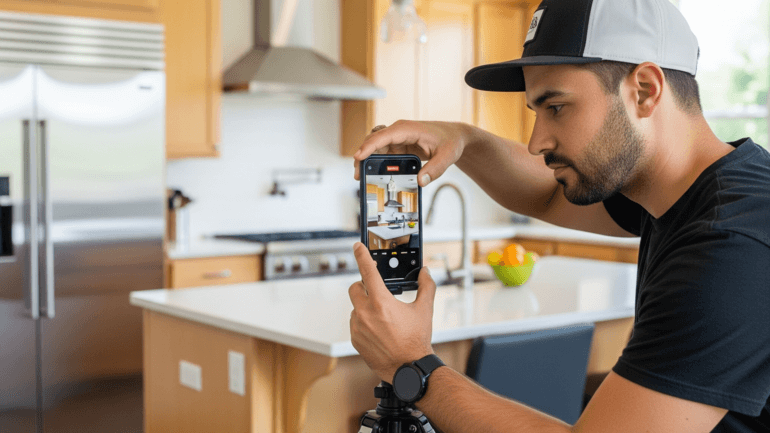
📱 Smartphones: Powerful Tools in Your Pocket

Today’s smartphones come equipped with impressive camera technology, often including wide-angle lenses, AI-driven enhancements, and advanced editing tools right out of the box.
For many situations, especially fast-paced or budget-conscious listings, a smartphone is more than capable.
Here are some benefits of using a smartphone for real estate photography:
- Highly portable—always in your pocket, ready to shoot
- Multiple lenses on newer models, including ultra-wide and telephoto
- Built-in software helps with HDR, stabilization, and focus tracking
- Integrated with editing and upload apps for instant listing updates
On the other hand, here are some disadvantages to consider:
- Lower dynamic range compared to a DSLR
- Limited control over aperture and shutter speed
- And distortion or noise in low light or wide shots
So, What’s Best? Use What Suits Your Needs
If your listing demands magazine-level quality (like luxury homes or architectural showcases), a DSLR or hiring a professional editing service like PhotoUp is worth the investment.
But for standard listings, rental properties, or fast uploads to MLS and social media, your smartphone is a powerful and capable tool when used correctly.
So whenever using your smartphones to take real estate photos, let’s take a look at how to best optimize your photoshoot.
AgentUp for iOS
AI Real Estate Photo Editing
Try instant AI-powered photo editing with the AgentUp iOS Media App.

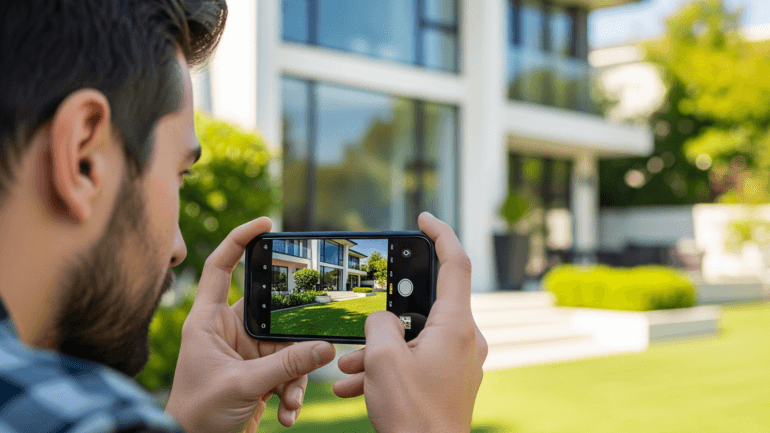
✅ How to Optimize Real Estate Photos for Smartphones
You don’t need a $2,000 camera to shoot amazing real estate photos. What matters most is how you take the picture.
Here are 10 key strategies to elevate your smartphone photography game:
1. Clean the Lens
This simple step is often overlooked. Dust, smudges, or fingerprints can cause blurriness or lens flares.
Wipe your lens with a microfiber cloth before every shoot to ensure sharp, clear images.
2. Shoot in Landscape Mode
Always turn your phone horizontally. Landscape orientation aligns with how images are displayed on MLS sites, real estate apps, and property websites.
It also allows you to capture more of the room in a single frame.
3. Use Grid Lines to Align Your Shots
Activate the grid feature in your camera settings to help keep walls, ceilings, and floors straight.
This is crucial for real estate photography, where misaligned angles can make a room look warped or unprofessional.
4. Avoid Digital Zoom
Zooming in digitally reduces image resolution and introduces graininess.
If you need a closer shot, physically move your phone forward instead of zooming. The goal is always clarity and detail.
5. Rely on Natural Light
Natural light creates the most flattering and realistic tones. Open all blinds and curtains before shooting.
If the space is still dark, consider scheduling your shoot for midday when the sun is at its peak.
Pro Tip: Turn off all artificial lights to prevent mixed color temperatures, which can make editing more difficult.
6. Don’t Mix Light Sources
Overhead lights often have a warm yellow cast that conflicts with the cooler tones of daylight.
Mixing them can cause an unattractive orange or blue tint. Use only one type of lighting—preferably natural—for consistency and easier editing.
7. Maintain Proper Shooting Height
Shoot from a height of about 4 to 5 feet off the ground (roughly chest height).
This avoids extreme angles that can distort room dimensions and provides a balanced view of the space.
8. Set Focus and Exposure Manually
Tap the area on your phone screen that you want to focus on. Then slide your finger up or down to adjust exposure.
This gives you control over brightness and helps avoid blown-out windows or dark corners.
9. Use a Smartphone Tripod
Even a slight hand movement can blur your image, especially in low light.
A basic tripod or smartphone stabilizer will dramatically improve sharpness and allow for consistent framing across all your shots.
10. Edit Your Photos for a Polished Look
Even great smartphone shots need fine-tuning. A slight boost in brightness, contrast, or saturation can make a room feel warmer and more inviting.
Editing is where good real estate photos become great ones—and that’s where a dedicated app can make a huge difference.
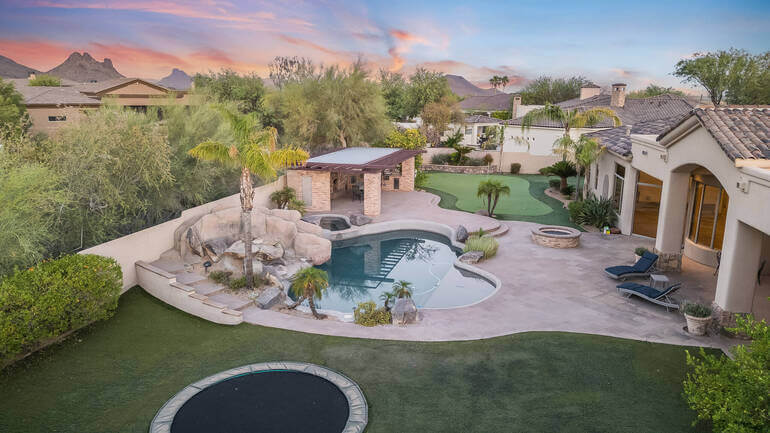
Final Thoughts: Smartphones Are a Game Changer for Real Estate Photography
Smartphones have changed the game in real estate photography. With the right techniques and a little post-processing, your phone can capture photos that rival DSLR images.
By following best practices—like shooting with natural light, using proper alignment, and avoiding zoom—you’ll produce images that help your listings shine online.
And with tools like the AgentUp Editing AI, you don’t need to be a Photoshop pro to get stunning, high-quality listing photos.
Just shoot, upload, and let the professionals handle the rest—all from the palm of your hand.
Not heard of AgentUp Editing AI? Let’s take a look at this groundbreaking AI tool.
AgentUp for iOS
AI Real Estate Photo Editing
Try instant AI-powered photo editing with the AgentUp iOS Media App.
🎨 Edit Like a Pro With the AgentUp Editing iOS App

Once you’ve taken your photos, the next step is editing, and we have a great solution for editing like a pro on the go!
According to recent studies, AI-powered image editing tools can reduce editing time by up to 90%, and 60% of photographers use AI tools to enhance their creative process.
Instead of wrestling with complicated desktop software or default phone filters, streamline the process using the AgentUp Editing iOS app—a powerful AI photo editing tool built specifically for real estate professionals.
Why Choose AgentUp Editing AI?
Here are some compelling reasons to try AgentUp Editing AI:
- Fast Turnaround Times: The app allows you to submit your photos and get professionally edited images back in less than 5 minutes, perfect for quick MLS updates or same-day listings
- Seamless Mobile Uploading: You can easily upload photos directly from your iPhone. No need to transfer files from and to your computer
- Affordable Pricing: Starting at just $0.75 per image, AgentUp is one of the most cost-effective real estate photo editing options available
- Edit on the Go🚗: Whether you’re in between showings or waiting at a property, you can manage your photo editing process right from your phone—saving you time and keeping your listings moving
Wide Range of AI & Pro Editing Services

With AgentUp Editing AI, you can choose between a wide range of editing services, including:
- Brightness and exposure correction
- Color correction
- Sky replacement (free)
- Virtual staging
- Object removal (power cords, trash bins, etc.)
Additionally, you can also order manual Pro Edits inside the app, such as:
- Day-to-dusk conversion
- Lawn greening
- TV Screens
- Fire in the fireplace
- And more!
All you need to do is point, shoot, and say hello to instant AI editing. It can’t be much easier than that!
AgentUp Editing AI is best-in-class. It’s super simple to use and delivers beautifully edited images in as little as 5-10 minutes.
The future of real estate is here, and it looks picture-perfect, so download the AgentUp IOS app and start using it today!
All you need to do is scan the QR code, download the app, and upload your images:

We hope this blog post helped you learn how to optimize real estate photos for Smartphones. Before you go, you may also want to check out the following posts:

