


Table of Contents
- What Does Canvas Size Mean?
- When Should You Change Canvas Size in Photo Editing?
- How to Edit Canvas Size in Photoshop
- Tips for Real Estate Photo Editing With Canvas Size
- Never Worry About Editing Again – Let PhotoUp Help!
Do you want to learn how to edit canvas size in Photoshop?
Photoshop is an incredibly versatile tool for editing images, offering a wide range of features to meet various creative needs. One such feature is the ability to adjust the canvas size.
Whether you’re preparing real estate images for print or online listings, understanding how to edit the canvas size in Photoshop can help you achieve professional results.
In this guide, we’ll explain what canvas size means, why it’s essential for real estate photo editing, and guide you step-by-step on how to change the canvas size in Photoshop.
Let’s begin by explaining what canvas size in Photoshop means.
What Does Canvas Size Mean?
In Photoshop, the canvas size refers to the workspace where your image resides.
It determines the dimensions of the area around your image, which can either crop parts of the image if reduced or add space around it if expanded.
Unlike resizing the image itself, changing the canvas size does not alter the image’s content or resolution—it only adjusts the workspace.
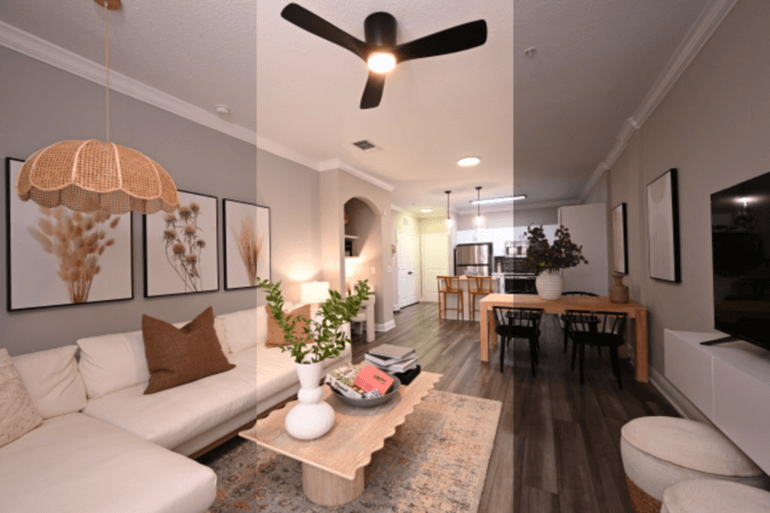
For real estate photo editing, modifying the canvas size can be crucial for:
- Adding borders or margins for print-ready materials
- Preparing images to fit specific dimensions required by MLS (Multiple Listing Services), property websites, or other online platforms
- Aligning multiple images within a single document for presentations or brochures
When Should You Change Canvas Size in Photo Editing?

Here are some scenarios where knowing how to change canvas size in real estate photo editing or any type of photo editing is useful:
- Creating Uniformity: If you’re preparing a collection of property photos, ensuring consistent dimensions can make your portfolio look polished
- Adding Information: Expanding the canvas allows you to include text overlays, watermarks, or annotations without disturbing the original image
- Fitting Specific Dimensions: For real estate platforms that require exact image sizes, adjusting the canvas ensures compliance without cropping essential parts of the photo
Mastering canvas size adjustments empowers real estate photographers to deliver polished, professional images that meet diverse platform requirements and client expectations.
Have You Ever Thought To
Outsource Photo Editing?
Try it today with 5 free edits from three professional photo editors.

How to Edit Canvas Size in Photoshop (Step-by-Step Guide)
With the use of changing canvas size in mind, let’s take a look at how to edit canvas size in Photoshop.
You can either watch the video tutorial or continue reading the text below:
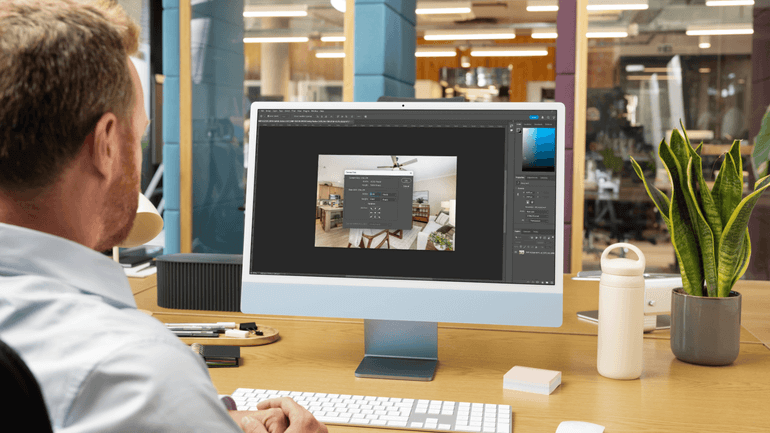
Step 1. Let’s assume that your file is already open. Now, in the top menu, go to Image > Canvas Size. A new Canvas Size dialogue box will pop up.
Step 2. If you want to make the canvas larger without affecting the image, just increase the dimensions. Choose your new width and height.
Step 3. You can switch between pixels, inches, centimeters, and more using the drop-down. Click OK, and you’ll see extra space appear around your image.
Step 4. If you want the space to be added only to the right or left side, use the 3×3 grid called the Anchor in the dialogue box to set the image’s position. Once everything looks good, click OK. Your canvas will resize instantly.
Step 5. Another way to adjust the canvas is to grab the Crop Tool, pull the edges to the size you want, and hit Enter. The Crop Tool is not just for cropping. It can expand the canvas, too.
And there you have it! You’ve now learned how to edit canvas size in Photoshop.
Tips for Real Estate Photo Editing With Canvas Size
Adjusting canvas size effectively can elevate your real estate photos, ensuring they align with platform requirements and enhance visual appeal. Here are some tips to consider:
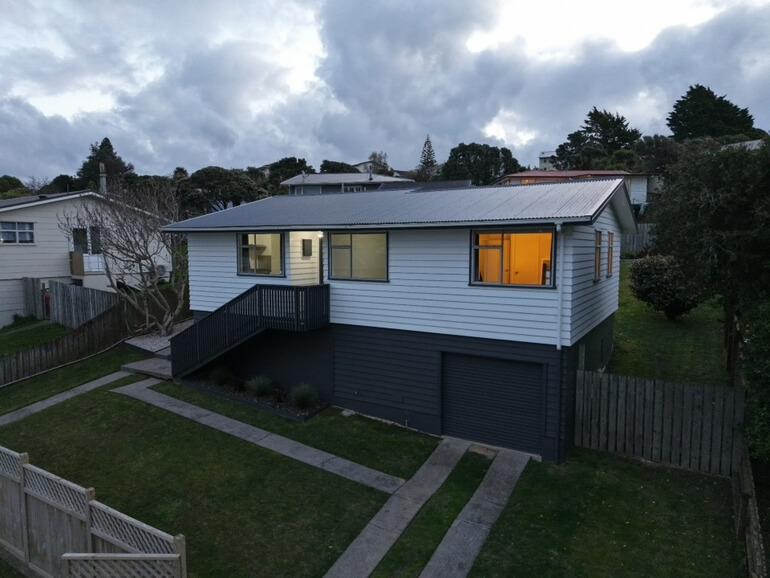
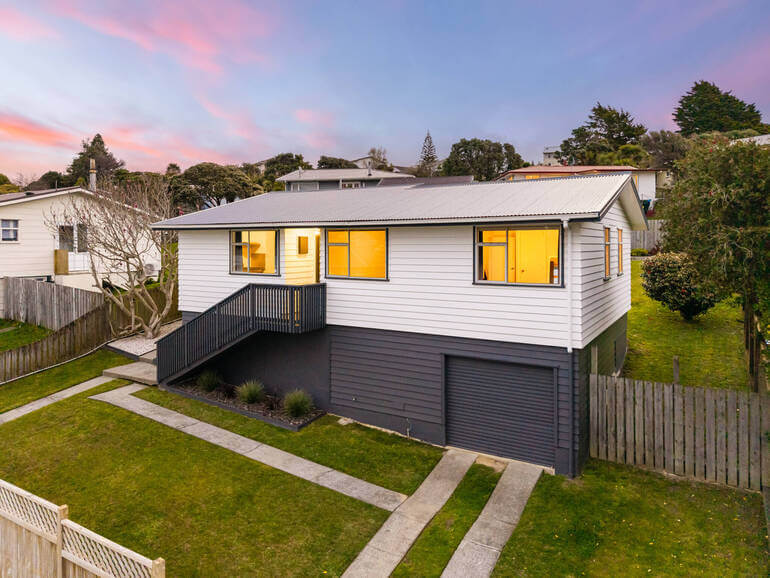
- Maintain Aspect Ratios: For online listings, ensure the canvas size matches the recommended aspect ratios (e.g., 3:2 or 4:3) to avoid distortion
- Use Grids and Guides: When adding borders or text, use Photoshop’s grid and guide tools to ensure precise alignment
- Test Different Colors: For expanded canvases, experiment with colors that complement your real estate branding
By fine-tuning canvas size with these tips, you can create professional, eye-catching images that resonate with potential buyers and reflect your brand’s quality.
Final Thoughts
Changing the canvas size in Photoshop is a simple yet powerful tool for enhancing real estate images.
Whether you’re preparing photos for MLS, adding branding elements, or ensuring consistency across a portfolio, mastering this skill can elevate your presentation.
By understanding when and how to adjust canvas size, you’ll be better equipped to create professional, eye-catching visuals that help sell properties faster.
Happy editing!
The Ultimate All-in-One
Real Estate Photographer Business Platform
Grow a successful real estate photography business with PhotoUp.
Never Worry About Editing Again – Let PhotoUp Help!
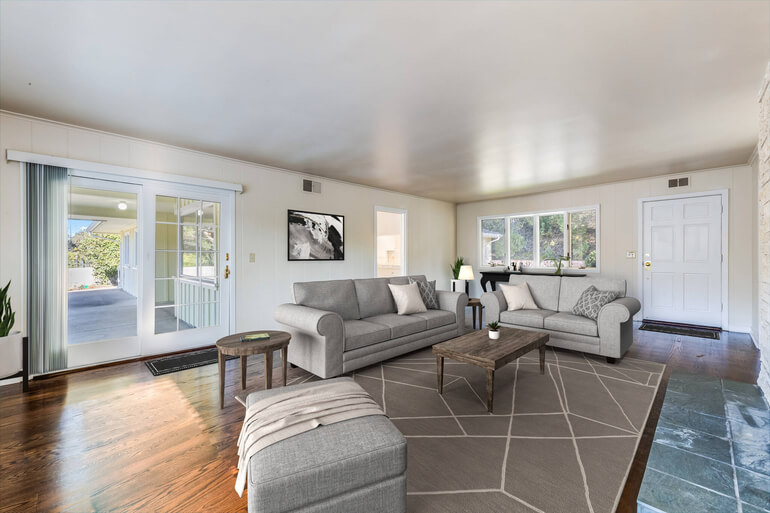
If you don’t want to or have time to do the post-processing yourself, consider outsourcing your photo editing to a professional service like PhotoUp.
PhotoUp offers high-quality real estate photo editing with prices starting as low as $0.50 per image (for dedicated editing).
Our team of skilled editors is proficient in a wide range of advanced editing techniques, including:
- HDR blending
- Twilight and day-to-dusk conversions
- Advanced object removal and decluttering
- Perspective correction
- Sky replacements
- Brightness and color correction
- Noise reduction and image sharpening
- Pano stitching
- And much more!
This allows real estate photographers to enhance their portfolio and stand out in a competitive market.
Browse Top Dedicated
Real Estate Photo Editors
Ready-to-hire editors for real estate photo editing, and more.
User-Friendly & Intelligent Platform
With PhotoUp’s user-friendly software, you can easily upload and receive photos, send instructions, and leave feedback.
It also allows you to track and manage team members and clients, and deliver photos directly to your clients.
Here’s how to get started with PhotoUp:
Step 1. Sign up for a free PhotoUp account.
Step 2. Upload your photos to our easy-to-use software.
Step 3. Choose the level of editing that you need and provide instructions (optional).
Step 4. Wait for PhotoUp professional editors to edit and return the photos in less than 24 hours (48 hours for virtual staging).
Step 5. Download and start using your beautifully edited photos.
It’s really that easy to get your photos edited and returned to you in 24 hours or less!
PhotoUp Offers More Than Just Editing
PhotoUp offers so much more than just editing! We are a complete one-stop shop for real estate marketing services and also provide powerful tools such as:
You can find everything you need to enhance and market real estate photography in one user-friendly software.
So what are you waiting for?
Sign up for a free PhotoUp account today and let us help take editing off your plate!
Plus, when you sign up for an account, you’ll receive a bonus of 10 free credits to use however you please.
We hope this blog post helped you learn how to edit canvas size in Photoshop. If you found this guide useful, you may also want to check out the following resources:

