#1 Use a Tripod
With a stationary subject, there is no benefit to being mobile which may be the only reason not to use a tripod in other forms of photography. Using a tripod allows you to use slower shutter speeds without worrying about camera shake, allows you to easily ensure your camera is always pointed on a horizontal plane to get nice straight vertical lines, and allows you to shoot on all planes comfortably (chest level, eye level, knee level, or above the head levels) which gives you greater versatility to show off a room or house at it’s the best angle. Using a tripod is also essential if you want to shoot bracketed images or do any window masking as it ensures each shot has identical framing for easy blending.
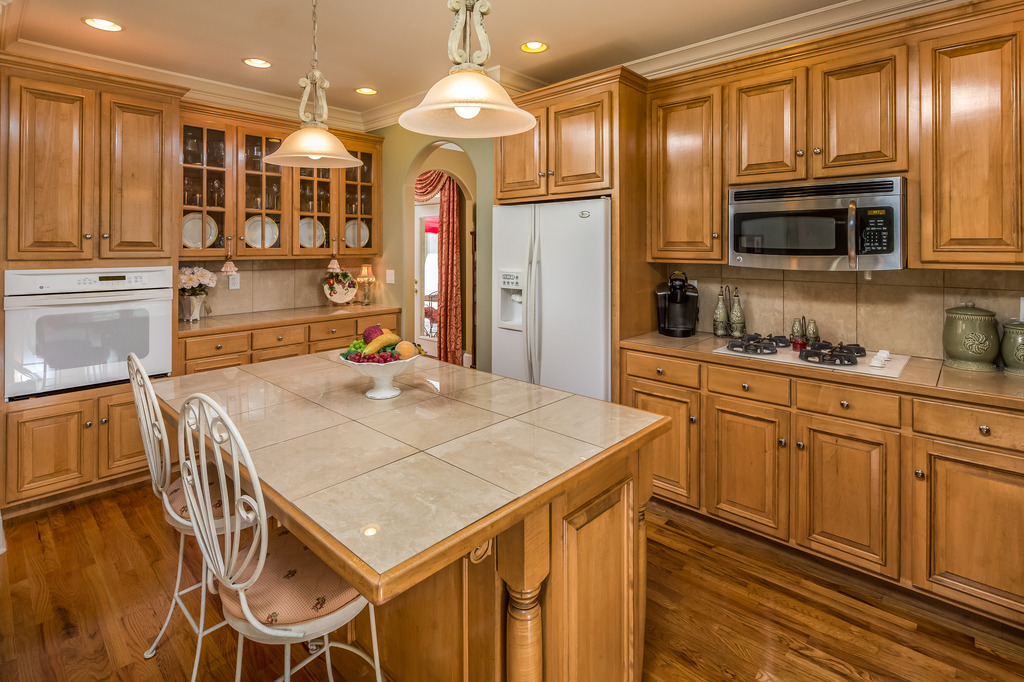
#2 Photography is Capturing Light
Your camera cannot see perfectly what your eye is seeing. Your eye is a wonderfully complex and adaptive tool that works in tandem with your brain to adjust to all lighting conditions no matter where your eye darts. Your camera can only capture the light that is allowed to strike its sensor and record that light in a way that then translates into a non-adaptive, flat image. In photographic terms, your eye has an extremely high dynamic range whereas your camera’s dynamic range is not as high.
In order to capture a property in the best possible way, we as photographers have to play around with the light at our disposal to create dynamic images that attract potential buyers even though they are looking at flat, non-adaptive images. We can do this by increasing the dynamic range of our images through shooting in brackets or better yet, shooting in RAW – a photographic medium that captures millions of versions of the same image and is therefore as close to capturing what your eye sees as a tool like a camera can get. We can also create dynamic images simply by playing with the light – having it shine on parts of the image we want to highlight, adjusting our exposure so that a view through a window is highlighted while the interior is silhouetted, or just getting creative with our framing to create dynamism in a shot. Whatever your style or preference remember that photography is not about capturing exactly what your eye sees but using light to paint a dynamic and attractive picture for your viewers.
#3 The exposure triangle is how you capture light
Exposure is the amount of light that the camera is allowed to capture in a given scenario. We control the exposure using three unique settings that work in tandem to create the exposure of the final image: aperture, shutter speed, and sensitivity (commonly ISO).
ISO is the term we use for the sensitivity of a camera’s sensor (or in the old days, the film) to light. Increasing the ISO value makes the sensor more sensitive allowing more light to be captured by it. Most cameras start at around 100 ISO and may go up to about 4000 ISO or higher. While a more sensitive sensor does allow you to capture more light information even in low-light, the trade-off is that the information it captures is not as crisp and therefore noise or grain will appear in the final image. This detracts from the overall sharpness – for this reason, your ISO value should be kept as low as possible starting at 200 ISO as a base and going no higher than 400 ISO unless you absolutely have to.
Aperture is how wide your lens is open when you take your picture. The wider the opening, the lower the aperture value, and the more light that is allowed to strike your sensor. In addition to the amount of light that is allowed to strike the sensor, aperture also dictates the depth of field of an image. The shallower the depth of field is, the more precise the focus point is with everything closer or further away from that point being more and more out of focus and less and less bright. The lower the aperture value (as low as 1.4 on some lenses) the shallower the depth of field. A high aperture value such as F22 means the lens is open less than a pinhole allowing very little light in and creating such a deep depth of field that everything is in focus including every spot of dust and debris on your sensor and lens. Setting your aperture becomes a balance of getting as much in focus and of equal brightness as possible without having any dust spots show up. At the same time, balancing the intake of light is equally important so that the image is as brightly exposed as you want it to be. Typically, in real estate photography, you’ll aim for an aperture of between F8 and F11 with F5.6 and F16 as acceptable but not ideal outside edges of the range.
The last part of the exposure triangle is shutter speed. Your shutter speed is how long your lens stays open to allow light to hit the camera’s sensor. Unlike ISO and Aperture that have pretty standard and small acceptable value ranges for real estate photography, you will have a lot more flexibility in setting your shutter speed. If your shutter speed dips below 1/100 of a second (as it most assuredly will on occasion) you will want to remember the suggestion about using a tripod or risk creating a blurry image. When using a tripod there is really no danger of having a long shutter speed (or 1/10 of a second or more). However, the longer the shutter is open the more the variances in light and color there could be and therefore you could run the risk of unwanted color casts. Shutter speeds faster than 1/2000 of a second can give your images a compressed look but not in all cases.

It’s important to remember that all three of these settings work together to give you the final exposure of the image. In the case of real estate photography, it can be best to set your ISO and aperture to what you consider to be optimal values (maybe ISO 200 and F8) and then allow those settings to dictate your shutter speed, only adjusting them if your shutter speed falls above or below values you’re comfortable with. In order to do this, you must have your camera set to manual ISO and either M or Av mode allowing you to either manually set all your settings or manually set your ISO and Aperture and have the camera automatically set your shutter speed.
More Than Industry Leading
Real Estate Photo Editing
PhotoUp is the end-to-end business platform for real estate photographers.

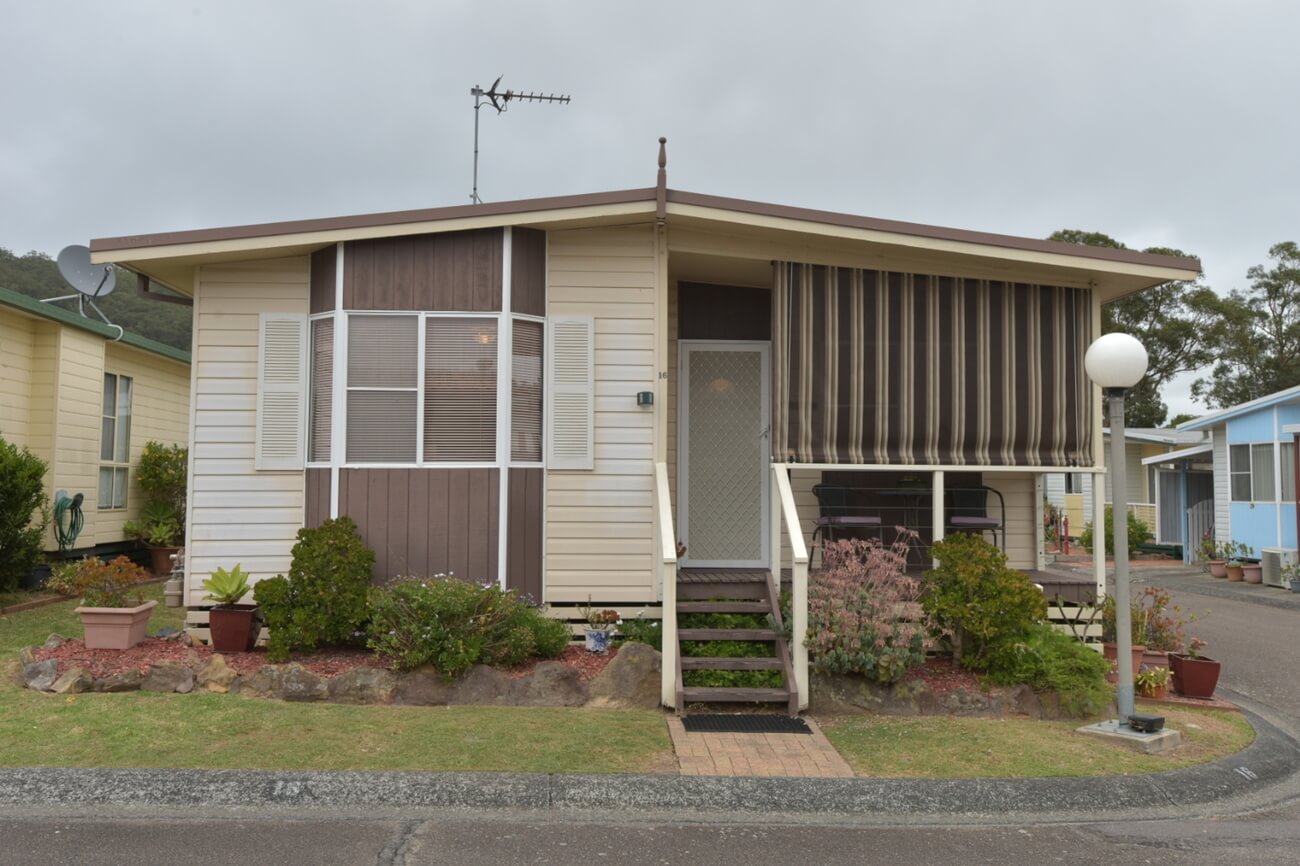
#4 Understand the light you are trying to capture
Since photography is all about capturing light, it’s important to understand the light you are trying to capture: Is it direct light, like the sun in the middle of a sunny day, and therefore quite harsh, or is it reflected or diffused light bouncing off walls and other surfaces or streaming through curtains and other diffusers creating something softer? In addition to being harsh or soft, all light also has a color to it. Artificial lights like lamps, pot lights, and flash units all have a specific color temperature. Natural light has a color temperature but it varies based on the time of day, the time of year, and the geographical location. Light color is also affected by the color of the objects it is reflected off – so daytime light from a window might naturally have a fairly neutral color but might give off a blue shade to a room after it strikes a particularly blue wall before reflecting elsewhere.
The color of the objects in your photography, whether they be walls, chairs, appliances, or trees, will be affected by the color of the light that strikes them. In-camera, and in post-processing on RAW files, we can set the “white balance” of an image in order to minimize the effect “colored” light has on the color of the objects in a room. Ideally, we would set the “white balance” to the color temperature of the light sources and then the colors of all the objects would look as they would in the pure white light.
Where this gets tricky is when we have competing for light sources of different color temperatures all lighting the same object. If a wall is being struck by the warm light of a reading lamp, the middling temperature light streaming in the window, and the cool light of a flash unit, this will make it difficult to get the color balance right to make the wall look a completely uniform color throughout. There are multiple different ways to approach this problem from minimizing this effect by having a room lit by a single source of light or multiple sources of light all with the same color temperature, to embracing it, noting that rooms are rarely lit with one source of light and our eyes are therefore used to this look. Either way, it’s important to recognize the different colors and types of light in your frame, especially when looking to add light sources to brighten up your shot.
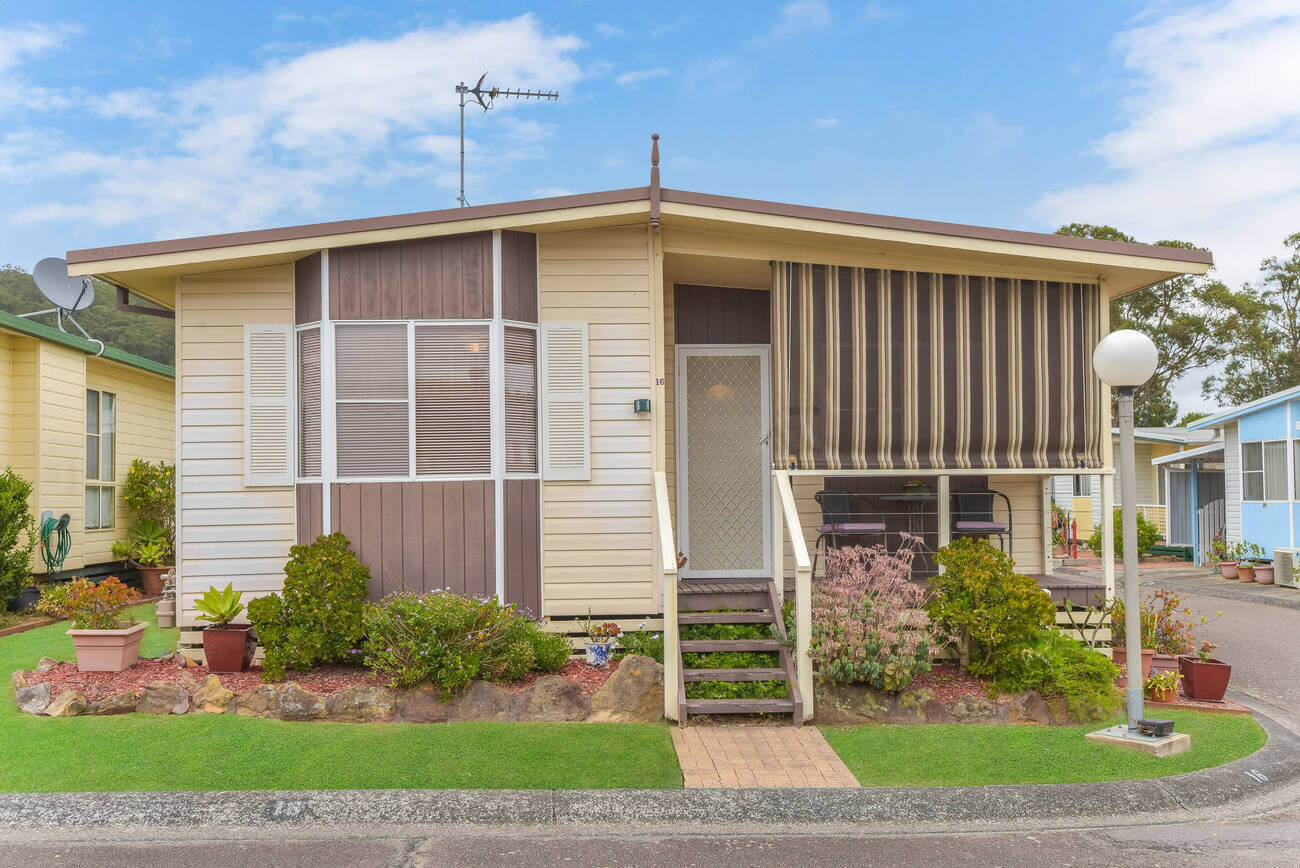
#5 Try to get it right in camera
In a perfect world, images would look perfect straight out of the camera. In the world of digital photography, where cameras have a much smaller dynamic range than our eyes, that is not really possible as there will always be little things that you’ll want to correct to create a final image more closely resembling what your eyes see in the most attractive light. But, that doesn’t mean we should rely solely on post-processing to do our jobs for us! The best final images are the ones that came out of the camera as close to perfect as possible – with a near-perfect exposure, balance of mid-tones, shadows, and highlights, and color balance. At its most effective, post-processing should be polishing a jewel not fixing something that is inherently broken. Editing programs are capable of doing amazing things and fixing many problems in our original shots, but there are tradeoffs for every fix. As much as possible try to get things looking how you want them in-camera. Even if you plan on blending several images together, make sure each frame highlights what you want it to highlight as perfectly as possible, and then use post-processing to take your great images and make them amazing.